
Mass Effect: Andromeda Collector's Edition Guide Secondary Ops
Peebee: A Mysterious Remnant Signal
Mission Type: Allies and Relationships
Prerequisite: Complete “Peebee: Reclaiming Poc”
Start Location: Tempest
Unlocking: Speak with Peebee on the Tempest
Speak to Peebee
Tempest: Escape Pod
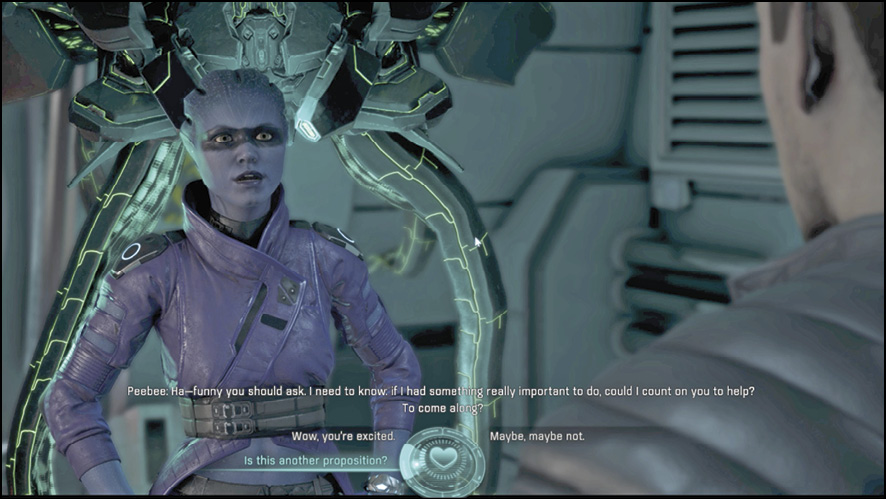
Thanks to Peebee’s newly Remnant-augmented scanner, she’s discovered an unprecedented Remnant signal. Accompany her to the source and retrieve the tech. She loads the coordinates into the Galaxy Map.
Go to Pas-10 in the Inalaara System
Travel to the Inalaara system and “land” the escape pod on Pas-10. It turns into a crash landing, but everyone walks away.
Pursue the Source of the Remnant Signal
Pas-10
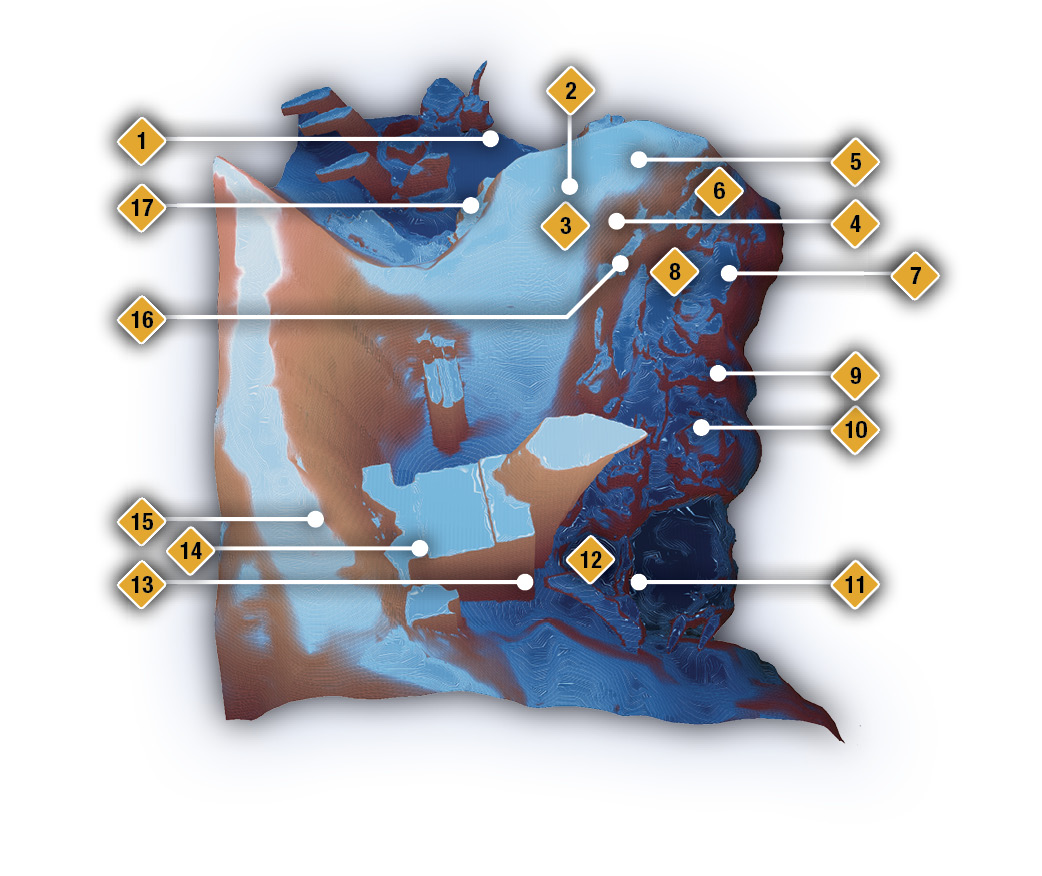
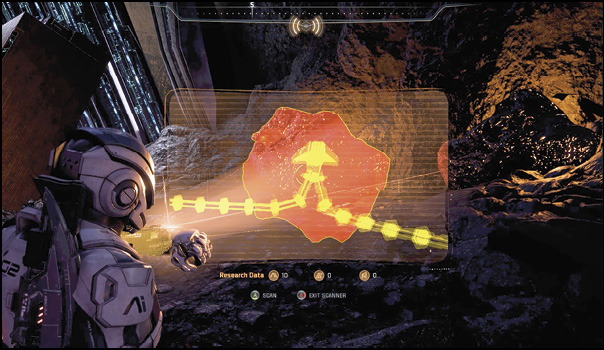
You begin this quest standing next to the crashed escape pod (1) on Pas-10—a smoldering, sooty volcano of a planet. Scan the escape pod for Research Data and follow the first navpoint (2) into a cave.
Find a Way Through the Remnant Gateway
Once you’re through the first navpoint in the cave (2), follow the next one (3) to a Remnant gateway. Scan the large obsidian boulder near the gate, shoot it to destroy it, and then activate the Remnant power node inside. Enter the new tunnel beyond the now-lowered gate.
Explore the Cavern Depths
Follow the next navpoint (4) through the tunnel. Notice the fragmented Remnant Observers lying around the cave floor. Scan the Remnant Gravity Well chute on the left for Research Data. The next navpoint (5) appears at the end of the next cave, marking the next Remnant gateway obstruction.
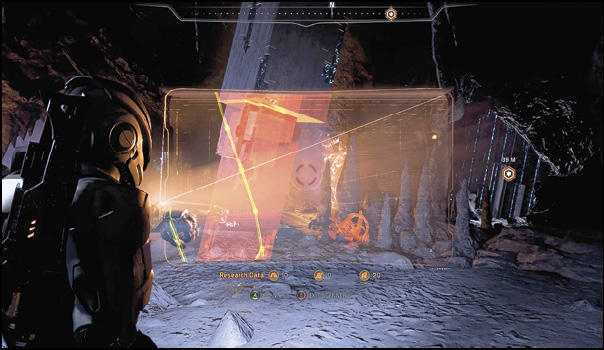
In this cave, scan the large assembly-line dispenser, and note the conduit running through it. There are a couple of obsidian boulders that can be shot to reveal containers. Approach the Remnant gate (5).
Seek a Method to Open the Gateway
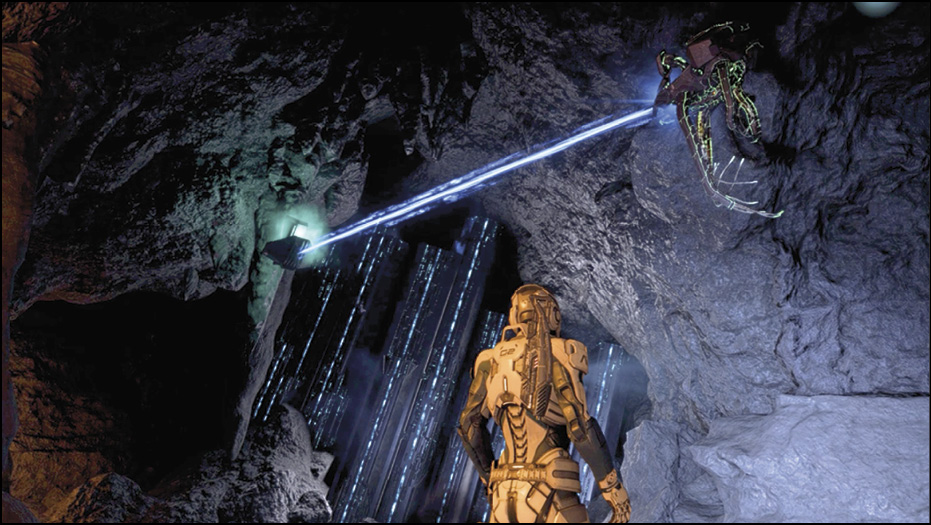
Scan the Remnant power node up high to the left of the closed Remnant gate. This tells the friendly Observer what to unlock. Scan the Remnant gate, then head back to the large assembly-line dispenser in the middle of the cave and trace the conduit to a Remnant console. Interface with it to release the friendly Observer from the dispenser. If you already scanned the power node, the Observer begins interacting with it to open the gate.
Reach and Explore the Surface
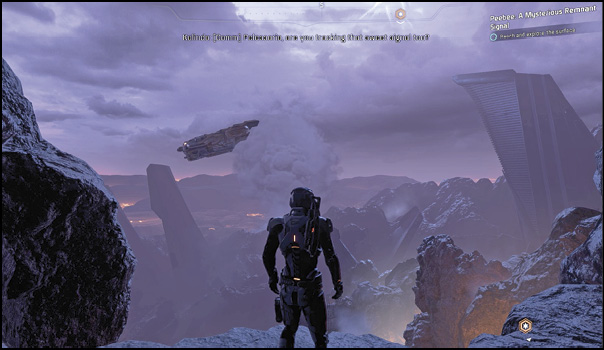
Follow the navpoint (6) through the new tunnel. You see Kalinda’s shuttle streak across the sky when you reach the ledge outside the tunnel. Leap from the ledge down to the rocky pathway below. You run into Assemblers and Observers in the clearing (6).
Eliminate All Hostile Remnant Forces
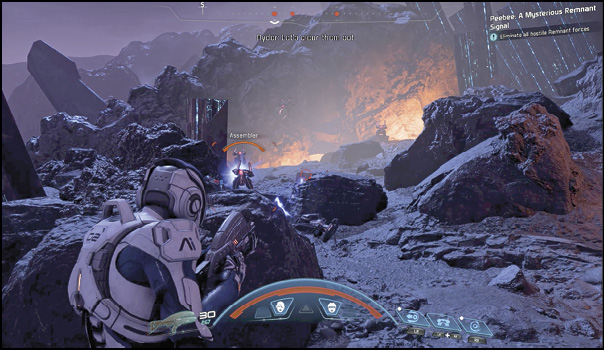
They seem to be coming off an assembly line, but keep at it. Destroy all the Assemblers and Observers in the area. Use the boulders and Remnant blast shields for cover. Find the ammo crates around to replenish your weapons. There’s also a loot container near the edge of the mountain. Once all enemies have been destroyed, hop up onto the high platform on the mountainside (8).
Use the Remnant Console to Open the Gateway
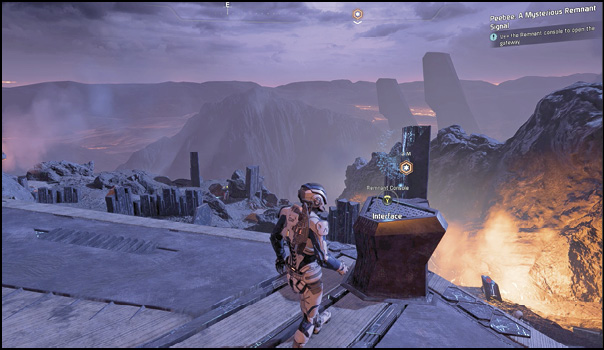
On the high mountain ledge, interface with the Remnant console (8) to lower the next Remnant gate. Hop down and explore the newly cleared path. Head for the next navpoint (9).
Continue Navigating Through the Ridge
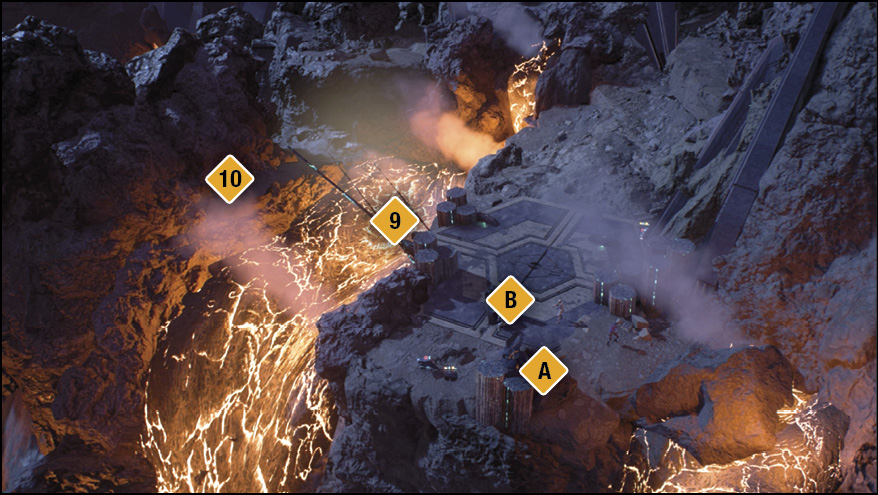
When you reach the next clearing, Kalinda speaks over comms about placing a transmitter in Poc. That’s how they’ve followed your every move. There’s a gully at the navpoint (9) that you can’t cross until you lay down a bridge (the Remnant antenna).
First, shoot the obsidian boulder (A) to reveal a Remnant console that turns the turret on the pillars friendly. This helps you in the following battle.
Find a Way to Extend the Remnant Antenna
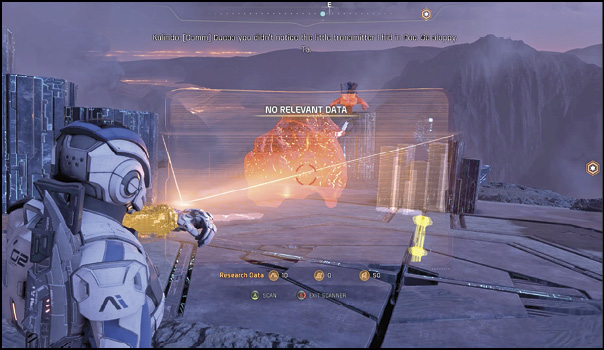
Interface with the Remnant console on the platform to lower the antenna. Remain on the platform in the target hacking zone until the hack meter in the top right corner of the screen fills completely. You must survive a serious Remnant assault during this hacking process.
Survive the Remnant Assault
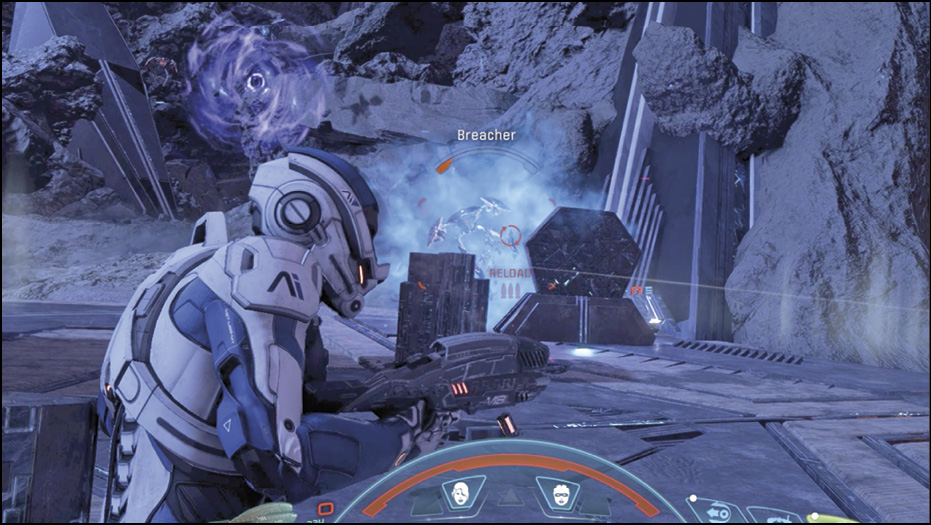
Assemblers and Breacher after Breacher come attacking from the southwest. Take cover back near the turret and hold your ground. The turret is very helpful in keeping the enemy back.
Cross the Bridge Gap and Continue Tracking
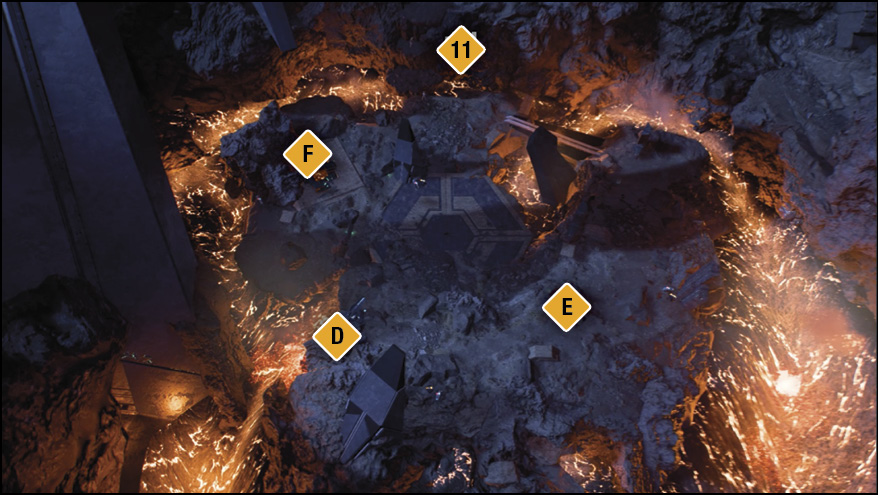
Once the hack is complete, cross the antenna (9) and jump from the end of it to the nearest ledge (10) on the other side of the lava river. Follow the ledge around and continue toward the navpoint (11). Jump from the edge of the pathway down onto an island featuring a Remnant monolith.
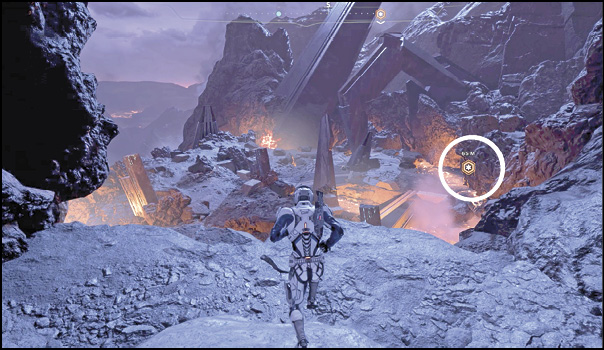
Scan the Boulder Blocking the Way Through
You can see the next navpoint (11) on the side of a cliff nearby. Scan the boulder to reach the next objective. It’s a giant igneous basalt boulder. It needs to be destroyed by a friendly Observer.
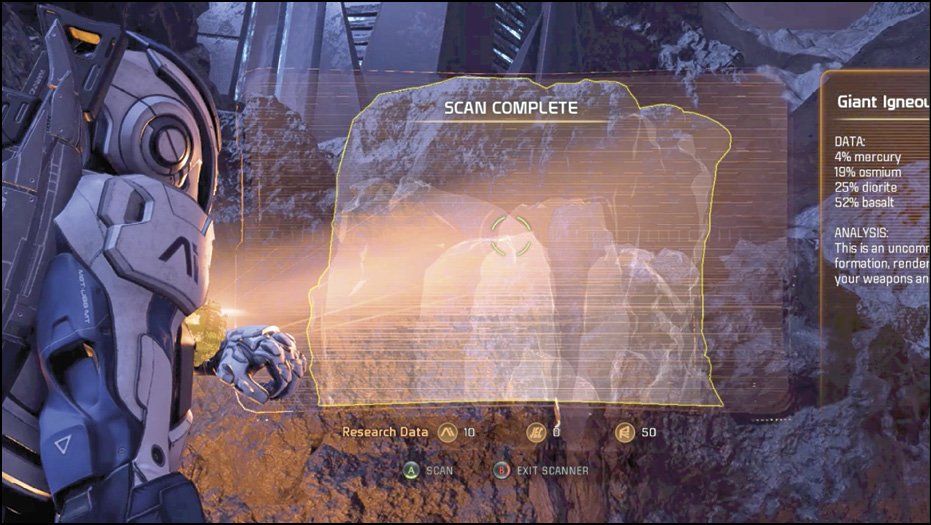
First things first. There’s going to be a huge battle here, so employ the turret by interfacing with the Remnant console behind it. With that done, call the enemies in.
Use the Remnant Console to Summon an Allied Observer
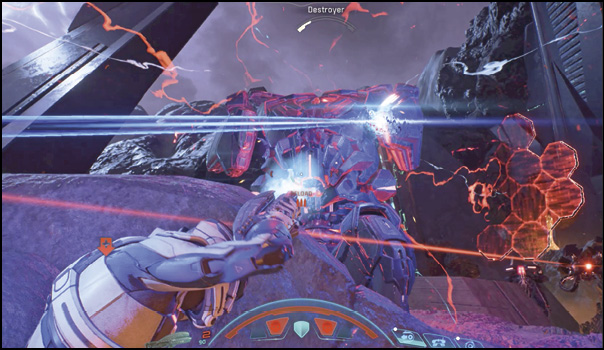
Shoot the boulder (E) to reveal the Remnant console that lifts a Remnant dispenser (F) in the distance. This does two things: It releases your friendly Observer, but also calls in a horde of Remnant, including two Destroyers, Nullifiers, Assemblers, and Observers.
Eliminate the Remnant Threat
This is why you activated the turret. Use cover, and remember to shoot the turrets off the Destroyers to take them down more quickly.
Scan the Boulder Fissure
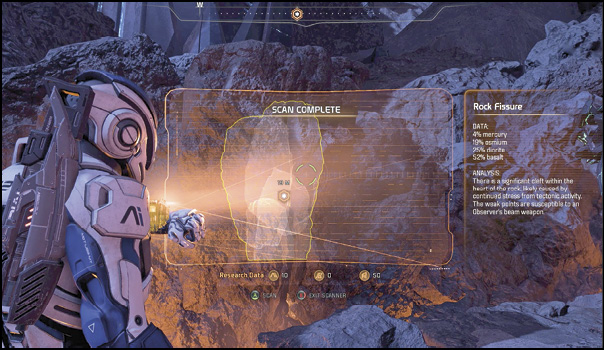
With the Remnant defeated, head back to the giant igneous basalt boulder (11) and scan it again; it comes up as a rock fissure. This directs your friendly Observer to destroy the rock and itself as the rock comes tumbling down, creating a platform in the lava that allows you to jump up to the next ledge.
Continue Toward the Remnant Signal
You run into Kalinda and her goons when you reach the high ledge (12) before the next cave entrance. Defeat the Raiders and Sharpshooter, then follow the next navpoint (13) through the cave tunnel.
Pursue Kalinda
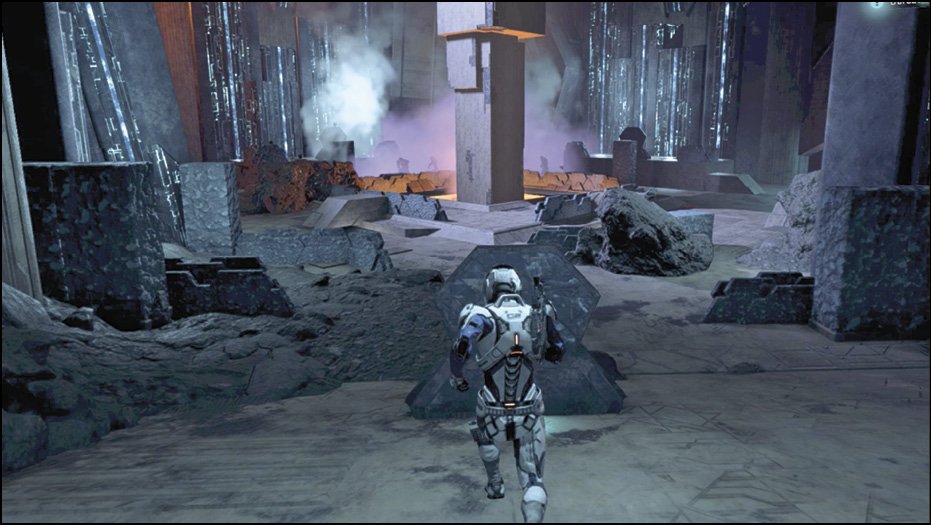
When you reach the lower tunnels (13) in the cave while pursuing Kalinda, the next navpoint snaps ahead and calls out the next cave (14), where you run into Krannit, the krogan Outlaw.
Defeat Krannit and His Thugs
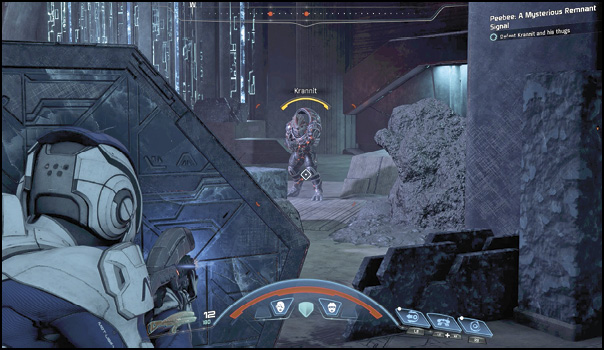
In the cave with the large dispenser in the middle, fight Krannit and his crew. You battle Outlaw Raiders, a Saboteur, and Krannit—a Berserker.
Find an Alternate Route to the Remnant Signal
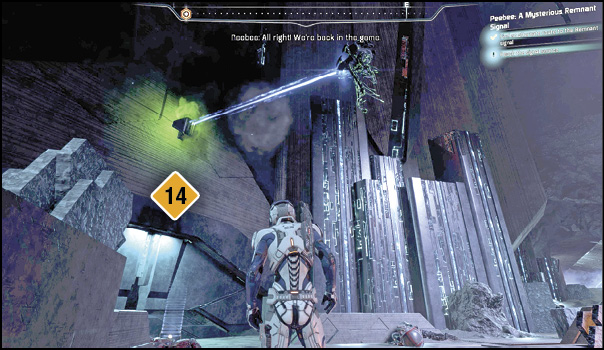
Use the Remnant console in front of the assembly-line dispenser to release a friendly Observer. Scan the power node above the locked exit (14) so the Observer knows what to work on. The door opens. Head through the next tunnel.
Reach the Signal Source
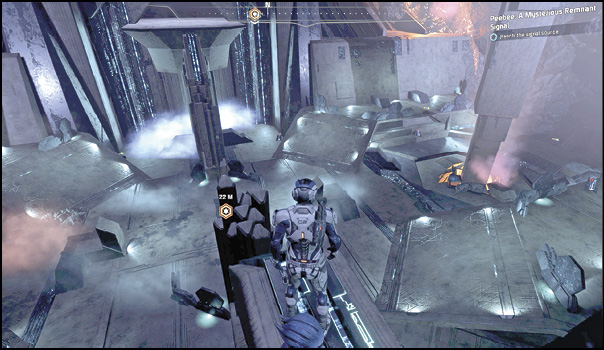
Follow the next navpoint (15) to a large Remnant vault-like chamber. Jump down to the navpoint on the floor to begin the festivities.
Defeat Kalinda’s Forces
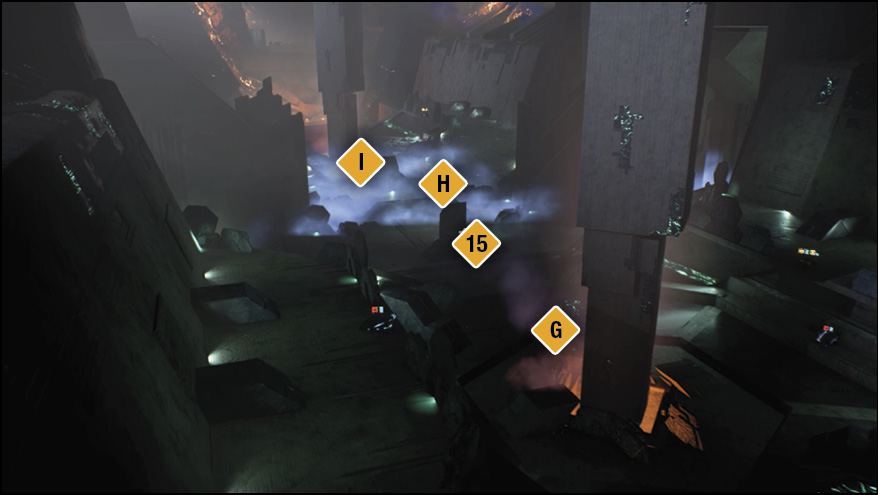
The first wave of enemies consists of only a few Adhi. Defeat them as you make your way to the right side of the vault to interface with the Remnant console (G) that releases the first of two Observers.
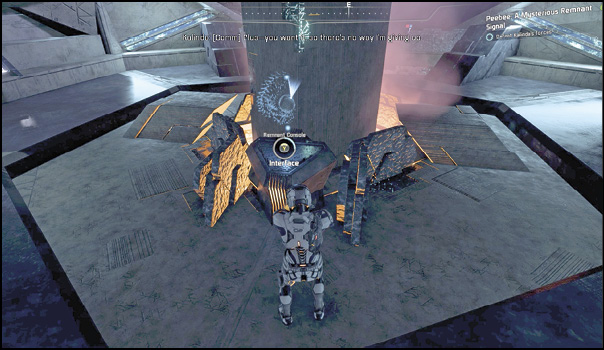
On the right side (H) of the vault, attack the remaining Adhi and Raiders, and soon the second enemy wave hits. Here you face Raiders and Sharpshooters. Take them on while releasing the second Observer using the Remnant console (I) near the dispenser.
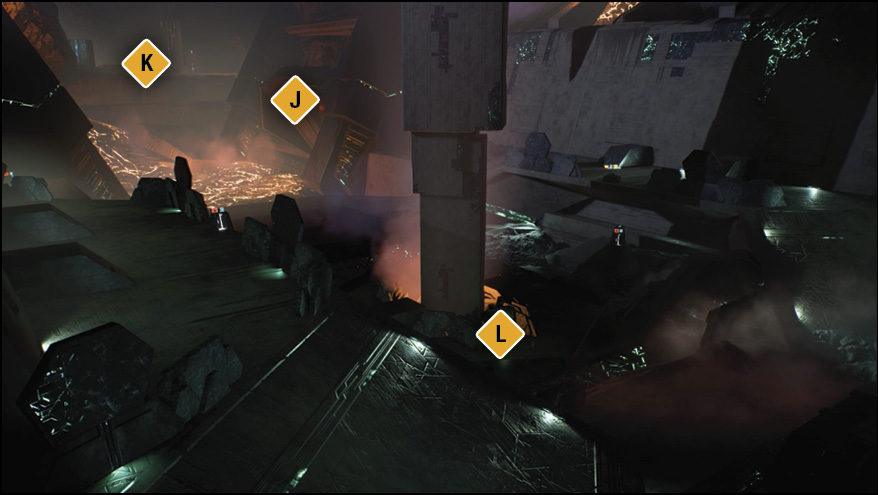
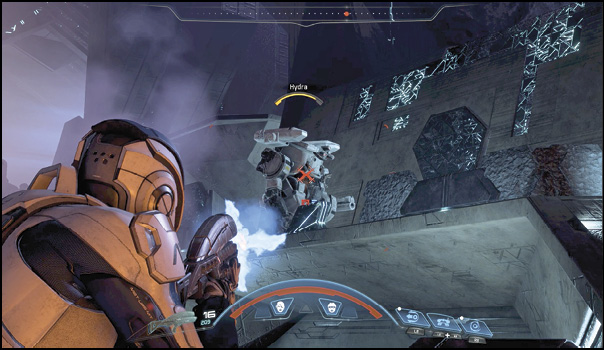
In the third wave, you get hit by more Raiders, Saboteurs, two Hydras, and an Anarchist. That’s the big one. Your Observers join you in the battle. Don’t forget to use your team wisely—have them target different enemies, or put both on one Hydra while you take on the other. Once all enemies are defeated, continue out of the cave.
Scan the Remnant power node (J) so one of your Observers interfaces with it and destroys the ledge to create platforms in the lava. Make it onto a ledge (K) and closer to Kalinda.
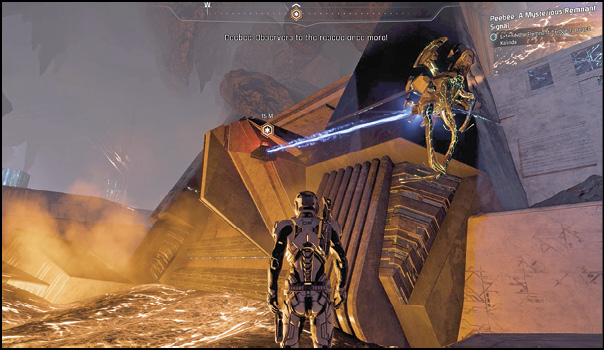
Once you’re on the ledge, Peebee and Kalinda both go running and jumping onto an unstable platform to grab the Remnant data core. Peebee gets to it first, only to drop it and watch it roll away as the platform falls to a steep angle. Kalinda slides off the edge but manages to hang on by her fingertips. You have a choice to make:
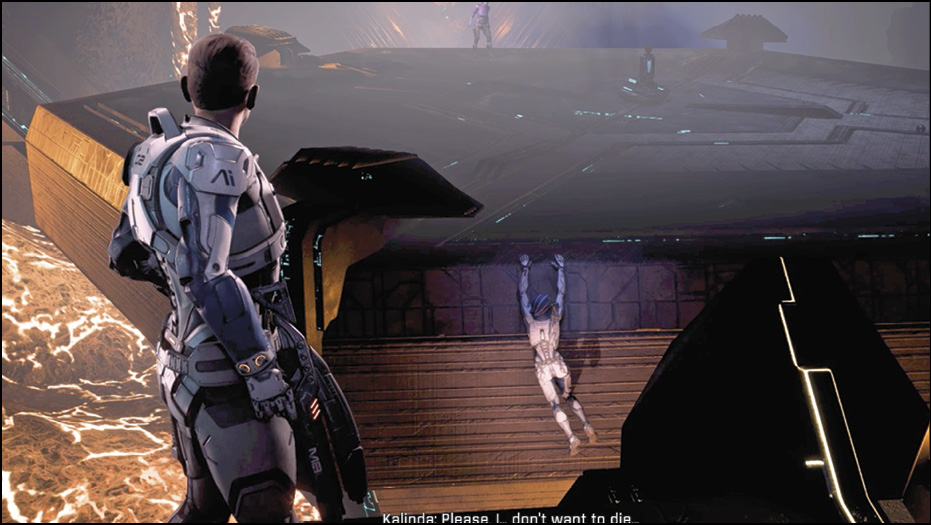
Save Kalinda or the Remnant Data Core
Shooting Kalinda to stop Peebee from saving her earns you one ending to this quest. Peebee gets the prize, but she’s upset about her “friend.” However, if you don’t press the prompted Shoot command, Kalinda is saved and the tech lost.
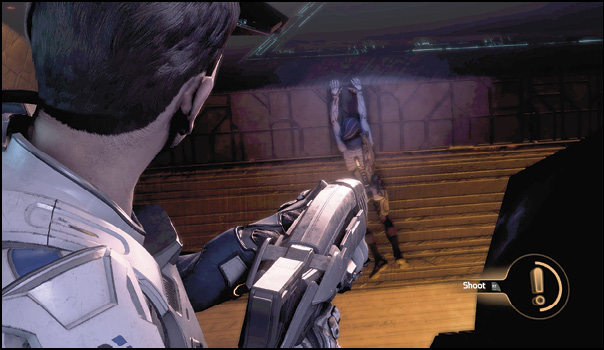
Reach Kalinda’s Escape Shuttle!
You have 1:09 to get out of the caves. If Kalinda is alive, follow her lead. Run along the exterior mountain ledge and into a cave (16); you’re headed back through the caves you used to get in. Follow the navpoint (4) as you hold to the left side of the tunnels to get to the shuttle (17).

The ending-scene dialogue—with you and Peebee in the escape pod room aboard the Tempest—differs depending on the choice you made regarding Kalinda. If you didn’t save her, Peebee is upset and you have to come up with a lame excuse for why you murdered her friend. On the upside, Peebee gets her biggest Remnant tech prize ever. With this, she can fuse designs with the Remnant’s—a huge accomplishment.
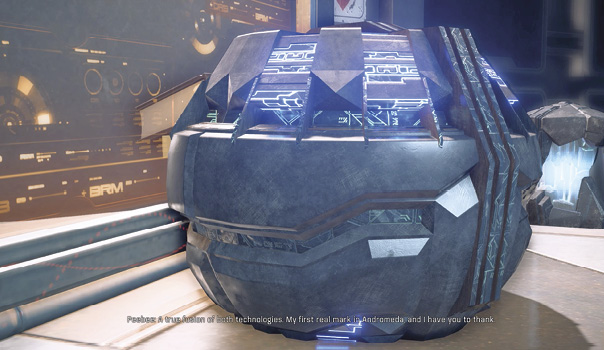
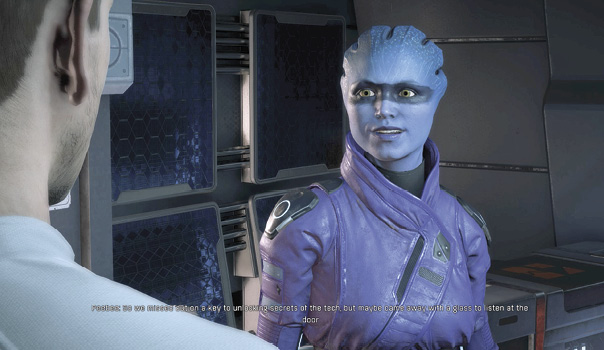
If you save Kalinda, well…you have Kalinda. Peebee seems happy, but she doesn’t know what she’s missing in that other time rift. Lastly, consider fliriting with Peebee while deciding how to get the Tempest’s missing escape pod covered.