
The Elder Scrolls Online: Morrowind Guide The Atlas of Morrowind
Overview
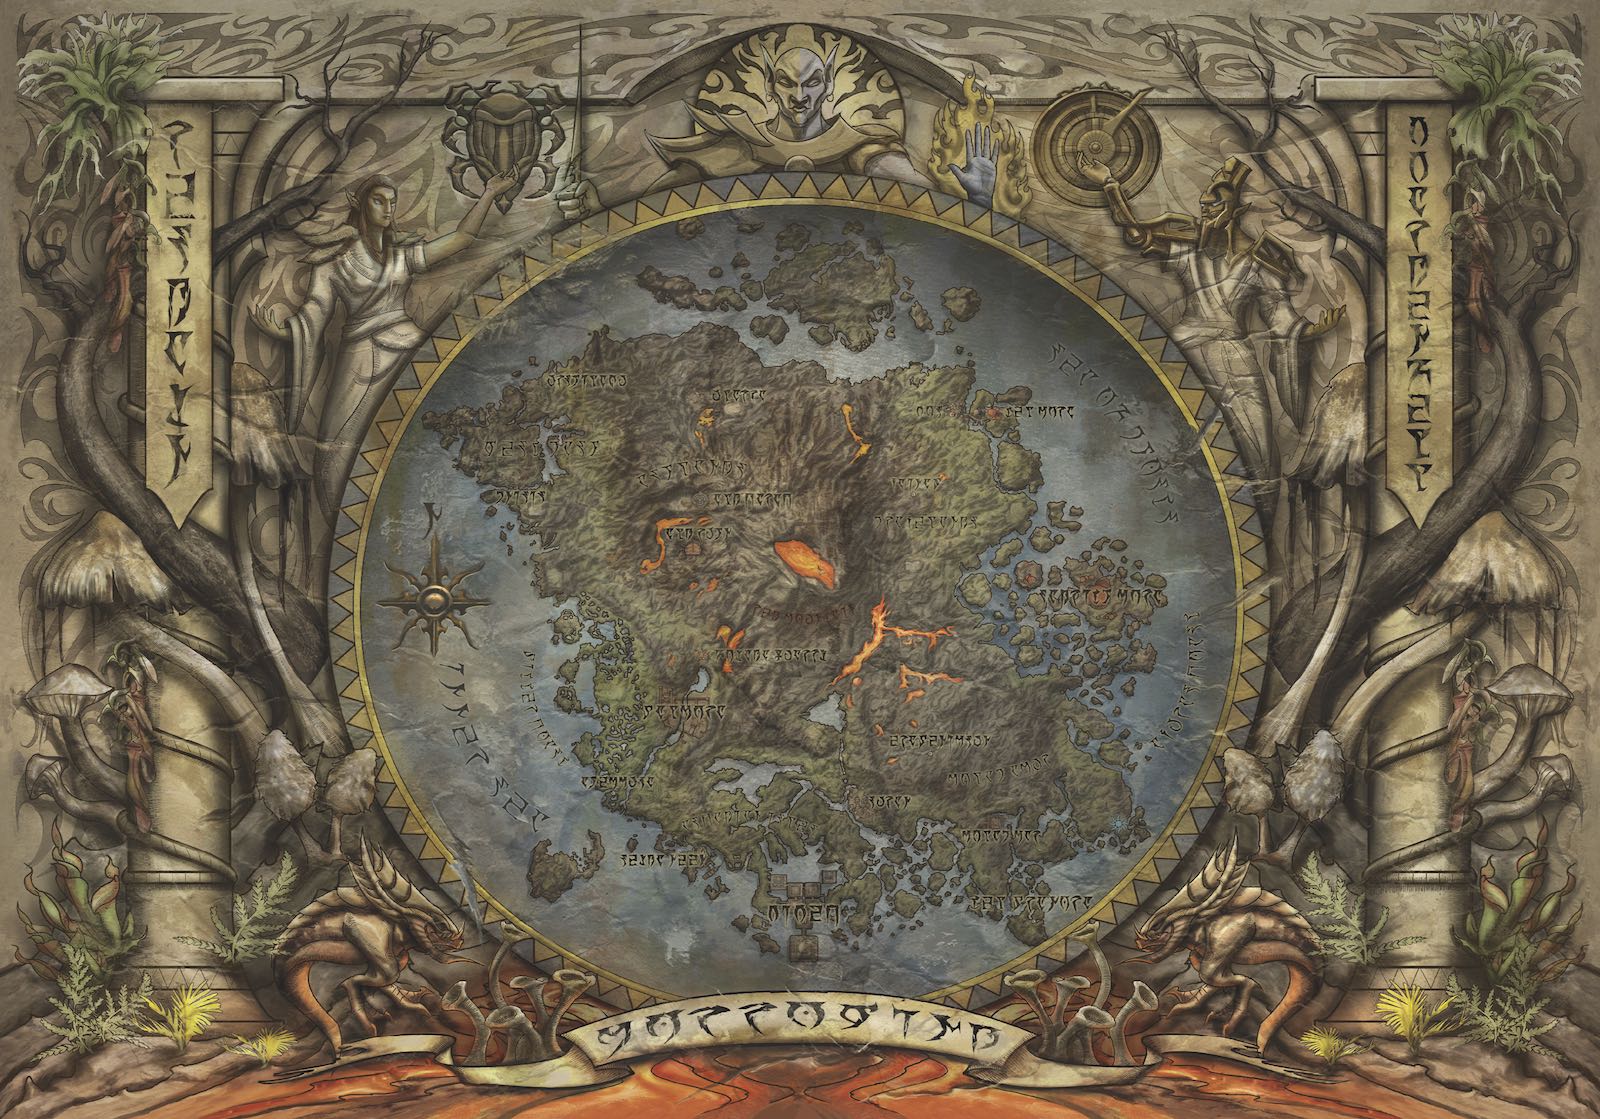
Welcome to a thorough guide to every location across the island of Vvardenfell. The ancient Dunmeri families have segmented this land into a number of separate regions, and current cartographers saw little reason to change this method of dividing the realm into manageable segments for your reference. Although regions aren’t visible on your in-game maps, the borders between them have been drawn along roads, rivers, and steep mountains wherever possible, so you may visualize where you are more easily.
Regions & Legend
This Atlas is divided into seven sub-chapters; these are the accessible regions of Vvardenfell, starting with the one you visit first. The order is as follows:
Bitter Coast (southwest)
West Gash (west)
Ascadian Isles (south)
Ashlands (north)
Grazelands (northeast)
Molag Amur (central-east)
Azura’s Coast (east)
In each sub-chapter, locations are shown with the in-game icon that appears on your compass and maps, but a host of unmarked locations and other useful knowledge is also imparted. For larger dungeons and settlements, interior maps have been provided. These help you explore major locations and flag important items. The following icons are used to help you gain the greatest knowledge during your pursuit of treasure and fame across Vvardenfell.
Locations & Type
The following icons are associated with particular locations across Vvardenfell. They each have their own Atlas entry and detail.
 Primary Location (Known):
These are locations that appear on your in-game map, with a familiar icon and something you can use as an anchor point when navigating this realm. The number of the icon refers to the number in the sub-chapter, so simply cross-reference it.
 Secondary Location (UNKnown):
These are locations that do not appear on your in-game map. Some are as large, or larger than “known” locations, so it’s important not to overlook them. Some are Dunmeri or Dwemer ruins, small camps, or large underground areas; they could be anything! Make sure you visit them at least once. These areas are also known as “unmarked” or “secondary” locations.
 Ancestral Tomb:
The resting place of one of the great ancient Dunmeri families. Note there are other tombs with different icons attached to them.
 Battleground:
Ferocious PvPvP battles and elite gear are available at this arena-like location.
 Camp:
Camp:
A small location, usually with a gathering of tents and a fire.
 City:
City:
Usually the largest settlement in a region, complete with multiple interior buildings once you cross the city’s threshold. Expect Merchants, quests, docks, Silt Striders, and other activities.
 Crafting:
A special crafting table allowing specific sets of equipment to be created is found at this location.
 Delve Dungeon:
A particularly tough subterranean adventure awaits you at this location. Expect multiple foes, bosses, and group battling.
 Group Boss:
A particularly tough entity lurks in this area. Slaying it requires multiple adventurers.
 Homestead Estate:
A house you can purchase once specific costs (gold or crowns) are paid.
 Interesting location:
These appear at locations that are of interest, and also appear on your in-game map.
 Mine:
Mine:
An underground location of winding, Dunmeri-made tunnels and caverns.
 Raid Dungeon:
If you wish to test your mettle to its very limits, feel free to journey to this particular dungeon entrance.
 Town:
Town:
A large settlement with multiple buildings, interior locations such as inns and markets, and quests to start.
 Wayshrine:
A marker you teleport to when maneuvering around the world, or after you die. Unlock these as you go.
World Map Icons
These icons usually indicate tiny individual locations, such as Fishing Holes, promise of Merchant activity, areas where quests may begin, or spots where collectibles can be found. Many don’t have Atlas entries, so you’re encouraged to seek these out via the guide map.
 Ancestral Tomb Rubbings:
Dunmeri family tomb doors that must be accessed as part of Quest: (M2) The Lost Library.
 Heavy Sacks:
A large bag of goodies, which should be found and added to your inventory. Note that not all of these items are active in Vvardenfell at once, so not every location shown may give you a Sack.
 Mages Guild Books:
There are ten Mages Guild books to find, and multiple copies are scattered about Vvardenfell. The guide map provides a letter to show you which book is at a particular locale. Once you find one of these books, the others of the same type disappear, so only ten need to be secured. Here are all ten book names:
Mages Guild Books
| Map Book Letter | Name of Book |
|---|---|
| A | The Living Gods |
| B | Kwama Mining |
| C | Sanctioned Murder (Morag Tong) |
| D | House of Troubles |
| E | Invocation of Azura |
| F | Vivec and Mephala |
| G | Kwama Eggs |
| H | The Great Houses |
| I | Faith of the Dark Elves |
| J | On Stepping Lightly by Narsis Dren |
 Merchants:
Flags a particular location as having a Merchant. The exact type and number are detailed within the Atlas location entry. Consult your in-game map for specific Merchants (Fighters Guild, Enchanter, etc.).
 Port City (Interior Maps Only):
The docks at a coastal city or town indicate whether you can fast-travel to a settlement with the same-sized docks.
 Quest Markers:
Expect to begin a quest in the general vicinity of this area.
 Rare Fishing:
The world map flags every single Fishing Hole, which is important, as there are 12 new rare fish to catch! Some can be randomly caught in any of the following four Fishing Holes, but some only appear in certain types of water.
Rare Fishing Holes
| SALTWATER | Very Rare: Resdaynian Sailfin | Rare: Weeping Pygmy Shark | Rare: Ghost Octopus |
| FRESHWATER | Very Rare: Shalk-Brother Crayfish | Rare: Pity Bombil | Rare: Hoaga Oto |
| RIVER | Very Rare: Ash Blindfish | Rare: Netch-Hook Eel | Rare: Pilgrim Goby |
| FOUL | Very Rare: Oanna | Rare: Firemouth Guiyu | Rare: Sleeper Coffinfish |
 Shrine of the Seven Graces:
Visit each of these shrines to earn The Pilgrim’s Path Achievement.
 Skyshards:
This helpful imbuing shaft of light is pinpointed. Note the lighter color refers to exterior skyshards you can easily access, while the darker color refers to skyshards within a location’s interior, usually a dungeon.
 Silt Strider (Interior Maps Only):
Indicates whether the town or city has a Silt Strider you can use to fast-travel to other settlements with this feature.
 Survey Reports:
This is the general location for each crafting skill’s survey report.
 Thieves Troves:
A small box of equipment utilized by cutthroats. Gather these as a member of the Thieves Guild. Note that not all of these items are active in Vvardenfell at once, so not every location shown may give you a Trove.
 Treasure Chests:
Gain reasonable to valuable items by finding these. Note that only 160 chests are active in Vvardenfell at once, so not all locations shown on the map may give you a chest.
 Treasure Map Locations:
If you find a treasure map, which has a Roman numeral and drawing associated with it, this is where the drawing leads you.
 Vivec Sermons:
Gather the first 36 of these sermons in any order. They appear as glowing Lorebooks and are each individually numbered (so Sermon #23 will always be in the same place). Collect all 36, then the 37th, to earn the Tribunal Preacher Achievement.
Location Summation
Due to the sheer size of Vvardenfell, and the random nature of what can sometimes appear, it’s impossible to track everything with 100% accuracy. You should also look to the Appendices chapter for charts showing where the most important collectibles can be found.