The Elder Scrolls Online: Morrowind Guide Quests Vvardenfell Main Story Quests
Divine Inquiries
| Quest Giver | Lord Vivec |
| Prerequisite | Complete Divine Conundrum |
| Quest Giver Location | Vivec City (Palace Receiving Room) |
| Reward | Gold, Buoyant Armiger’s Brogans, Experience |
Buoyant Armiger’s Brogans
| Style | Item Type | Enchantment | Trait | Set Name | Quality |
|---|---|---|---|---|---|
| Buoyant Armiger | Heavy Feet | Health | Sturdy | — | Fine |
Noteworthy Tasks
Talk to Archcanon Tarvus
Investigate Barilzar’s Tower
Help Complete Barilzar’s Experiment
Investigate Balmora
Gather Information (3) and Investigate Shulk Ore Mine
Investigate Ald’ruhn
Find Out What Happened to Chodala
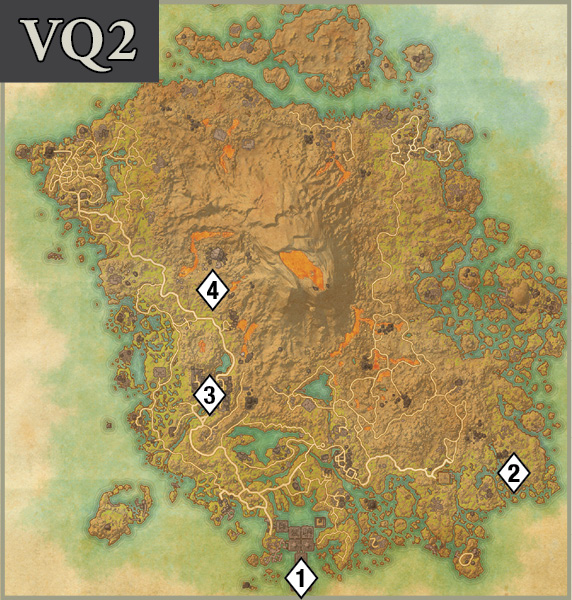
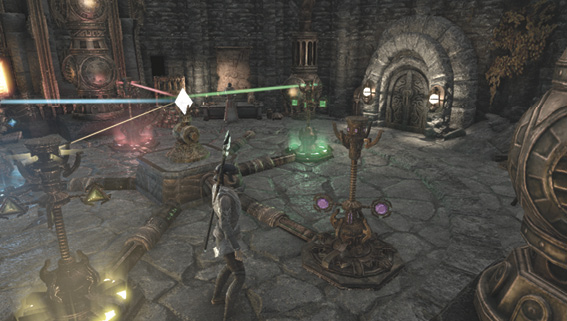
Find Barilzar’s Tower east of Molag Mar, and help Barilzar complete his experiment by activating the crystals in the proper order, by shape or color. The correct order is Red Sphere, Yellow Tetrahedron, Green Square, Blue Diamond, Violet Octagon.
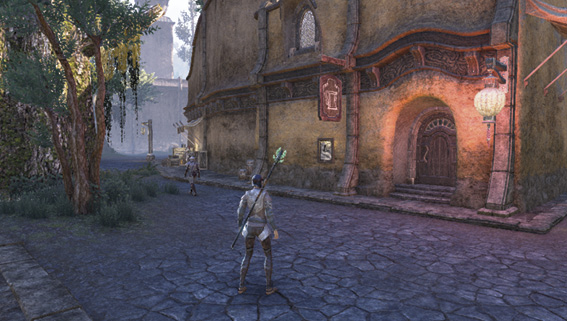
At Balmora, northwest of Vivec City, enter the center of town to reveal three objective markers. Two townsfolk and a flyer offer up valuable information. It is possible to bribe the Randy Netch Inn barmaid, Milesa Relavel, to score two pieces of information, but it’s not worth it. The miner, Renaku, by the water also has two helpful bits of information, but you must possess the Intimidate perk to get them both.
Once you have obtained three sources of information, find the crew chief southwest of Balmora, near the Shulk Ore Mine. Fight your way to the back of the mine, where Curate Erydno and five underlings attack once detected. Be careful not to become overwhelmed, though Erydno will sacrifice the others during the battle. This fight can be avoided altogether by sneaking along the right wall. Find a Nycotic Ritual Bag on the far side of the room.
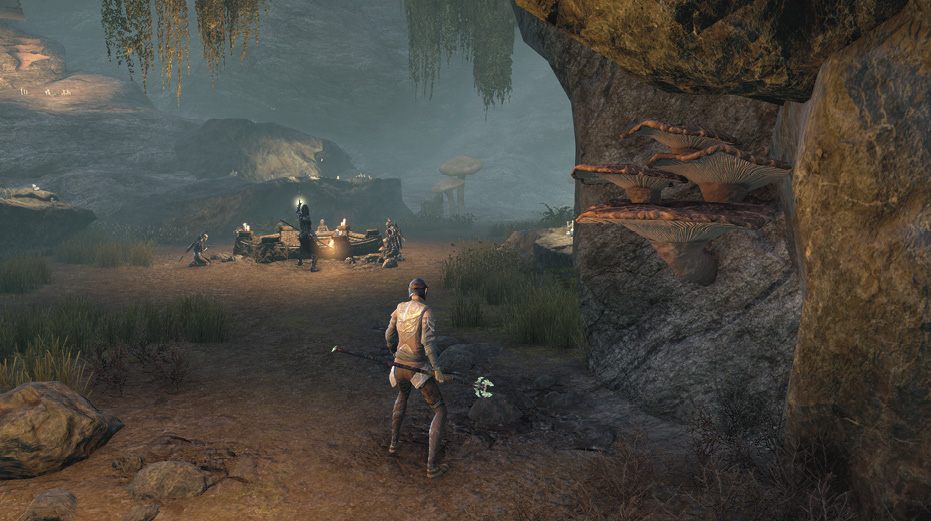
Farther north, near Ald’ruhn, Seryn wants you to enter a Red Exile camp and look for her brother. Red Exile soldiers occupy the area, so be careful as you make your way to the far hut. Examine the scroll found inside and return to Seryn. Once the three tasks are complete, return to Archcanon Tarvus in Vivec City.