
The Elder Scrolls Online: Morrowind Guide Quests Trial Quests
Boss Fight 4: Refabrication Committee Reactor, Reclaimer, and Reducer
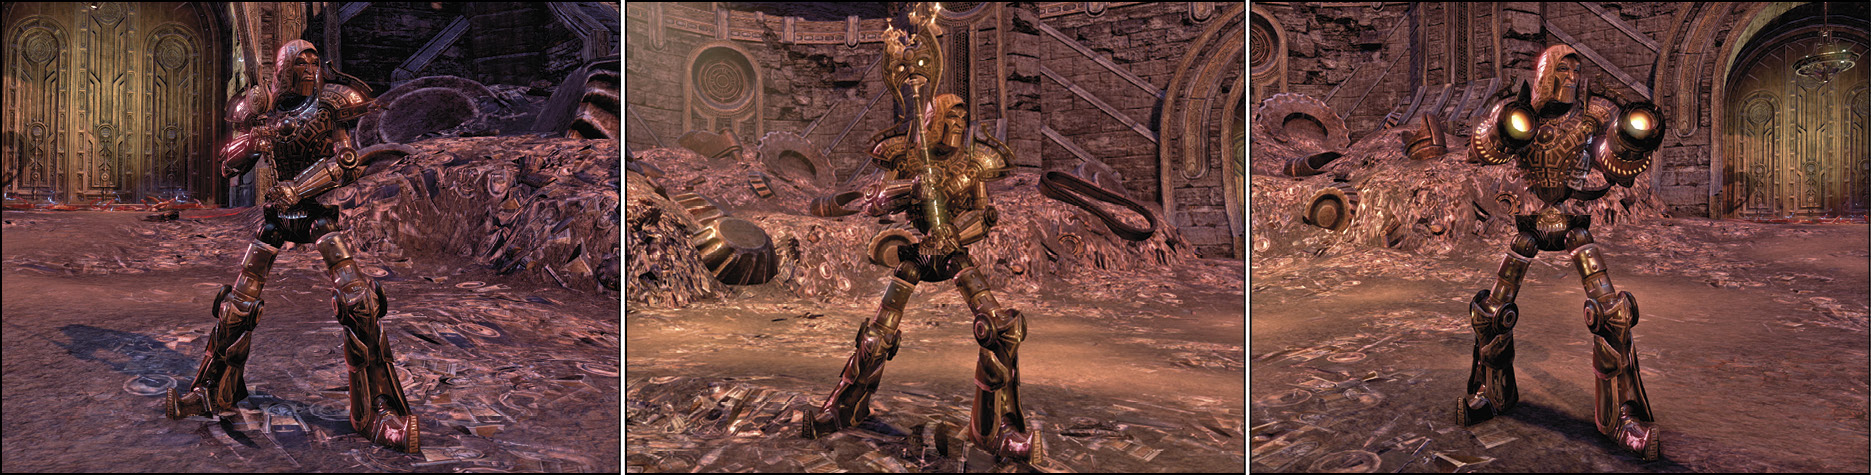 Refabrication Committee
|
| Locations | Processing Yard |
| Achievement | Planned Obsolescence |
Three factotums are activated in the Reprocessing Yard in a desperate attempt to keep intruders out of the Assembly Core.
Abilities
Reactor Abilities
Clash: A blockable attack that deals high damage if not blocked.
Grasping Limbs: The Reactor plunges its sword into the ground and fires off bolts of shock that awaken scrapped machines. Mechanical limbs reach up in a 2.5m radius in multiple locations, stunning players caught inside and dealing damage that increases with every tick.
Overloading Aura (Veteran difficulty only): Every 30 seconds the Reactor begins firing shock projectiles at its current target. Each hit increases in damage and applies a stacking effect on the target. When the target reaches six stacks, the projectile instantly kills them.
Reducer Abilities
Clash: A blockable attack that deals high damage if not blocked.
Fulminate: The Reducer sends out three fiery line attacks that travel out in three directions. Targets hit by these traveling firestorms are affected by a high damage over time effect. If the line strikes a wall before it expires, it bounces off two new lines back out from the wall (this only occurs once). The line also explodes at the end of its path, dealing additional fire damage to anyone caught inside.
Overheating Aura (Veteran difficulty only): Every 30 seconds the Reducer begins firing flame projectiles at its current target. Each hit increases in damage and applies a stacking effect on the target. When the target reaches six stacks, the projectile instantly kills them.
Reclaimer Abilities
Shock: Light attack that targets random players and hits for light damage.
Conduit Strike: The Reclaimer targets three players farthest away and fires a bolt of lightning that stuns any affected player and drains their magicka. Creates multiple lines of shock that travel out from the target and have the same effect.
Reclaim the Ruined: The Reclaimer fires bolts of energy to random points across the scrapyard, causing Ruined Factotums to rise up. These Factotums slowly march toward the Reclaimer, who is surrounded by a field of energy. If the Factotum reaches the energy pool, they become charged with energy, running at a random player and exploding—dealing massive damage (Catastrophic Discharge).
Shared Mechanics
Overcharge: When the bosses get below fixed health thresholds (90%, 65%, 35%, and 15%), they begin to Overcharge. The first portion of this ability causes the overcharging boss to buff the other bosses if they are within 15 meters. The second portion of this ability triggers when a boss drops below a second set of thresholds (70%, 40%, and 20% health). At that point the boss becomes immune to all damage and begins dealing more damage over time. Once all three bosses are invulnerable, bringing them close together arcs the energy between them and breaks their shield. The bosses are briefly stunned before returning to the fight.
Perimeter Explosions: When any boss drops below 25% health, waves of Ruined Factotums begin spawning and exploding around the perimeter of the scrapyard. Every few waves will be larger and larger, slowly filling the space with exploding Factotums that can eventually overwhelm the players.
Strategy
Place a tank on the Reducer and Reactor, keeping the bosses a safe distance apart so as not to allow them to buff each other. Split group damage across all three in order to trigger the Overcharge ability at roughly the same time for each boss. When the bosses become immune, quickly bring them close together to stun them and clear their invulnerability.
With attacks continually emanating from the three bosses, the fight can get quite chaotic. Stay on the move, keeping an eye out for mechanical arms, Ruined Factotums, and incoming attacks.
Once a boss’s health goes below 25%, the Perimeter Explosions begin and the fight becomes a race to the finish. Remain as close to the center of the room as possible to avoid the explosions.
Fight through more Calefactors, Dissectors, and Capacitors and avoid the Whirring Blade Traps in the next hallway. Electrified water hampers your speed with Shock Wall. Continue into the Core Assembly, where a Clockwork Colossus sits dormant at the north end of the room. The disembodied voice that has been speaking with the players tells them that they cannot be permitted to interrupt fabrication any further.