
The Elder Scrolls Online: Morrowind Guide Combat, Crafting, and Activities Morrowind: Battlegrounds (PvPvP)
Game Modes
Team Deathmatch
Objective: Kill Opposing Players
“Team Deathmatch has always been popular. All that ceaseless bloodshed really gets the heart pumping! Just go into the field and attack as many players as possible. The more hits you get in, the more points your team scores.”
- Battlemaster Rivyn
Scoring
| Action | Score |
|---|---|
| Kill a player on an opposing team | 15 |
Team Deathmatch pits the three teams against one another, with each kill adding to the team’s score. The first team to accumulate 500 points wins the match. If no one reaches this mark before the 15-minute time limit, the team with the most points wins.

There’s a variety of strategies that can be deployed in Team Deathmatch. Support your teammates by moving around as a group, teaming up on the opposition. Send out a scout to find the enemy’s position and move in for the kill. Split up and take on as many of your rivals as you can within the time limit.
It’s the killing blow that gets the points for your team, so stealing kills from other squads is encouraged and can be the key to victory.
Power Sigils randomly spawn into the arena during the match. Collect the buff to increase damage for your entire team.
Capture The Flag
Objective: Capture Opposing Team’s Relic
“Capture the Relic is one of our simpler games. You must seize your enemy’s relic and return it to your base, all while protecting your own relic as well. Teamwork is the key to victory in this game, as you’ll need a strong defense and offense.”
- Battlemaster Rivyn
Team Relics
 |
Fire Drakes |  |
Pit Daemons |  |
Storm Lords |
Scoring
| Action | Score |
|---|---|
| Deliver an opponent’s relic to your base | 100 |
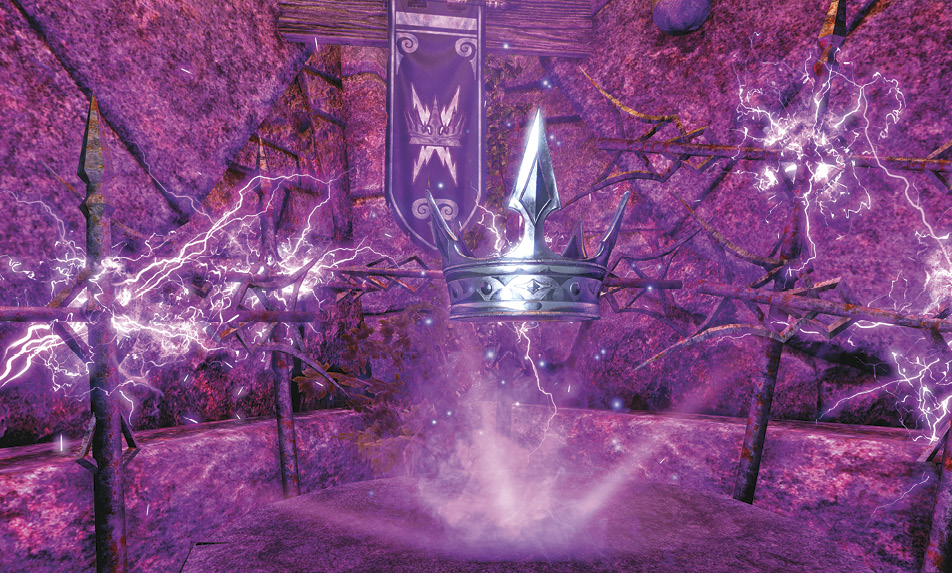
Each team has a relic that sits atop a pedestal at its home base, glowing a color that matches the team: red, green, or purple. The objective is to swipe one of the opponent’s relics and return it to your base for a successful capture. Your team’s relic must currently reside at your home base in order to get the score. Otherwise, the carrier of the enemy’s relic must wait for it to be returned. Icons displayed on the compass and scoreboard are also color-matched and give you a quick indication of their locations.

A graphic on the right side of the screen displays progress bars for each team, along with the three relics above. These icons change color depending on who currently holds them. Notification messages also appear on-screen to indicate changes.
Each successful capture earns the team 100 points, and the first team to achieve this five times, or score 500 points, wins the game. Good offensive skills are required in order to get to the opponent’s relic, as well as defensive abilities to keep the opposition from getting your relic. Decide as a team whether you move around as a group and hope for the best at your home base, or split up into offensive and defensive groups.
When a relic is dropped, it’s returned to its original location after ten seconds.
Domination
Objective: Capture and Control Flags
“Anyone can claim a Capture Point, but it’s a true test of skill to master Domination. Seize and protect as many Capture Points as you can. The team with the most territory in the end wins. In this game you must dominate your rivals, or be dominated!”
- Battlemaster Rivyn
The Flags
| Flag | Ald Carac | Foyada Quarry | Ularra |
|---|---|---|---|
 |
Central | Central | Central |
 |
Centurion | Storm Pit | Mushroom |
 |
Forge | Fire Storm | Altar |
 |
Engine | Fire Pit | Waterfall |
Scoring
| Action | Score |
|---|---|
| Capture a flag | 8 |
| Every 10 consecutive seconds a flag is controlled | 8 |
A simple land-grab game, Domination requires teams to capture and maintain control of four Capture Points. Points are rewarded for gaining control of a flag and every 10 seconds a flag is under a team’s control. The first team to 500 points, or the team that leads after 15 minutes, is the winner.
Once within range of a banner, a horseshoe-shaped graphic pops up on your HUD, representing ownership of the location. The controlling team’s logo appears in the middle with their color filling the meter. To take control of the flag, the opposing team’s color must fully drain before filling with your own. If not under anyone’s control yet, the meter is empty and immediately begins to fill with your team’s color.
If opposing teams stand near a flag, the capture progress will not change until one team remains or has more players than enemy teams. Flags are captured at a faster rate when more team members are near it.
Moving as a foursome makes quick work of the Capture Points, staking your claim in no time at all. Plus, this allows the team to be ready for ambushes and confrontations. It can be tempting to sneak out on your own and capture a flag, but without your team, you’re extremely vulnerable to the opposition that moves as a pack. On the other hand, splitting up allows a team to cover more ground and, if they can avoid the big groups, grab more flags. Stay on the move and try not to get so caught up in big fights that you lose track of the main objective.