The Elder Scrolls Online: Morrowind Guide The Atlas of Morrowind Molag Amur
Nchuleftingth
| Areas of Interest: | Public Dungeon, Skyshard |
| Entities: | Insects, Bronzefist, Dwarven Automatons, Dwarven Centurions, Netch, Kagouti, Guardian of Bthark (Centurion Boss), Renduril the Hammer (Boss), Friar Hadelar (Boss), Nchulaeon the Eternal (Boss), Artisan Lenarmen (Boss) |
| Related Quest: | The Heart’s Desire |
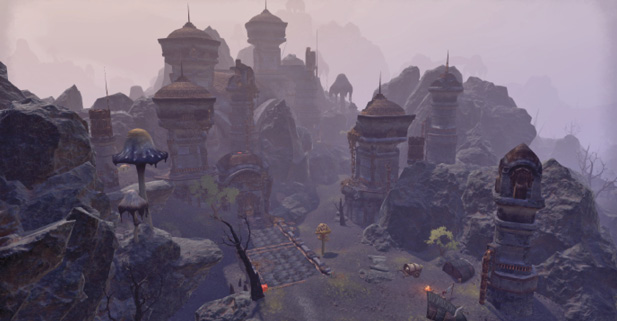
Close to the middle of Molag Amur is the ancient Dwemer catacombs built late in the reign of the Deep-Elves. This is the Public Dungeon of Nchuleftingth. Expect seven separate interiors to explore, and a lengthy battle!
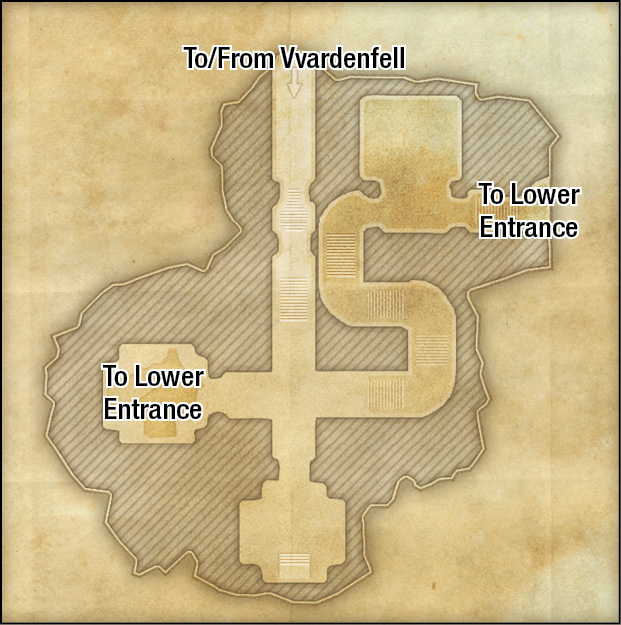
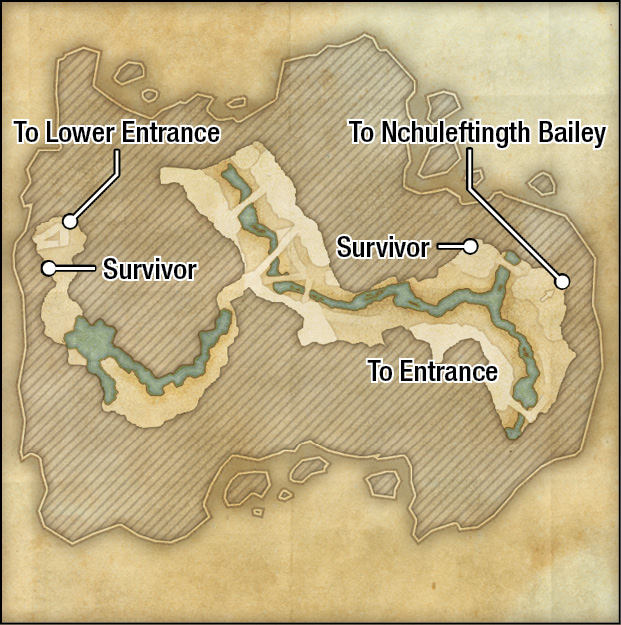
Interior 1 (Entrance): This overgrown entrance area has a long central corridor and a junction with a large hole to the west, offering access farther into the area. Or turn east, wind your way down a corridor, and out toward the Approach.
Interior 2 (Lower Entrance): Bronzefist foes are up to no good in this underground river. Follow the river and watch for kagouti and Dwarven Automaton foes.
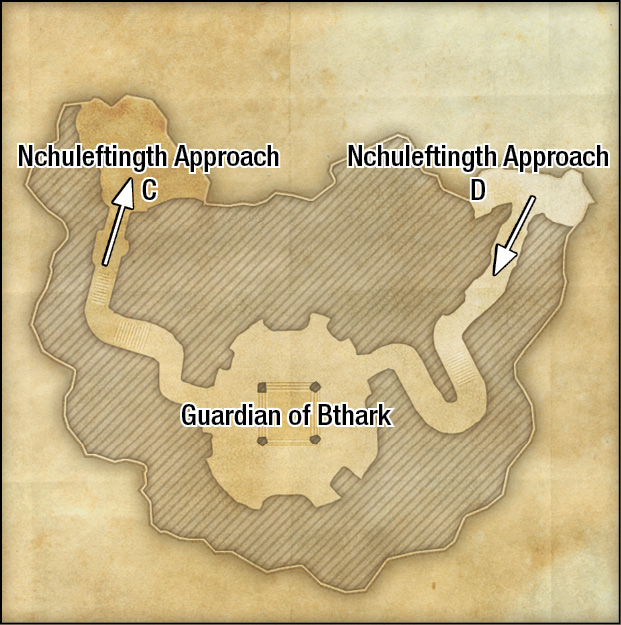
Interior 3 (Approach): In this gigantic underground cavern, there’s a number of Dwarven foes to worry about, including Centurions. Move toward the small towers, and access the Bailey area. Or continue in a clockwise manner around the edge, and head up to a fearsome fight with the Guardian of Bthark and access back to the initial chambers.
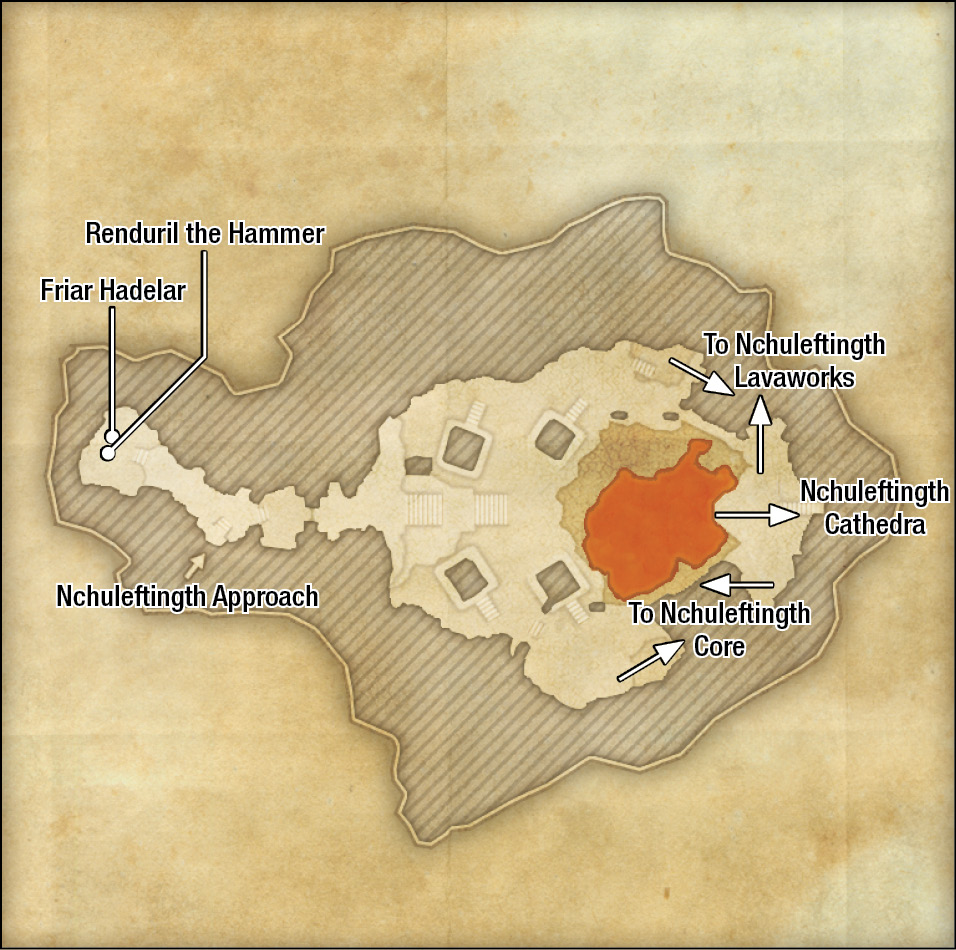
Interior 4 (Bailey and Ruins): Check the large ruined opening to the west to run into Renduril the Hammer and Friar Hadelar. Then head east, open the door to the Ruins, and engage a number of Bronzefist foes by a large lava pool. Carefully work your way around the lava lake to the north and access the Lavaworks (you can also reach a second entrance to the Lavaworks if you’re in the vicinity of the Cathedra entrance), or head south and access the Core. Due west is the Cathedra.
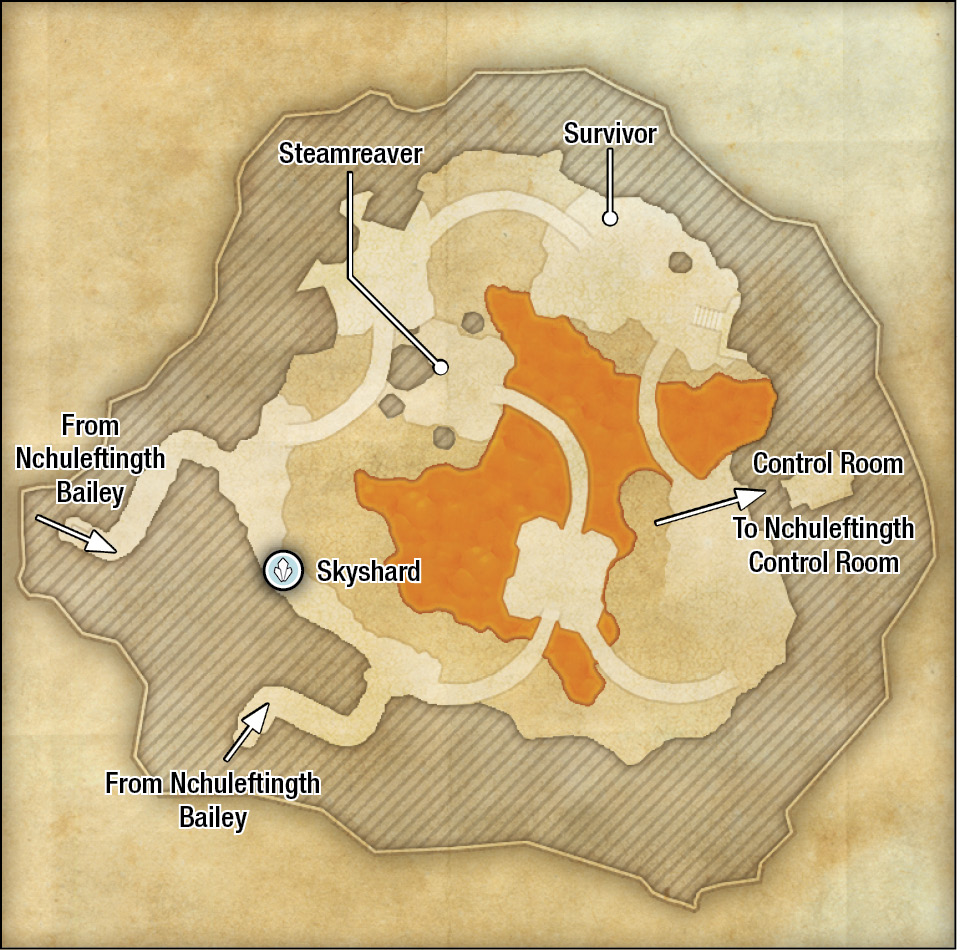
Interior 5 (Lavaworks and Control Room): As you’d expect from the name, this is a gigantic lake of lava, with precarious platforms and ledges to traverse along the way. Expect Dwarven foes, and an eventual descent to the small dead-end Control Room. Note the skyshard on a southwest ledge.
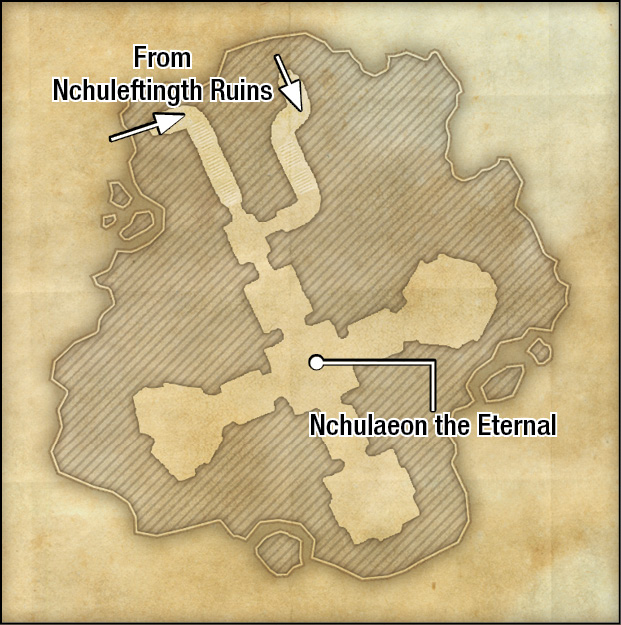
Interior 6 (Core): This allows access back to the Ruins, which is handy if you don’t want to face the colossal Nchulaeon the Eternal, a giant Dwarven construct.
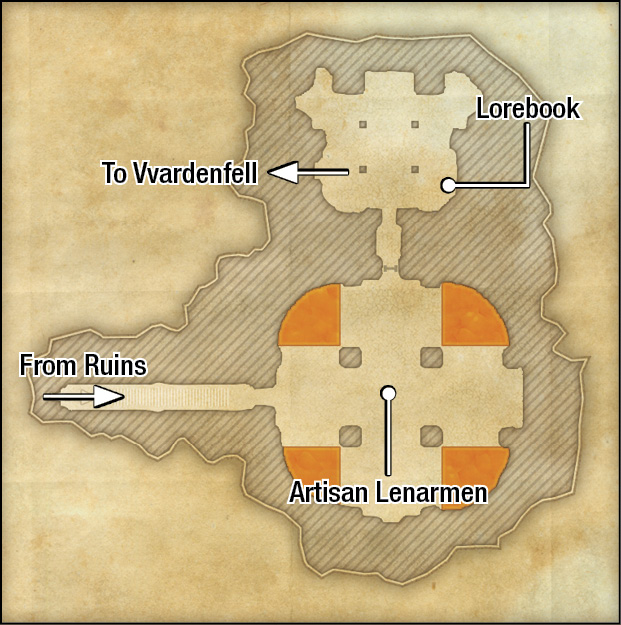
Interior 7 (Cathedra): This is only accessible while you’re completing the quest and have secured the Dwemer Control Rod. The Cathedra features two gigantic platform locations with connecting corridors. Here, you’ll help Neramo and Vimy take on Artisan Lenarmen, retrieve the Bthark Prism, and escape.