
Elder Scrolls V: Skyrim Special Edition Guide The Atlas Solstheim: Southern Ash Lands
[S.S10] Highpoint Tower
[S.S10] Highpoint Tower
Related Quests
- Solstheim Side Quest: Old Friends
Recommended Level: 20
Dungeon: Ash Spawn Lair
- Ash Spawn
- Flame Cloaked Spider
- Albino Spider
- Niyya
- Ildari Sarothril
Crafting
- Alchemy Lab
- Arcane Enchanter
Dangers
- Magic Caster Trap
- Rune Trap
Collectibles
- Unique Item: Telvanni Robes [DB29/31]
Miscellaneous
- Area is locked
- Chest
- Potions
- Loose gear
- Lots o’ gold
Exterior
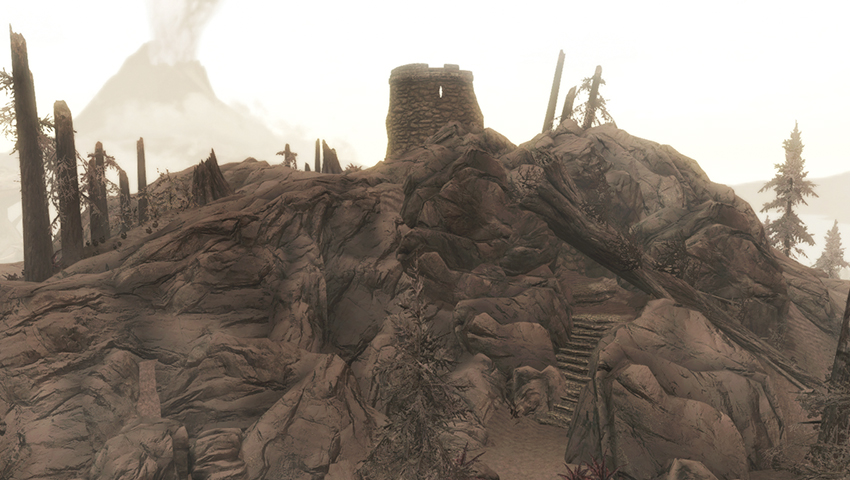
Highpoint Tower is a lonely ruin with commanding views of the southern ashlands. The exterior is devoid of life, aside from the hated Ash Spawn. The tower turret has a chest you can scramble up to (use the lip edge to maneuver around) and a deposit of Heart Stone. But the entrance is under the tower, cunningly hidden and guarded by Ash Spawn. To find it, stay below the rocky area around the tower and move clockwise around until you’re slightly north of the location, facing south. A group of Ash Spawn are lurking near the dying pine trees and trama roots. Defeat the foes, locate the roughly hewn steps in the rocks that wind up to the southeast, and approach the stone tunnel entrance to the tower.
- Chest
- Heart Stone Deposit
Interior
 Door to Solstheim
This is firmly sealed until the aforementioned Side Quest is active.
 Tower Chamber
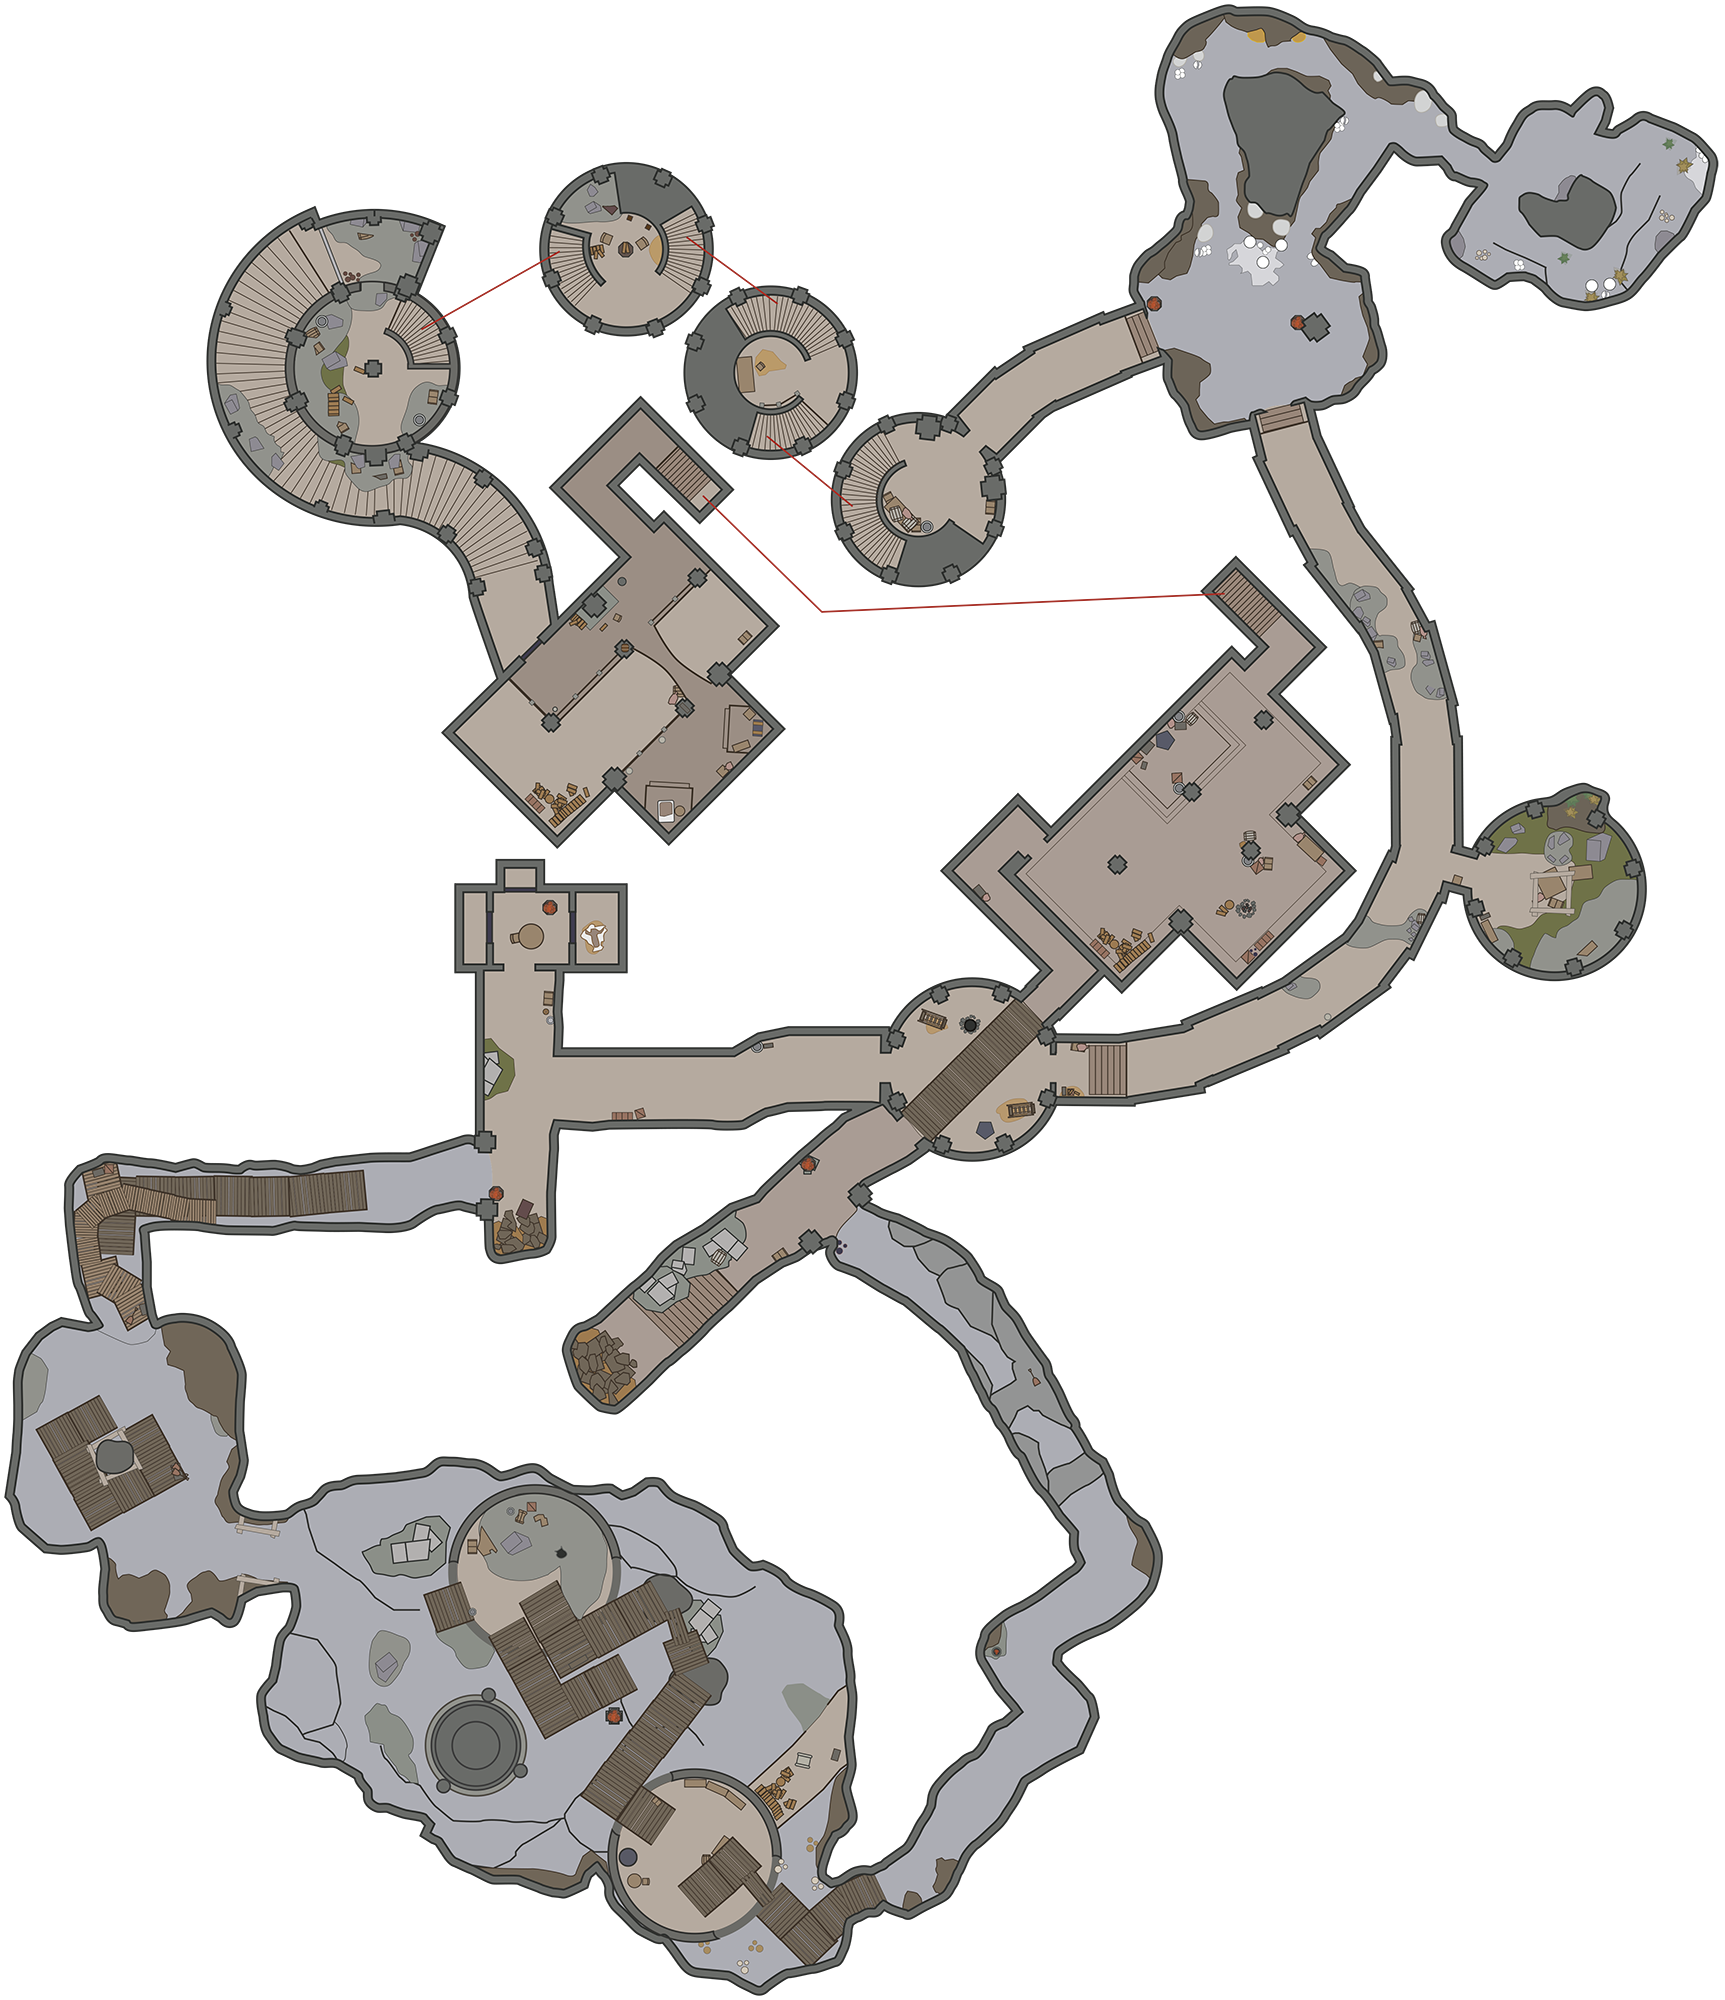
The entrance area is half filled with rubble and ash; there’s little of worth here or in the caved-in entrance to the south. Head down three levels of spiral steps, pausing at the table two floors down to secure the first of Ildari’s Journals.
- Ildari’s Journal, vol. I
 Rocky Cave and Low Caverns
A curved stone tunnel leads into a rocky cave attached to the base of the tower structure with numerous revolting egg sacs to your left (southwest). These burst as you head toward them, so slay any Flame Cloaked or Albino Spiders here or in the small cavern with the ruby geode deposits. The low caverns have more geodes and scattered bones.
- Amethyst Geode
- Emerald Geode
- Ruby Geode (2)
- Sapphire Geode
- Flame Cloaked Spider
- Albino Spider
 Curved Stone Tunnel
Move north into the next section of tunnel, plucking the Soul Gem from its focusing cradle so it doesn’t spit shock bolts at you. Head past the partial collapse and Ash Spawn waiting to repel you. Rush the next magic caster trap and halt the electrical damage before continuing east to the tunnel exit.
- Danger: Magic Caster Trap
- Ash Spawn
 Circular Side Chamber
Check here for more foes, scattered iron ingots, and a bird’s nest.
 Circular Torture Room and Bridge
Watch the fire rune on the ground in the roughly circular chamber with the Arcane Enchanter and woodcutter’s axe. You return here when navigating the wooden bridge above.
- Crafting: Arcane Enchanter
- Danger: Rune Trap
 Dungeon Passage
Head east down the large dungeon passage, watching for a wall rune at the far end. To the right (south) is a small dead-end passage with cells. To the left (north) is a blocked area and bowl torch. A gap to the right (east) allows access into a mine area. Grab the flawless diamond and coin purses protruding from a half-buried chest in the ceiling!
- Flawless Diamond
- Danger: Rune Trap
 Cells
Cells
One still has a prisoner inside: Niyya. If you unlock her door [Adept], she tells you Ildari sealed her and other miners into these cells and used them in her experiments. Ildari seems quite deranged. Just how deranged is detailed in the second of her journals, found on the table in the jail area. The other two cells [Novice] have prisoners a little too bony to be of any use to you.
- Ildari’s Journal, vol. II
- Niyya
 Orichalcum Mine Workings
Drop down into the mine where veins of gold, Orichalcum, and sapphire ore are located. Then head northwest, under the three hanging lanterns, and prepare for fraught combat.
- Gold Vein
- Orichalcum Ore (3)
- Sapphire Geode (2)
 Summoning Battlements (Lower)
A small fortification built within a large cave. Ildari Sarothril appears atop the battlements: She’s not the friendly sort, as indicated by the minions she summons before fleeing. She conjures an Ash Guardian, and three or four Ash Spawn also join in the throng.
- Ash Guardian
- Ash Spawn
 Dead-End Mine Shaft
If you collect toadstools and cheese, prepare to be pleased.
 Summoning Battlements (Upper)
Climb the wooden scaffold steps surrounding the old fort, passing the summoning circle and an apothecary satchel. Cross to the interior of a partially ruined tower where Ildari yelled at you from. Drop down and inspect the shelves and room, grabbing any items you wish. The area has potions; ingredients; several books of interest, including Ahzidal’s Descent, Deathbrand, and Ildari’s third journal; and a strongbox (not made by the East Empire Company).
- Crafting: Alchemy Lab
- Book: Ahzidal’s Descent
- Book: Deathbrand
- Ildari’s Journal, vol. III
- Potions
- Strongbox
 Mine Fissure
Cross to the exit and southwest tunnel that winds up and turns into a fissure with Ash Spawn appearing as you progress.
 Castle Corridor
The only way is to the right (southwest), over a bridge (above Location [5]). There’s a chest at the opposite end, in the rubble, already opened.
- Potions
- Loose gear
 Ildari Sarothril’s Chamber
This chamber is a grand, two-story hall where Ildari resides. Face her ice storms and thunderbolts in an epic battle, watching for her fast healing and other possible magical enhancements. Long-range attacks may be easier, as fighting on the narrow bridge to her balcony bedroom is tricky. When she finally drops to her knees, race in and rip her heart out, finally ending her malicious ways for good. Search her corpse for robes and a staff. The room also contains a variety of ingredients and loose gear.
- Crafting: Arcane Enchanter, Wood Chopping Block
- Chest
- Loose gear
- Potions
- Ildari Sarothril
- Heart Stone
- Unique Item: Telvanni Robes [DB29/31]
 Barred Archway Exit
Activate the lever near the small bridge, and a barred archway opens, allowing you to exit via a long second tower staircase.
 Secret Exit
A pull chain here opens a section of wall leading back to the initial tower chamber.