
Elder Scrolls V: Skyrim Special Edition Guide Dawnguard Quests Dawnguard Main Quest
Dawnguard Main Quest: Beyond Death
Beyond Death
Initial Preparations
During your exploration of the Soul Cairn, there are several different Regional Activities and Side Quests that you can undertake. It is well worth reading up on these so you don’t miss anything. They are listed below. You should also check the Atlas to familiarize yourself with the topography of this eerie otherworld.
- Regional Activity: Arvak the Spectral Steed*
- Regional Activity: Dark Conjurations*
- Regional Activity: (Don’t Fear) The Reaper*
- Regional Activity: The Soul Husk Merchant*
- Regional Activity: Valerica’s Concoction*
- Regional Activity: The Whole Soul*
- Side Quest: Durnehviir
- Side Quest: Impatience of a Saint
The Clouds, the Sky...Everything’s Wrong
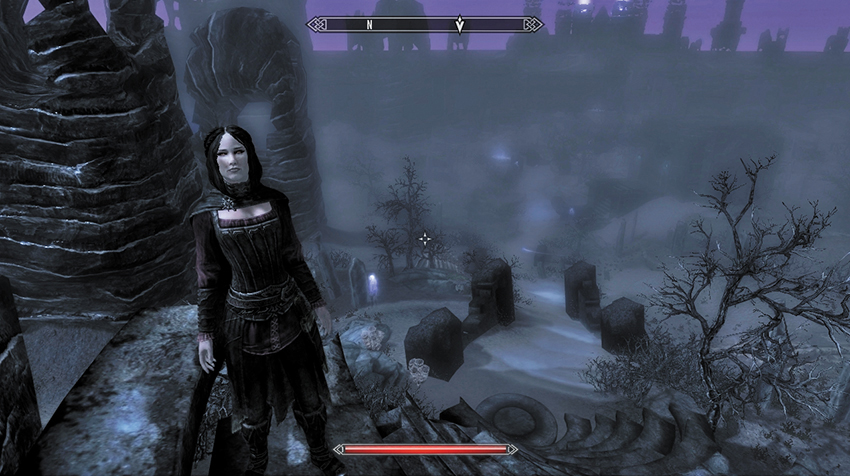
After manifesting in the Soul Cairn, descend the ethereal stone steps as Serana remarks about the suffering of the dead that end up here for eternity. You can ask her about Valerica and the Elder Scroll, and more about this place (including why Necromancers collect souls from here). Now look to the northeast; in the distance is a giant black wall with massive gouts of purple flames spilling into the darkened skies. For the moment, concentrate on the rudimentary pathway, heading northeast toward a small chapel. You may encounter the first of the many ghostly souls trapped here. Talk if you wish, then optionally gaze up at the black chapel.
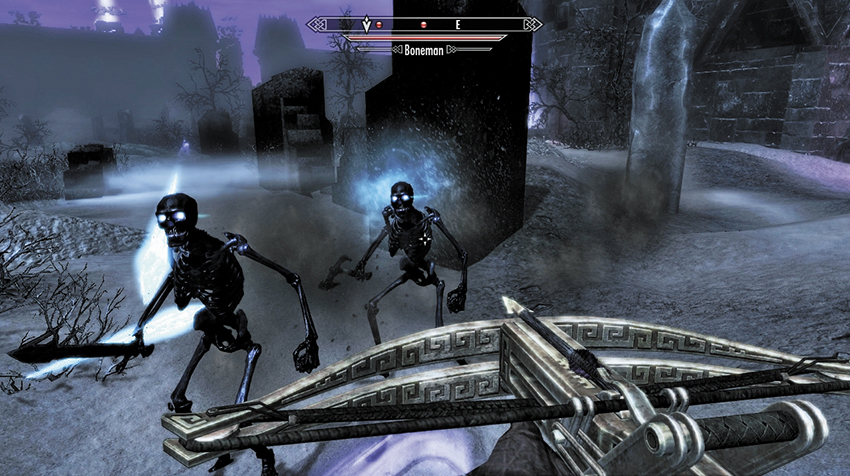
To continue this quest, head down the slight slope into an eerie area of low fog blanketing the ground. Two terrifying black skeletal forms—known as Bonemen—ooze out of the earth to attack. Dispatch them, then continue across the foggy earth, past a soul distraught at losing a horse named Arvak, and go toward a set of steps hewn through the giant wall. You’re quite welcome to delay this quest by inspecting the outer side of the wall. Otherwise, head over the stepped opening, passing through a black gatehouse, as the path becomes less distinct.
If you stop and speak to the soul who has lost Arvak, you’re prompted to search for the horse’s skull. You may also see a strange and frightening skeletal steed galloping through the Soul Cairn from time to time. You can’t rescue this horse by chasing it. Consult Regional Activity: Arvak the Spectral Steed for more information.
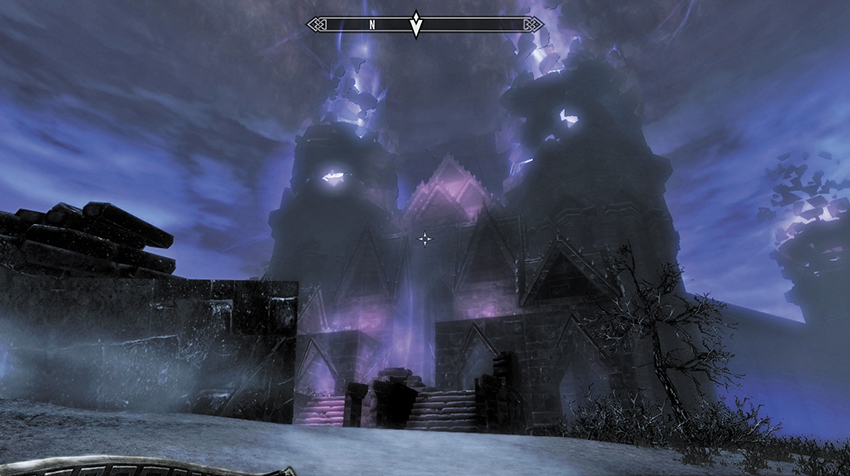
Keep an eye on the horizon as you pass through another black gatehouse. You slowly approach a large and crumbling prison with two shooting flames jetting from the main towers. Continue your maneuvering northeast, across the foundations of a long-lost structure, and back onto the pathway as lightning arcs through the ominous skies. At the next gatehouse, your movements attract the attention of more Bonemen. Slow to deal with three of them escaping from the bone piles and earth at the side of the path, and then step through the gatehouse. Climb the hill to the ornate and looming prison facade. As you reach the steps and view an impenetrable barrier, Serana sees a familiar face.
Not Your Mother’s Keeper
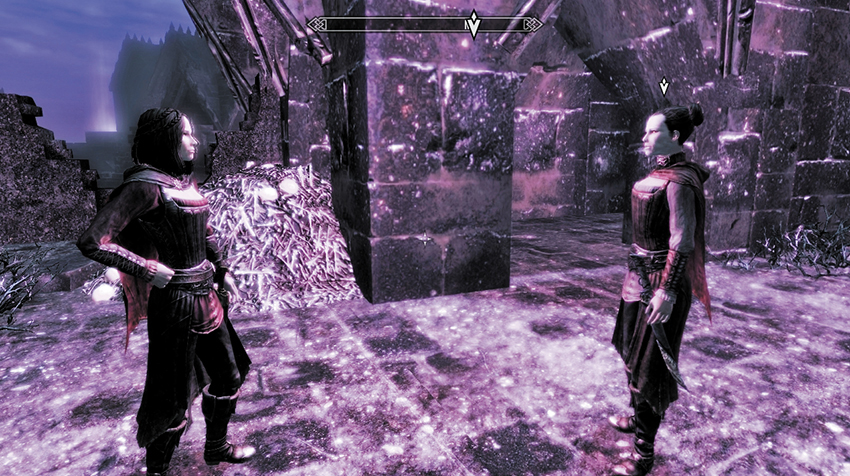
Serana is ecstatic to finally see her mother. Valerica instantly thinks something is wrong, that Harkon has found a way to decipher the prophecy, but Serana assures her you’re both here to stop him, to make everything right. The thought of strangers darkens Valerica’s mood, and she orders you to speak with her.
Valerica is suspicious you’re here to kill her. You may answer her in any way you wish. Eventually, she reveals that the real key to the Prophecy of the Tyranny of the Sun is Serana herself. The second Elder Scroll that Valerica fled Castle Volkihar with declared that “the Blood of Coldharbour’s Daughter will blind the eye of the Dragon.” Both Serana and Valerica are “Daughters of Coldharbour” women who offer themselves to the Daedric Prince Molag Bal.
Other revelations abound: Serana’s blood is integral to fulfilling the prophecy that Harkon seeks to complete, which is why both mother and daughter fled from Harkon in the first place. But now Harkon grows stronger. The conversation ends with you mentioning you’re here for the Elder Scroll and Valerica telling Serana you’re here for your own ends.
This talk infuriates Serana, who reveals how dedicated you’ve been to her in the short time you’ve known her, especially compared to being placed alive in a sarcophagus by her own mother! After more heated discussions, Valerica comes to an uneasy understanding with her daughter but agrees to assist you both. She has the Elder Scroll safely locked away in her prison, and you’re fortunately in a position to breach the barrier that surrounds her.
You must locate the tallest of the rocky spires that surround these prison ruins. Each spire is tended by a Keeper, and destroying all three will release the barrier. Valerica also has one more word of warning: There is a dragon called Durnehviir roaming the Soul Cairn. You are to watch for him; the Ideal Masters have charged him with overseeing the Keepers, and he will intervene if he perceives you as a threat. Your quest updates, and you can ask Valerica for much more information (about her imprisonment, the Soul Cairn, and who the Ideal Masters are).
Freeing a Kept Woman
You may speak to Serana at length about her mother, then check your compass and notice three new markers: These are the locations of the three Keepers. If you’re attempting to find the Keepers without the markers, look to the horizon for the tallest rocky spires in the Soul Cairn, with the disintegrating brickwork swirling into the sky.
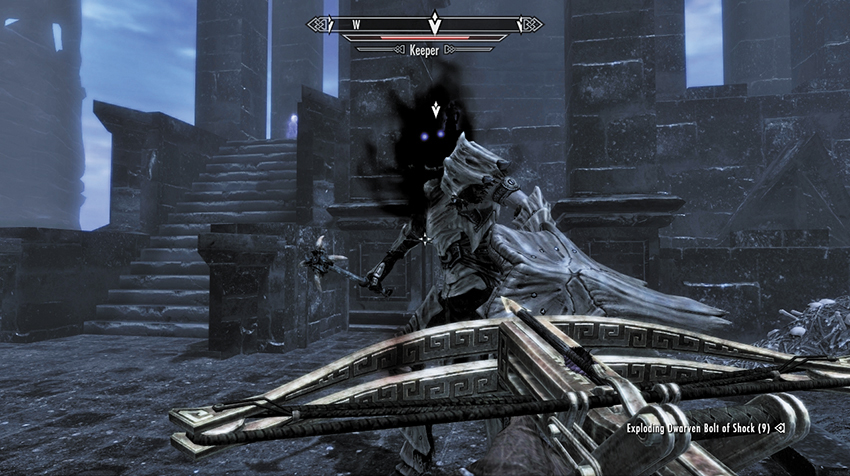
Keeper 1: The spire is located west of Valerica’s location. The Keeper here sits on a massive throne in a large courtyard, surrounded by pillars and other structures. These obstacles provide plenty of hiding opportunities and allow you to duck behind cover to avoid his incredibly damaging weapon swings. Defeat the Keeper, claiming a Black Soul Gem (Grand) and potentially a Dragonbone weapon (at higher levels) from the dust he leaves behind.
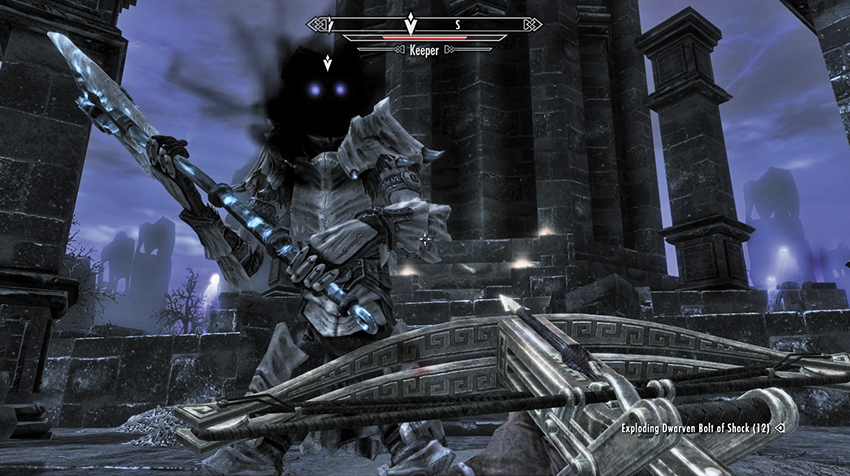
Keeper 2: Take the path heading east from the first Keeper. Fight through the low hills of scrub and Bonemen to the next crumbling spire to the southeast. Before you reach the Keeper, deal with any Wrathmen appearing along the path prior to the spire. There are fewer structures to hide behind here, but the Keeper is visible at a greater distance, making ranged attacks much easier.
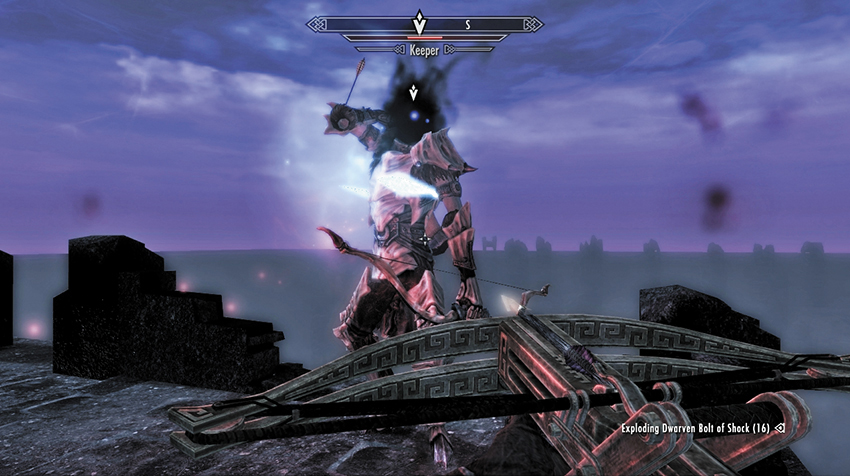
Keeper 3: Head northeast from the second Keeper. Among the twisted and gnarled trees, as well as the Bonemen and Wrathmen attacks, you may stumble across a soul named Jiub (Side Quest: Impatience of a Saint). Farther northeast is a small tower with an altar inside. Guarded by Mistmen (floating apparitions of skeletal blackness), and attracting lightning as you get close, this altar has Arvak’s Skull atop it. Pick it up to complete Regional Activity: Arvak the Spectral Steed.
Continue on a rough path to the northeast, through more Bonemen and Wrathmen combat, toward a circular Teleporter guarded by foes. As the third Keeper’s spire has already detached itself from the earth, you must step into the purple Teleporter to reach the spire. Do not fall at this point; instead, head counterclockwise around the edge of the spire and up the steps until you face down the third Keeper, who carries a bow that can drop you with a single arrow. Time ranged attacks to strike before the Keeper can fire his bow, or use the environment for cover. When the third Keeper bursts out of existence, return to Valerica.
Battle for the Boneyard
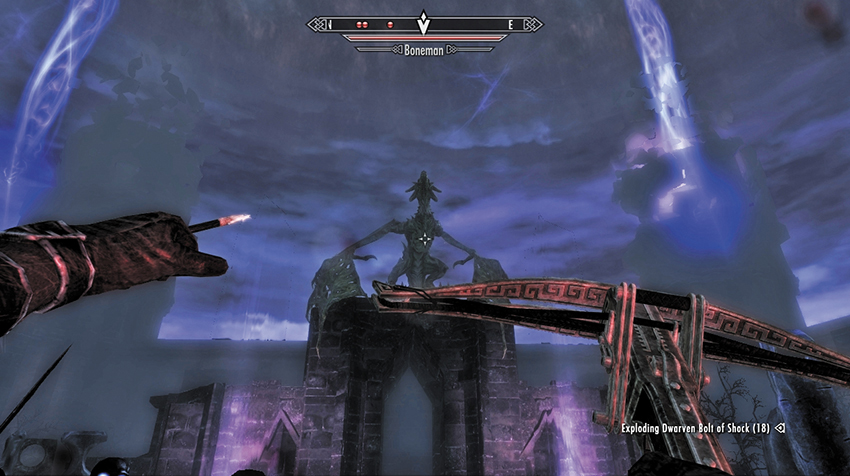
Return to Valerica, who is impressed at your mettle. With the prison barrier down, Valerica warns you to keep an eye out for Durnehviir. You’re then instructed to follow her. Pause at the Alchemy Lab or at Valerica’s small collection of books before watching her open the giant doors that lead into her prison. This area, known as the Boneyard, is a massive graveyard sealed by a huge perimeter wall of black stone and spires. Suddenly, Serana spots movement. A giant, tattered dragon lands on an arch across the stone yard, enslaved by the Ideal Masters so it can challenge you to combat!
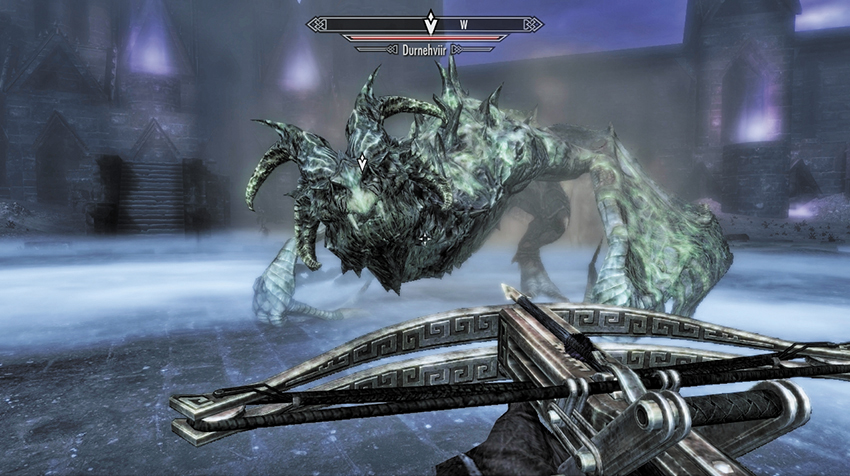
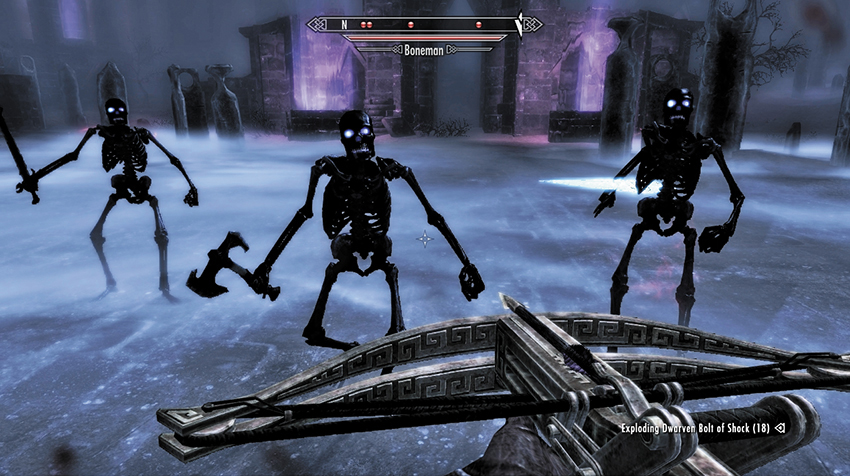
Durnehviir (picture 1) has attack patterns much like the other dragons you may have fought. His breath is more of a bolt of soul energy, which is just as damaging as fire or frost. The biggest problem are the Bonemen he conjures (shown in the second picture). Deal with them before they swarm you, ideally as Durnehviir circles overhead. Concentrate on the dragon when he lands or hovers close to your location. You may also wish to stay close to Serana and Valerica, letting them deal with the Bonemen or dragon while you provide supporting strikes at the other foe. Once Durnehviir is slain, his body collapses in on itself, but this is only one aspect of the beast, and you aren’t rewarded with Durnehviir’s soul.
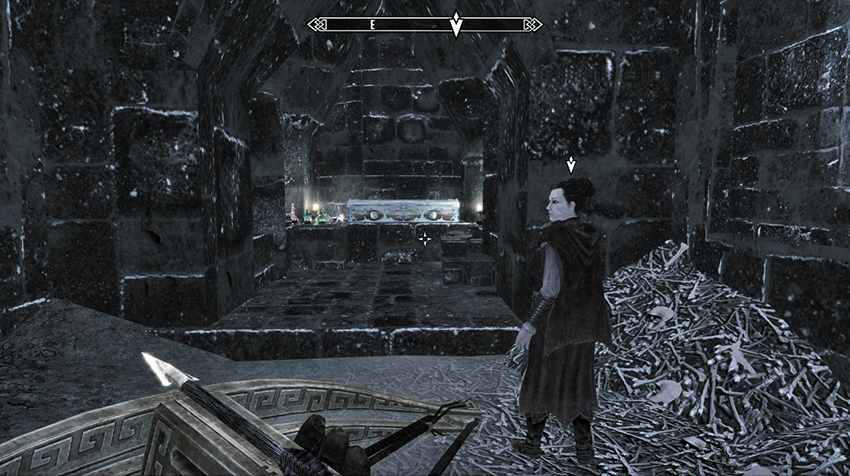
Valerica walks to an alcove on the lower wall on the Boneyard’s eastern side. Speak with her, and she admits astonishment that Durnehviir was slain...unless the dragon’s soul was more resilient than its host body. In fact, the beast may be reconstituting itself. Valerica suggests you take the Elder Scroll and be on your way. Oblige her, and walk to the alcove she’s leading you to. Wait for her to unlock a long, ornate chest. Gather the Elder Scroll and any nearby potion concoctions you wish.
- Elder Scroll (Blood)
At this point, if you had Serana trap part of your soul to allow you to enter the Soul Cairn, you can ask Valerica for help in retrieving it (Regional Activity: The Whole Soul*). Simply follow the marker on your compass to the soul fragment’s location and reclaim it, restoring you to full health again.
Quest Conclusion
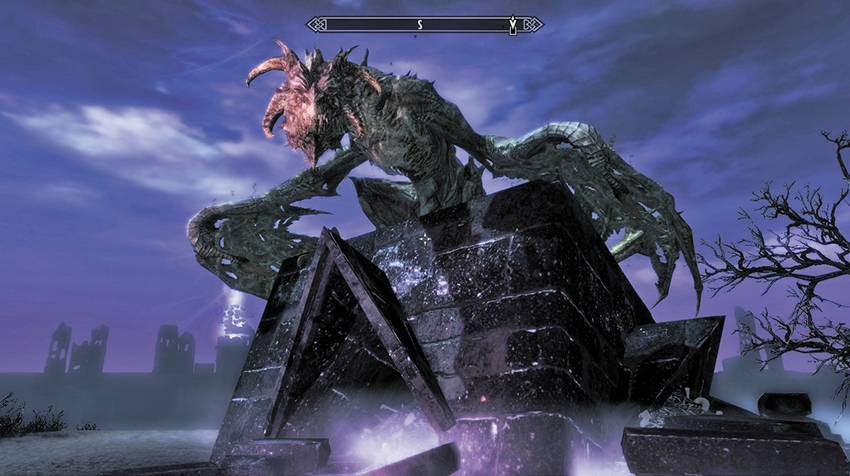
As a Daughter of Coldharbour, Valerica feels she must remain here, as returning to Tamriel increases Harkon’s chances of bringing the Tyranny of the Sun to fruition. Say your good-byes, then begin to retrace your steps back to Tamriel. Head southwest out of the Boneyard and toward the devastated plains of the Soul Cairn. As you’re about to leave, a large dragon startles you. Durnehviir has returned, only on this occasion, he wishes you to stay your weapons and listen awhile.
Durnehviir reveals he isn’t dead but is trapped between “laas and dinok” (life and death). If you’re willing to hear him out, Durnehviir honors you with the name “Qahnaarin” or “Vanquisher.” At this point, Side Quest: Durnehviir begins, as the dragon asks a favor of you: to call him while you’re in Tamriel, freeing him from this place. To this end, he gives you the three words of a Shout that will summon him.
- Word of Power: Curse, Summon Durnehviir
- Word of Power: Never, Summon Durnehviir
- Word of Power: Dying, Summon Durnehviir
Once you’ve finished speaking with Durnehviir, travel in a vaguely southwest direction through the Soul Cairn, retracing your steps back up into Volkihar Ruins to complete this quest.
Postquest Activities: Seeking Disclosure
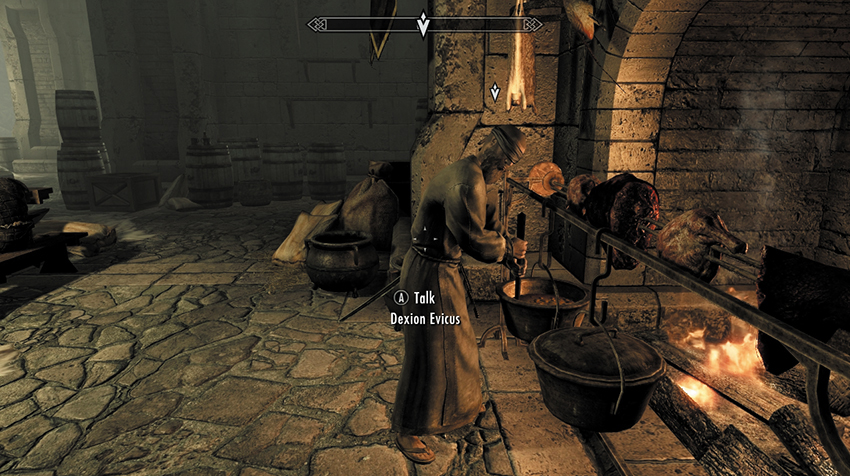
Dawnguard Quest: Seeking Disclosure is still active (as is Scroll Scouting if you haven’t found the Elder Scroll [Dragon] yet). Exit the ruins via the door in the southwest corner of Valerica’s laboratory and out onto the Castle Volkihar Balcony. From here, Fast-Travel to your next destination: to start the search for the Elder Scroll (Dragon) or, if you have both Elder Scrolls, to the fortress where Dexion Evicus awaits you.
When you meet with Dexion, his eyes are bandaged. This isn’t a good sign, and the news gets worse: In his haste to read the first Elder Scroll (Sun), the Moth Priest neglected proper preparation. But you’re not finished; it all depends on how much you’re willing to risk to find Auriel’s Bow. Dawnguard Main Quest: Unseen Visions now begins.