
Elder Scrolls V: Skyrim Special Edition Guide Dawnguard Quests Dawnguard Main Quest
Dawnguard Main Quest: The Bloodstone Chalice
The Bloodstone Chalice
Bloody Machinations
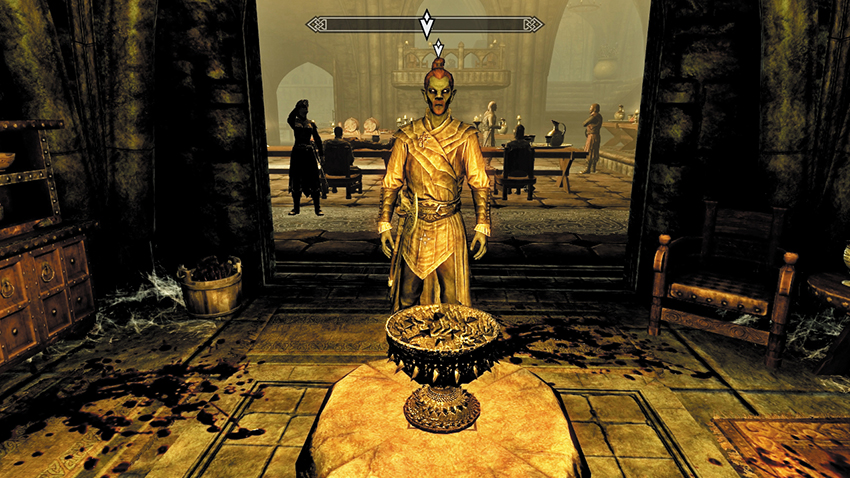
After instructing you on the use of your new and powerful form, Lord Harkon orders you to speak with Garan Marethi. Search out the Dark Elf, telling him, “It is time.” Garan remarks that his master wants the Bloodstone Chalice filled. Garan explains that, when used correctly, the chalice increases the potency of vampiric powers. If Harkon wants it filled, then great plans are afoot! You’re now encouraged to follow Garan.
Along the way, Garan encounters two other vampires—Vingalmo and Orthjolf—in the banqueting chamber. They are surprised at Garan and your actions and seem hell-bent on seething animosity without resorting to violence, as Harkon wouldn’t stand for it. They are also surprised by the mission you’ve been asked to undertake. You can speak to them for further insight into the inner workings of the court.
Meanwhile, Garan has reached the alcove off the banqueting room, where an ornate and ancient chalice sits on a low pedestal. Garan explains the chalice needs to be filled directly from the bloodspring in Redwater Den; then the blood of a powerful vampire also needs to be added to it to increase its potency. Garan also warns you that Redwater Den has fallen into disrepute and offers two plans: attack or deal with its inhabitants using more peaceful means.
- Bloodstone Chalice
A Den of Iniquity
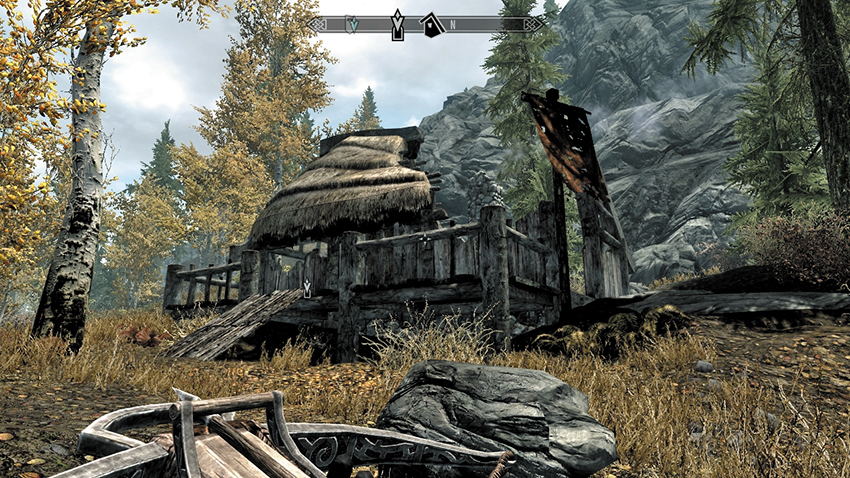
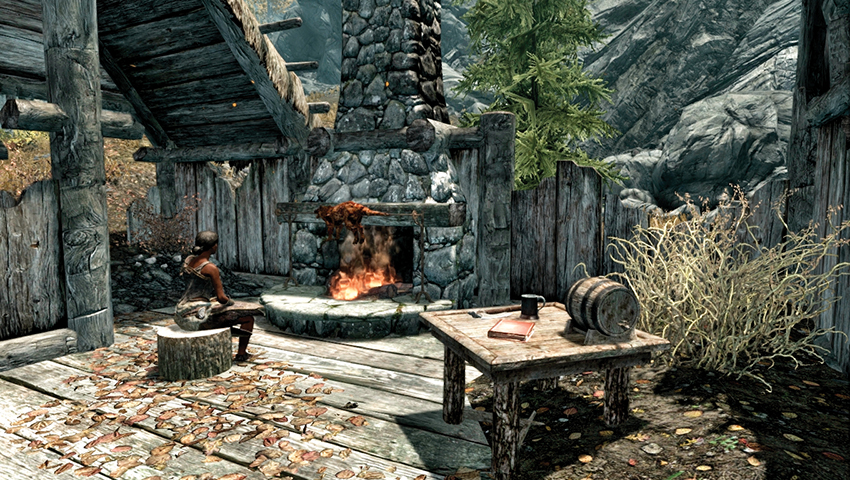
Head to the Rift, to the Secondary Location formerly known as Bandit’s Shack: Autumnshade. This is now marked as Redwater Den on your world map. Clamber through the ruined walls, passing the roasting Skeever on the fireplace spit, and open the previously inaccessible trapdoor that leads into the subterranean den. In the cellar, a doorman stops you, telling you to keep your weapons to yourself. From this point on, you can employ one of three main plans in your investigation.
Plan 1: Skooma Swigging
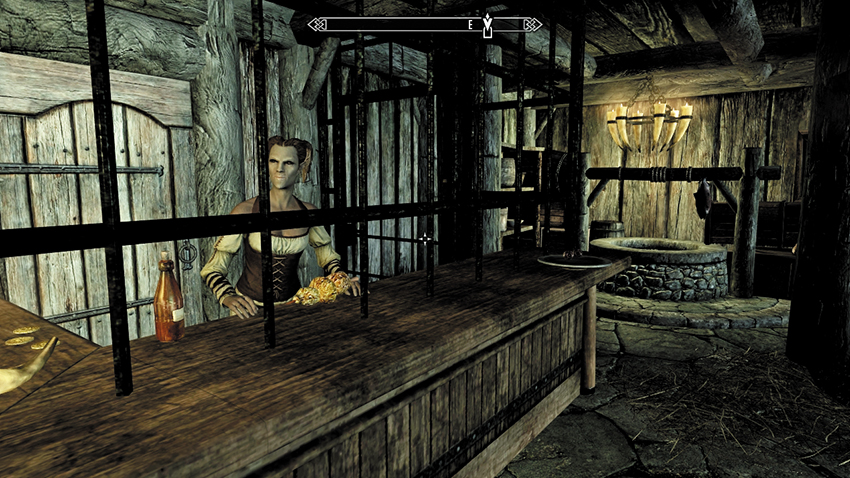
If bloodshed isn’t on your mind, sheathe your weapon and mosey on over to the dealer behind the barred bar. She notices a bad hunger in your eyes. She offers to sell you some Skooma, which is what several visitors in various states of inebriation seem to have partaken in. Your next task is to obtain some Skooma. You can:
- (Persuade) Ask for a free sample.
- Purchase Skooma from the dealer.
- Or ask more information about what makes the dealer’s Skooma so special.
- Redwater Skooma
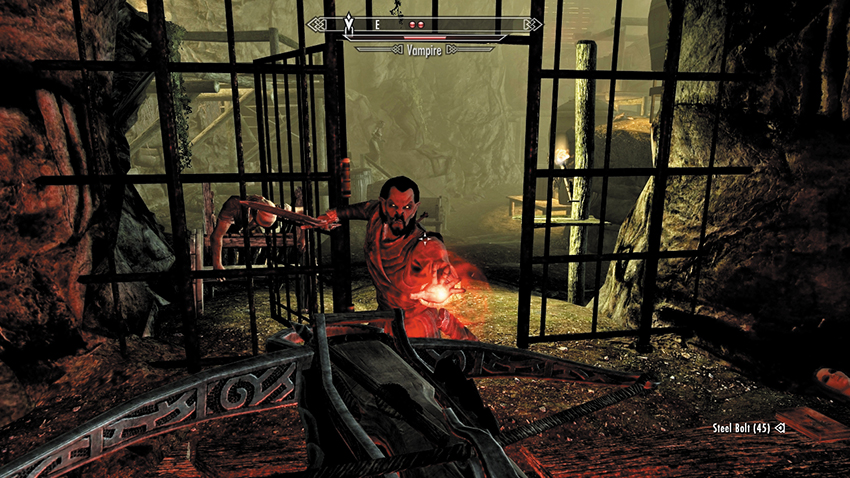
With the Redwater Skooma in hand, take a swig (Items > Potions), optionally moving to one of the alcoves for a bit of privacy. As your vision fades to black, you swear you can hear the dealer talk about her “dosed Skooma.” You wake up in a cage near the den’s distillery. A vampire is speaking to the dealer about the springwater that makes the Skooma so much more potent. They are using it to capture citizens and easily turn them to thralls. The time has come to make your escape. You can:
- Attack your jailor. He’ll rush into the cell, inadvertently freeing you.
- Pick the lock on the cell door [Adept], then begin to slaughter the vampires in the area.
- Learn the Telekinesis spell by reading the tome on the floor (next to the corpse). Use it to snag the key from the table just outside your cell, and use the key to unlock the door.
- (Pickpocket) Or silently sidle up to the vampire guarding the cell and remove the Redwater Den Backrooms Key. Use it to open the door.
Regardless of how you get out, you’ll face another thrall and the dealer inside the distillery chamber. Ensure that everyone meets a grisly end. Pick up the Redwater Den Backrooms Key (from one of their corpses or from the table outside your cell) before you make your way deeper into the dungeon.
- Redwater Den Backrooms Key
Turning into a Vampire Lord while confined in this cell isn’t wise, as it’s difficult to exit through the door. Instead, save this for when you’re outside the cell.
Plan 2: Skewering and Slaughtering
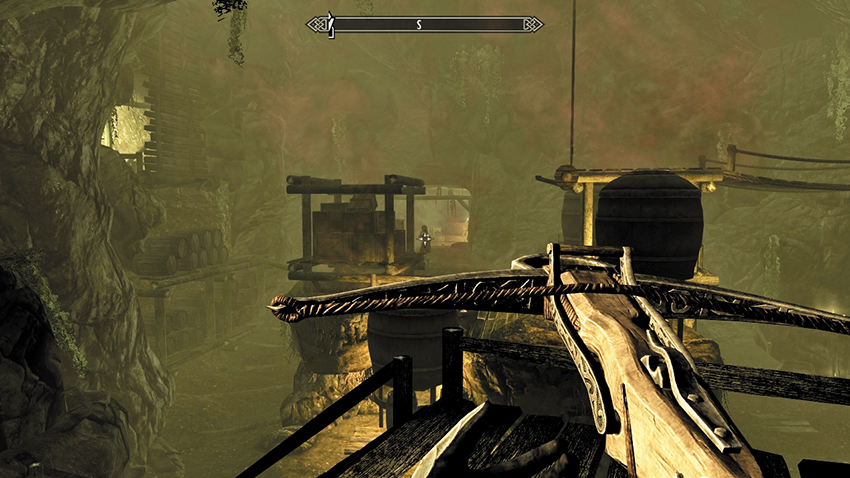
If bloodshed is on your mind, keep your weapon drawn as you meet the doorman and introduce him to the afterlife. Next, descend into a seedy Skooma den and dispatch the dealer and an attendant who attempts to stop you. Search either corpse for the Redwater Den Backrooms Key, which opens the barred bar gate [Expert], allowing you into a back room with some items to scour (this room is also the exit from the lower dungeon area, but that exit is currently inaccessible). Pillage what you need, ignoring the Skooma-addled customers (unless you wish to feed in Vampire Lord form), and head south, opening the gate [Adept] that leads into the distillery chamber. Wipe out any vampires and thralls you see roaming the platforms and stone paths around this large chamber.
Plan 3: Swift and Sneaky
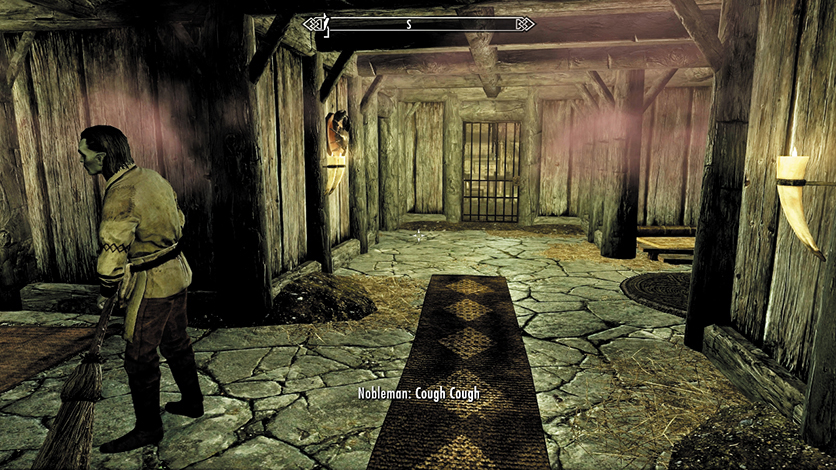
If you prefer stealth to bloodshed, ignore the dealer as you enter the Skooma den and proceed directly to the locked door at the hall’s far end. Start sneaking (perhaps using your Embrace of Shadows power or an Invisibility spell to better cloak yourself), wait for the attendant to pass you by, and then pick the lock [Adept] to enter the distillery. Be careful: If either the dealer or the attendant sees you sneaking through this way, they become hostile and attack you on sight.
Merged Path: Upward and Inward
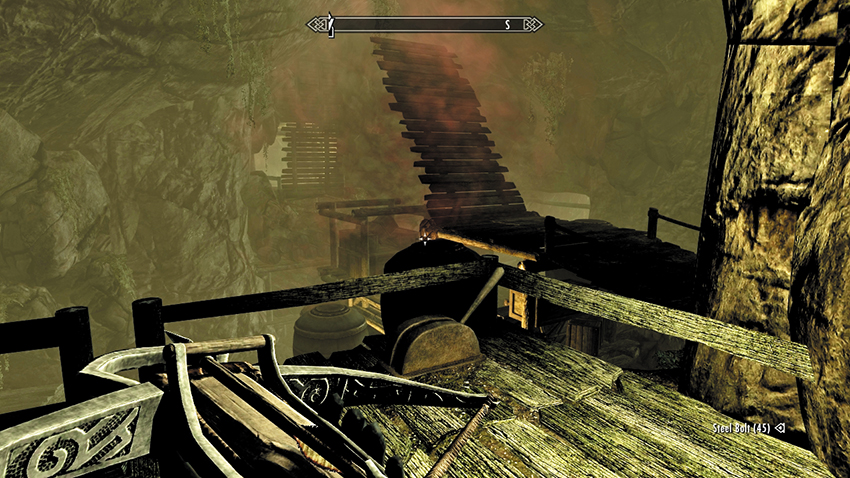
Ascend the perimeter of the distillery room via the sloping mine tunnel along the southwestern area of the chamber (as shown). Head up, dealing with any foes you encounter, passing by (and optionally reading) a copy of the Aetherium Wars on a crate as you go. Pass the forge and locate a lever on a ledge above the distillery, which lowers an adjacent bridge. Defeat the thrall as you descend into some old mine workings on the opposite side to the north, which have broken through into an old Draugr crypt.
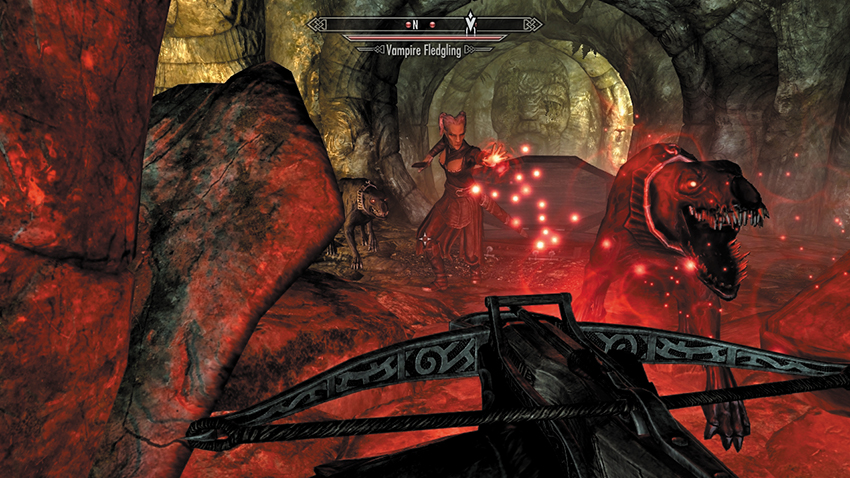
Step onto the stone ground of the Draugr tomb, following the path as it turns back on itself to the south. Drop the skeleton and thrall (using weapons or the flaming pots hanging above), then activate the chain to open a secret tunnel leading to a vampire’s coffin. Slay the night stalker and two Death Hounds in this area before locating the steps up to the large double doors leading to Redwater Spring.
Bloodshed in the Bloodspring
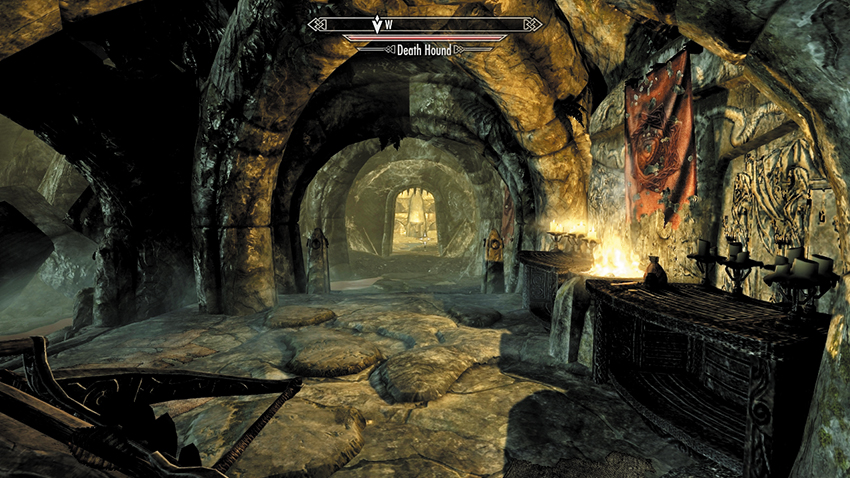
On the shelf at the first intersection you reach, search for Venarus Vulpin’s Journal near some coins; it contains notes on the history of the place and the fate of those who first found the sealed-off Bloodspring. As the exit to your left (west) is closed, and the chain is visible (but not reachable) through the oval gap to the right (east), this area requires further exploration. To the north, you’ll hear voices. They are coming from a large chamber partially covered by wooden barricades. Two foes lurk there; shoot the flaming pots down on them or charge down the steps to intercept them. Be careful you don’t step on the floor grating as you enter the chamber or you’ll fall down a spiked pit!
- Venarus Vulpin’s Journal
The two Death Hounds are safely in a caged pen, so you can ignore (or slay) them before climbing the spiral steps around the column, crossing the small bridge heading east, and heading around the bookcases and over the pen to the oval window. Pull the chain to open the portcullis next to it and the one to the west you couldn’t previously reach.
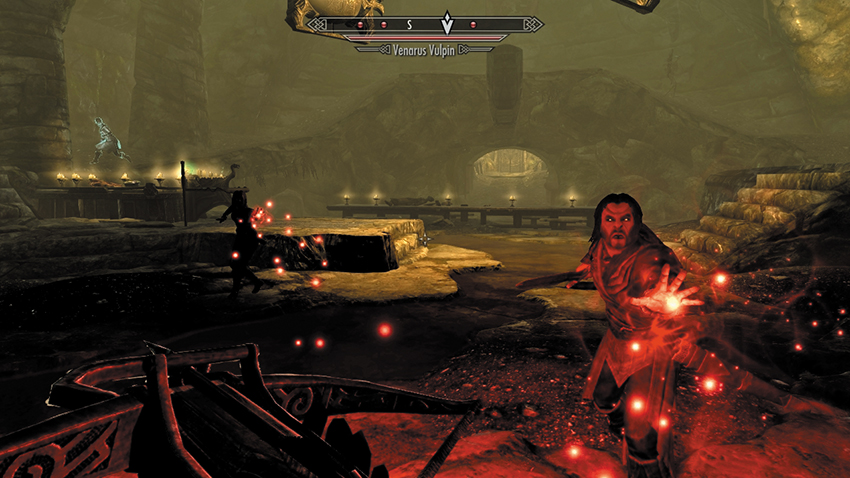
This leads to a large Draugr crypt, which has more recently been reappropriated by vampires. Coffins line the alcoves of this tomb, and a Master Vampire, Death Hounds, and other night stalkers wait to attack. Set fire to the oily earth if you wish, watch for vampires emerging from their coffins, and work your way around the chamber and up the steps to the eventual exit in the northwest corner. Pull the chain to raise the gate. Enter the altar chamber with the Alchemy Lab, and look at the three doors ahead of you. The one on the altar’s right side simply flays spears in your face. The wooden door opens a small cupboard. The left side door is the one to take; it leads to a connecting passage with three nasty gate spiked traps to avoid (don’t step on the floor plates!).
This takes you to a door that opens into a grand altar chamber. Here you will discover Venarus Vulpin’s fate; he drank from the Bloodspring and is now a feral vampire. Attack! Once your foes lie oozing into the damp stone ground, inspect Venarus Vulpin’s corpse, and pry out the Redwater Wellspring Key. It opens the door to the north [Master]. Open it.
- Redwater Wellspring Key
Blood of the Ancients
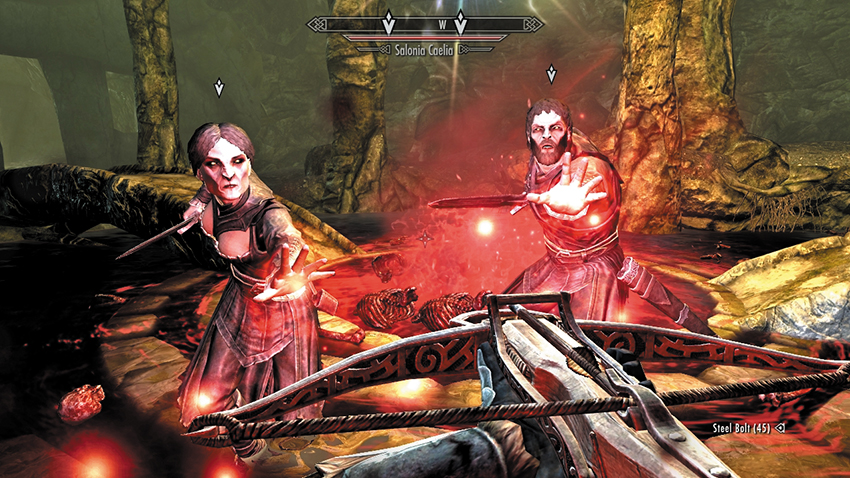
You have arrived at the wellspring. Step down into the bloodred water filled with the flesh of the fallen, and activate the Bloodspring. You’re prompted to return to Garan, but the door to the south is sealed. Out of the shadows, two vampires appear. Salonia Caelia mocks you about a “little accident” you’re about to have. Stalf agrees. Salonia remarks that she was sent to retrieve the chalice for Vingalmo, who will turn it over to Harkon. Stalf is taken aback: He has followed and is about to kill you so Orthjolf could claim the chalice. This violent scrabbling for power is indicative of how Lord Harkon rules his chaotic court. But social politics shouldn’t be pondered right now: The swift execution of these disloyal curs should occur instead. Have at them!
When both of the vampires lie dead, collect blood from either of them to further fill the chalice. Then exit this place via the short crypt to the south that brings you (via a secret door) back to the Skooma den.
Quest Conclusion
Back at Castle Volkihar, seek out Garan and hand over the chalice. Garan suspected Stalf and Salonia might follow you. Welcome to the politics of Lord Harkon’s court: Your actions have usurped power from Orthjolf and Vingalmo while improving your own standing.
Postquest Activities: General
Lord Harkon wishes to speak with you. Dawnguard Main Quest: Prophet now begins. You may also wish to gain further knowledge about the court by speaking with Orthjolf and Vingalmo.
Postquest Activities: Blood of the Ancients
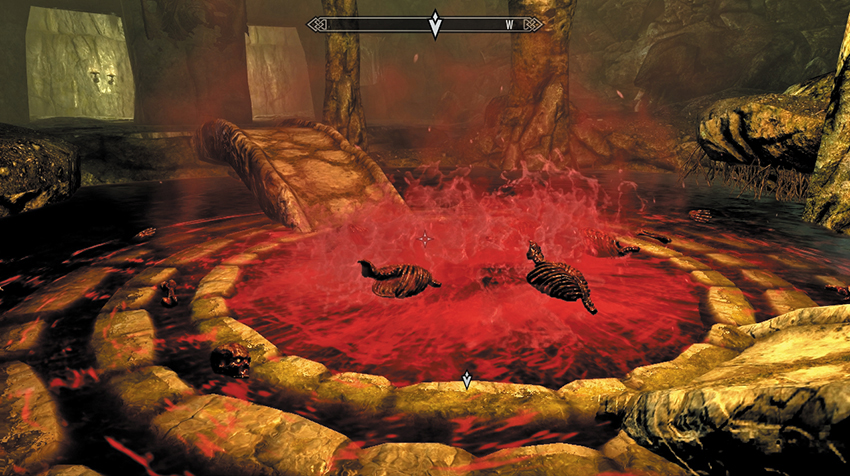
Redwater Spring, in Redwater Den, has some unusual properties (although once you have the Bloodstone Chalice filled, it is both more convenient and powerful than the spring itself).
If you happen to drink from it directly:
- If you are a vampire, you receive the Tainted Blood of the Ancients ability. For one day, your Vampiric Drain will absorb Magicka and Stamina, but your maximum health will be reduced by 30.
- If you are not a vampire (you’re exploring Redwater Den independently of this quest), you have a chance of contracting Sanguinare Vampiris (the vampire disease) or another disease. Keep drinking from the spring, and you can contract any number of unpleasant poxes: This isn’t exactly sanitary!
You can also drink from the Bloodstone Chalice, which gives you the improved form of this ability:
- If you are a vampire, you receive the Blood of the Ancients ability from the chalice, which causes your Vampiric Drain to absorb Magicka and Stamina. The duration of this ability grows each time you complete Vampire Faction Quest: Ancient Power.