
Elder Scrolls V: Skyrim Special Edition Guide Quests Act II
Main Quest: A Cornered Rat
Main Quest: A Cornered Rat
A Den of Iniquity
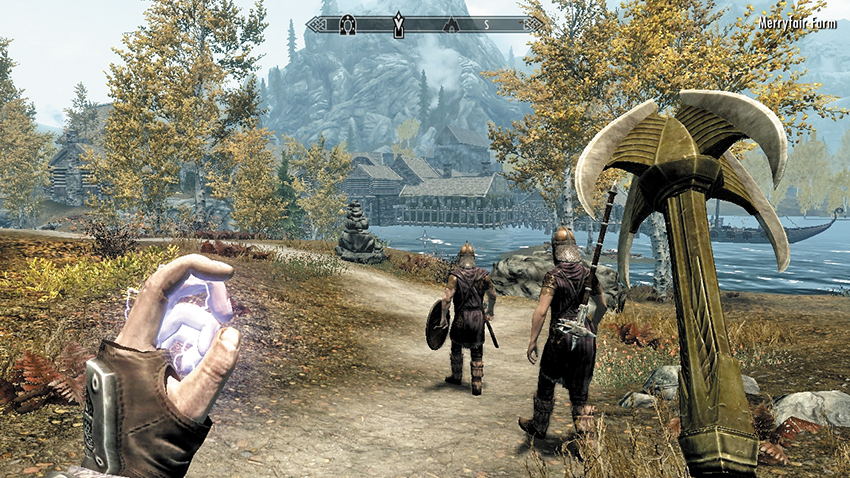
Delphine instructs you to meet with her contact, a member of the Thieves Guild named Brynjolf. However, before you go, ask her about your birthright. You can also ask why the Blades are on the run. Turns out it’s because the Thalmor were systematically hunting them down thanks to the White-Gold Concordat, which was signed with the Empire. It ended the war but gave the Thalmor free rein to stomp out the worship of Talos. You may also ask about the Thalmor, the arrogant and extreme rulers of the Aldmeri Dominion, or what used to be the Imperial provinces of Summerset Isle and Valenwood. When you’ve heard enough, leave the Sleeping Giant Inn and travel to Riften.
When you arrive at either of the city’s gates for the first time, a guard halts you and attempts to shake you down for a “visitor’s tax.” You can:
- (Persuade) Realize this for what it is.
- (Gold) Realize this for what it is but pay up (the amount varies, depending on how poor you are)
- (Intimidate) Threaten that you kill thieves
Any of these options (if successful) allows the guard to open the door. Butchering the guard also gets you into Riften, after dramatically increasing your bounty and forcing you to spend time in the jail.
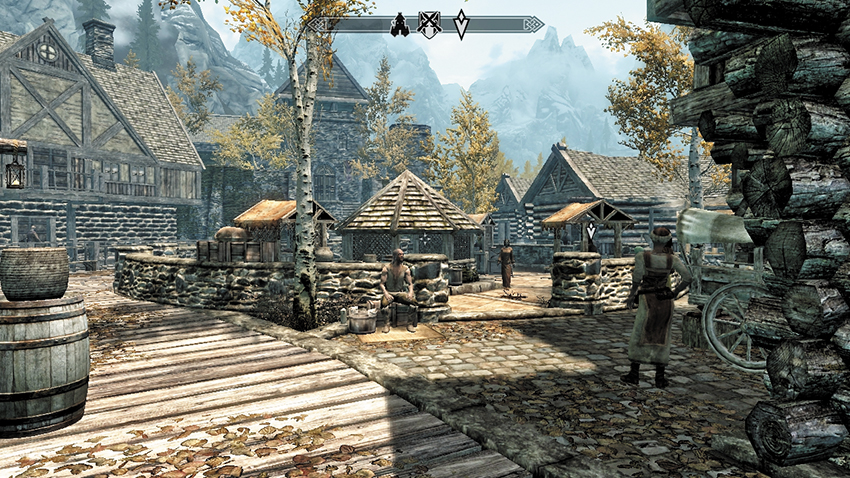
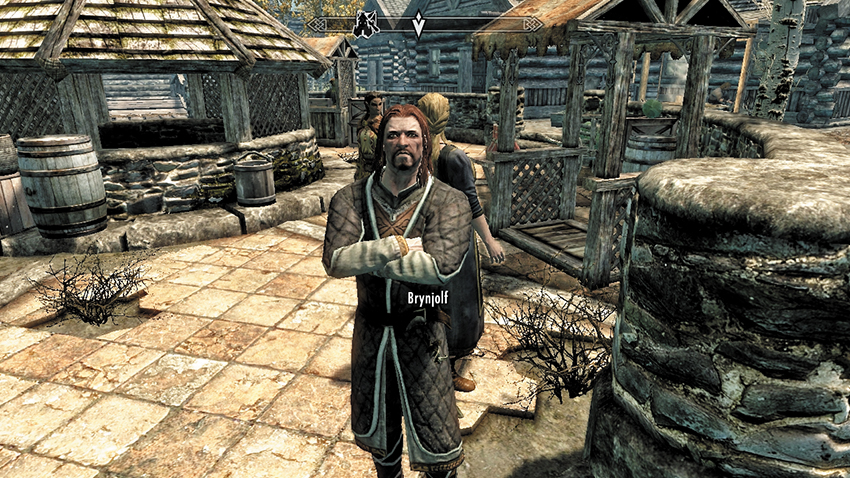
You meet a mysterious character in the Grand Plaza (during daylight hours) or inside the Bee and Barb the first time you look around the Grand Plaza in Riften.
First-time Thief: If you’re meeting Brynjolf for the first time, and if you have some general skills in concealment or silent stealth or you’ve dealt with the guard at the Riften gate without resorting to violence, a man named Brynjolf strikes up a conversation with you. He may have an errand for you to perform to test your skills and may reward you with gold. Thieves Guild Quest: A Chance Arrangement must now be completed before Brynjolf releases the knowledge of where Esbern is hiding out.
(Persuade) Or you can use your verbal charms to reveal the location of Esbern, without playing Brynjolf’s little game. If so, you can skip A Chance Arrangement.
Guild Member: If you’re meeting Brynjolf and you’ve already proved yourself skilled by completing Thieves Guild Quest: A Chance Arrangement, Brynjolf is happy to point you in the direction of where Esbern is hiding out, once you ask him about these matters.
Interlude: A Chance Arrangement
He tells you to pilfer a silver ring from a stall owned by Madesi in the marketplace while he creates a distraction. Place it in the pocket of a Dark Elf vendor named Brand-Shei. If you’re caught, you’re on your own, but if you succeed, he’ll have some better-paying schemes. If you’ve met Brynjolf during the evening or night, he’ll be waiting between eight in the morning and eight in the evening for you. If you met Brynjolf at night, wait until daylight and meet up again.
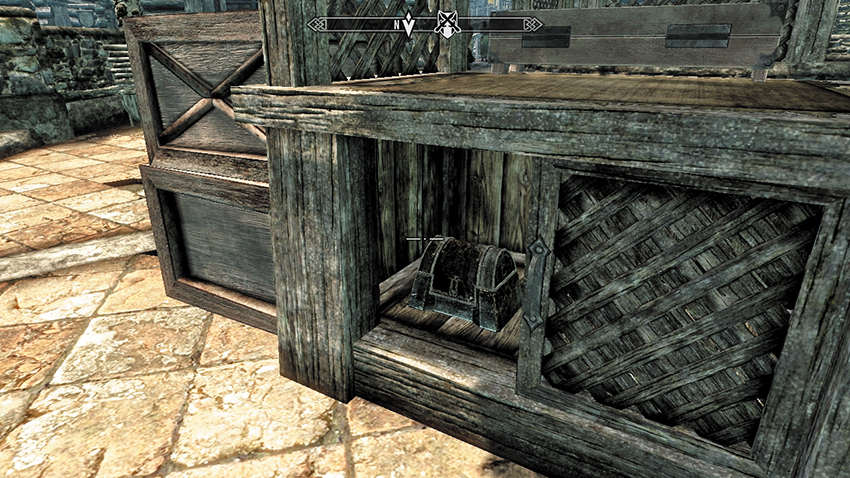
Brynjolf is waiting for you by his own plaza stand, where he’s about to hawk his “amazing” Falmerblood Elixir. Naturally, this patter is designed to draw a crowd (including Madesi and Brand-Shei), allowing you to quickly move around the plaza’s perimeter via the stone wall and crouch behind Madesi’s stall.
(Lockpick [Novice]) Produce your lockpicks, and unlock the sliding door under the stall counter. Quickly rummage around inside Madesi’s strongbox. You can happily help yourself to any of the items here, but the valuable you’re concerned with is the Silver Ring. Steal it quickly, before any of the city guards spot you.
- Madesi’s Silver Ring
Creep around so the assembled beggars and storekeepers don’t see you, and position yourself behind Brand-Shei.
(Sneak) You must now “reverse-pickpocket” the Dark Elf. This involves pickpocketing, choosing your own Apparel menu, selecting Madesi’s Silver Ring, and giving it to Brand-Shei to finish the technique. Remember, no one must see you attempt this!
If you’re successful, Brand-Shei is mistaken for a thief and hauled away to Riften prison. Your paths may cross again in the future....
Speak to Brynjolf after the ring-plant misdirection, and he congratulates (and rewards) you. You receive no monetary gain if you failed. Then he mentions his organization has been having some bad luck but mentions that there’s more money to earn if you can handle it. Reply that you can, and Brynjolf recommends you meet him at the Ragged Flagon tavern, deep inside Riften’s subterranean Ratway. He also points you in the direction of Esbern when you ask him; he’s down in the Ratway.
- 100 gold pieces
The Ratway Hidey-hole
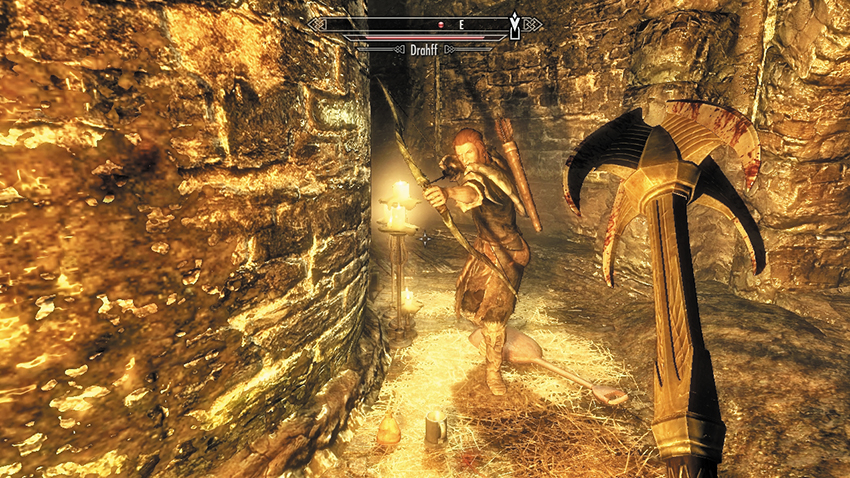
Open the barred gate by the water’s edge and go into the sewers that run the length and breadth of Riften. Down the first tunnel, you may stumble across two equally odious characters: Drahff and Hewnon Black-Skeever. They attempt to mug you for all your equipment. You can:
- (Persuade) Try to let Drahff know that you’ve killed dozens like him.
- Any other option results in violence. This doesn’t impact your standing in Riften and is the recommended choice.
Now continue through this small maze of interlocking sewage tunnels. Watch for hanging oil traps, and a bear trap along the way. If your Lockpick skill is high enough, there’s a chamber to check out, but your main purpose is finding the Ragged Flagon.
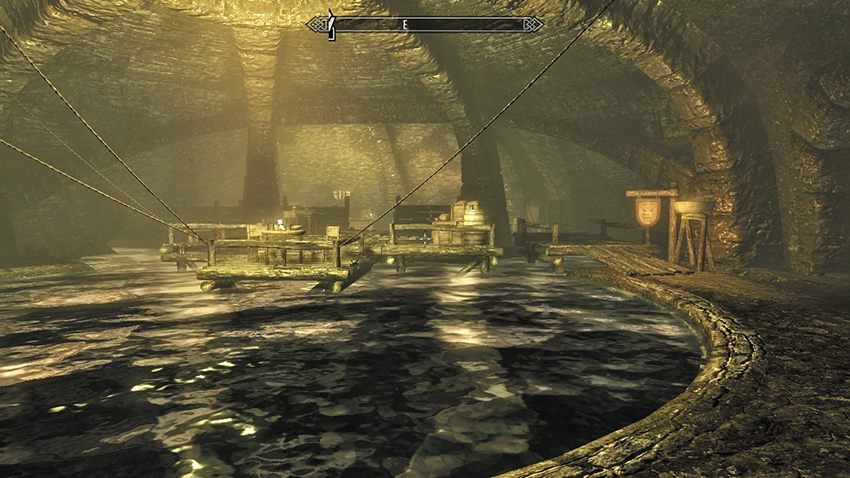
The tavern is unique, being constructed on and above a sewage conduit chamber. When you spot Brynjolf, he is talking with the barkeep (Vekel the Man), speaking about Brynjolf’s predicament with his “organization.” Speak to Vekel the Man, or seek out another Thieves Guild member named Dirge and ask either of them if they’ve seen “an old guy, hiding out” somewhere in Riften. Both Vekel’s and Dirge’s minds are cloudy, so you may need to clear them by:
- (Persuade) Appealing to his sense of urgency and telling your contact that Esbern’s life is in danger.
- (Gold) Appealing to his sense of greed and offering gold so he remembers.
- (Brawl) Appealing to his boisterous side and proving your might with a bare-knuckle fight. No weapons, or this suddenly gets a lot less friendly!
When one of these choices succeeds, Vekel or Dirge tells you that Esbern is holed up in the Ratway Warrens and hardly ever leaves the place.
If you’re already a full-fledged member of the Thieves Guild, which requires you to have Thieves Guild Quest: Loud and Clear active and to have been awarded your thief’s clothing, Vekel and Dirge also point you in the direction of the Ratway Warrens.
- Shavari’s Note
Remembering the 30th of Frostfall
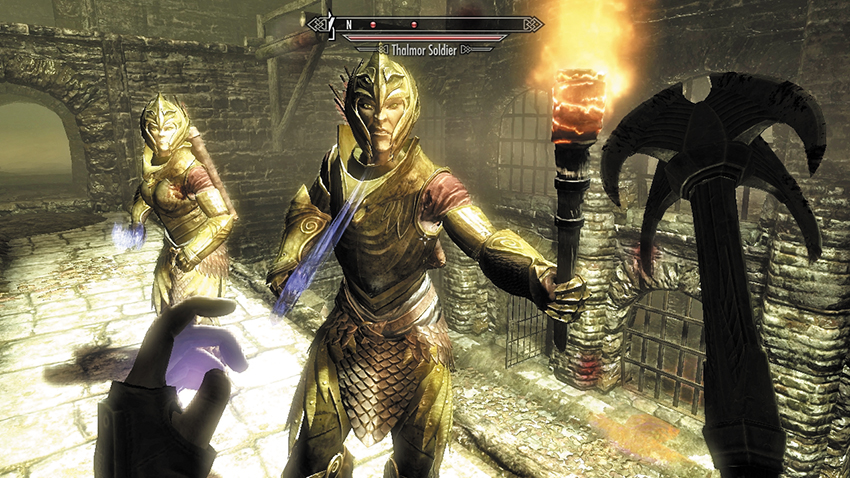
If you were directed into the Ratway Warrens or even stumbled here on your own, the Thalmor are already prowling this maze of connecting corridors around a central hub room (which you’ve just entered).
However, if Dirge or Vekel directed you to the Warrens, you are forewarned about the Thalmor ambush, allowing you to expect any attacks and even trying to ambush the guards and gain the upper hand. Either way, unless your sneaking ability is exceptional, expect to fight around four of these enemies throughout your navigation of the Warrens.
From either entrance into the Warrens, there are two possible routes:
- The first is to navigate around the interconnected corridors and chambers, sneaking past or fighting Thalmor enemies and a few Skeever along the way. This is the long route, but it allows you to remain hidden, or at least clear the Warrens of foes for the moment.
- Or, you can appear on the upper balcony of the multifloored central hub room, which is well lit and has a cart and hay bale at the base of it. Drop to the open gate on the eastern side of the bottom floor. The entrance to the Ratway Vaults is just south of this point, at the bottom of the Warrens.
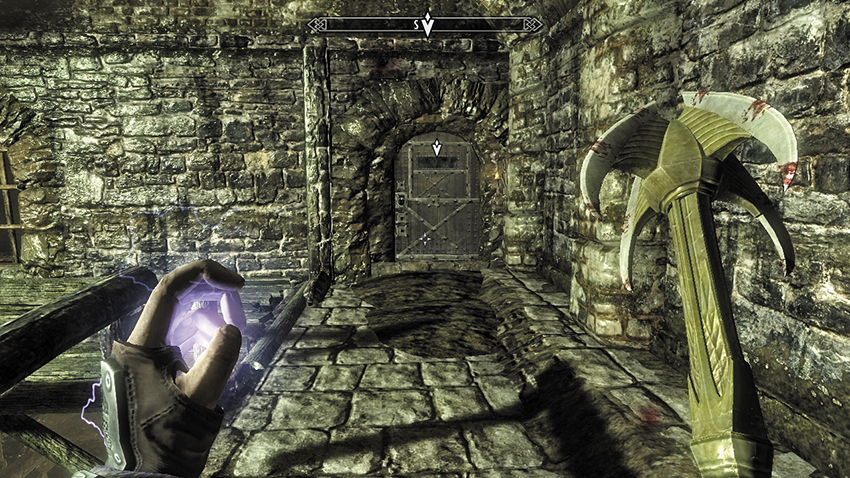
Open the wooden door and enter the Ratway Vaults. The Thalmor haven’t found this area yet, and it is rarely trafficked. One of the reasons may be the lunatics who populate the chambers here. Beware of Hefid the Deaf, and Knjakr the mad chef, as both of them get violent when they spot you. You’ll also have to contend with a brain-addled man named Salvianus, who talks to himself. But you’re actually here to locate the well-locked door on the upper balcony of the hub chamber, in the southwest corner.
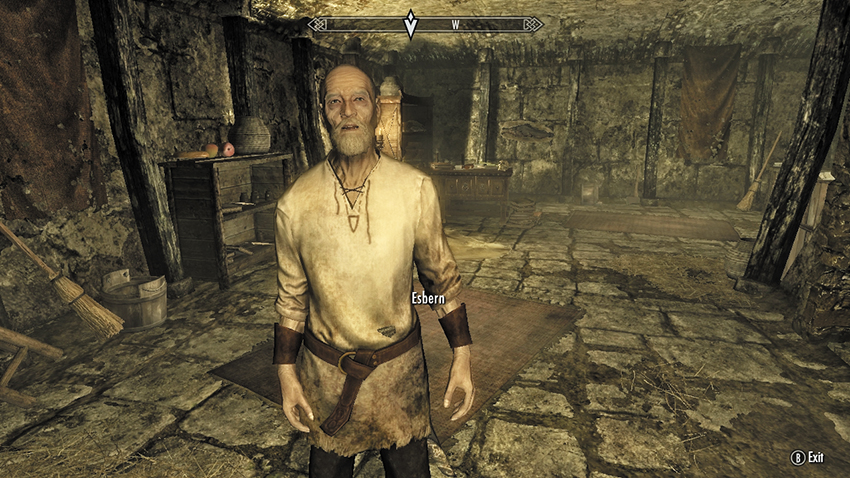
Sidle up to the door and activate it, and you’ll hear an old man shouting for you to go away. Persist, and the door’s shutter slides open and a pair of eyes peer out. They are attached to a man who claims to not know who Esbern is.
No amount of persuasion or pleading gets the man to unlock the door. Use the quote Delphine told you to tell the man: “remember the 30th of Frostfall.” Only then does the man reveal himself to be Esbern and unlock the door.
If you haven’t spoken to Delphine after escaping the Thalmor Embassy, you can inform Esbern that you’re Dragonborn, which is enough to pique his interest.
Quest Conclusion
Once you’re inside Esbern’s hidey-hole, he asks how Delphine is after all these years, regarding the situation as “hopeless.” He tells you that Alduin has returned, just as the prophecy said. Esbern believes it to be the end of the world. In fact, the only glimmer of hope would be if a Dragonborn returned....
Postquest Activities
During the conversation, Main Quest: Alduin’s Wall begins immediately.