
Elder Scrolls V: Skyrim Special Edition Guide The Atlas Hold 2: Hjaalmarch
[2.08] Folgunthur
[2.08] Folgunthur
Related Quests
- Side Quest: Forbidden Legend
- Dungeon Activity
Recommended Level: 6
Dungeon: Draugr Crypt
- Frostbite Spider
- Draugr
- Mikrul Gauldurson
Quest Items
- Daynas Valen’s Journal
- Daynas Valen’s Notes
- Ivory Dragon Claw
Dangers
- Bone Alarm Trap
- Flamethrower Trap (pressure plate)
- Oil Lamp Trap
- Oil Pool Trap
- Rockfall Trap
- Spear Trap (pressure plates)
Puzzles
- Nordic Pillars
- Snake, Whale, Hawk
- Nordic Puzzle Door (Ivory Claw)
- Hawk, Hawk, Dragon
Collectibles
- Dragon Claw: Ivory Dragon Claw [2/10]
- Skill Book [One-Handed]: Fire and Darkness [B1/10]
- Unique Item: Gauldur Amulet Fragment (Folgunthur) [6/112]
- Unique Weapon: Gauldur Blackblade [6/80]
Special Objects
- Word Wall: Frost Breath [1/3]
- Chest(s)
- Potions
- Loose gear
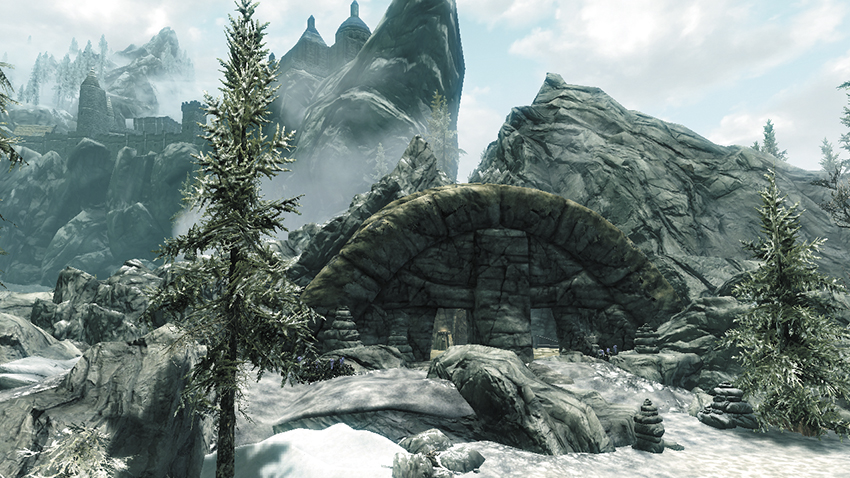
On a hill in Hjaalmarch’s northern marshlands lies the ominous entrance to the tomb of Mikrul Gauldurson, one of the three brothers sealed away in ancient times.
Exterior
The abandoned campsite outside the ruins hints at the fate that befell Daynas Valen’s adventuring party inside. Find his journal for some background on the expedition, then loot the urns near the tomb’s door.
- Daynas Valen’s Journal Folgunthur
 Door to Skyrim
 Trapped Passage
Beware the pressure plate in the very first passage—stepping on it causes spikes to stab out from the statues just ahead. Once you’re past the trap, don’t miss the burial urns in the nearby wall.
 Puzzle Pillar Chamber
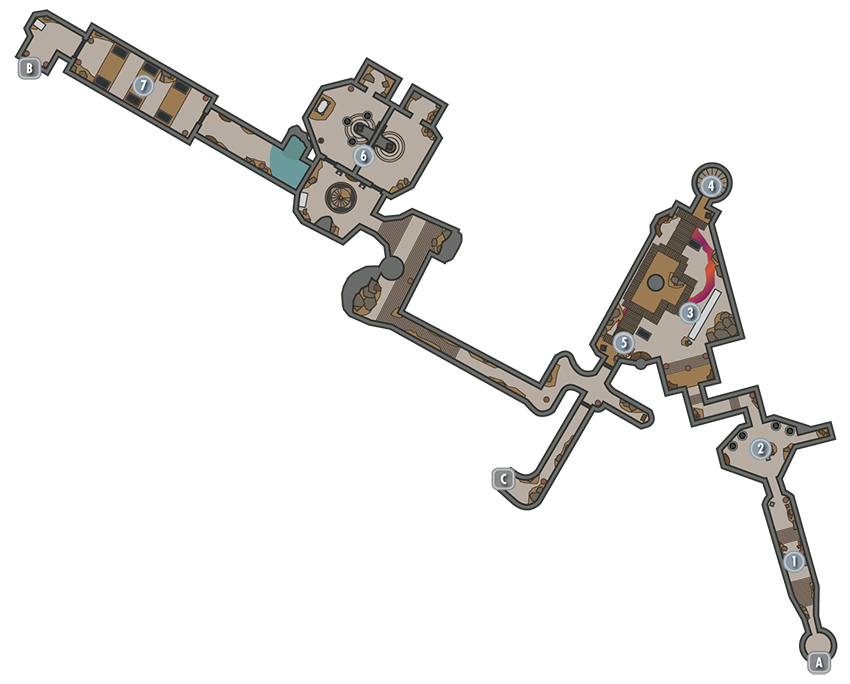
Daynas Valen’s adventurers already solved the puzzle in this room, so there’s little to do here during your first visit, but you can return after obtaining the Ivory Claw in [3]. Ignore the glyph puzzle and simply insert the claw into the keyhole on the east wall to open a small nook and expose a locked chest.
- Chest (Locked: Apprentice)
- Loose gear
 Dining Hall
Avoid a pressure plate and slay a few Draugr on your way to this wide chamber. A gate shuts behind you, trapping you with more undead. Pull the chain near the gate to open it if you’d like to retreat. Knock down the oil lamps or cast a fire spell to ignite the rivers of oil with explosive results. Discover a Skill Book near a corpse in a dark corner of the room. Upstairs, grab the Ivory Claw from Daynas Valen’s corpse and use it to lower a drawbridge.
- Danger! Flamethrower Trap (pressure plate), Oil Lamp Trap, Oil Pool Trap
- Dragon Claw: Ivory Claw [2/10] (Daynas Valen)
- Skill Book [One-Handed]: Fire and Darkness [B1/10]
- Daynas Valen’s Notes (Daynas Valen)
- Loose gear
 Stairwell 1
Use extreme care when entering this stairwell, which leads up to the dining hall’s second floor. A trapdoor opens beneath your feet as you enter, dunking you into a watery pit. The water actually spares you from falling onto lethal spikes—keep well away from the spikes as you carefully loot the sunken corpses, then swim onto the stairs (or pull the chain and let the trapdoor lift you up). Loot the corpses near an upstairs keyhole to at last discover the Ivory Claw. Insert the claw into the keyhole to lower the drawbridge ahead, which leads toward several Draugr and a passage to the lower crypts. Before entering the crypts, return to [2] and use the Ivory Claw to access a treasure nook.
 Crypt Corridors
Beware: Numerous Draugr roam these tight corridors, and pressure plates trigger lethal traps. Avoid the pressure plate in the corridor that leads toward a locked chest, and manipulate the levers in the opposing hall until all four portcullises have risen. Avoid a rockslide as you make your way deeper into the crypts.
- Danger! Rockfall Trap, Spear Trap (pressure plate)
- Chest (Locked: Novice)
- Potions
- Loose gear
 Stairwell 2
You must solve a Nordic Pillar Puzzle here in order to advance to the lower crypts. Ignore the room’s two levers and enter the northeast chamber. Note the order of the glyphs, then exit and pull either lever to access the northwest chamber. Rotate three glyph pillars here, mirroring the glyph sequence in the previous chamber (Hawk, Hawk, Dragon). Then exit and pull the chain on the far wall to open the central stairwell.
 Spider Tunnel
Slay a few Frostbite Spiders in this final passage, and beware a surprise ambush as you approach the puzzle door. The lights suddenly go out, and Draugr emerge from the sarcophagi around you. Cut them down, then inspect the Ivory Claw you found earlier and notice its three glyphs. Manipulate the puzzle door’s three rings to mimic the Ivory Claw’s glyph sequence (Hawk, Hawk, Dragon); then insert the Ivory Claw into the door’s central keyhole to open the path to the crypt.
- Potion
- Loose gear
 Door to Folgunthur Crypt
Folgunthur Crypt
As you pass through this cavernous crypt, Mikrul Gauldurson, a powerful undead warrior, suddenly rises from the central sarcophagus. Refer to Side Quest: Forbidden Legend for strategies on dealing with this powerful foe and his vampiric blade. Once he falls, loot him and the corpses of his thralls before using the Ivory Claw to open the far gates. Follow the sound of chanting to locate a Word Wall and gain a new Word of Power. Loot a massive chest as well before proceeding through the nearby door and returning to the main level.
- Word Wall: Frost Breath [1/3]
- Unique Item: Gauldur Amulet Fragment (Folgunthur) [6/112]
- Unique Weapon: Gauldur Blackblade [6/80]
- Potions
- Loose gear
 Door to Folgunthur Crypt