
Elder Scrolls V: Skyrim Special Edition Guide Quests Act III
Main Quest: The Fallen
>Main Quest: The Fallen
Part 1: Expert Mediation
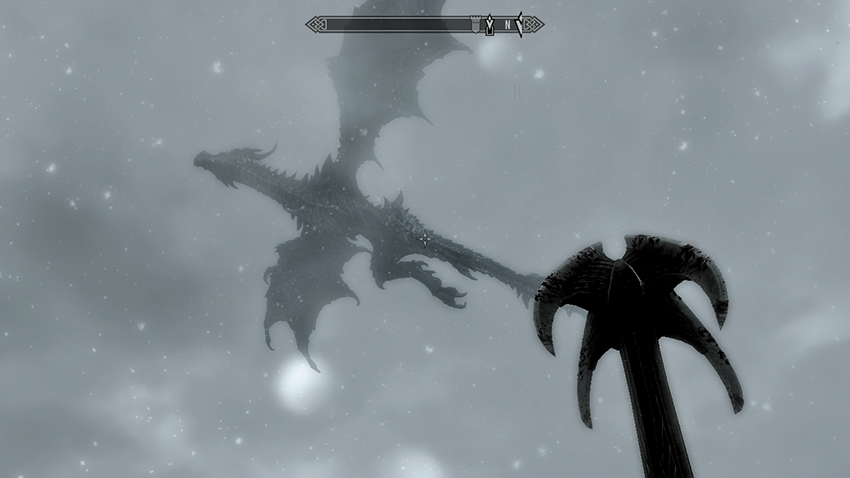
Alduin collapses to the ground after you deal him a particularly impressive blow. But the arch-dragon isn’t some common serpent; he is firstborn of Akatosh! He cannot be slain here, even by you. He takes to the skies, and even your Dragonrend cannot stop him. He seems weakened; he’s down but not out. Now you must seek the guidance of your chosen ally. You have three to choose from:
1. Paarthurnax
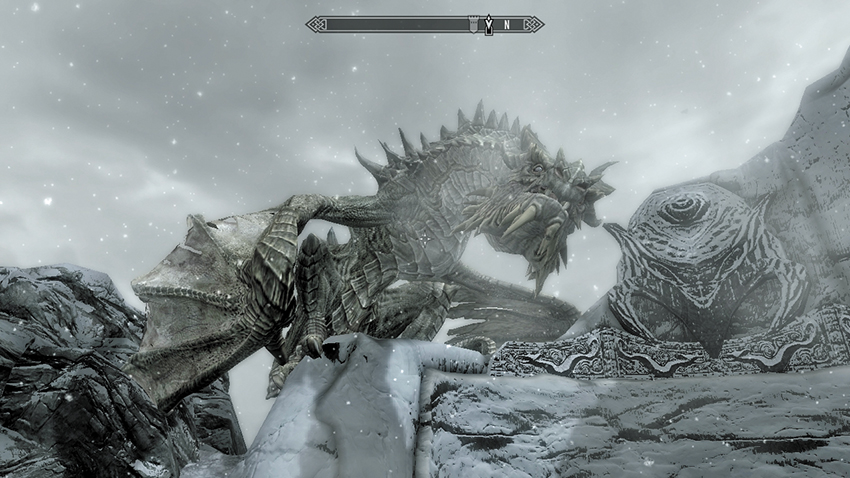
If you are favoring the kinship of the Greybeards over the Blades, you may seek council with Paarthurnax. Mention that you need to find out where Alduin went, and the dragon ponders this. Perhaps an ally of his could be convinced to betray him. Paarthurnax mentions that the palace in Whiterun—Dragonsreach—was originally built to house a captive dovah (dragon). It would be a fine place to trap an Alduin ally. You mention that the Jarl might need some convincing (as the quest updates). Then Paarthurnax tells you the story of how the place came to be named Dragonsreach.
2. Arngeir
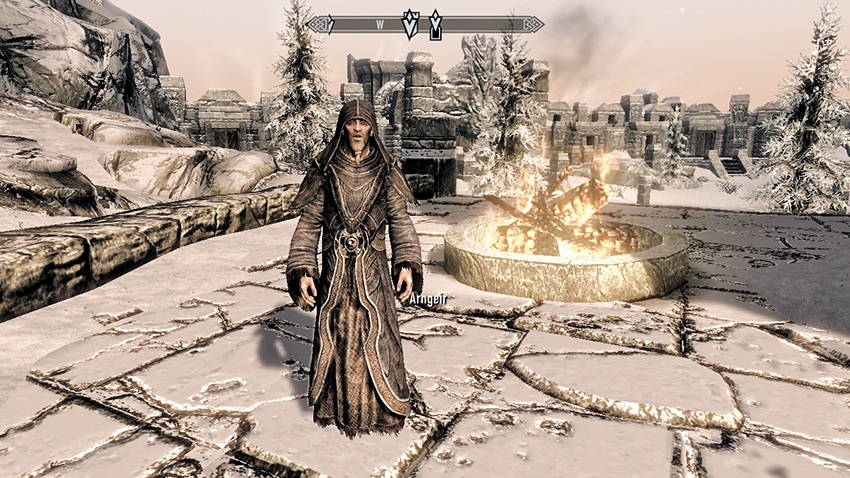
You may visit Master Arngeir, who heard the Dragonrend Shout from High Hrothgar. Arngeir tells you that Alduin can travel to Sovngarde to devour the souls of the dead, but no one knows how this is achieved. You reply that one of his dragon allies might reveal this. But there is one possibility: Dragonsreach, which was originally built to hold a captive dragon. This did indeed occur in the time of Olaf One-Eye, thousands of years ago. You might be able to trap a dragon there, once you have the Jarl’s cooperation.
3. Esbern
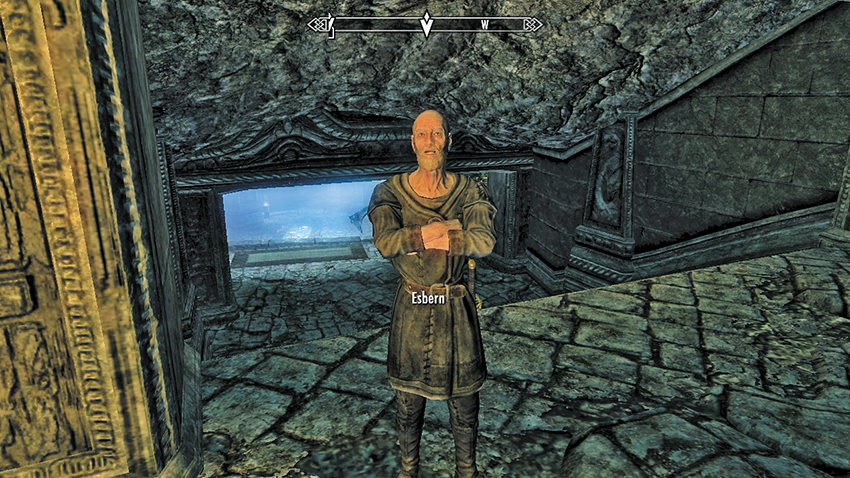
Or you can return to Esbern at the Sky Temple pavilion outside, and he asks what happened. He believes Alduin returned to Sovngarde to feed on the souls of the dead, and if you don’t find him soon, he’ll return stronger than ever. When you mention that his dragon allies might know where the portal to Sovngarde is, Esbern agrees and asks you about Dragonsreach. Apparently it was built to hold a captive dragon, back before the Akaviri crusaders cleansed Skyrim of dragons. You could trap a dragon there, but getting the Jarl to use his palace as a dragon trap might be impossible.
Return to Whiterun and visit Dragonsreach within its walls. Approach the Jarl, who is usually sitting under Numinex’s skull. Numinex is the dragon that Jarl Olaf One-Eye brought back to Whiterun. Request that the Jarl help you, as you require a trap to snare a dragon in the Jarl’s palace. The Jarl’s responses, and even the Jarl himself differs, depending on how the Civil War is progressing:
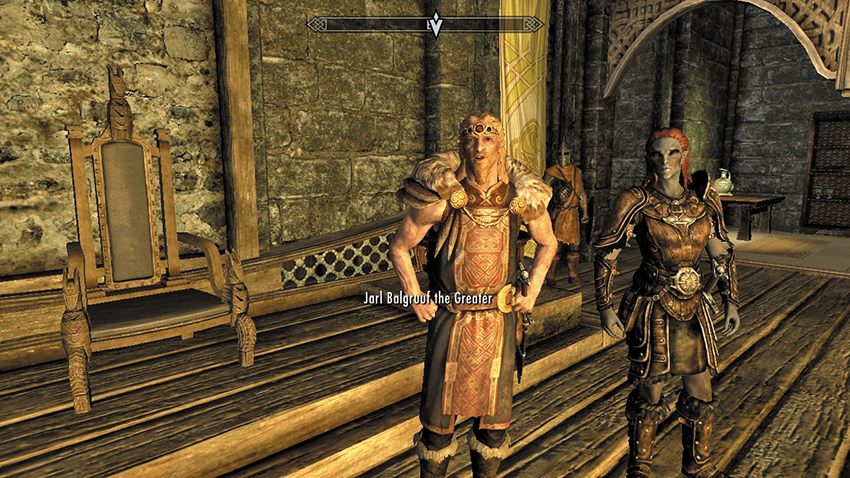
 Jarl Balgruuf the Greater is the Jarl if the Imperials still have this Hold during the Civil War or if you haven’t decided to start the Civil War.
If the Stormcloaks have one Hold left or have been completely wiped out, and the Imperials (to which Jarl Balgruuf has pledged loyalty) have emerged victorious in the Civil War, the Jarl begrudgingly agrees to let you try out your insane dragon-trapping plan. You can skip Main Quest: Season Unending (which occurs in the middle of this quest), and continue your plan on the Dragonsreach balcony. Main Quest: The Fallen (Part 2) begins.
If the Stormcloaks have more than one Hold left during the Civil War, or you haven’t started any of the Civil War Quests yet, the Jarl has more pressing matters than your lunatic schemes: Quest Conclusion Part 1 begins.
 Jarl Vignar the Revered is the Jarl if you’ve attacked Whiterun and driven out the forces loyal to Jarl Balgruuf and the Imperials and slaughtered those who defended the city.
If the Imperials have one Hold left or have been completely obliterated from the Holds’ major cities, and the Stormcloaks (who have installed this newly appointed Jarl) are victorious in the Civil War, the Jarl reluctantly agrees to let you perform your dragon-snaring act. You can skip Main Quest: Season Unending (which occurs in the middle of this quest), and continue the plan on the Dragonsreach balcony. Main Quest: The Fallen (Part 2) begins.
If the Imperials have more than one Hold left during the Civil War, but the Civil War is under way and Whiterun has fallen to the Stormcloaks, the Jarl has problems with the ongoing Civil War conflict. Quest Conclusion Part 1 begins.
Quest Conclusion Part 1
The Jarl has no time (or additional men) to spare to trap a dragon. Explain that this is the only way to find Alduin. The Jarl says he wants to help, but he requires your aid first. Ulfric Stormcloak and General Tullius are both waiting for the Jarl to make the wrong move, and the Jarl’s enemies won’t sit idly by while a dragon slaughters the Jarl’s forces. The Jarl cannot weaken the city while the threat of enemy attacks is looming. That threat would have to be nullified, even temporarily, for the Jarl to agree to your plan. For this to happen, both sides must agree to a truce, but the Jarl feels the bitterness runs too deep.
But all is not lost. The Greybeards might be willing to hold a peace council, and then perhaps Ulfric and Tullius will listen. You’re told to negotiate a peace deal, and so begins Main Quest: Season Unending.
Part 2: Epic Entanglement
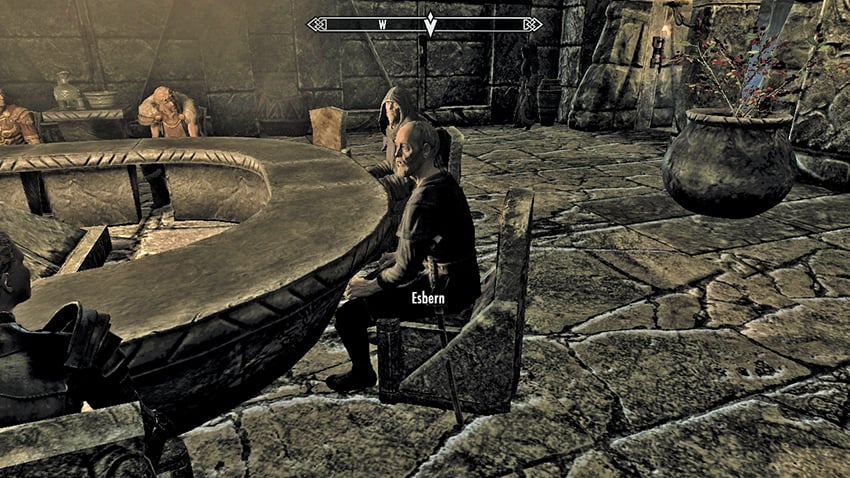
Once you have convinced the Jarl to aid you, you still need a way to lure a dragon into your trap. You have a choice of teachers:
- Esbern: who has been busy in the Sky Haven Temple library. It appears that the ancient Blades recorded many of the names of the dragons they slew. By cross-referencing the burial-site map that Delphine created from the Dragonstone, Esbern has identified one of Alduin’s raised dragons.
- Paarthurnax: whose arcane knowledge and commanding expertise of Shouts enables him to easily inform you of the Shout that you seek.
Because the names of dragons are always three Words of Power (Shouts), the dragon will hear and come to you when his name is bellowed. Your teacher has the name of Od-Ah-Viing (“Winged Snow Hunter”), and you learn the Shout to call Odahviing.
- Word of Power: Snow, Call Dragon
- Word of Power: Hunter, Call Dragon
- Word of Power: Wing, Call Dragon
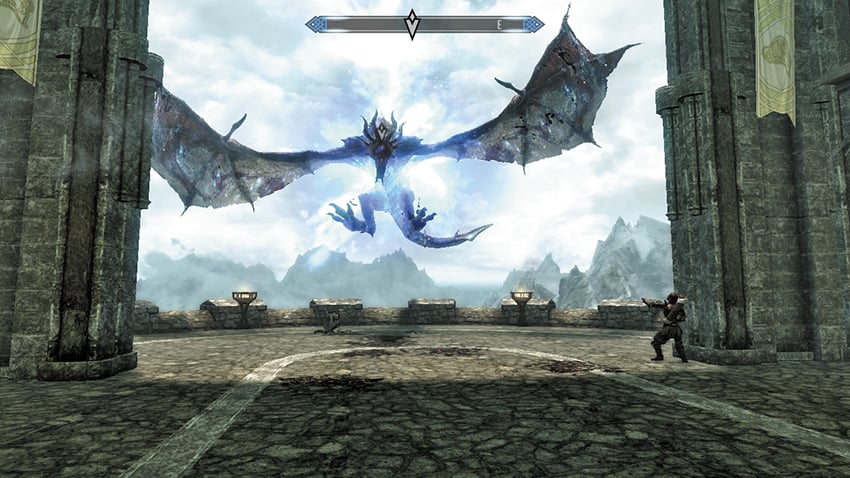
Now that you’ve learned the Call Dragon Shout, you can try it out anywhere. Odahviing appears in the skies, but he’s too far away to bring down using Dragonrend. As there’s no way to capture Odahviing until you reach Dragonsreach, return to Whiterun and speak with the Jarl. He is ready, so inform him you’re prepared to catch a dragon. Follow the Jarl up the steps to the side of his throne and out the doors to the northeast.
You emerge on the large stone battlements, which have a dragon-sized porch area. Move to the crenellations at the structure’s northeast edge, where the Jarl tells you to call; his men are ready. Execute the Call Dragon Shout and wait a few moments. The ominous sound of leathery wings echoes across the tundra.
The mighty red beast soars up and attacks the battlements. At this point, you must bring Odahviing down and spring the trap:
Dragon Trapping: It is important to note that you’re trapping—and not killing—Odahviing. Attacking with ranged spells or arrows usually annoys Odahviing enough for him to swoop and land on the battlements.
An easier plan is to yell the Dragonrend Shout at Odahviing. This hampers his flying and makes him drop onto the battlements without having to lengthen this already-difficult battle.
When he drops onto Dragonsreach, Odahviing advances on his wings, furious at being forced to land. Back up (to the southwest) so Odahviing enters the giant hallway and passes between the two huge chains attached to the giant stocks contraption. When the dragon moves forward, the stocks slam down, trapping Odahviing!
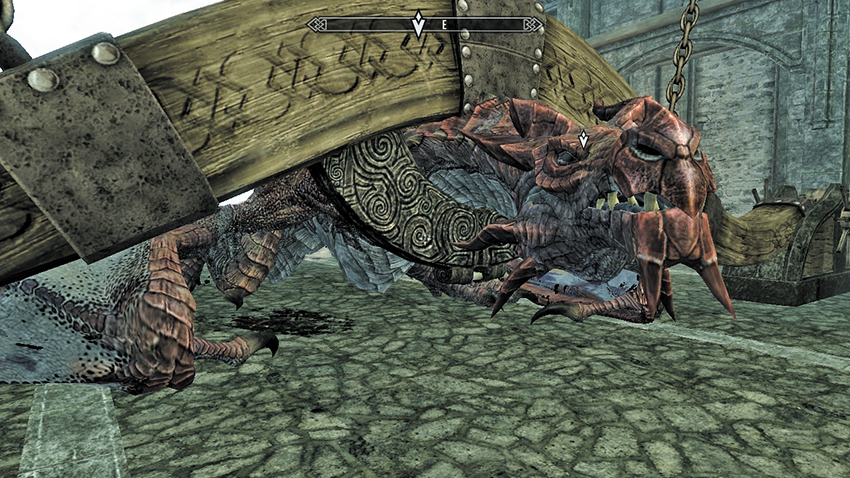
Odahviing feels humiliated and is perhaps a little impressed by your trapping talents. Ask where Alduin is hiding (and then ask again), and Odahviing reveals Alduin has traveled to Sovngarde to regain his strength. The door to Sovngarde is located at Skuldafn, one of his ancient fanes (temples) high in the eastern mountains. After answering your questions, Odahviing asks to be freed. Answer that he must serve you. Odahviing initially refuses but remembers one important detail he forgot to mention...
Quest Conclusion Part 2
It seems that Skuldafn can be entered only by flying. Odahviing offers to fly you there, but only after you free him. This conundrum is concluded at the start of the next quest.
Postquest Activities
Once you’re pondering how to reach Skuldafn and setting Odahviing free, Main Quest: The World-Eater’s Eyrie begins.