
Elder Scrolls V: Skyrim Special Edition Guide Dawnguard Quests Dawnguard Main Quest
Dawnguard Main Quest: Prophet
Prophet
Vampires: A Prequel to Prophecy
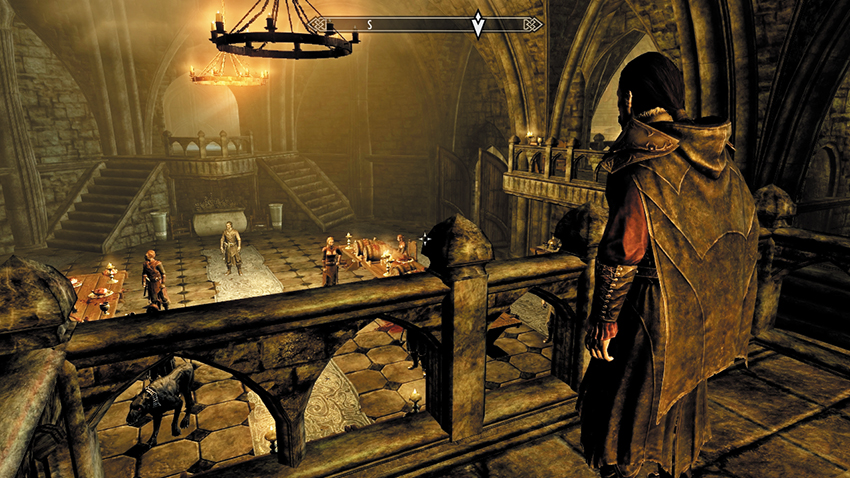
Once you’ve spoken to Garan Marethi and explained your successes during Dawnguard Main Quest: The Bloodstone Chalice, the Dark Elf tells you to locate Lord Harkon, who wishes to speak with you. You’ll find Harkon in one of his private chambers. Harkon reveals his true ambitions, stating that the vampire’s greatest weakness is the sun, an enemy they’ve had no way to fight—that is, until he found an old prophecy written by a Moth Priest, the scholars who read the Elder Scrolls.
Harkon has been obsessed with the prophecy ever since, as it tells of a time when the vampires gain power over the sun itself. He believes Serana’s Elder Scroll is the key to unraveling that prophecy. He has ordered his court to assemble and has a new task for all of them to carry out, including you.
Follow Lord Harkon to his balcony overlooking the banquet hall. He hails his scions of the night, proclaiming that the prophesied time is upon them. Now that the Elder Scroll is in their possession, Harkon requires a Moth Priest to read it. To this end, he has spread false rumors about the discovery of an Elder Scroll in Skyrim to lure a Moth Priest to these parts, and now his minions must search the land to see if one can be found. He wants his brood to look to the cities, speaking to innkeepers, carriage drivers, anyone who would meet a traveler. That is his command.
After the proclamation, Serana approaches you. Ask for her opinion, and she recommends asking a mage at the College of Winterhold. The quest updates with the following objectives, after which you can quiz Serana on her knowledge of the Elder Scrolls and on her life as a vampire.
Dawnguard: An Uneasy Alliance
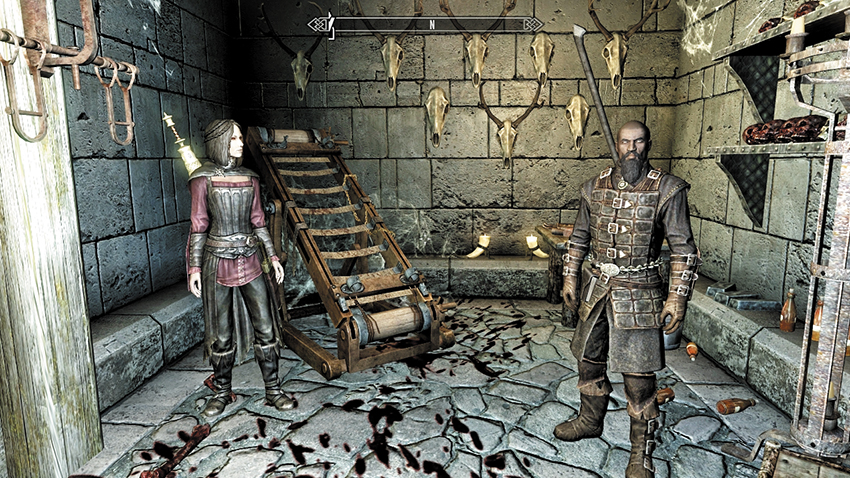
Once Isran has verified that none of his new brethren are night stalkers, he beckons you upstairs to a chamber with a rack and a collection of severed heads. Here you must deal with a vampire that actually had the gall to enter the fort looking for you. Lady Serana is waiting here, much to Isran’s chagrin. Apparently, Serana has something really important to say to you.
Serana begs you to listen, before Isran loses his patience: She has important information regarding the Elder Scroll she was buried with. She explains that her father, an unpleasant character even by vampiric standards, has stumbled onto an obscure prophecy and lost himself in it. She doesn’t know the details, except that Lord Harkon has become obsessed with part of the prophecy, stating that vampires would no longer need to fear the sun. He wishes to control the sun and wreck havoc across the world. Serana’s mother wasn’t happy with the prospect of a war with all of Tamriel, so she tried to stop him, which is why Serana was sealed away in the first place. Serana wants to finish what her mother started. But for that to happen, the Dawnguard need to embrace her. In a nonvampiric way, naturally.
Your conversation with Isran begins with him violently opposed to Serana. Respond as you wish, and Isran gives in just a little. Instead of out-and-out hostility, he figures Serana must have a death wish or is insane. Neither matters to him. But he’ll tolerate her until the moment she lays a finger on anyone here.
After some barbed comments with Isran, Serana turns and explains that the Elder Scroll she carries cannot be read by either of you. Only the Moth Priests have this ability, but she has no idea where to find one. Isran interjects at this point, mentioning an Imperial scholar he saw in Skyrim a few days ago. But he isn’t about to waste men trying to find him. However, he suggests you ask innkeepers, carriage drivers, and the like for clues as to the scholar’s whereabouts. Ask Serana for her opinion, and she recommends asking a mage over at the College of Winterhold. The quest updates with the following objectives, after which you can quiz Serana on her knowledge of the Elder Scrolls and on her life as a vampire.
To Catch a Moth Priest
Optional Plan 1
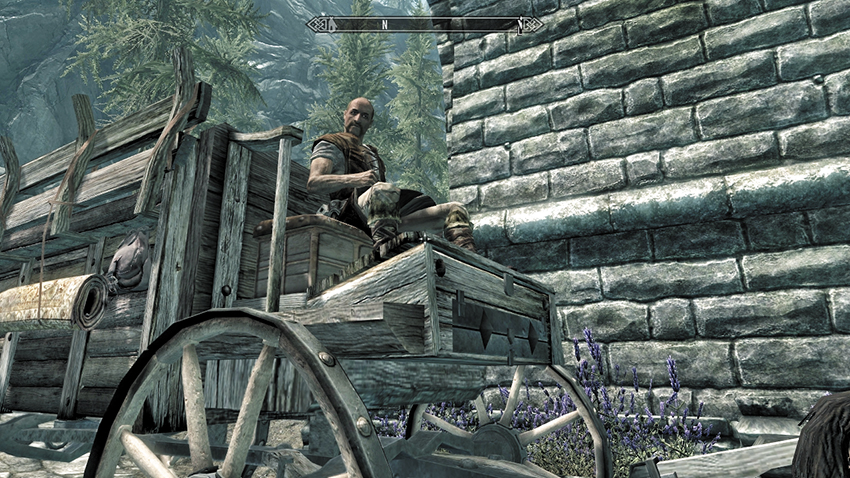
Carriage drivers: One plan is to see whether a carriage driver has seen a Moth Priest on their travels. Simply approach one of them (say, Thaer outside of Solitude) and ask. He describes the scholar with impressive precision but then conveniently “forgets” any specific details. You can:
- (Persuade) Try pleading, telling him it’s vital you find him.
- (Bribe) Offer a considerable sum of septims to reveal his knowledge.
- Ignore him and try one of the other plans.
If either option is successful, you need not complete the other optional plans. Head to Dragon Bridge, where the driver mentions the Moth Priest was last seen.
Optional Plan 2
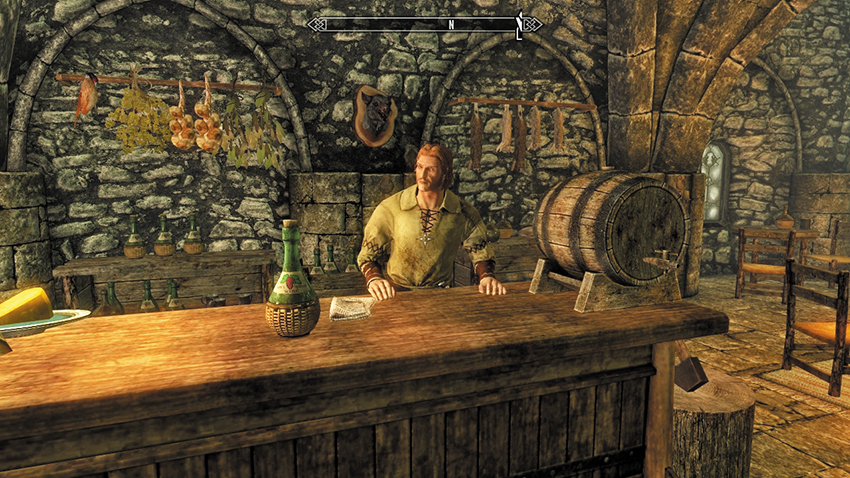
Innkeepers: Another option is to press the innkeepers in any of the cities for scuttlebutt about new Imperial arrivals. You can easily travel to any of them and ask about a Moth Priest passing through. Most haven’t seen one, but Corpulus Vinius, owner of the Winking Skeever in Solitude, is more circumspect. You can:
- (Persuade) Tell him it’s important you find him straightaway.
- (Bribe) Offer some coinage for his troubles.
- Try your luck elsewhere with one of the other plans.
If one of the options is successful, you do not need to finish either of the other optional plans and can visit Dragon Bridge now.
Optional Plan 3
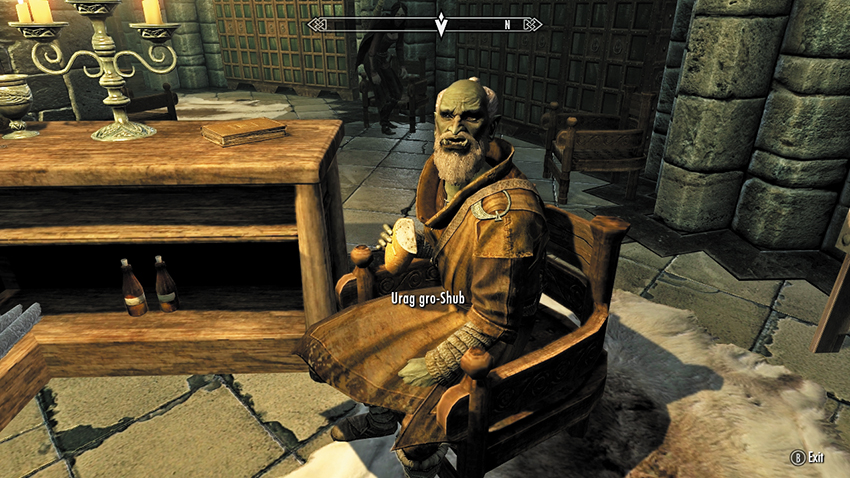
The College of Winterhold: This option is much easier if you’ve already completed College of Winterhold Quest: First Lessons or Main Quest: Elder Knowledge and you’ve already gained entrance to the College. If you haven’t, read over the College Quest and prepare the spell for Faralda, who guards the bridge to the College. Once inside the College, head to the Arcanaeum and locate the Lorekeeper, Urag gro-Shub. Inform him you’re trying to find a Moth Priest.
Urag gro-Shub tells you that the Priest stopped to research some texts in his library before setting out for Dragon Bridge. Head there now, as you don’t need to complete the other two optional plans.
After you complete Optional Plans 1, 2, or 3 (you need finish only one or simply skip them and head straight to Dragon Bridge), the following objective becomes available:
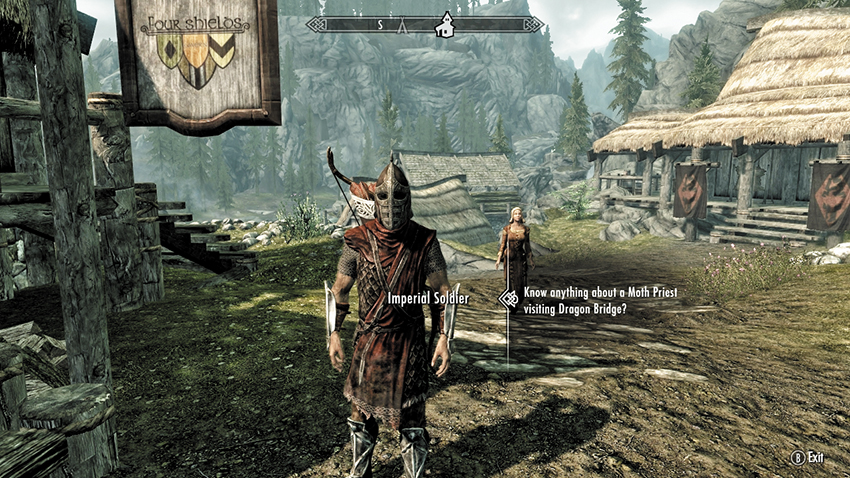
Divulging at Dragon Bridge: Whether you’ve completed the optional objectives or not, set out for Dragon Bridge and ask around town about a Moth Priest visiting the place. The best bet is to stop and speak to an Imperial Soldier stationed here. He tells you the priest rode through town with an escort of soldiers not long ago. They were headed south.
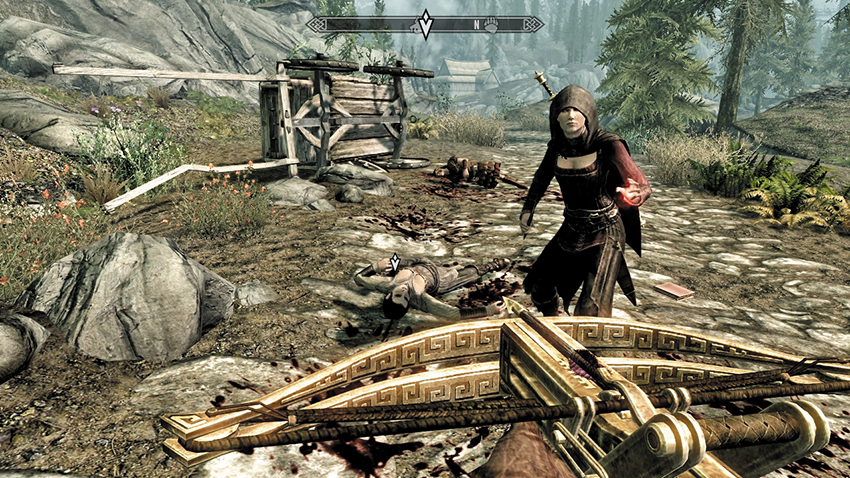
Move south across the Dragon Bridge and into Hjaalmarch Hold, following the cobblestone road. Your heart sinks as you spot an overturned carriage and bodies strewn near the next bridge. Your quest updates. Among the dead and a scattered copy of Effects of the Elder Scrolls is a vampire’s corpse. Search it and read the Vampire’s Note; it is from a man named Malkus giving orders for the ambush. The Moth Priest has been taken to the nearby Forebears’ Holdout, a new location close by.
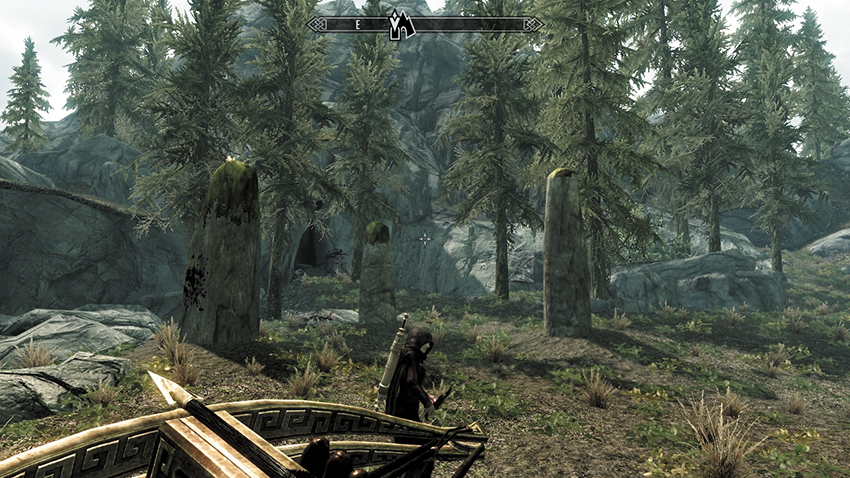
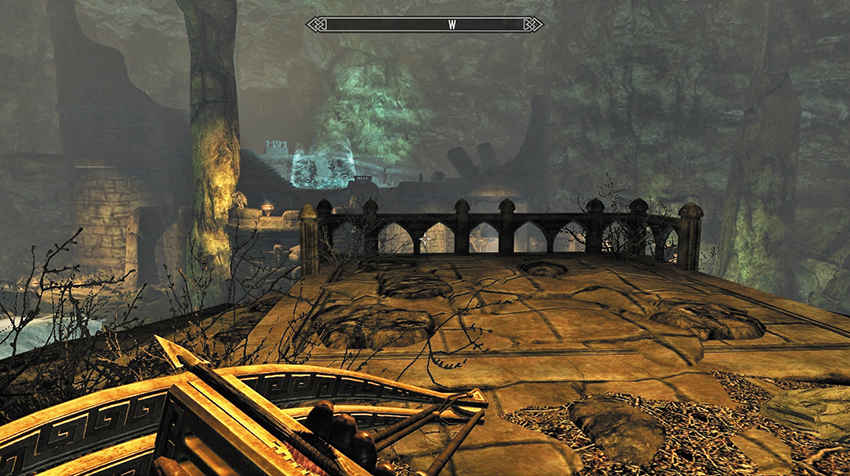
Over the bridge and in the low foothills is a collection of standing stones marking the entrance to Forebears’ Holdout. The narrow rocky tunnel opens up to a much larger subterranean fortification (second picture), with a strange stone plateau upon which a shimmering barrier has been conjured. Take care, as the place is populated by enemies.
Vanquishing Vanik’s Dawnguard
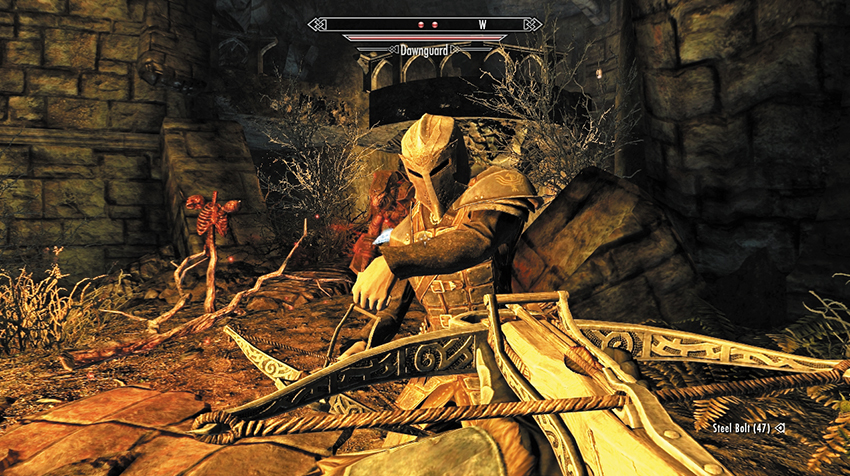
You may attack from range, at the initial balcony. Turn left (south), and walk through the giant stalagmites to the stone bridge, bringing down Armored Huskies as you go. Continue along the opposite riverbank, sneaking or battling your way into a large and roughly circular bailey, with a giant bonfire in the middle of it. Engage the Dawnguard and their Armored Troll as you fight up onto the crenellations, toward a strange and shimmering magical barrier. A vampire named Malkus has been slain by the Dawnguard’s leader, a foe named Vanik; you must vanquish him at this upper stone summoning plateau. Then search Malkus’s corpse for a Weystone Focus.
- Weystone Focus
Climb the stone steps to the balcony overlooking the magical barrier surrounded by open coffins, and press the Weystone Focus into the Source. The Weystones imprisoning the figure inside the vortex recede, releasing a man named Dexion Evicus, the fabled Moth Priest you’ve been searching for. He is quite hostile toward you and must be faced in combat. Fight him until he falls to his knees.
Dexion’s Enthralled Ruminations
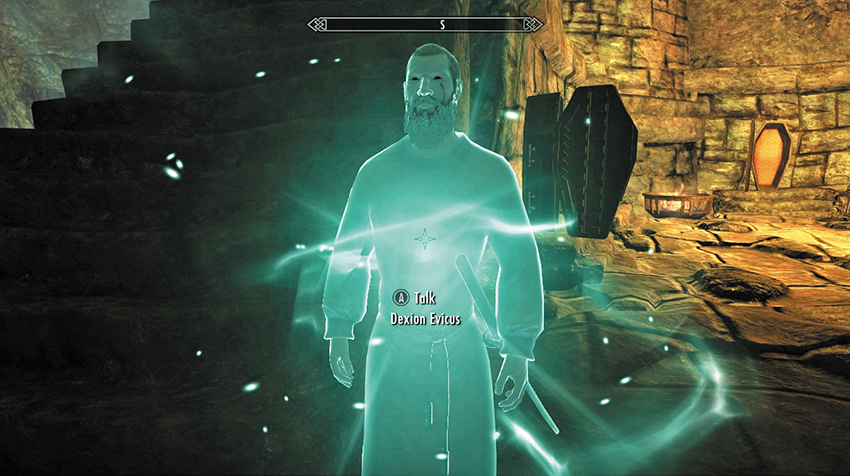
Once the Moth Priest yields but is still hostile to your actions, you are prompted to employ your Vampire’s Seduction (Magic > Powers) on him. Once he’s bathed in green light, talk to Dexion Evicus and feed on him. Once you’ve sunk your teeth into his neck and fed, speak to him again. He has been blinded by your majesty and must obey you! Command him to travel to Castle Volkihar. He agrees and sets off shortly. You may also wish to ask him about what exactly it is he does and about the Elder Scrolls. You need not chaperone him; he will be at the castle the next time you’re there.
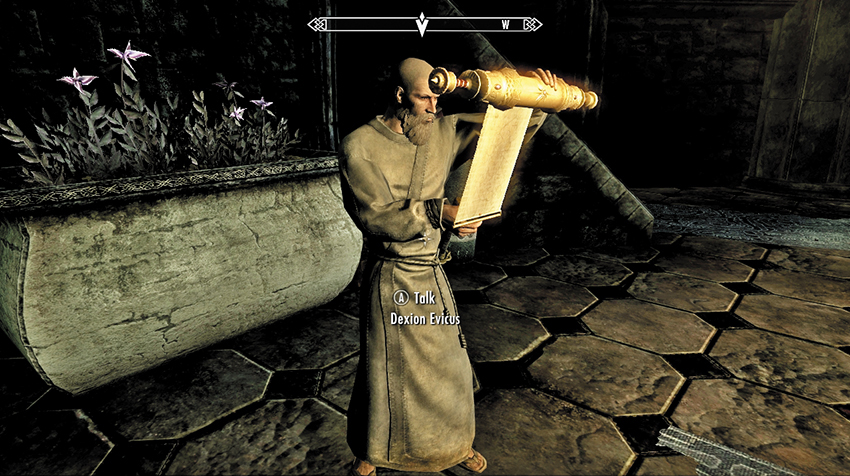
Back inside Volkihar Castle’s keep, stride toward Lord Harkon, who is already congratulating you and Serana on locating the Moth Priest. Tell Harkon you’ve made the Moth Priest your thrall, mentioning the Dawnguard you fought to reach him (any answer is fine). Harkon then wishes you would command your puppet to read the words of the prophecy.
Head over to the Moth Priest and request he read Serana’s Elder Scroll. He unfurls the scroll parchment and begins his vision. He sees a great weapon called Auriel’s Bow. He reads the scroll aloud, foretelling “darkness mingling with light and the night and day will be as one.” The secret to the bow’s power is written elsewhere, recorded in other scrolls. One contains the ancient secrets of the dragons, while the other speaks of the potency of ancient blood. Dexion’s vision fades, and he tells you that to complete the prophecy, the other two scrolls must be obtained.
Quest Conclusion: Three Scrolls to Find
Lord Harkon could best be described as “nonplussed” when you return to him, as the reading gave far less information than he was expecting. Ask him where these other scrolls are, and he admits his “traitor wife” stole one of them before disappearing. As for the other? He believes it was lost in the bowels of a Dwemer ruin. This quest now concludes.
Vanquishing Malkus’s Vampires
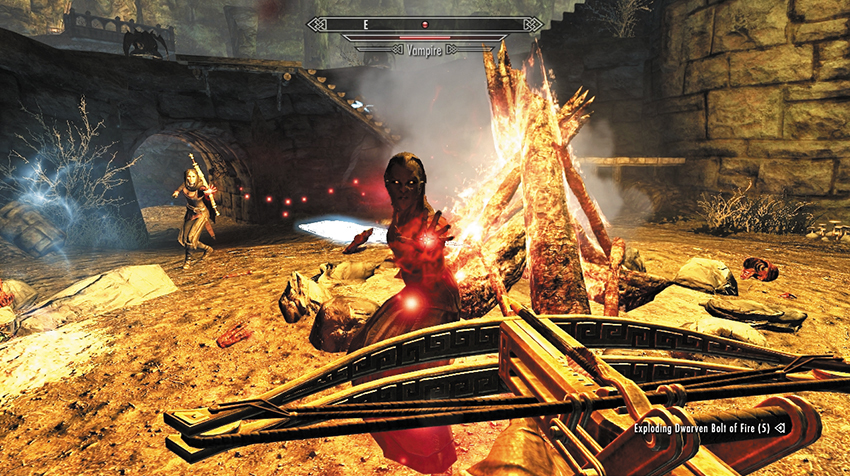
You can try ranged attacks from the initial balcony. Turn left (south), and walk down through the giant stalagmites to the stone bridge, bringing down Death Hounds as you go. Continue along the opposite riverbank, sneaking or battling into a large and roughly circular bailey, with a giant bonfire in the middle of it. Engage vampires and Vampire Thralls as you fight up onto the crenellations, toward a strange and shimmering magical barrier. An unclean vampire named Malkus is waiting to thwart you at this upper stone summoning plateau. Defeat him, then search his corpse for a Weystone Focus.
- Weystone Focus
Climb the stone steps to the balcony overlooking the magical barrier surrounded by open coffins, and press the Weystone Focus into the Source. The Weystones imprisoning the figure inside the vortex recede, freeing a man named Dexion Evicus, the fabled Moth Priest you’ve been searching for. Unfortunately, he is still under the power of the vampire and must be thwarted in combat. Fight him until he crumples to his knees.
Dexion’s Imprecise Ponderings
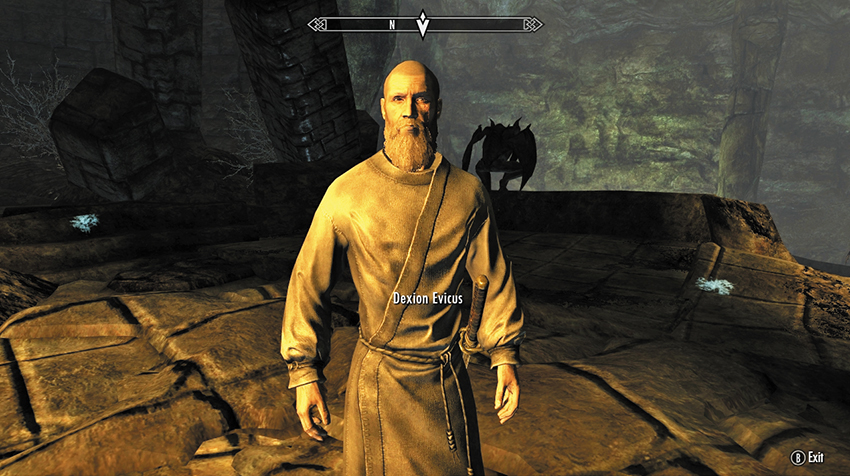
Once the Moth Priest yields, he begs you to forgive him, saying that wasn’t him you were fighting—he was being controlled by others. But now that you’ve broken the foul vampire’s hold over him, Dexion Evicus is most grateful. Ask him if he’s all right, and inform him that you’re after him for the same purpose. Answer how you wish, encouraging Dexion to visit Fort Dawnguard. He agrees and sets off shortly. You may also ask him about what it is he does exactly and about the Elder Scrolls. You need not chaperone him; he will be at the castle the next time you’re there.
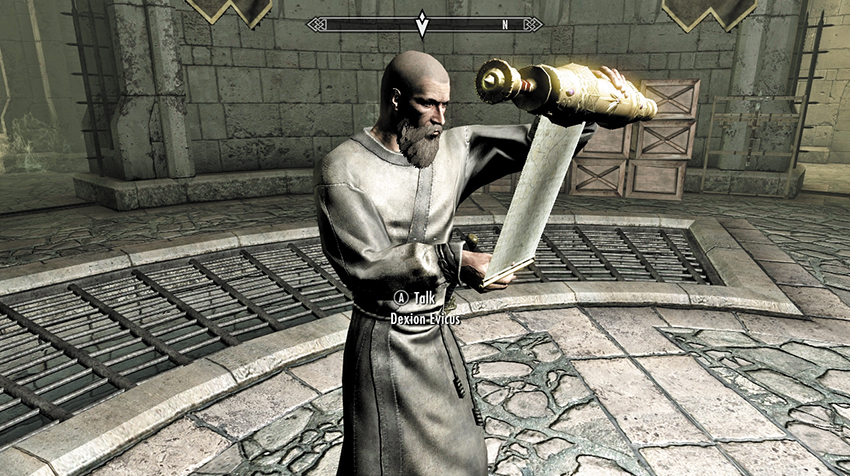
Back inside Fort Dawnguard’s keep, walk toward Isran, who is already congratulating you and Serana on locating the Moth Priest. Ask Isran if he has the Scroll and if everything is ready, and Isran answers in the affirmative, telling you to speak to the Moth Priest when you’re ready to listen to his ruminations.
Approach the Moth Priest and ask if he’s ready to read the Elder Scroll. He appears to be, asking everyone to quiet down so he can concentrate. He unfurls the scroll parchment and begins his vision. He sees a great weapon called Auriel’s Bow. He reads the scroll aloud, foretelling “darkness mingling with light and the night and day will be as one.” The secret to the bow’s power is written elsewhere, recorded in other scrolls. One contains the ancient secrets of the dragons, while the other speaks of the potency of ancient blood. Dexion’s vision fades, and he tells you that to complete the prophecy, the other two scrolls must be obtained.
Quest Conclusion: A Trio of Scrolls to Source
The Moth Priest heads off to rest, and Isran leaves to attend to other matters, leaving you and Serana to ponder the location of the other scrolls. Serana admits her mother stole one of them before disappearing. As for the other? She believes it to be lost in the catacombs of an ancient Dwemer ruin. This quest now concludes.
Postquest Activities
As soon as you finish speaking with either Lord Harkon (Vampires) or Isran (Dawnguard), this quest concludes, and at least three new Dawnguard Main Quests may commence: Seeking Disclosure (which tracks when both remaining Elder Scrolls are found), Chasing Echoes (the quest to find the Elder Scroll [Blood]), and Scroll Scouting (the quest to find the Elder Scroll [Dragons], if you don’t already have it). The latter two quests can be attempted in either order.