
Elder Scrolls V: Skyrim Special Edition Guide Quests Side Quests
Side Quests: Rise in the East
Rise in the East
Problems with Pirates
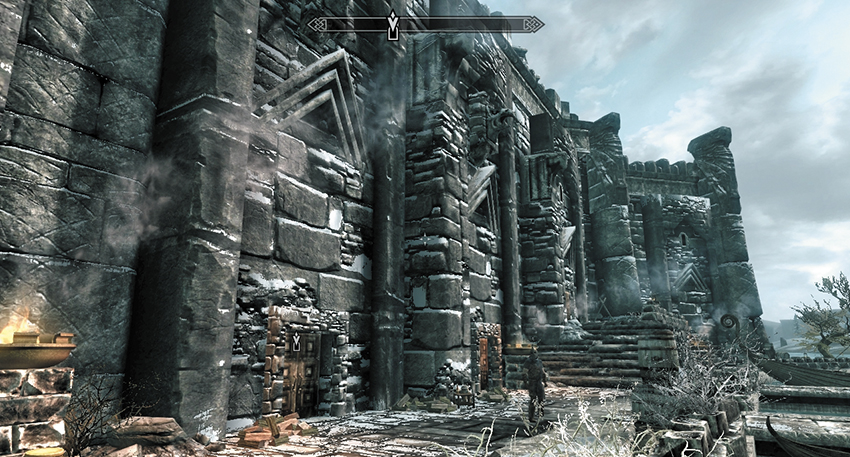
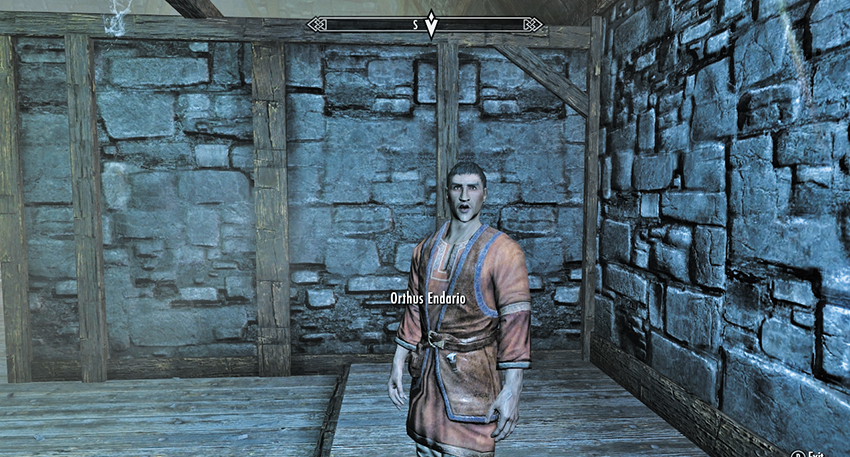
The East Empire Company has trading offices in both Solitude and Windhelm, but it is having some difficulties maintaining its presence in Windhelm. Visit the icy docks just outside Windhelm, and locate the company office below the city wall. Inside, greet Orthus Endario, who apologizes for the run-down nature of the place. It transpires that the company can’t keep the trade going around here thanks to recent attacks by pirates raiding all along the coast. Only Windhelm’s powerful Shatter-Shield clan appears safe from these marauders, who call themselves “Blood Horkers.” Endario suspects the Shatter-Shields are involved and hopes you might want to help find some proof of this. Apparently, their operations are overseen by a Dark Elf named Survaris Atheron. If her meticulously detailed logbook were to end up with Orthus, he’d be most grateful. Ask for more information on the pirates before you agree, and leave the premises.
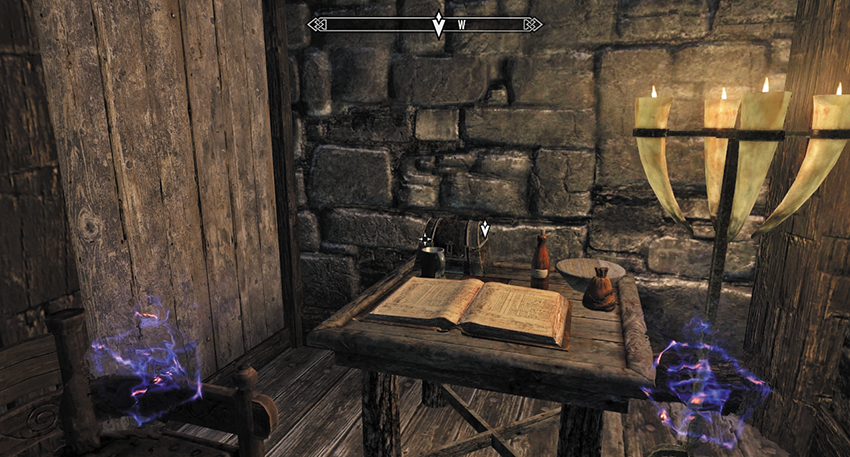
Fortunately, Clan Shatter-Shield’s office is right next door! Unfortunately, the entrance is usually locked (Master) during the night, and there are numerous visitors during the day.
(Lockpick) Pry open the locked door and sneak inside. The ideal time to attempt this is during the night, when no one is inside the office. The ledger is on a table in the office’s far-left (northwest) corner. It makes interesting reading. Snatch the logbook and leave the premises quickly. Expect additions to your Crime if you’re caught breaking in.
- Survaris Atheron’s Logbook
Return to Orthus, and tell him you have the logbook. It appears Survaris has been traveling to Dawnstar to meet with pirates. Orthus wants you to head there, find out about these Blood Horkers, and speak with their captain, Stig Salt-Plank, regarding the whereabouts of the pirate’s fortress lair.
Meeting Two Captains
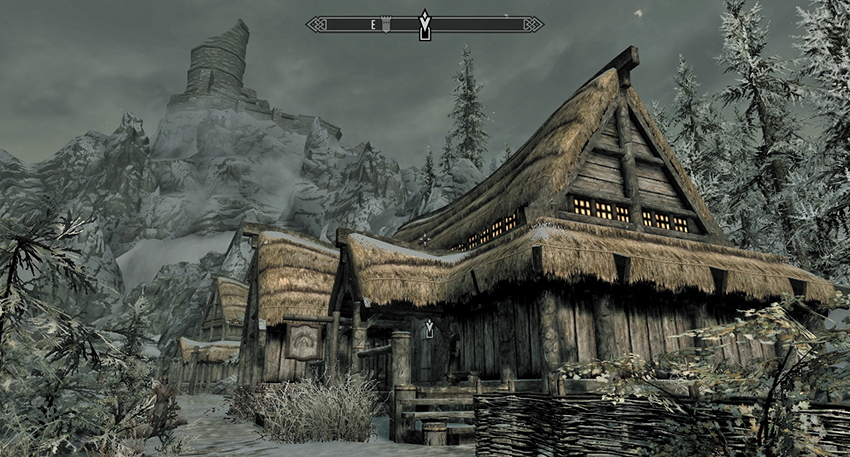
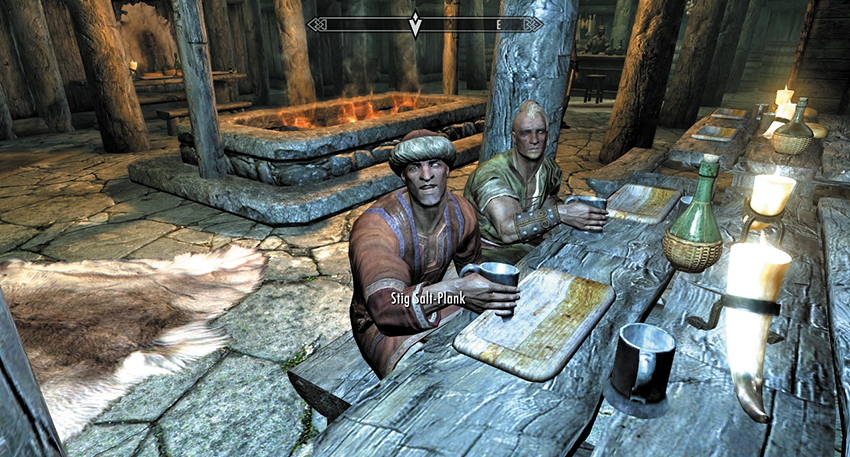
Trek to Dawnstar and locate the pirates. They are having a good time in the Windpeak Inn. Maneuver through the drunkards to reach Stig Salt-Plank, and ask him about the Blood Horkers. He’s been their captain for the past nine years, and says the raging Civil War has been great for plunder. He mentions someone named “Haldyn.” Quiz him on this person, and he reveals Haldyn to be a powerful battle-mage who runs the entire operation and keeps the battles in the Blood Horkers’ favor. Ask where you can go to join this operation and Stig refuses to tell you.
You can:
- (Brawl) Fight with fists to beat the location out of him. Remember, no weapons!
- (Bribe) Ply him with gold so he reveals the location.
- Or you can bring out your proper weapons, slay this reprobate, and lift the orders off his corpse. Naturally, this adds to your Crime.
Once you are successful in your plan, Stig reveals that the pirates convene at Japhet’s Folly.
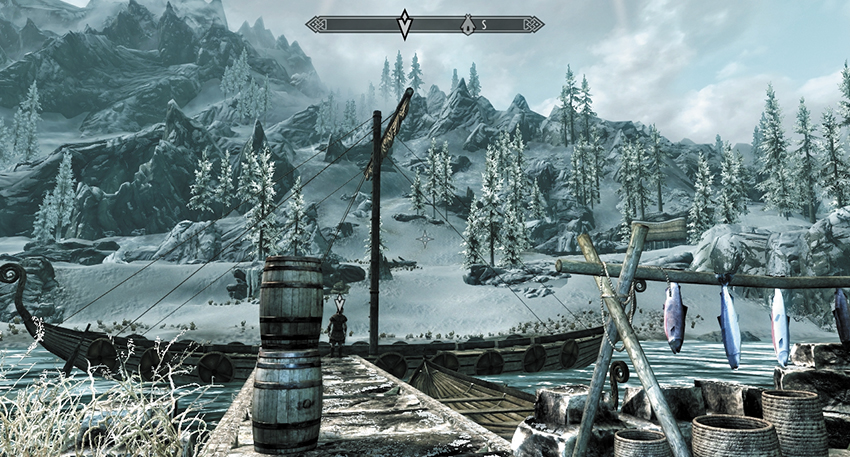
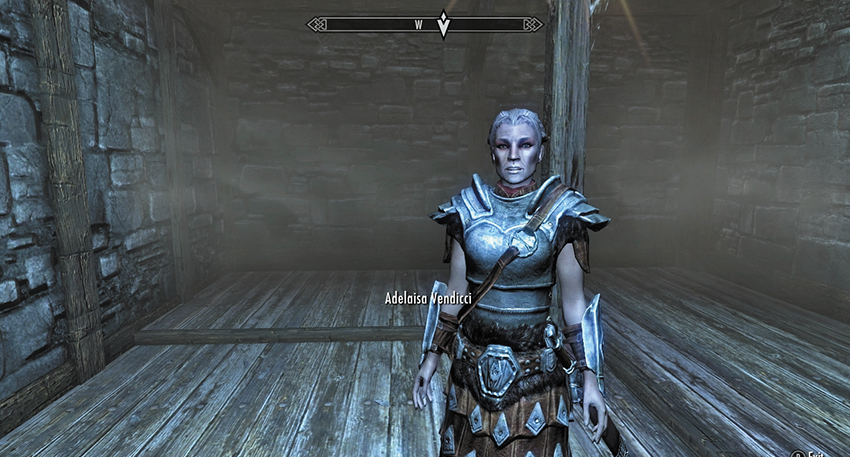
When you return to the East Empire Company’s Windhelm office, you find a little more activity: A stern-faced woman named Adelaisa Vendicci is admonishing Orthus; sniveling isn’t going to get all the gold back that the company is losing. Orthus explains he has someone investigating this plundering, and when Adelaisa spots you, she turns to you for some action. Inform her that the Blood Horkers are led by a battle-mage named Haldyn. Although a direct assault on the Blood Horkers may now be more fraught that she previously thought, she nevertheless orders you to head for the ships: The East Empire Company is planning to attack right back! Before you leave, you can find out a little more about Haldyn’s fearsome control of Destruction magic.
Exit the company office, and head to the rowboat moored at the dock. An East Empire Mercenary is waiting to transport you to Japhet’s Folly. Confirm you’re ready, and you’re taken aboard one of the East Empire’s galleons.
Assault on Japhet’s Folly
The weather is getting inhospitable. Approach Adelaisa Vendicci on deck, and ask her what the plan is. She tells you that Haldyn has been known to obscure his hideaways using magic (usually island-shrouding fog), so they think they’ve arrived at Japhet’s Folly. As the crew are a little jittery to face such a powerful battle-mage, you’re to take him out first, while Adelaisa and her men handle the island assault once the coast is clear. Literally.
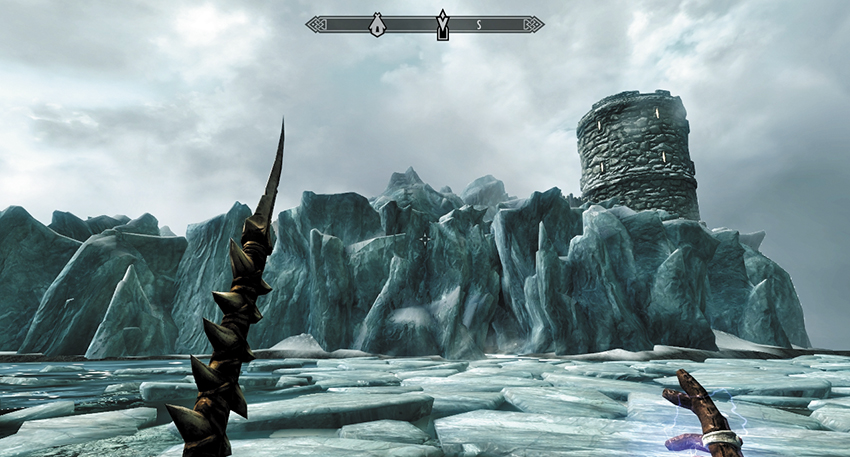
Leap from the deck and land on the thick sections of ice below. Then jump across the gaps in the ice floe, heading south until the folly (the small stone tower) looms out of the mists. To your left (east) are the Blood Horker docks. Ahead of you is a Sea Cave, where a clandestine infiltration of Japhet’s Folly should begin. Enter the Sea Cave.
Wade through the icy tunnel, past the old rowboat. Slice open a couple of mudcrabs. Climb up into an ice-laden storage cave with a stone wall ahead (south) of you. It is here that you’ll encounter your first Blood Horker pirate. Sneak past or kill him, then enter the cellar pantry (where more potions can be gathered for the combat to come) and climb the steps up to enter Japhet’s Folly Towers.
Begin climbing the spiral staircase, watching for a swinging gate trap and more Blood Horker combat as you ascend (or coax the Blood Horker toward the trap and spring it on them). At the top of the first tower, check the storage rooms for items before opening the wooden door and heading along the connecting passage to the second tower. Pass the door requiring a key to open it and continue southeast. You encounter another pirate and a spiral stone staircase down. Descend to more Blood Horker combat. But remain atop this second tower so you can face and defeat Haldyn.
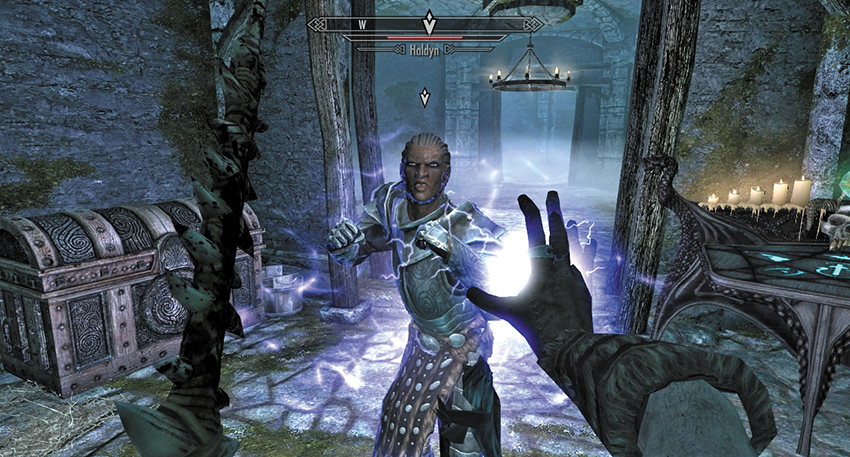
Haldyn enjoys attacking with fierce electrical attacks. When Haldyn finally falls, as your quest updates, give the battle-mage a quick search. You’ll find a key. This opens the door you passed earlier, between the towers. Head down the spiral stairs if you wish to encounter more foes, and open a door (Expert) to a small storage room with items to purloin. Exit the island and let Adelaisa know of your morale-boosting slaughter of Haldyn.
- Japhet’s Folly Key
The time has come to exit Japhet’s Folly Towers—via the door you unlocked using Haldyn’s Key. You’re in for an explosive finale, as the East Empire Company is bombarding the island with cannon fire. Fight (or sneak) past the blasts, tackling any Blood Horker stragglers as you go. Make a vaguely northeast route through the ruined harbor structures to the jetty, where Adelaisa waits.
Adelaisa explains that she began the bombardment once Haldyn died, as the fog he conjured also left with his spirit. With the Blood Horker base of operations decimated, Adelaisa asks whether you’re ready to head back to Skyrim and celebrate. Refuse if you want to explore Japhet’s Folly some more, or agree when you want to leave.
Quest Conclusion
You arrive back at Windhelm docks. Enter the East Empire Company office and locate Orthus. When you tell him the pirate haven has been destroyed, he can’t express how much easier you’ve made his job. Now for the small matter of the payment. When the gold has changed hands, you can also speak to Adelaisa. She’s impressed with your abilities and is happy to take some time away from her duties to follow you. Orthus is now friendly toward you, although the folks over at the East Empire Warehouse just outside Solitude aren’t thrilled by your presence.
- 500 gold pieces
- Follower: Adelaisa Vendicci