
Elder Scrolls V: Skyrim Special Edition Guide Quests Act I
Main Quest: A Blade in the Dark
Main Quest: A Blade in the Dark
Grave Concerns
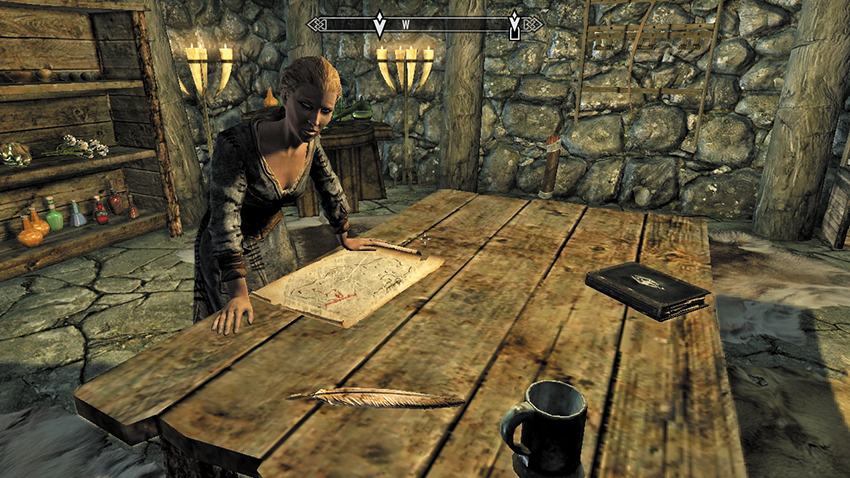
Once Delphine has given you the Horn of Jurgen Windcaller, she requests that you follow her. Oblige her, walking across the inn to the bedroom opposite, where Delphine opens a cabinet and pushes the fake back, revealing a secret set of cellar steps. This leads to a war room of sorts, complete with a map of Skyrim on a central table and various potions and items you can take. Delphine mentions the Dragonborn, and through conversation choices (answer as you wish), you realize Delphine was the one who took the horn (she was Farengar Secret-Fire’s “reliable source” back in Dragonsreach who found the location of the Dragonstone). She knows that Thalmor spies are everywhere, so she took precautions to arrange this meeting.
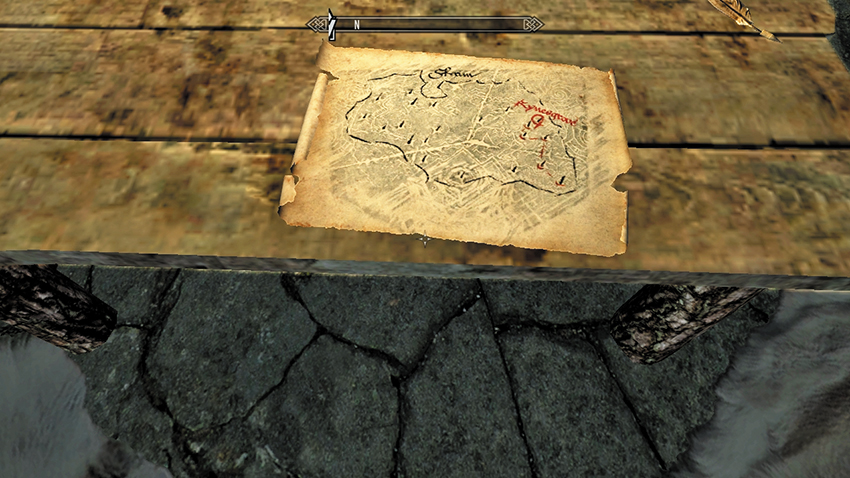
Delphine is part of a group that has been searching for someone like you—a Dragonborn—for a very long time. Delphine needs to know if you can devour a dragon’s soul, as you’ll have a chance to prove it soon enough. She also holds a low opinion of the Greybeards. Finally, she reveals the reasons for her agitation: She’s discovered that dragons aren’t just coming back—they’re coming back to life! It seems that the dragons weren’t banished; they were extinguished from this land, and now something is bringing them back from the dead. Using a pattern she discovered on the Dragonstone you found, Delphine has deciphered the location where she believes the next dragon will rise from the dead, and she needs you to help her stop it. The location is Kynesgrove in Eastmarch.
Once you tell Delphine that you’re ready, she dons her leathers, informs Orgnar that she’s traveling, and sets off on the long walk to Kynesgrove. This settlement is in the northern part of Eastmarch Hold, just southwest of Windhelm. To reach there, you can do the following:
- Take the journey on foot. You can either keep up with Delphine or you can fight your way alone. Stay on the roads, prepare for world encounters, and discover as many Primary Locations along the way as possible (that you can return to and explore later). Remember to also use your Whirlwind Sprint for a faster pace.
- Or, if you’ve already made some discoveries in the area in and around Kynesgrove (by visiting Windhelm, for example), you may wish to Fast-Travel to the nearest unlocked location and then travel to Kynesgrove.
- Or, you can take a horse for a slightly faster journey.
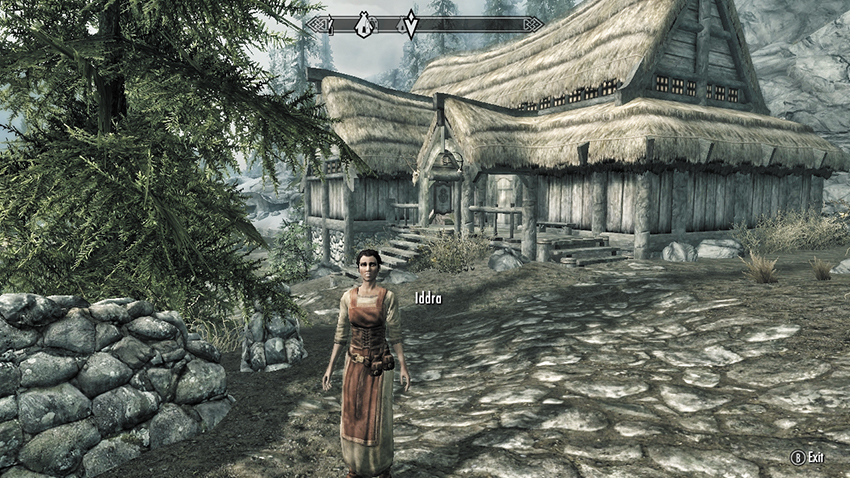
When you reach Kynesgrove, Delphine should be ahead of you (if she isn’t, wait for her). She senses something is wrong; this is soon proven correct when Iddra (a resident of the hamlet) runs over, shouting that there’s a dragon attacking at the top of the hill! Delphine starts sprinting.
A Terrible Resurrection
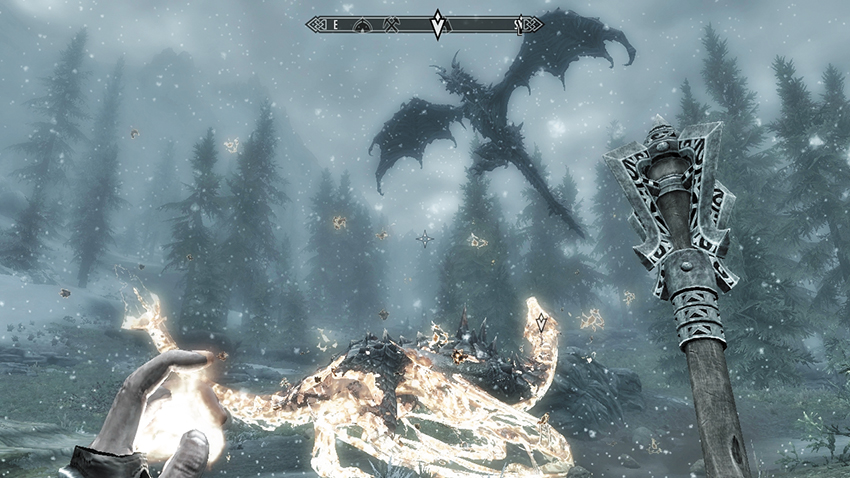
Delphine slows to an incredulous stumble as a huge black dragon with piercing red eyes hovers above a dragon mound at the top of the hill. It bellows a guttural roar in dragon tongue. The dragon mound where Alduin concentrated his Shout begins to swirl with a strange energy, not unlike the ethereal material you’ve absorbed during previous dragon confrontations. The next moment, the mound bursts open, and a huge skeletal dragon begins to emerge from deathly slumber. The dragons speak quickly to each other, before Alduin turns, mocks your claim to be “dovahkiin,” and departs the area as quickly as he arrives.
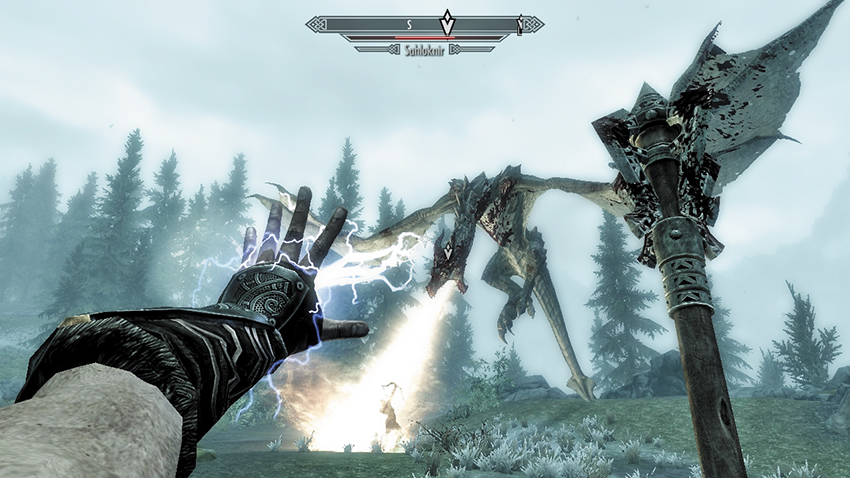
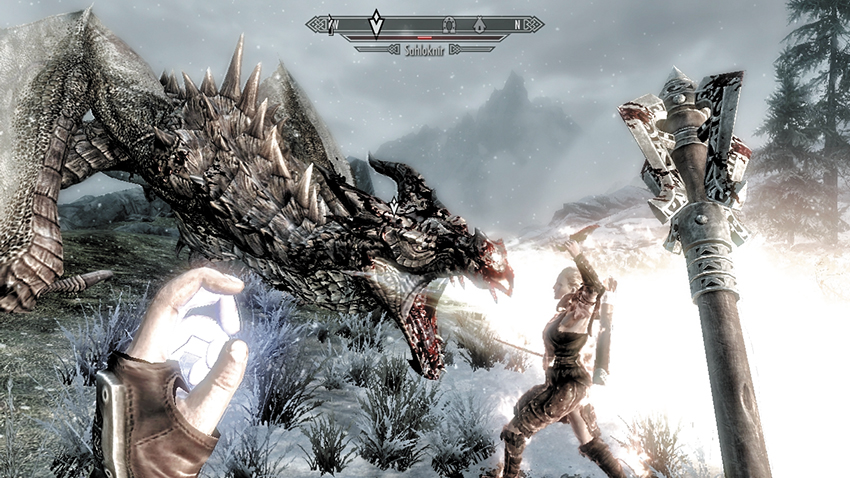
The skeletal Sahloknir clambers out of his grave and is resurrected by Alduin’s powerful magic. Before Sahloknir’s skin can gather around his bones and he regains his powers, race in with your most impressive melee implements and deliver a series of attacks to weaken the dragon’s health.
Delphine fires arrows, then rushes in with melee attacks when the dragon lands; you should demonstrate your offensive powers too. Follow the same set of tactics laid out during Main Quest: Dragon Rising, when you faced Mirmulnir the “Loyal Mortal Hunter.” One overriding plan is to ensure that Sahloknir’s life is as short as possible!
When Sahloknir has been reduced back into a pile of bones, the beast splits apart into hundreds of scaly shards, and you absorb another Dragon Soul. Search the dragon, and then head over to Delphine for her promised revelations.
- Dragon Soul absorbed
Quest Conclusion
Delphine lives up to her promise and answers any questions you have. Most importantly, she reveals herself to be one of the last members of the Blades. Long ago, the Blades were dragonslayers, serving the Dragonborn, the greatest dragonslayer. For 200 years, the Blades have been searching for a purpose. Now that purpose is clear. You may mention that you’ve seen Alduin before; he rampaged through Helgen and prevented your execution. Delphine finds this interesting but is annoyed that she’s still blundering around in the dark.
Your next move is to find out who is controlling these dragons, and the Thalmor—the faction that rules the Aldmeri Dominion—are the best lead. Even if they aren’t involved, they’ll know who is. Delphine believes that there are no worse enemy to humankind than the Thalmor. She also has some ideas for getting you into the Thalmor Embassy, but she needs time to plan. You receive her secret Key and are told to meet her back in Riverwood.
- Delphine’s Secret Door Key
Postquest Activities
Delphine’s Secret Door Key opens the cabinet in her room in the Sleeping Giant Inn. Return to Riverwood when you wish to begin Main Quest: Diplomatic Immunity. Act I now concludes.