
Elder Scrolls V: Skyrim Special Edition Guide Quests Thieves Guild Quests
Thieves Guild Quests: Scoundrel’s Folly
Scoundrel’s Folly
An Argonian with Answers
You commence this quest with the previous objective already active. Speak to Mercer, who reckons the entity responsible for weakening the Thieves Guild is certainly cunning and shares similar methods to his own! But the Promissory Note refers to a name that Mercer knows as a nom de plume of an Argonian named Gulum-Ei. He’s the Guild’s inside man at the East Empire Company and needs to be shaken down regarding his role in this nefarious plot.
Find Brynjolf, who seems surprised that an Argonian as hapless as Gulum-Ei could be involved in such schemes. Gulum-Ei is an adept scammer but lacks the brains to devise a plan to weaken the Guild. Still, this lizard is stubborn. You’ll likely need to buy him off or follow him to see what he’s up to. But you must keep him alive; killing someone as valuable to the Guild as Gulum-Ei is not an option. Before you leave, you can learn more about the East Empire Company and the Argonian by further conversation.
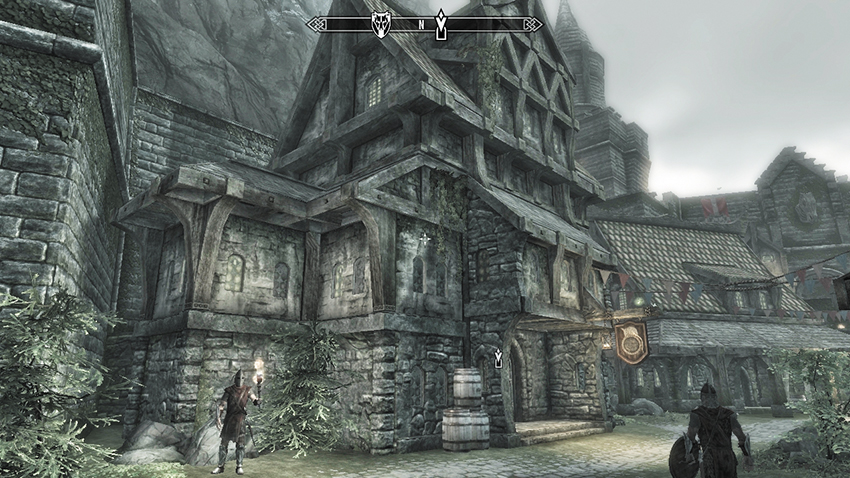
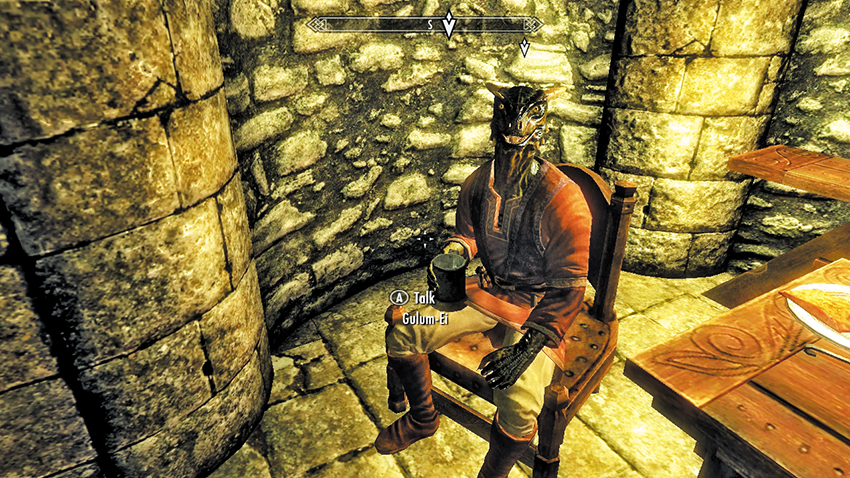
Track Gulum-Ei down to a location within the walls of Solitude. His usual haunt is the Winking Skeever tavern (indeed, he remains here once this quest concludes, providing he survives to the end of this quest). Gulum-Ei seems overly dismissive, denying involvement with the Goldenglow Estate; he says he only deals in goods. But when you use the “code name” of Gajul-Lei (that was in the Promissory Note), he softens a bit but can’t remember every detail. Jog his memory by:
- (Persuade) Asking him to identify the buyer, after which the Guild will forget his involvement.
- (Bribe) Asking him what it would take to identify the buyer.
- (Intimidate) Threatening to kill him.
If the first or third plans are successful (or when you return the Firebrand Wine Case, below), Gulum-Ei reveals that he was approached by a woman who wanted him to act as a broker for the Goldenglow Estate purchase. The only other information he gives is she was quite angry at Mercer Frey but never mentioned why. But for the bribe, the lizard is after something more than gold: a case of Firebrand Wine. (Gulum-Ei is really not being helpful here. He’s sidestepping the truth and showing his true colors as a scam artist. You will ultimately have no choice but to follow him and see if he’s up to something.)
- Firebrand Wine Case
- Leveled Soul Gem (3)
Gulum-Ei finally reveals that he was approached by a woman who wanted to use Gulum-Ei as a broker for “something big”: the Goldenglow Farm deeds. He didn’t ask too many questions, but the woman did seem angry and directed much of the anger toward Mercer Frey. You won’t get anything more from Gulum-Ei, and as you’re under strict instructions not to spill any Argonian blood, there’s only one other pertinent action to take: follow him.
Down on the Docks
With the conversation over, Gulum-Ei leaves for the East Empire Company. Follow him at a safe distance. If he notices you following, he’ll wave you off and ask you to stop, but this will not hinder his progress toward the warehouse. Instead, keep farther back or dive into cover and remain at a greater distance as he continues down onto the docks, onto the main waterside jetty, past the warehouse store, and into the warehouse itself. This is where your proper shadowing begins.
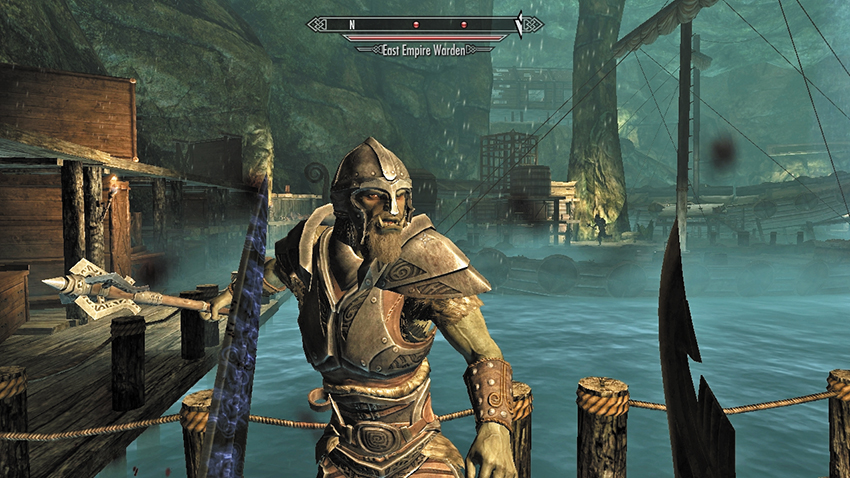
Once inside the warehouse, continue to sneak, keeping your distance. If Gulum-Ei spots you and yells for help, engage any East Empire Wardens who react violently to your trespassing. Just past the guard station, you can walk up a log leaning against the shelves, and gain some height. This provides a good view of the warehouse and keeps you out of the guards’ path. You can also swim across, but be careful nobody sees you when you emerge on the warehouse’s other side.
Whether you’re keeping this shadowing clandestine (without combat) or carnage-filled (after Gulum-Ei raises the alarm), the Argonian continues to the same place and seems to disappear into the storage bays. Depending on whether you’ve been spotted, he runs frantically or strolls into the water underneath the large barrel and stairs along the north side of the gigantic warehouse cavern. Be careful when he walks close to the large door at the front of the warehouse, as he changes the ledger and doubles back shortly, making you easy to spot if you take this opportunity to move.
Gulum-Ei now heads up a ramp and enters the Brinewater Grotto. Before you follow him inside, visit the foreman’s office and obtain the East Empire Shipping Map.
- East Empire Shipping Map
Gulum-Ei’s Grotto Confession
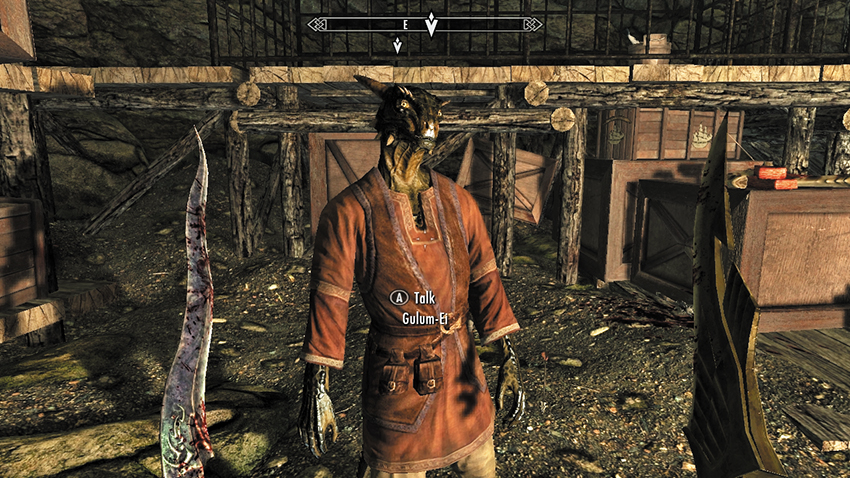
Inside the grotto, be ever mindful of the trip-wire traps at your feet, unless you want a mace to the face. Expect to face bandits in this location, which continues along an underground river to a storage area and a Horker pen. Witnessing your dogged determination, Gulum-Ei suddenly becomes a lot more forthcoming with information, claiming he was approached by a Dunmer named “Karliah” who murdered someone named Gallus and was headed to “where the end began.” He hands over the Bill of Sale as further proof, and a goodwill gesture. This exhausts your interrogation tactics. Remember to keep Gulum-Ei alive afterwards!
- Goldenglow Bill of Sale.
Depart for Riften. Once you’re back in the Cistern, reveal your information to Mercer Frey. Frey’s demeanor changes for the first time; he seems shocked and stammers when you mention Karliah’s name. Mercer tells you Karliah is a murderess, killing Mercer’s former colleague Gallus in cold blood. Then she vanished...until now! Mercer is sure she’s back to kill him, as the only remaining Guild member from the old days. Mercer knows she must be at Snow Veil Sanctum, and you must venture there to kill her before she disappears again. Now ready yourself by obtaining some additional armor as a reward.
An Early Argonian Ending
Was Gulum-Ei slain during this quest before he revealed any information about Karliah? Then the objectives change. “Shadow Gulum-Ei” or “Confront Gulum-Ei” now fail.
You must journey via the route that Gulum-Ei takes to a chest located in Brinewater Grotto. Inside is a note.
- Note: Gulum-Ei’s Confession
The note is written by Gulum-Ei to his brother. It, too, reveals the name of Karliah, her murder of Gallus, and the fact that she’s after Mercer Frey, heading to “where the end began.” You are now instructed to return to Brynjolf. As expected, killing Gulum-Ei results in a severely negative reaction from both Brynjolf and Mercer, and you won’t be able to exchange any of your armor. Follow instructions, won’t you!
Quest Conclusion
This is purely optional: Visit Tonilia and choose which section of Guild clothing you wish to trade for the new (and improved) section. You receive an enhanced version of only one of the following:
- Thieves Guild Boots (Improve Pickpocket 25%)
- Thieves Guild Armor (+35 Carry Weight)
- Thieves Guild Gloves (Improve Lockpick 25%)
- Thieves Guild Hood (Improve Prices 15% )
Postquest Activities
Thieves Guild Quests: Speaking with Silence is now active. Continue Thieves Guild Quests: Additional Jobs; it is in your best interest to increase the Guild’s influence over many Holds in Skyrim.