
Elder Scrolls V: Skyrim Special Edition Guide Dragonborn Quests Solstheim Side Quests
Solstheim Side Quests: The Challenges Of Kagrumez
The Challenges of Kagrumez*
A Gem of a Find
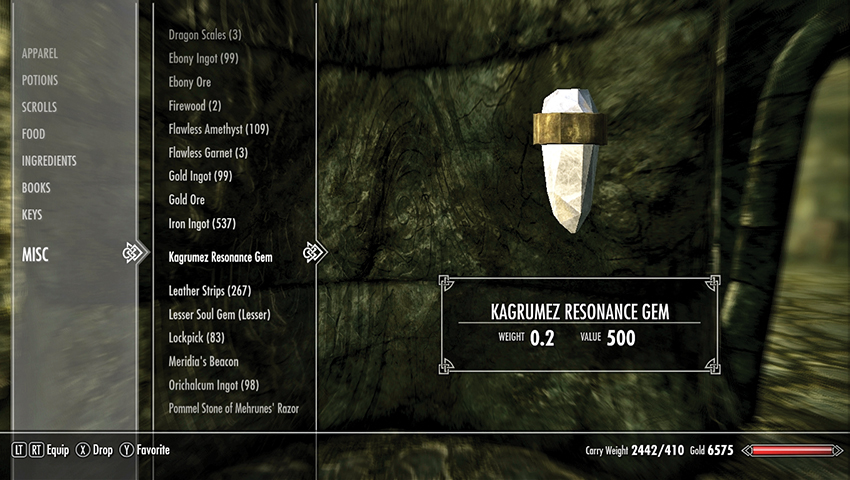
While exploring Solstheim, you may uncover an odd item or two. Among them may be a white and slightly glowing precious stone, shaped to fit into a slot. This is a Kagrumez Resonance Gem, and there are three scattered across Solstheim and two within the Dwarven ruin of Kagrumez.
Gem 1: The Expensive Trinket of Revus Sarvani
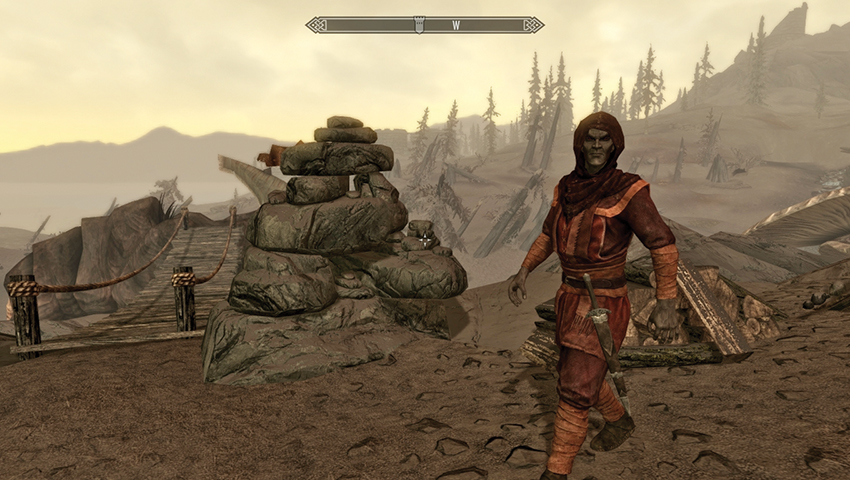
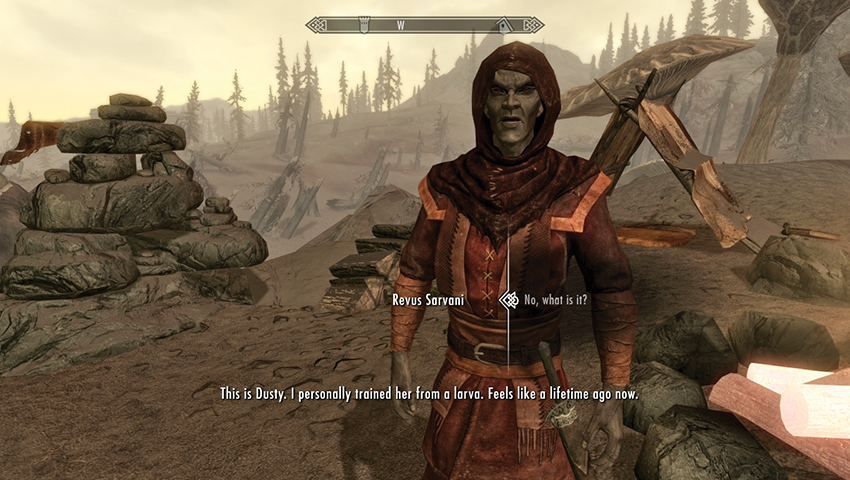
One gem can be purchased (for over 1,000 gold) from Revus Sarvani, the Silt Strider wrangler who is moored just east of Tel Mithryn.
- Kagrumez Resonance Gem
Gem 2: The Elaborate Exploration of Fahlbtharz
This gem requires far more exploring, through the high mountains to the northwest to Fahlbtharz, a dwarven ruin appropriated by Rieklings. If you wish to further your knowledge of the interior of this sprawling dwemer city, consult the nearby information.
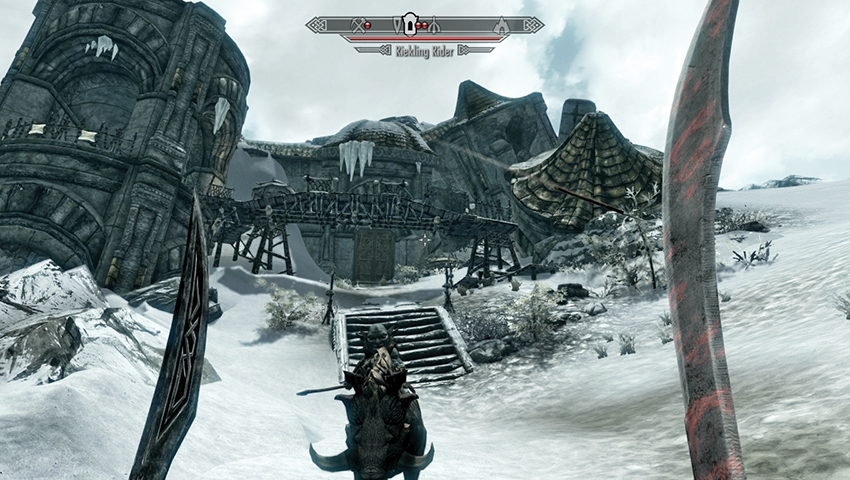
Defeat the rider and three or four spear-throwing foes on the rickety battlements, then enter the door to the north. Enter the sloping stone corridor, through a Riekling camp with three or four foes, and descend south, passing the Riekling corpses and engaging Automatons farther down.
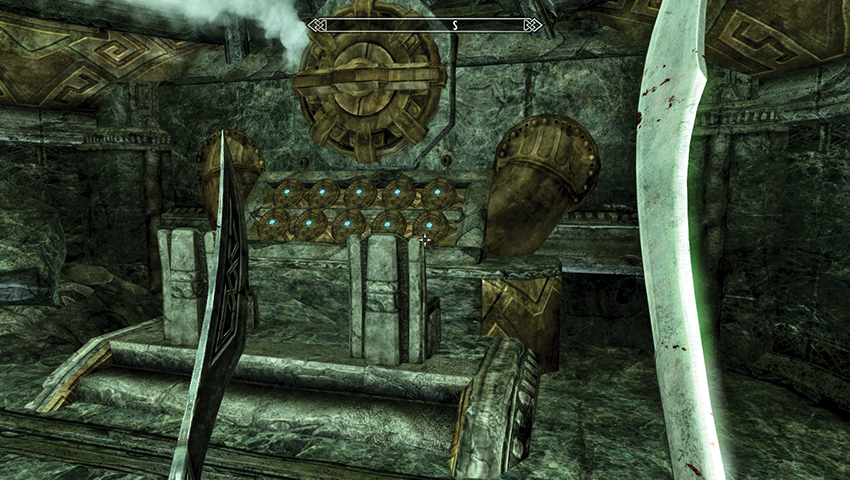
Aside from a locked door [Novice] to items, this chamber features barred windows overlooking the gigantic cranking mechanisms of the water chamber and a shut gate. Activate the gate at the bank of buttons; look for the second button from the right side, along the bottom row, to open this (the rest launch traps or nothing at all).
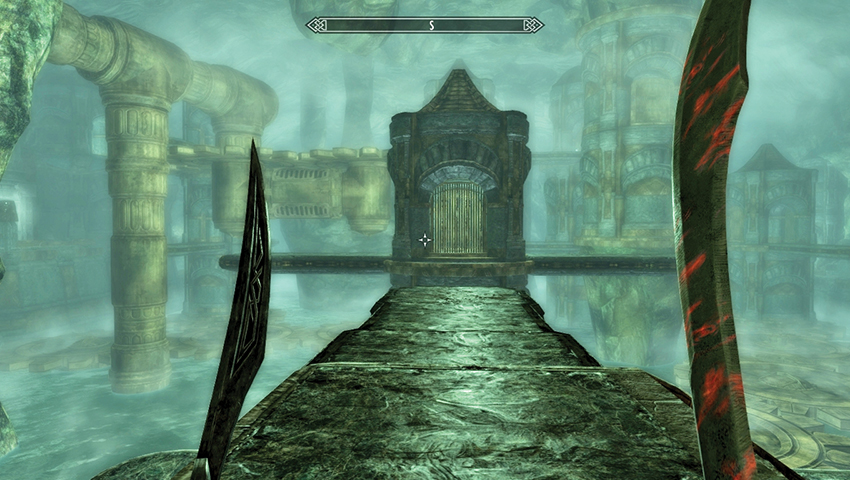
Watch for releasing Dwarven Spiders as you head east along the corridor and open a door. Pass the Kinetic Resonator, which you can hit with a weapon or arrow to unlock the adjacent gate, passing a wall chest and winding around and down an oil-filled, pipe-spilled corridor with scuttling Oil Spiders to squash. Light the trail of oil first to avoid any potential dangers. Slash a second Resonator encased in cobwebs to open a subsequent gate and a lower set of chambers with glowing fungi and Dwarven Automatons. Then head south, opening the door to reach the water chamber.
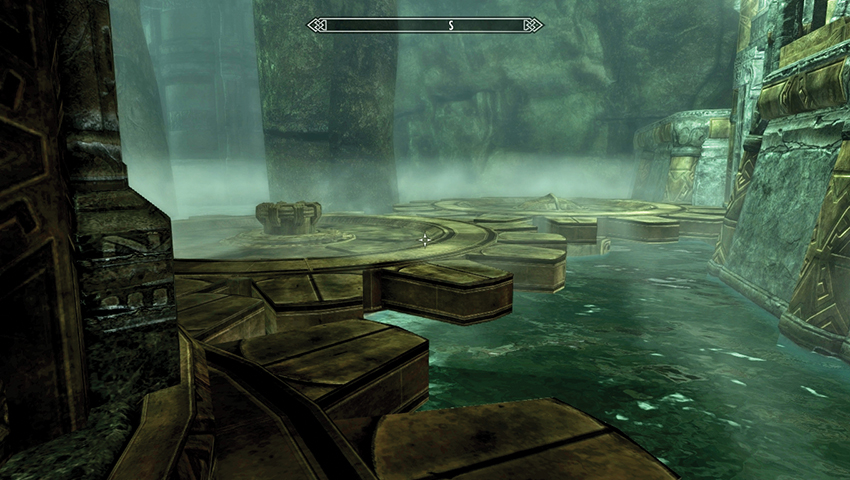
Initially bewildering, it is worth stopping and working out where you are in this chamber. Face south and check your location; ahead is a pointed gatehouse with a gap you can’t reach. So head right (west) and through a second (open) gatehouse to peer down to a set of giant cogs. You can’t access these from the water, so face south and drop down, heading southwest (ignoring or fighting the spiders that clamber out of the central part of the cog). Stay on the cogs until you reach the door to Fahlbtharz Corridor.
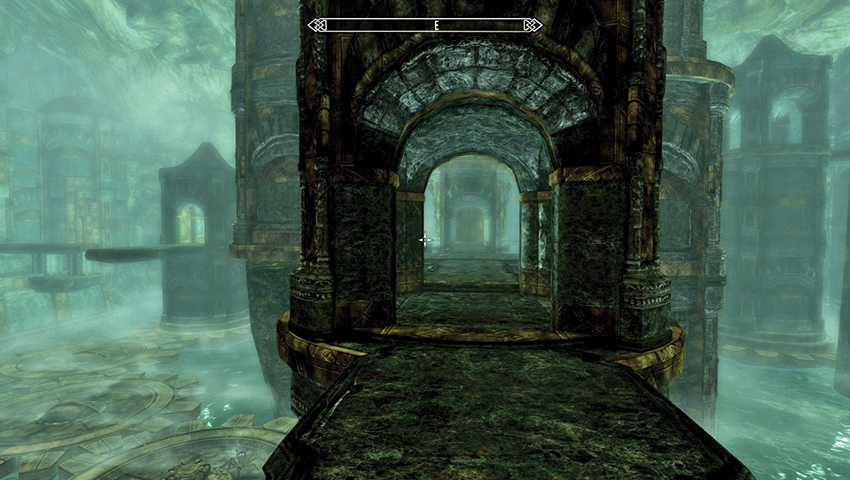
Pass the gate [Adept] leading to an alcove chest, and ascend back to the door to Fahlbtharz. You appear on a balcony. Turn left (north), up the steps to a valve that lowers a ramp, allowing you quicker access back here if you fall. Pull the adjacent lever, opening up a bridge to the east. Head along the connecting bridges and gatehouses, then turn left (north) and engage a ballista. Now face east.
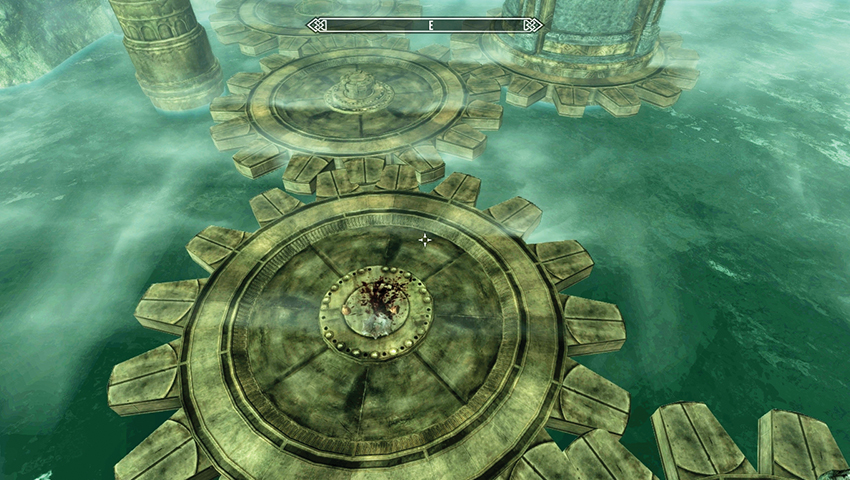
Look down at the whirring cogs and drop down to the bloody remains of a bandit adventurer named Eydis. Her journal reveals she was exploring to find an enchanted Dwarven Helm with her friend Ulyn. Head east along the cogs to the edge of the water chamber, and up the steps to a door leading to Fahlbtharz Boilery. Ignore the door for the moment, and go to the end of the balcony you’re on. Activate a valve that lowers two more ramps, enabling progress back here if need be.
- Eydis’s Journal
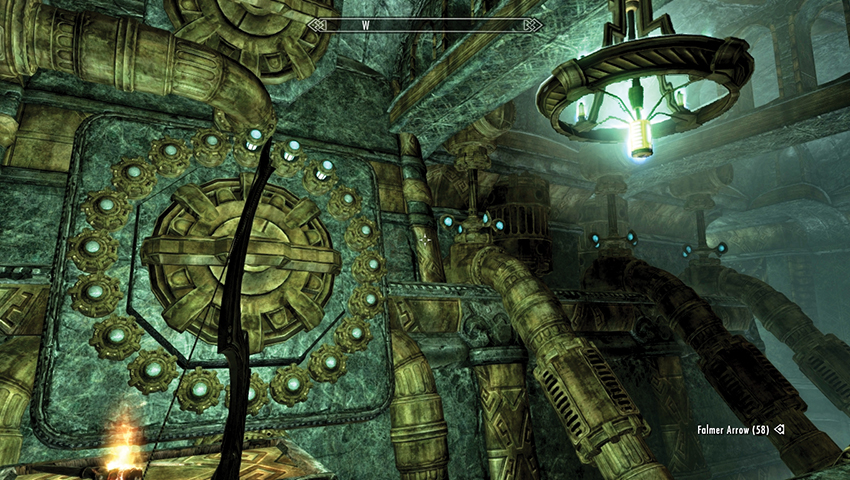
Enter the boilery door, heading east, then north, and east again, before moving around to the south through a strange chamber of pistons, pipes, and embedded machinery. Slay the ballista and climb the steps in the southeast corner, leading to a balcony with a corpse clutching a bow; arrows are nearby. These are the remains of Ulyn, and his journal reveals clues to the secrets of the boilery puzzle you must solve.
Puzzle Solution: Face the circular piston lock to the west. There are six Kinetic Resonators (the propeller devices glowing turquoise, three on either side of the main lock). To open the subsequent gate, you must pull all 20 fuel cylinders into place, activating the boiler. This is achieved by shooting an arrow at some of the resonators. Each resonator activates a specific number of cylinders. Shoot too few and nothing happens. Shoot too many and an increasingly dangerous number of Automatons are released and must be defeated. Each resonator has a set number of cylinders that it releases:
| Resonator | Cylinders Released |
|---|---|
| Far left | 3 |
| Middle Left | 4 |
| Near Left | 6 |
| Near Right | 9 |
| Middle Right | 13 |
| Far Right | 18 |
To reach 20 fuel cylinders, you need to shoot the far left (3), middle left (4), and middle right (13) resonators.
- Ulyn’s Journal
Exit via the open gate to the southwest, climbing the stairs and swiping another resonator to open the adjacent gate (saving time if you have to retake this route) and move back into the water chamber of Fahlbtharz.
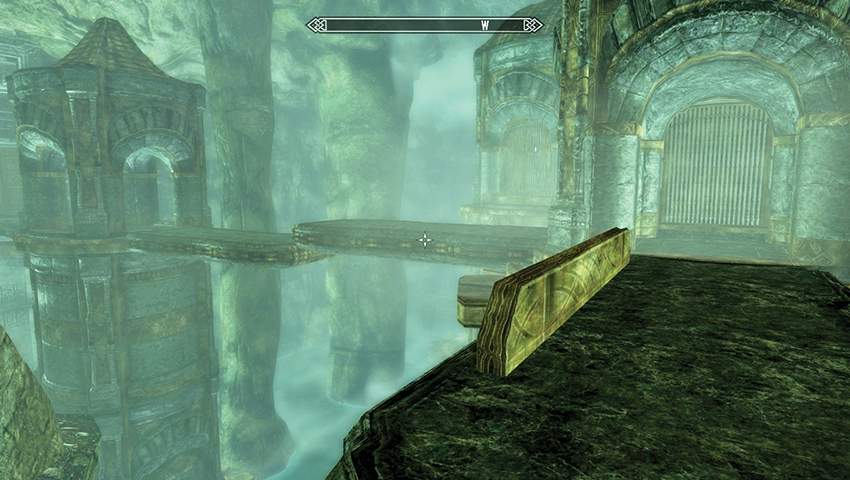
Activate the lever and head across the bridge that grinds your way. Move west to the edge of the bridge, then turn right (north). Jump onto the cogs, moving west, and leap to a second bridge and gatehouse section. Head west to a battle with a ballista near a chest and a resonator (in the gatehouse with a skeleton) to shoot (there’s a bow by the skeleton in case you don’t have ranged magic or weapons). This aligns the bridges you were on at the previous lever.
Wait! Make sure you’re standing on the bridge section facing west, with the kinetic resonator diagonally left (southwest) of you! When you hit the resonator, ride the bridge. If you aren’t standing correctly, you need to retrace your steps. Now turn and run south across the bridges to the Fahlbtharz Grand Hall.
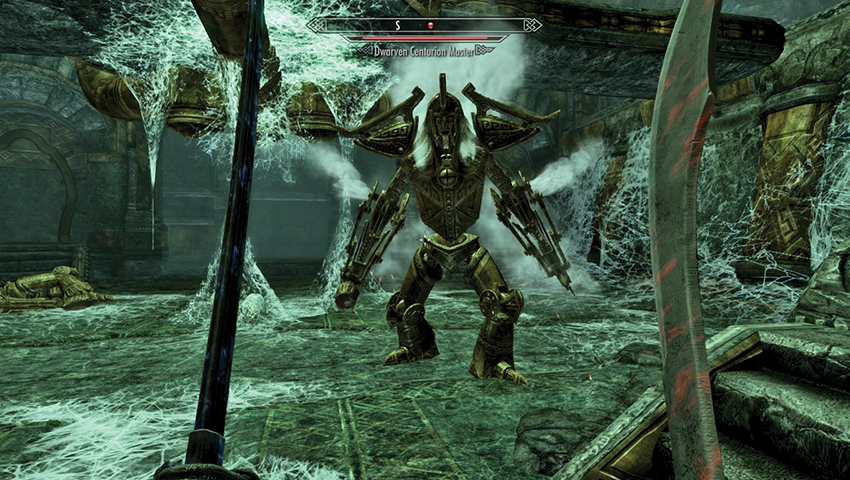
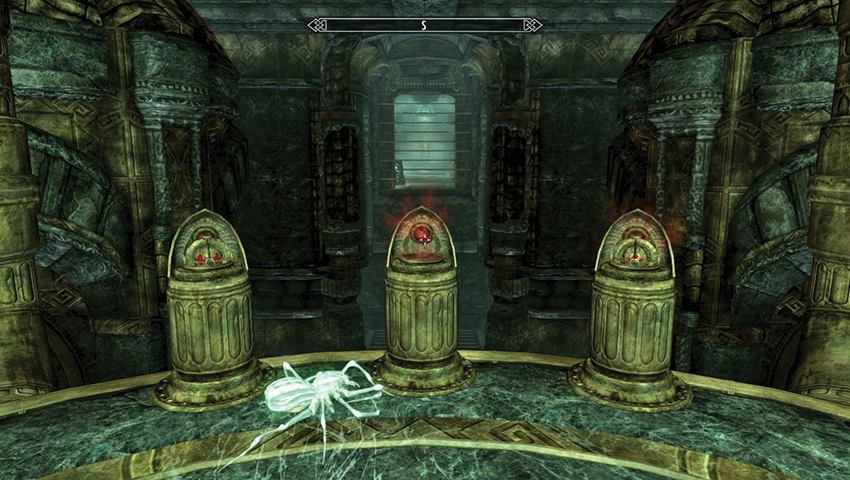
Clear away the Albino and Oil Spiders, and battle two Dwarven Ballistas immediately. There are two Centurions in this chamber, so it is wise to weed out your foes before you face them! Move to the walkway on the upper level and inspect three pedestals (known as Dynamo Actuators) that require a core to operate. Fortunately, you can wrench these from a Centurion corpse. Fire or strike one of the Centurions in their casing before battling it. Then repeat this plan with the other. Scrounge a Centurion Dynamo Core from each Centurion, allowing you to raise steps and remove two sets of bars to the treasure room.
- Centurion Dynamo Core (2)
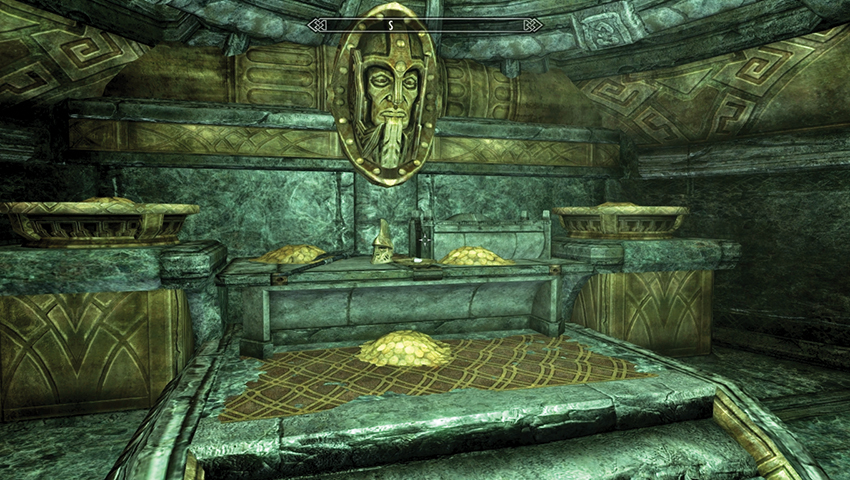
Inspect the treasure room thoroughly. Aside from piles of gold, chests, and the unique dwarven helm Visage of Mzund, the Kagrumez Resonance Gem is on a plate. Take what you wish, then leave via the dwarven elevator to the left (east).
- Visage of Mzund
- Kagrumez Resonance Gem
Gem 3: The Entering of Nchardak Aqueduct
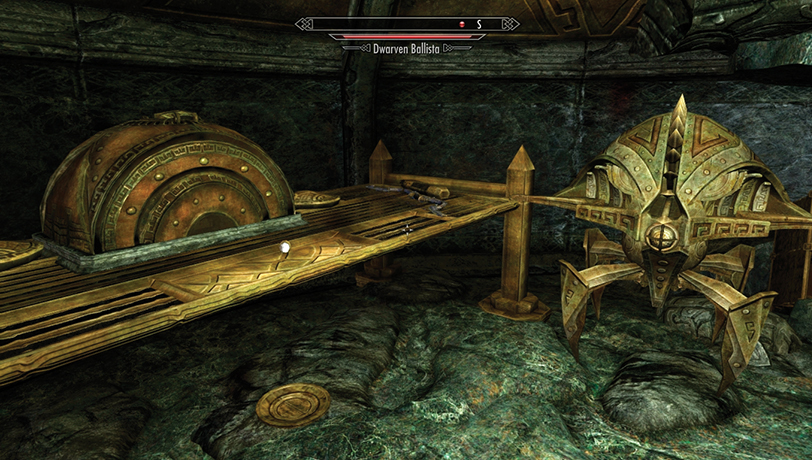
The third Kagrumez Resonance Gem is located in a treasure chamber on the upper floor of the northeast corner of Nchardak Aqueduct (past a control switch that you place a Control Cube on to open). For a complete walkthrough of this dwarven ruin, consult Dragonborn Main Quest: The Path of Knowledge. The gem is flagged in that quest.
- Kagrumez Resonance Gem
Kagrumez Trials and Tribulations
Gems 4 and 5: The Easiest—Removing from a Reaver
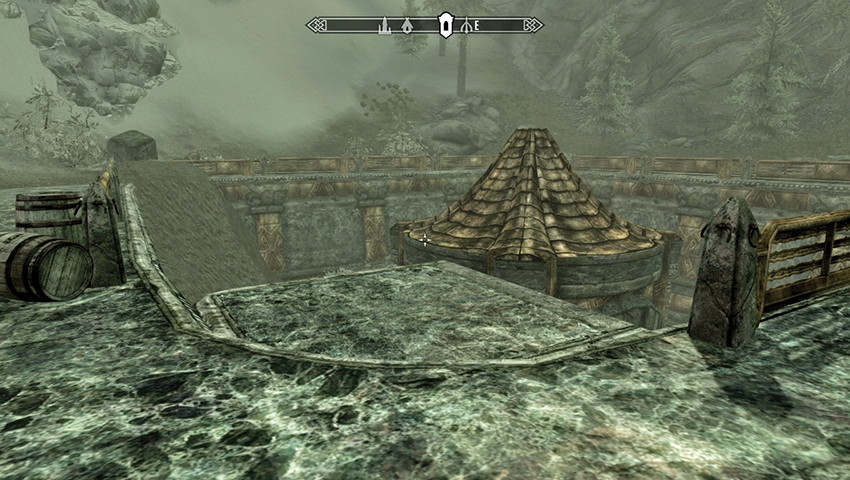
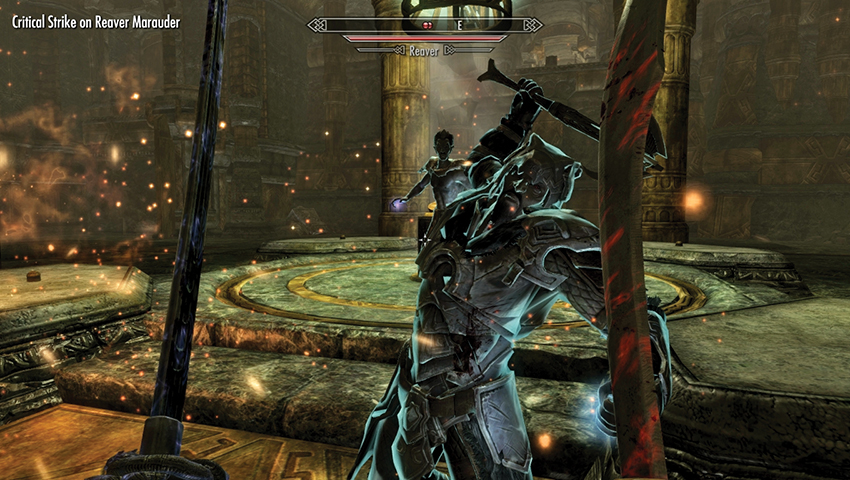
Kagrumez has an entrance sunken into the earth. Head past the small Reaver camp, and descend the steps to the dwarven elevator, opening the entrance to Kagrumez. Head east, down the corridor to a golden door, behind which you can hear voices. A Reaver is talking about entities coming out of the walls and to return with more men. Another replies they have the mettle to slay a few spiders before claiming the treasure of Kagrumez.
Open the door and announce your arrival with a well-placed ranged attack at one of the three foes, then finish them off in this huge chamber of trials. Search the leader’s corpse for two more gems. There is a small journal to read, too, offering hints at what is to come. Read it if you wish.
- Kagrumez Resonance Gem (2)
- Raleth Eldri’s Notes on Kagrumez
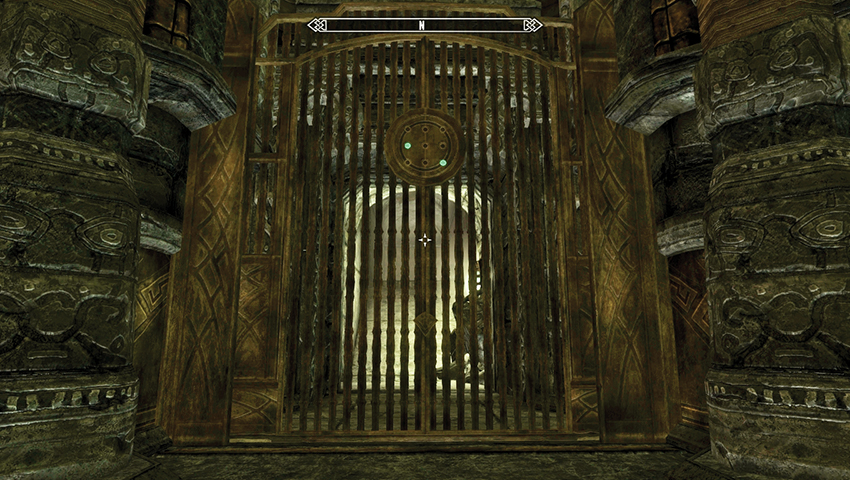
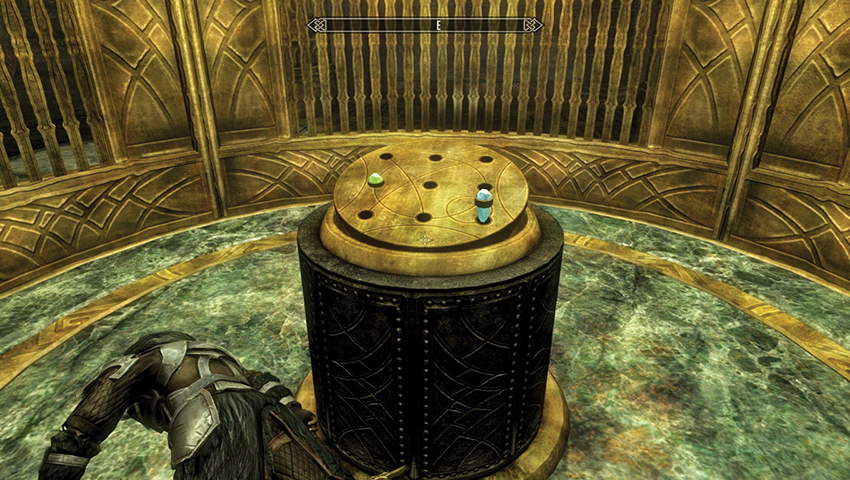
Inspect the chamber of trials. In the center is a resonance receptacle with nine holes. This receives any Kagrumez Resonance Gems you wish to insert, and you can remove them without any problems. However, the order of placement is critical. Make a quick check of your room, and look to the northern gate. Above it is a resonance marker—a golden plate with the fourth and ninth holes covered. Return to the receptacle and mimic that pattern.
Trial 1: Automaton Attack
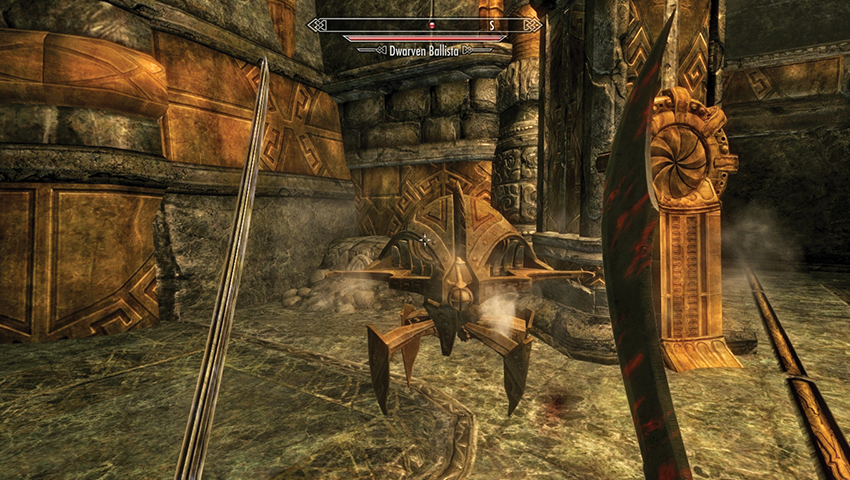
Stone walls rumble across, sealing you in, and the circular cage lifts up to reveal the incoming foes: three Dwarven Spiders and three Dwarven Ballistas.
After this fight, the walls recede, allowing you to head through the northern gate, which is now open. Head up the passage, where among shelves of ingots is a lever that opens a strange cage. Inside is an automaton that doesn’t take an instant dislike to you. In fact, it can act in the same way as an Animal Companion. It can fight alongside you or “go home” (which is here).
- Follower: Steadfast Dwarven Spider
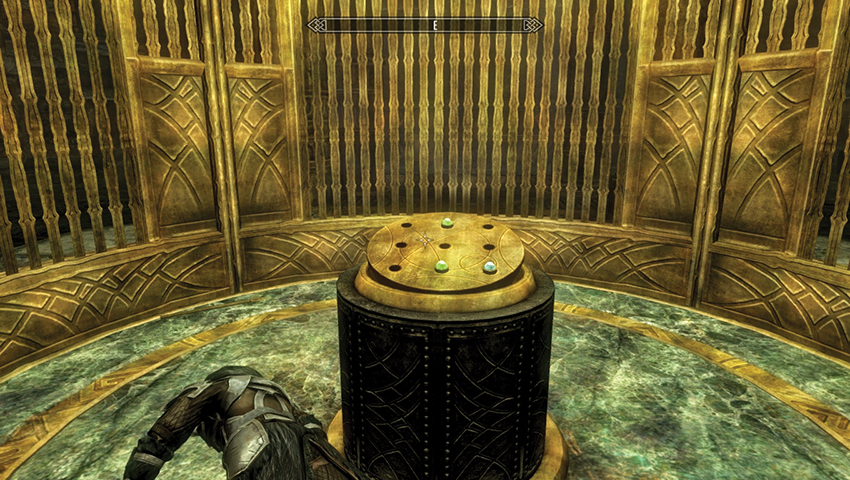
On the east wall is a gate. Above it is a resonance marker with the second, eighth, and ninth holes covered. Return back to the central receptacle in the main chamber and insert that pattern.
Trial 2: Flame and Fireproof Spheres
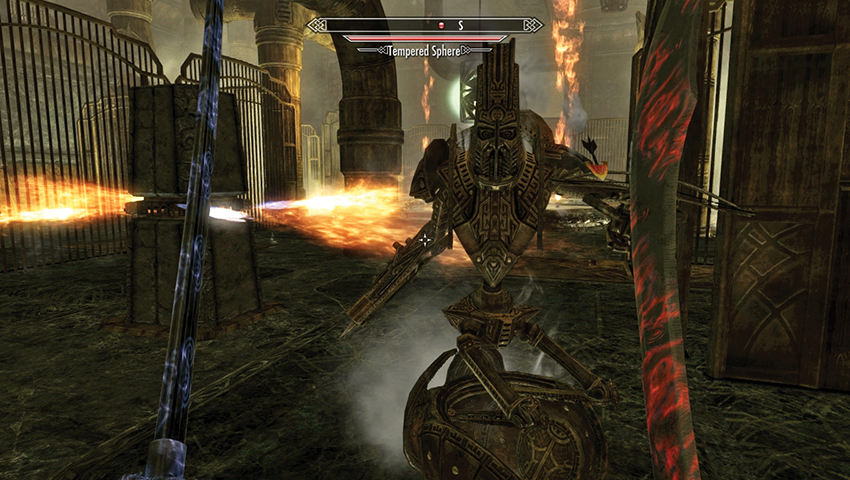
The cage walls shoot up, sealing you in, and walls clamp together around you. Two flame gouts shoot vertically, while steam blasts between the walls on the east and west sides. Toward the north and south edges of the arena are rotating fire pedestals that activate when you move near them. Stay on the outer edges or the middle of the arena when fighting. Tackle these waves as you navigate the fire: Dwarven Spiders (5) and Tempered Spheres (2), which are immune to fire damage.
After the battle, the walls recede again. Head north, then east past the second gate (now open), and south into another chamber with a lever to pull. This reveals a new automaton to control: the Steadfast Dwarven Sphere! Choose this or the Spider to aid you further, if you wish.
- Follower: Steadfast Dwarven Sphere
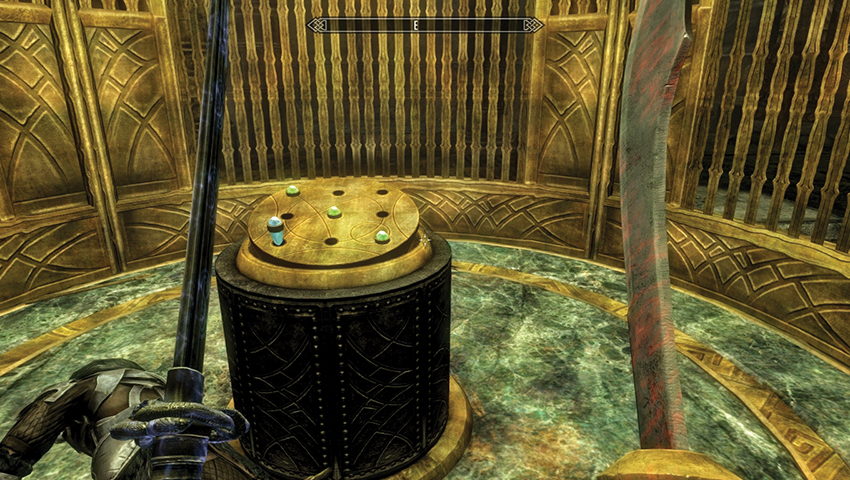
To the room’s southwest is a gate. Above it is a resonance marker with the first, fifth, seventh, and ninth holes covered. Return to the central receptacle in the main chamber and insert that pattern.
Trial 3: A Short, Sharp Shock
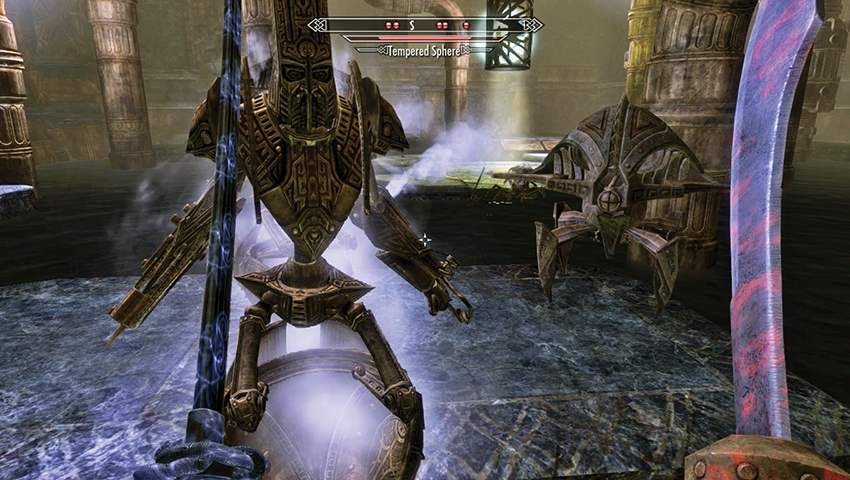
The cage walls shoot up again, and the chamber fills ankle-deep in water, with islands in the center and around the edges. Expect shock damage (which is extra-nasty if you’re in the water) from the following foes as you navigate the water: Tempered Spheres (2), Dwarven Ballistas (2), and Dwarven Spiders (3).
Quest Conclusion
After the battle, the water recedes, and you can retrace your steps all the way to the southwest gate (which is open) and head up to a long hall (where your Miscellaneous Objective ends). Among the other treasures is the Dwarven Black Bow of Fate, an impressive haul for your final prize.
- Dwarven Black Bow of Fate
Postquest Activities
You can choose one Automaton to accompany you on your travels, if you wish.