
Elder Scrolls V: Skyrim Special Edition Guide Quests Side Quests
Side Quests: The Wolf Queen Awakened
The Wolf Queen Awakened
Malevolence Rising
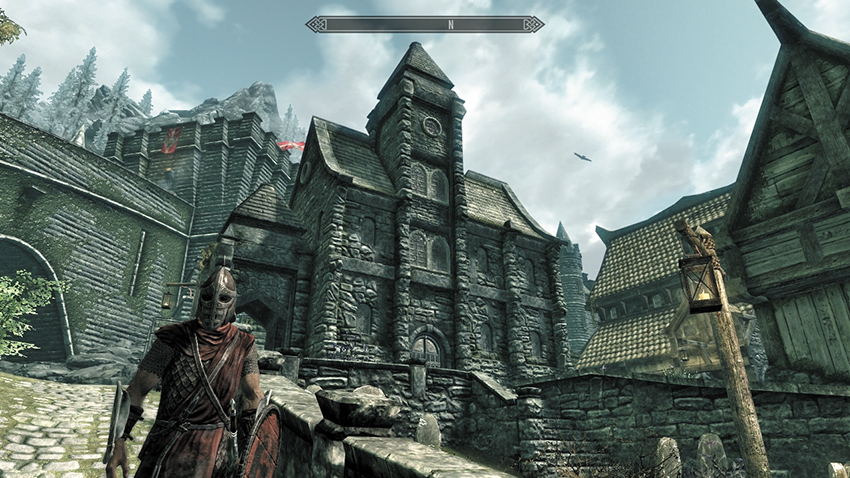
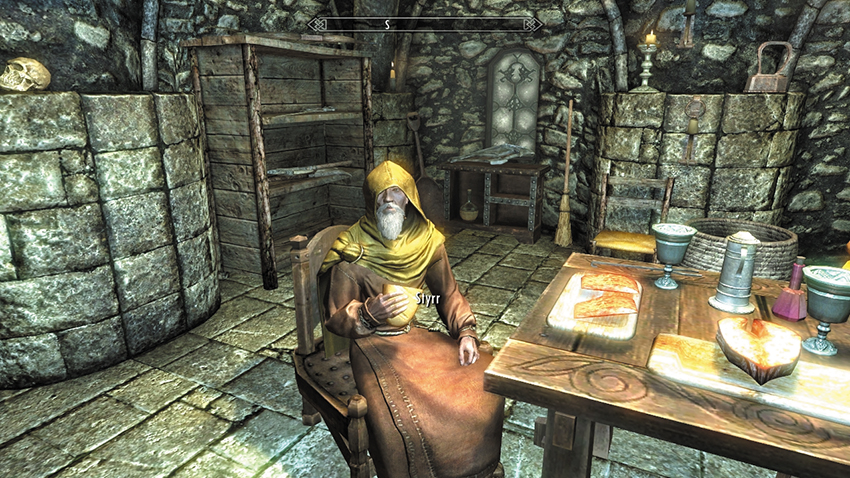
Once you complete Side Quests: The Man Who Cried Wolf and continue your adventuring, the next time you enter a Hold City (such as Dawnstar or Whiterun), a courier runs up and hands you a message. It is an urgent communication from Falk requesting that you return to Solitude, as Potema’s spirit is now free and a dangerous threat to Skyrim. There is one man who may be able to help you: Solitude’s cemetery keeper, a wizard and Priest of Arkay named Styrr.
Locate the Hall of the Dead in Solitude, and enter this eerie place. It is made even more strange by the slightly befuddled nature of the man you’re meeting. Styrr beckons you over, and you may ask several questions about Potema, which he is happy to answer. Potema has been summoned in spirit form but fortunately was not raised from the dead; she will require help before she returns to the land of the living. For now, she lurks in a place where the dead eagerly serve her—the old catacombs. You are to find Potema’s physical bones and bring them back to Styrr for sanctification. He hands you a key to enter the Catacombs.
- Potema’s Catacombs Key
Wrecking a Resurrection
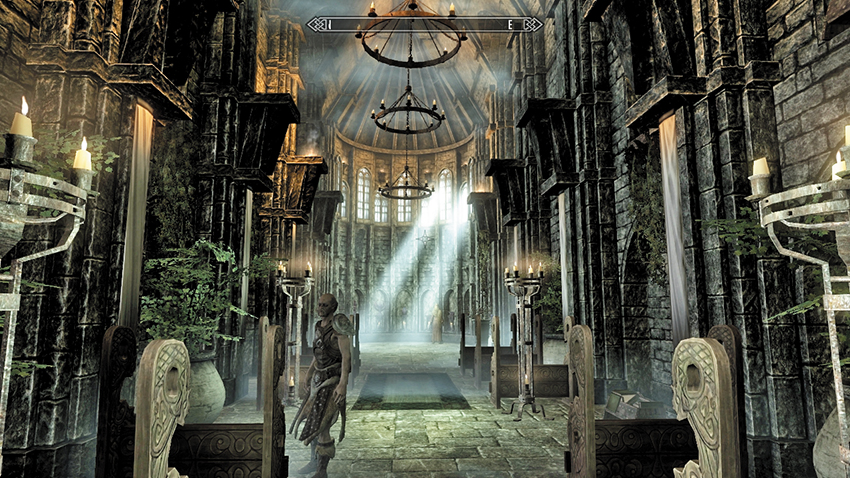
Brave the wintry weather and scale the battlements in the northern part of Solitude. Open the door to the Temple of the Divines, passing Freir at the shrine. Work your way past the temple nave and chancel, down some side steps, and through the barred door. Then open the door leading into Potema’s Catacombs. Venture down the corridor to the barred archway. Potema’s spirit surrounds you, mocking you and promising to raise your corpse to serve her once she slays you. The bars recede, allowing you farther into the stone corridors, down more steps, and to your first encounters with a group of Draugr.
Descend the steps in the chamber with the hanging corpse cages, and slay your first vampire. Beware of more attacks from dark alcoves before activating the wall lever to open the portcullis in the archway to the northeast wall. Enter the sunken corridors, and head southeast, up into a large, natural cavern. Expect more Draugr and vampire incursions as you reach the flooded pillar chamber. Seek the exit to the south, which leads into a wider natural cavern and a large stone entrance flanked by Draugr.
The lever atop the circular plinth activates a rotating stone and iron grating; step through when there’s a gap as the grating rises. A cauldron in the next room indicates the resurrection may be under way. Burst through the wooden doors and into Potema’s Refuge.
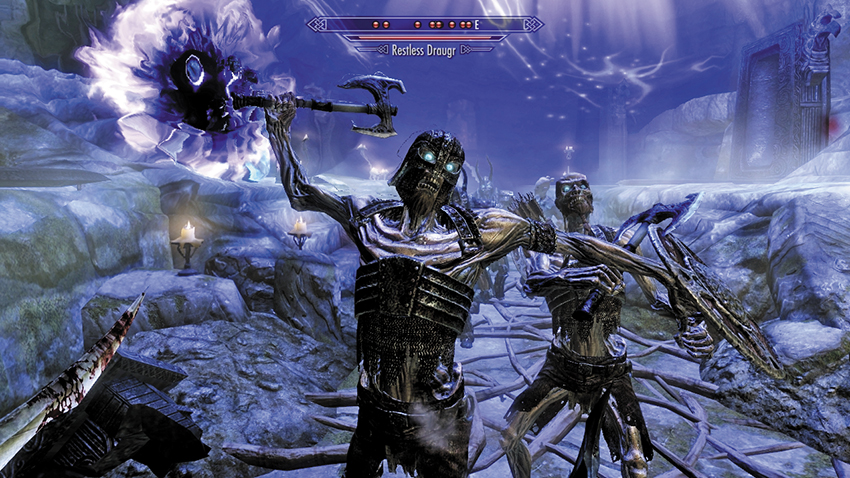
Strike down more Draugr as you twist and turn around the stone tunnels. Locate the trio of levers on the plinth, and expect a vampire attack from the barred door to your right (north).
Puzzle Solution: The levers have three positions: The center one freezes the corresponding rotating stone disk, and left or right rotates the disk in either direction. The optimal plan is to set all of them to the center and then manually rotate and freeze each one in the open position, one by one, beginning with the nearest rotating stone.
Pass the rock column room and up steps into a throne room with a floor grating and a powerful Draugr and vampire to either battle or stealthily avoid. The double wooden doors (Master) can be easily opened if you take Potema’s Sanctum Key, which rests on the right throne arm. This allows access down into the Sanctum.
- Potema’s Sanctum Key
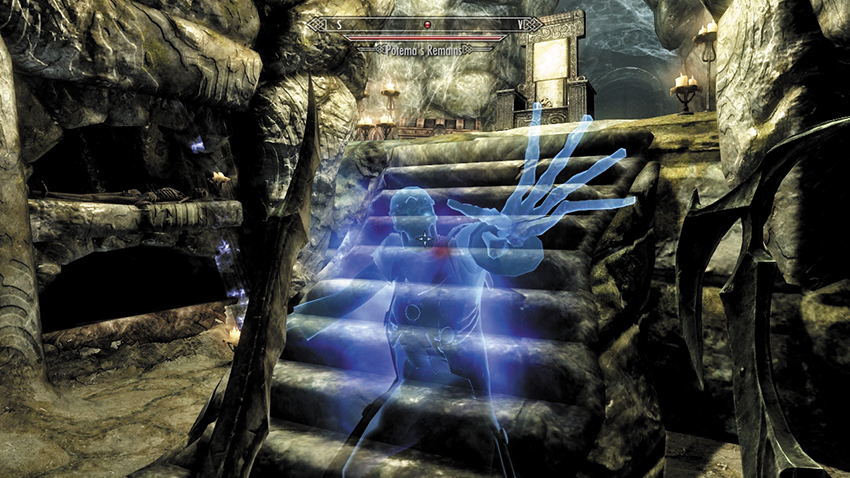
The frequency of foes (both vampiric and undead) increases now as you pass through an embalming room and past the slumped remains of a Draugr on a throne. He soon stirs. Dispatch any foes troubling you as you open more iron doors. Pass under the grating in the throne room, stepping over corpses as you go. Wait for Potema to mock you before raising the final portcullis that leads to her summoning chamber.
Potema is not yet fully formed but has a shock beam that emanates from her essence. Avoid this at all costs, as it is hazardous and inflicts shock damage upon you. The Wolf Queen has also summoned her inner council to stop you dead in your tracks. Summon your own power and remove any and all Draugr that advance out of their coffins or ceremonial alcoves. Expect to attack at least eight Draugr, with more appearing at once after you dispatch the first five or six. Once the Draugr are down, you can pass the deep purple glow and access the metal door at the far end of Potema’s chamber. The skeletal spirt of Potema begins to congeal! Take her down immediately, before she can begin to resurrect more of her fallen lackeys. Then gather the bones from the throne beyond.
- Potema’s Skull
Don’t miss the iron door behind the throne! Open it to reach a tall natural rock chimney. Scale the steps and remove the bar from the next iron door, where your final Draugr turn restless. Exit outside, and either carefully descend the rock gully or Fast-Travel safely away. You appear to the north of Solitude, near the pass that passes the Dainty Sload ship. Return to Solitude and to the Hall of the Dead, and hand Potema’s Skull over to Styrr, who promises to consecrate the remains.
Quest Conclusion
Now return to the Blue Palace and talk with Falk Firebeard one more time, informing him that you’ve taken care of Potema. His relief is palpable, and both Falk and the Jarl consider you a Protector of Solitude. You are awarded a shield to back this honor up.
- Shield of Solitude
- Gold pieces (Leveled)
Postquest Activities
Your dalliance with the Wolf Queen is over! Should you equip the shield, expect an occasional comment from the Solitude guards.