
Elder Scrolls V: Skyrim Special Edition Guide Quests Dungeon Quests and Other Activities
Frostmere Crypt: The Pale Lady
Frostmere Crypt: The Pale Lady
Frostmere Crypt (Exterior)
As you approach the entrance to this ruin, a well-armored warrior races down the stairs before wheeling to face the bandits that pursue her. Help her (or not), then speak with the agitated Eisa Blackthorn. You can:
- Speak to her and try to calm her down. She explains that she used to be a member of the gang here but was run out over a misunderstanding. As she storms off, the quest begins.
- Provoke, ignore, or attack her, and she fights back—hard. She’s every bit as tough as her attitude. Cut her down and take her journal from her body, hinting at the strange occurrences inside the crypt. This also starts the quest.
- Eisa’s Journal
Frostmere Crypt (Interior)
After cutting down the bandits in the first room, take the scrap of paper (it appears a couple of times), confirming that the hunt for Ra’jiir and Eisa is on. As you step out onto the upper walkway in the main chamber, you can hear some bandits talking down below, and the quest updates.
Follow the path around, but before descending into the dining hall, check the two bedrooms on the upper level. Kyr’s Log is on a side table in his bedroom. If you allowed Eisa to leave quietly before, you find her journal in the other bedroom. Once you’ve read both, the optional objective is complete.
Continue deeper into the ruin and down through the tunnels to reach Frostmere Depths.
- Kyr’s Bounty (2)
- Kyr’s Log
Frostmere Depths
You emerge in a mist-shrouded subterranean forest, not far from the crumpled form of the bandit leader, Kyr. Hear his final words. When he dies, a strange glowing light manifests near his body and silently drifts down the path ahead of you.
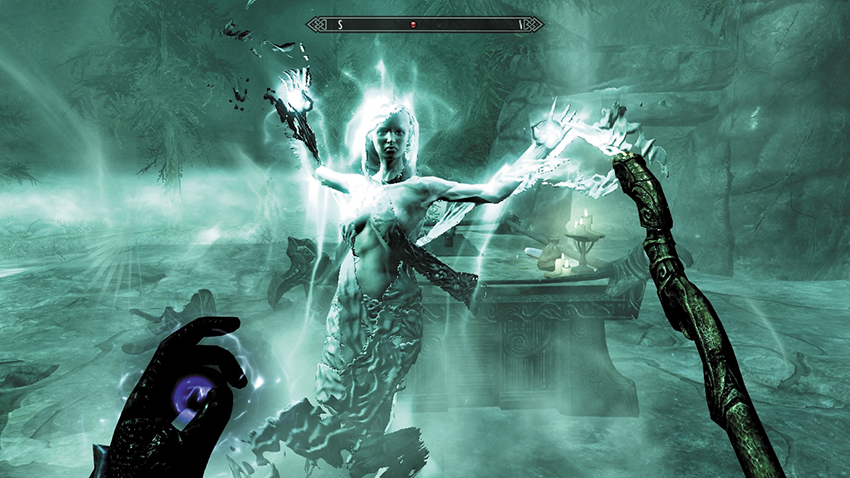
Follow the light deeper into the woods, and watch as a lone figure—Ra’jiir—emerges from the fog and races for the altar in the center of the grove. Just before he reaches it, a fearsome ethereal form erupts in front of him and cuts him down. The Pale Lady then turns to thwart another tomb defiler: You!
The Pale Lady is a powerful Wispmother, but if you have the strength, you can defeat her. Take out her wisps to reduce the bonuses they give her, then move in for the kill. The wide expanse around the tomb allows you to attack from a distance and hide between bouts of combat should you need to. If you’re extremely quick, you can kill Ra’jiir, too.
Or, you can pick up the Pale Blade (the sword Ra’jiir carries and drops when he dies), approach the altar, and set the blade into the sword stand. This restores the seal on the Pale Lady’s tomb, banishing her and her wisps in a blast of energy.
If you banish the Pale Lady by placing her blade atop the altar, you can take it again, breaking the seal and causing her to attack once more. You can repeat this until you decide to kill the Pale Lady, to flee, or to make the Pale Lady disappear again.
After dealing with the Pale Lady, approach the ruins to the north, where a Word Wall waits. Absorb the Word of Power, then take the exit here back to the crypts above.
- The Pale Blade
- Word of Power: Ice Form