
Elder Scrolls V: Skyrim Special Edition Guide Quests Act III
Main Quest: The World-Eater’s Eyrie
Main Quest: The World-Eater’s Eyrie
Eastward, to the Afterlife
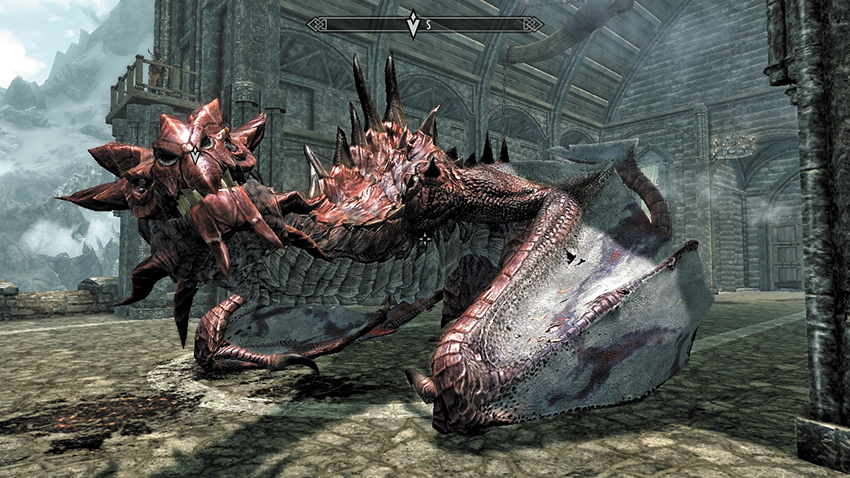
Although you’re right to be suspicious, the only way to reach Skuldafn is to agree to free Odahviing, on the condition that he transport you there. You may also witness Irileth’s and Farengar Secret-Fire’s reactions and questioning of the dragon. Then climb the steps to the side of the hall where Odahviing is waiting. Instruct the guard to open the trap. The guard isn’t too happy, so confirm these are your wishes. If you don’t wish to wait, you may activate the pull-chain yourself.
When you return to the dragon, he turns and lumbers to the parapet and waits for your arrival. Odahviing is awaiting your command. When you are ready (and fully equipped for this final adventure), tell Odahviing you’re ready to be taken to Skuldafn. You clamber aboard the dragon and set off for a flight across the eastern mountains.
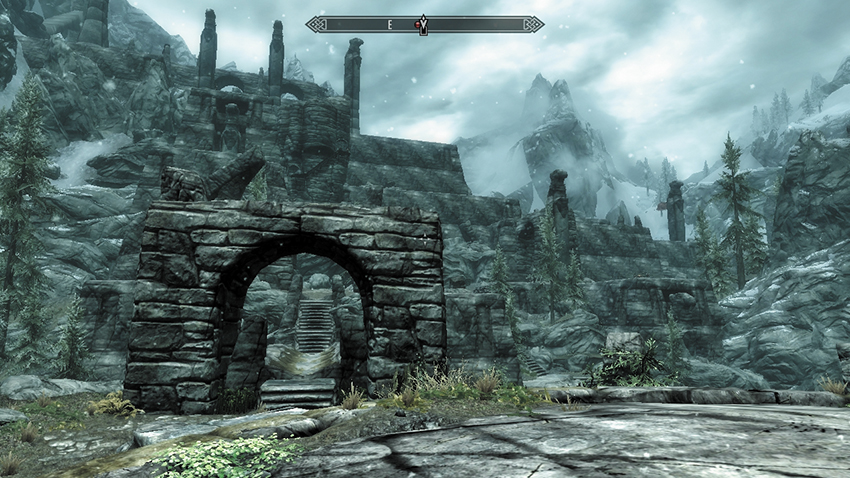
Odahviing deposits you on the edge of the Skuldafn fane (temple) and departs; this is as far as he can take you. Bring up your map; you’re on the eastern side of the Velothi Mountains, out of the Skyrim realm. Edge through the first of two giant stone arches and cross the bridge. You’re likely to be set upon by a dragon at this point, but it may depart the area before you can take it down (or utilize Dragonrend). Don’t overstretch yourself fighting it if it flees (or use Dragonrend if you want it to flee). After passing through the second archway on the bridge’s opposite side, there are other foes to concern yourself with.
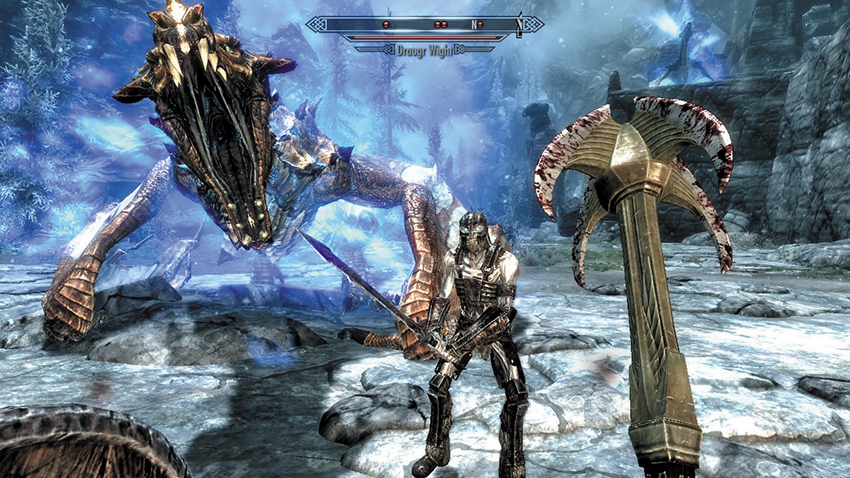
The first of these are Draugr that clatter down the stone steps as you intercept (or sneak past) them. Continue south, into a cracked courtyard with temple outbuildings to investigate. But first, the dragon returns to try and finish you. As with your other dragon battles, employ the tactics already learned: down the beast with Dragonrend, and then dispatch it with your favorite killing implements or augmentations. You absorb the Dragon Soul after you slay the creature. There is little time to rest; another dragon attacks only moments later. Deal with it in a similar fashion. Should you wish to flee, the only areas suitable are the side temples, filled with Draugr. Absorb another Dragon Soul before continuing your Draugr dispatching.
- Dragon Soul (2)
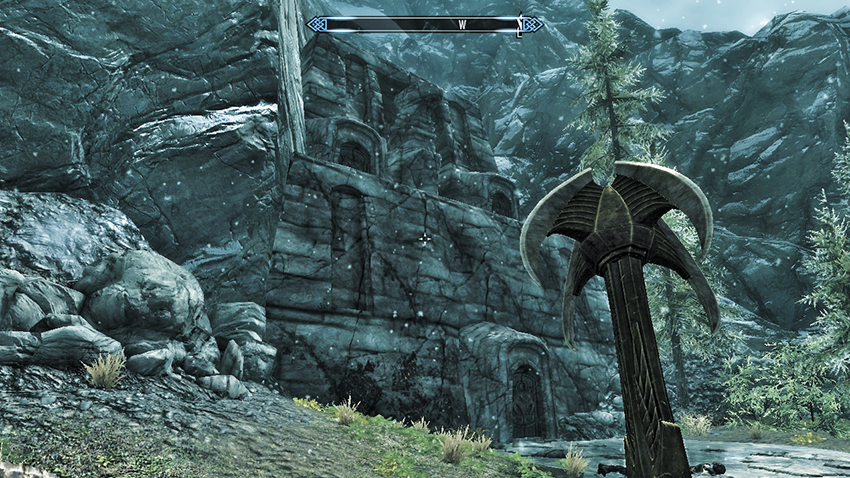
Take a moment to survey the scenery: This sprawling fane is comprised of a South Temple Tower, a north temple tower, and a main temple interior, which is the likely location to head to when looking for Alduin’s Portal. Before you climb the main stone stairs, split by a torch and a stone column, inspect the Skuldafn South Tower. Inside is a spiral staircase and a small chamber with items to gather. A second chamber is atop the stairs and has a chest and a few other items. Expect at least six Draugrs as you battle through this tower. Two upper exits allow you to safely check the main temple and the courtyard from which you just came.
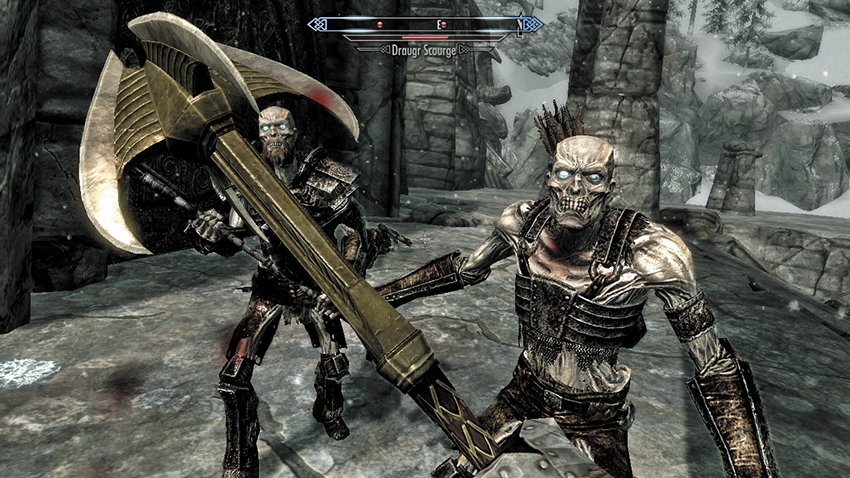
Head back down to the courtyard. Move east up either of the two stone staircases and under either arch to a small open folly with a treasure chest at the top. Next, head north, under another arch, before beginning a pitched battle (or a sneaking maneuver) against the remains of the Nord dead. The Draugr continue to appear as you encroach up the main stairs toward the main temple sanctum. When you’re fighting up the stairs, beware of Draugr perched atop the temple’s roof, as they can strike you with ranged fire. Fight back using your own projectile attacks, or move to the door so the rooftop foes can’t aim at you.
Before entering the main temple, you can optionally turn around and head south, down the eastern platform overlooking the ruined outer buildings you just navigated, to the entrance of Skuldafn North Tower. This provides more Draugr for you to defeat. Take the spiral staircase to an upper chamber and exterior balcony. The balcony leads back to an otherwise-inaccessible interior corridor with a treasure chest to raid. After you emerge back on the eastern platform, investigate the exterior steps to the southwest, which leads to an altar and a battle with a particularly powerful Draugr. Open the treasure chest on the altar, then use the aqueduct bridge and head north. Finally you reach and open the door to Skuldafn Temple.
Prelude to the Maelstrom
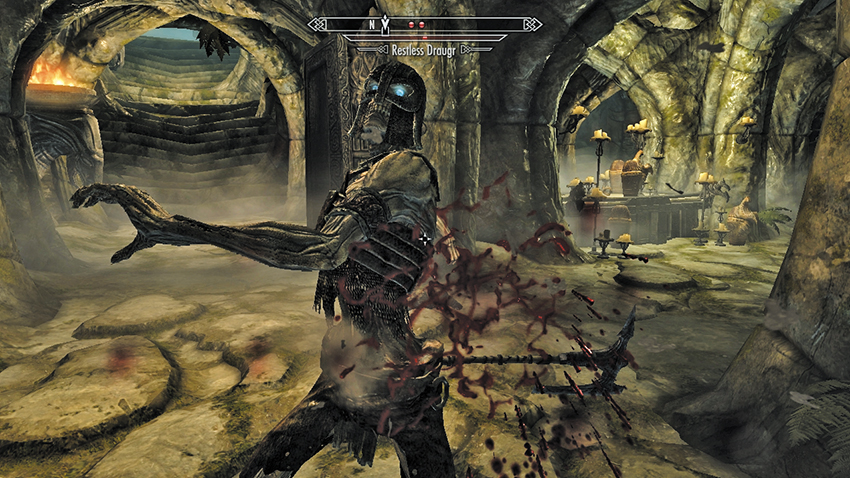
You are greeted by ancient Nordic architecture and a central ceremonial buttress with an embalming table to your right. Venture down either corridor (the right has a chest to open, while the left as a floor trigger and a dart trap). Engage the Draugr guarding the connecting passages ahead of you, surrounding a second embalming table. Ascend either set of steps to an upper chamber, where the vertical Draugr coffin lids fly open, and out spills more emaciated bags of bones for you to thwart. After eliminating the Draugr, you’ll notice the two archways ahead are blocked by portcullises. Investigate the pillars and lever to continue your progress.
Puzzle Solution Part 1: A lever raises the portcullises, but it is currently not attached to the mechanism. In the upper chamber, there are three pillars with carved animal petroglyphs on them. Investigate the two outer pillars first. On the outside of the ceremonial arch structure they are sitting under is a second carving, which is resting in the mouth of a stone head. Move the pillar on the western side so the Whale glyph is facing the chamber’s western side (in the same direction as the carving above the pillar). Move the pillar on the eastern side so the Snake glyph is facing the chamber’s eastern side. The mechanism is now attached.
Puzzle Solution Part 2: Before you move the middle pillar, peer at the two portcullises. Above each is a stone head, and in the mouth of each head is another glyph, partially obscured by the stone crossbeam. The left (northwest) mouth has a Snake. The right (northeast) has a Hawk. Now rotate the middle pillar so the Snake or the Hawk faces the lever pedestal. Then pull the lever, and the portcullis corresponding to the Snake or Hawk opens. You can have only one portcullis open at a time.
Take the steps through the left portcullis up to a hallway (as the right one leads to a blocked area and small chest), and drop to the altar and embalming table below. Fight through cobwebs and Frostbite Spiders, and climb some stairs (some cobwebbed alcoves reveal a hidden chest or some egg sacs). Locate an iron double door leading to a second puzzle chamber. Clear the chamber of Draugr and ransack any treasure chests before you concentrate on the animal petroglyphs.
Puzzle Solution: Begin on the ground floor. Head east, and walk around the room until you spot a carved head with a Snake petroglyph in its mouth. Return to the pillar facing the double doors you entered, and turn it so the Snake faces the doors (west). Ascend to the bridge area above. Locate the second carved head with a Hawk in its mouth. Match that so the Hawk is facing the same direction (outward or to the north) in the alcove underneath this head. Turn around (to the north), and match the Whale on the pedestal in the opposite alcove, with the final head above it. Then pull the lever on the pedestal. This lowers the bridge, allowing you to exit.
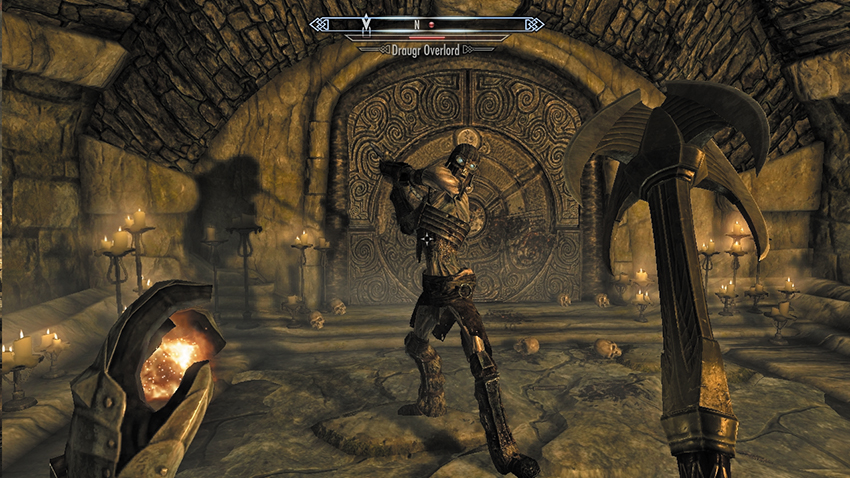
Follow the corridor around to another embalming room with steps up to a gallery and a bridge to cross into the next chamber. Demolish Draugr along the way. Beware of the spiral steps; there’s a pressure plate directly in front of you that releases darts and an oil lamp that falls onto flammable oil. Gather any items before climbing the steps, bring down more Draugr in the connecting chamber with the blocked portcullis exit, and then enter the antechamber with a chest and a lever pedestal to raise the portcullis. Now follow the wide ceremonial corridor up, watching for oil-lamp traps. Continue toward a Nordic Puzzle Door, guarded by a high-ranking Draugr. Fight this fiend until he collapses; his corpse holds the Diamond Claw, the key to exiting this place.
- Diamond Claw
Puzzle Solution: Approach the Nordic Puzzle Door, but first inspect the palm of the Diamond Claw you just picked up. The three symbols etched into the palm are Wolf, Moth, and Dragon. These correspond to the animal symbols on the door’s outer, middle, and inner rings, respectively.
The door rumbles down, allowing you to step into a huge main crypt. The place is silent compared to the Draugr infestations you’ve beaten back previously. Approach the Word Wall at the crypt’s far end and absorb another—and extremely potent—Word of Power. Then depart the temple interior, optionally checking an embalming chamber to the side, before opening the double wooden doors to the temple exterior.
- Word of Power: Storm Call
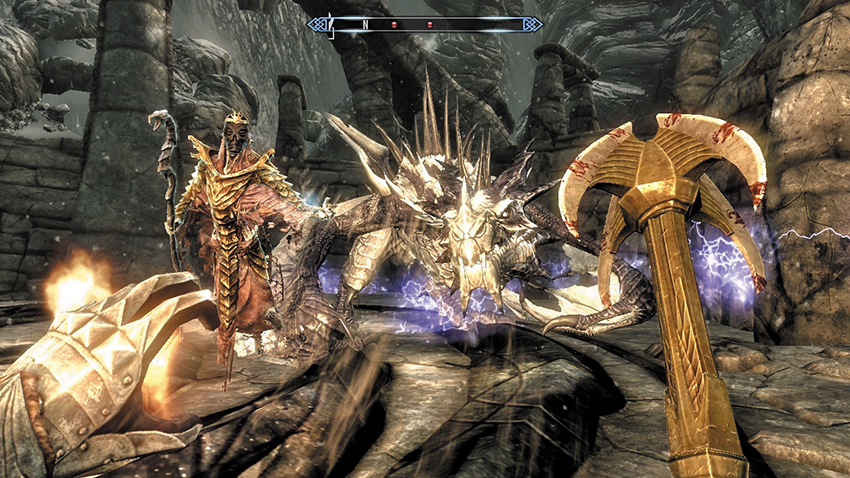
You appear on the roof of the temple you’ve just navigated. Deliver some killing blows to any remaining Draugr you failed to cull while on the lower ground. Although there’s some side battlements to investigate, there’s little to find. Instead, locate the stone steps and the jet of molten fire roaring into the skies.
Two large dragons flank you, sitting atop carved columns to your left and right. In the courtyard’s center are steps where a Dragon Priest is attempting to close the portal using dragon tongue incantations. The priest’s name is Nahkriin, and he carries a staff that opens the maw he’s just closed (although it is possible to kill him before this chant is completed). Engage Nahkriin in battle, but beware of his electrical prowess; use the arches and stairs as cover if you need to, and watch for the dragons that intermittently swoop in to attack. Fight back with Dragonrend, and slay each dragon before turning your attention to the priest. Fight him until all that remains is a pile of dust. Aside from some sizable gold, you receive Nahkriin’s Mask (useful for Side Quest: Masks of the Dragon Priests*) and the Dragon Priest Staff.
- Dragon Soul (2)
- Dragon Priest Staff
- Nahkriin
Quest Conclusion
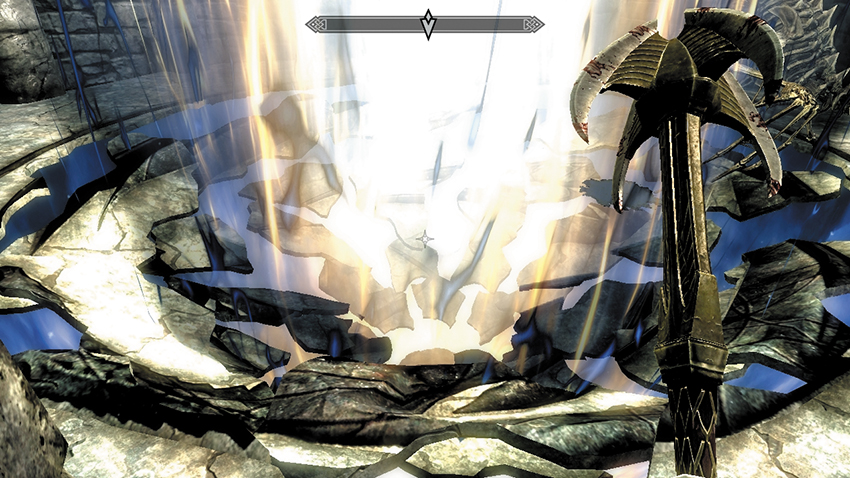
Ascend the ceremonial steps. Activate the Dragon Seal at the top of the steps, and you jam the staff’s shaft into the seal’s center. A great gout of fire blasts forth from a whirling vortex—a gateway to the Aetherius, where Alduin cheats death and feeds off the souls of heroes past. Step down into the light and into Sovngarde!
Postquest Activities
After you step into this writhing gateway, Main Quest: Sovngarde begins. Before you enter, know that you can never explore Skuldafn again. If there are items you wish to collect, do so before entering the gateway.