
Elder Scrolls V: Skyrim Special Edition Guide Quests The College of Winterhold Quests
College of Winterhold Quests: The Staff of Magnus
The Staff of Magnus
Getting Lost in Labyrinthian
This quest begins immediately after you complete the College of Winterhold Quests: Containment. Be sure you have the Torc of Labyrinthian (given to you by Mirabelle Ervine at the end of College of Winterhold Quests: Containment).
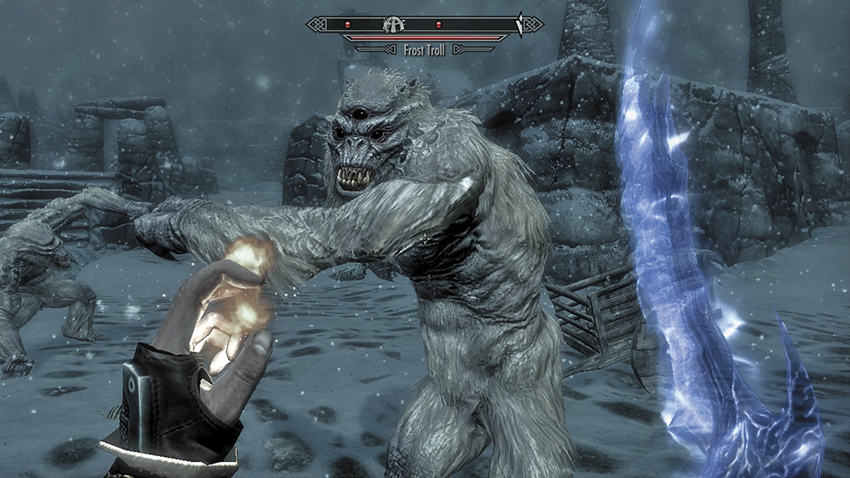
Mirabelle and Tolfdir have retreated back, unable to halt the tide of magic sweeping across the College. The Staff of Magnus is needed, and now! Trek west—the mountain crags to the south and east of Morthal is where the vast and sprawling remains of this ancient Nordic city are located. Enter the surface courtyards from the mountains above, or the forest below, using the stairs and the dried aqueducts.
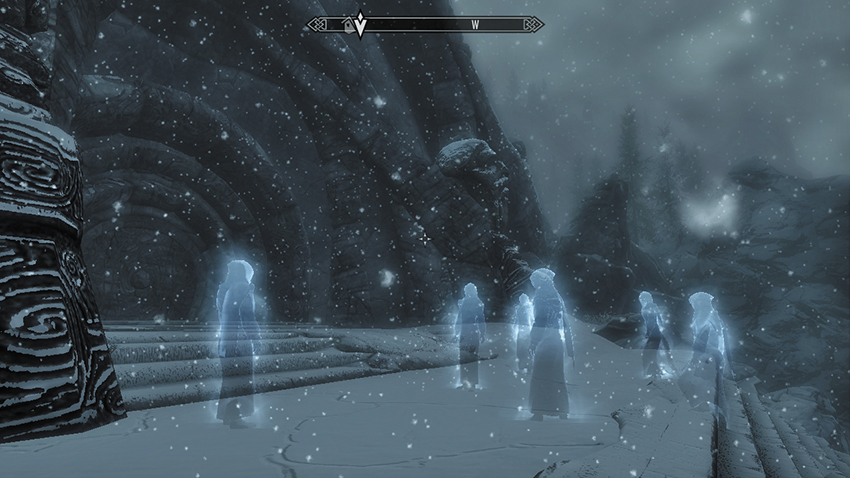
Ignore the Lost Valkygg area to the east as well as the ceremonial buildings, steps, and statuary; focus on the Frost Trolls and the giant low arch of the Labyrinthian entrance. Look for the strange, glowing figures standing beneath the giant overhang. The spirit of Savos Aren is here. You can’t speak to him or to the other ghosts standing in front of Labyrinthian’s entrance—Girduin, Hafnar Ice-Fist, Atmah, Elvali Veren, and Takes-in-Light. This appears to be a recording from a time before Savos Aren became the Arch-Mage, an imprint from the past. The party is wondering about entering the place. Once they disappear, move to the Ceremonial Door and activate it. You automatically remove the Torc of Labyrinthian and slot it into the door. The entrance rumbles apart.
Chilled to the Bone
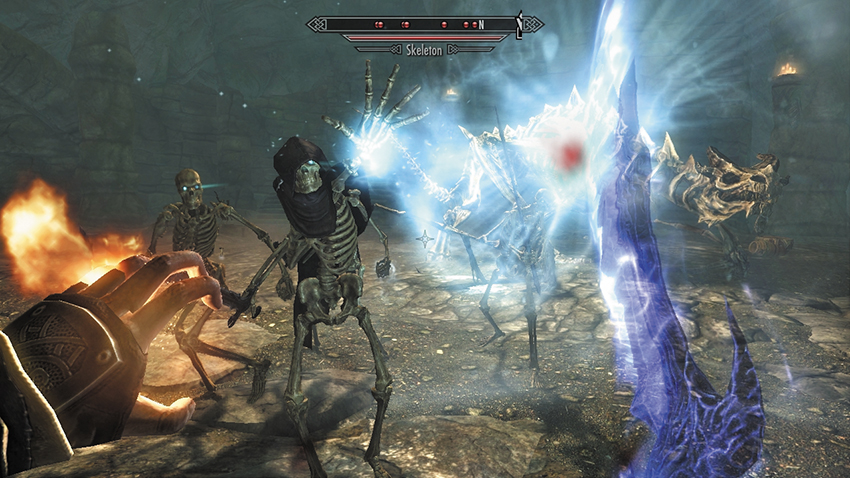
Walk forward from the entrance, and Savos Aren’s spectral party appears once again, hoping to find enchanted weapons and lost spell books. After they depart again, open the double doors and activate the lever to raise the portcullis. This allows you into a tremendously epic main chamber. The rattling of old bones announces the animation of a group of skeletons guarding this huge temple hall. There are bowmen in the distance, and a massive Skeletal Dragon rises from the earth and attempts to thwart you! Dodge the incoming attacks, concentrating on the Skeletal Dragon (and any skeleton you’re close enough to strike), and prepare for a lengthy battle.
This Skeletal Dragon was summoned by dark magic within this place and doesn’t have a soul to steal. Continue east, down the tunnel to an Etched Tablet, where Savos Aren’s specters appear again, confused after losing one of their own. They vow to continue on, and so should you. The Tablet has a suitably troubling verse to dissuade tomb robbers. Now head down and open the doors to Labyrinthian Chasm.
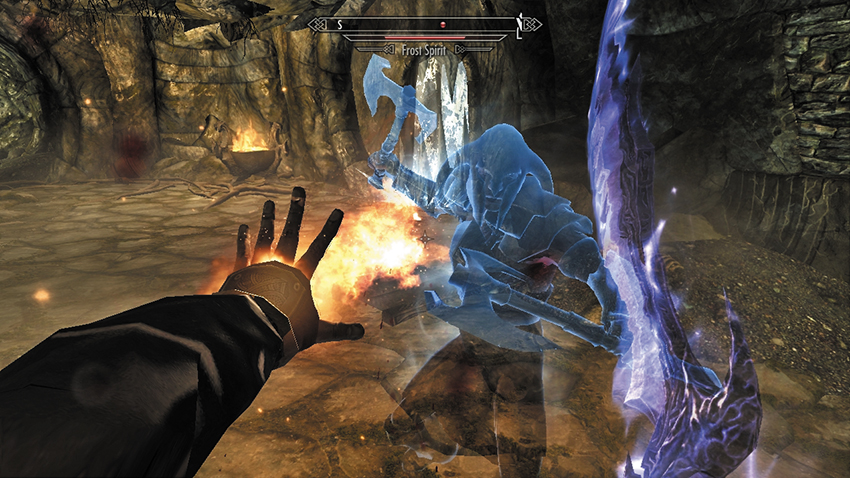
Pass the nightshade plant and gnarled tree, and check the left, caved-in tunnel for trinkets; then take the right tunnel to continue. As you reach a door sealed by ice to your right (west), you hear a strange voice rasping the tongue of dragons. Draugr appear. Dispatch any that trouble you before checking the arched alcove, where a pedestal holds a Spell Tome. Pick up Flames if you haven’t learned it already, and read the book at once. Equip Flames as an offensive spell, and blast the door sealed by ice. When it slides open, step through into a precarious path of descent.
- Spell Tome: Flames
Carnage in the Chasm
The voice echoes this chamber again, and Draugr begin to stir. Avoid or fight these bony fiends while navigating the narrow cliff path down to a junction. A side passage to the south leads to steps, several Draugr, and a tunnel collapse that prevents progress. However, in a side chamber, you find the remains of a conjurer, a Spell Tome (which you should learn immediately), an Alchemy Lab, and an Arcane Enchanter. This is your last opportunity to utilize these crafting facilities before unearthing the deeper secrets of Labyrinthian! Now return to the path of descent, face west, and continue down the bridges across the chasm. The voice in the dark now speaks to you in your native tongue and seems to be growing impatient.
- Spell Tome: Equilibrium
You may head to the bottom of the chasm, where a Nirnroot grows and a fast-flowing underground stream coaxes you toward an Iron Door. Or you can exit via the tunnel above, cross the remains of a bridge, and head into a great hall of alcoves. Expect Draugr foes as you head down the steps, out into a rocky fissure, and reach the fast-flowing stream from this direction. The voice mentions the return of Aren as you open the door to Labyrinthian Thoroughfare.
Thoroughfare Fights
There are two routes to choose from, and both take you through some waiting skeletons. One has a gate (Novice) to unlock and a stream to follow to an exit above an open archway. The other way requires less lockpicking and more combat. Follow the running water into the pens, where you may encounter a troll or two. Ahead are three grated windows you cannot budge. Instead, tackle the troll and use the side passage to exit the pens. The voice in the dark mocks you. In the main thoroughfare, you have more skeletons to disassemble. The voice calls again, noting you’re not Aren but were sent in his place.
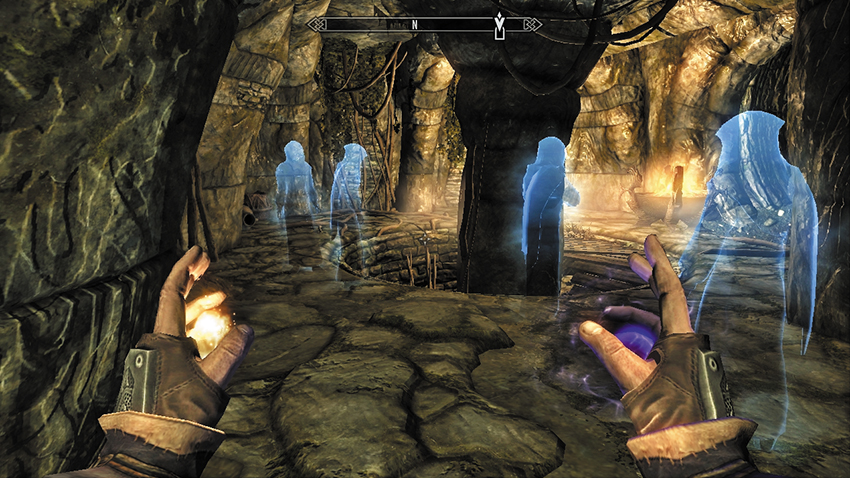
Head west across a bridge, to a side cave where trolls and treasure can be found. Then move north, cutting down more skeletons. You also encounter the turquoise glow of wisps as you reach a series of small standing stones and a flaming basin. You can face the Wispmother or flee from it on the raised end of the thoroughfare. Cross the wooden bridge to the northeast. The voice in the dark mocks your power. The door at the bridge’s far side is sealed with fire. Utilize an ice-based spell (such as Frostbite) to open it.
Open the gate to the north and stumble upon the spectral party, now down to four members. They have grave concerns, but Savos Aren urges them to push on. You’re unable to access the spiral steps they were standing by, as they are blocked. Instead, dispatch the skeletons at the end of the cylindrical sewage corridor and pick one of two routes heading down:
- The Watery Fall: Stand on the trapdoor by the waterfall and open it, aiming to land on the series of crossbeams so you don’t suffer falling damage. A troll is usually attacking a Draugr. You can wait for them to damage each other and drop in to finish the straggler, or wait on a crossbeam and launch ranged attacks on them both. The exit from this circular room is through the archway to the west, ending in an Iron Door.
- The Side Chambers: Or you can walk over the trapdoor and head through the opening to the east. Follow the tunnel as it dries up and ends at a balcony guarded by Draugr. Drop to the adjacent earthen floor and open the wooden door to the west. The dark and narrow corridor leads down to the circular room where the troll and Draugr are fighting. Use the same western archway to exit to the Iron Door.
Prelude to a Dragon Priest
The tunnel is riddled with tree roots and the long-dead remains of Nordic warriors. As you reach an open double door to your right (west), expect more Draugr attacks. Before you head down the connecting passage, take the Spell Tome on the pedestal if you haven’t learned Steadfast Ward yet. Now head into the corridor, watching for crackling electrical attacks from Soul Gem Pedestal traps and Floor Runes. Take the Soul Gems from the pedestals to deactivate them, or use the Steadfast Ward to shield yourself. Head up the tower steps to an outside ramp. You encounter more Draugr if you inspect the chest at the top. Otherwise, locate the tunnel to the west.
- Spell Tome: Steadfast Ward
Pass the locked gate (or optionally open it to find some impressive loot) and head through the small torture dungeon and the double doors. Expect vicious combat with a high-ranking Draugr, sitting on his throne and guarding a Word Wall. Absorb another Word of Power and optionally use it in the columned hall to the west. Several Draugr and skeletons roam here, so use the columns to dodge them and seek cover if necessary. Then meet up with the ghostly Savos Aren and his two remaining followers. They stare at a door: This is it, they say!
- Word of Power: Slow Time
Within Your Clutches
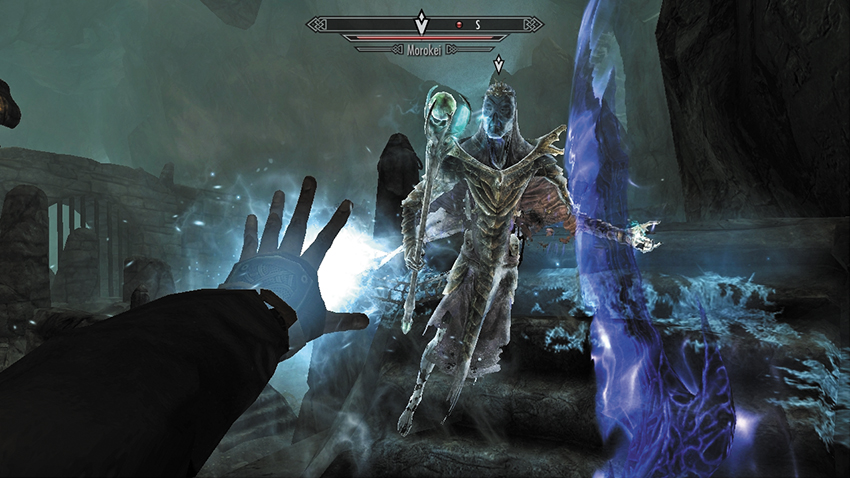
Fling the doors open, and enter the ceremonial chamber where Morokei has been sealed in an impenetrable magic ward by two Wizard Thralls.
Dragon Priest Slaying: There is a beam supporting Morokei’s barrier, and the barrier gives the Dragon Priest invulnerability to your attacks. Interrupt the thralls from their ritual by striking or killing them (either one or both) to break the beam. Once the barrier falls, Morokei becomes vulnerable and attacks you. Retaliate, using the chamber’s topography to hide, dodge, or face the fearsome foe out in the open using your favored offensive weaponry.
- Staff of Magnus
- Morokei
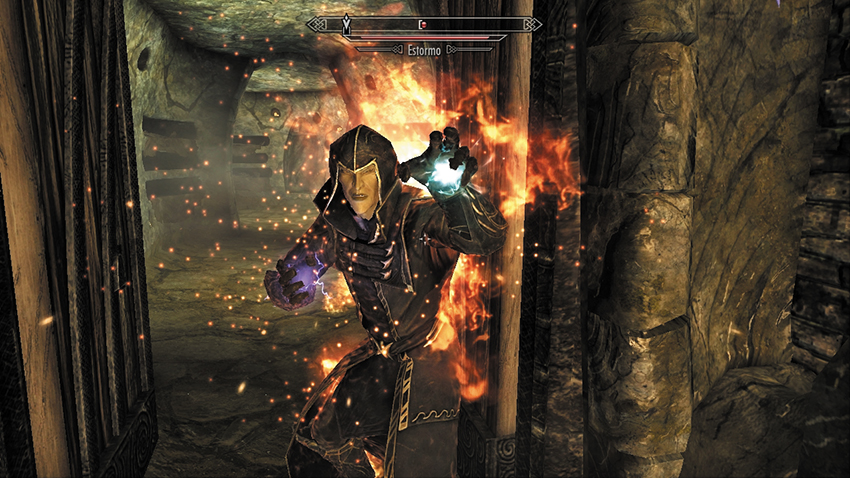
Exit from the ceremonial chamber via the eastern doors. After a final encounter with the ghost of Savos Aren, who sealed Morokei, you can continue up the stairs, opening the portcullis using the wall lever. As you step through, a Thalmor agent named Estormo appears and informs you that Ancano was correct; you are a threat. He wants the staff and wants you dead! So begins another battle. Muster your remaining magic and deal a death blow to Estormo before navigating your way out of one final crypt, up the southern steps, and outside. You are back at labyrinthian’s sprawling exterior. Avoid or face the Frost Trolls and head back to the College.
Quest Conclusion
Back at the College, the surviving members have pulled back to the bridge from Winterhold. Sadly, when you ask Tolfdir where Mirabelle is, he tells you she didn’t make it; she died to save the others. Tolfdir is now in charge, but none of the College members can come close to countering the magic at Ancano’s disposal. Agree to face Ancano with the Staff of Magnus in hand. There may be a way to stop him yet!
Postquest Activities
The College of Winterhold Quests: The Eye of Magnus begins immediately.