
Elder Scrolls V: Skyrim Special Edition Guide Quests Thieves Guild Quests
Thieves Guild Quests: Hard Answers
Hard Answers
Calcelmo’s Secrets
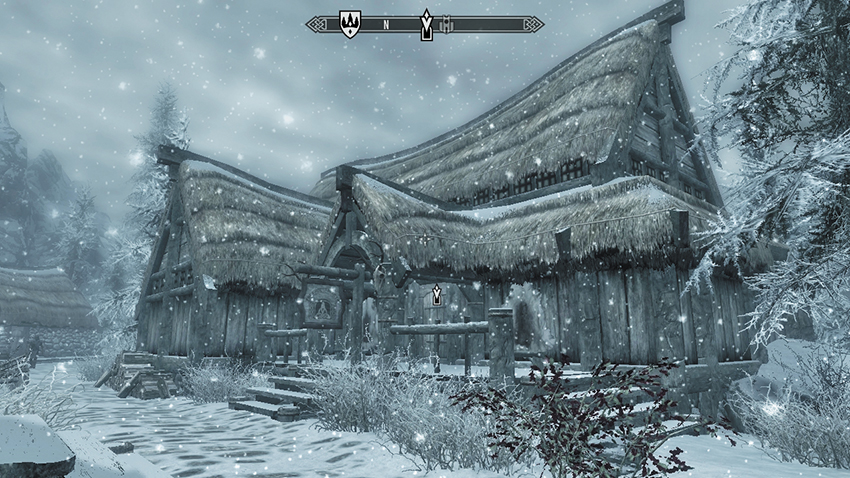
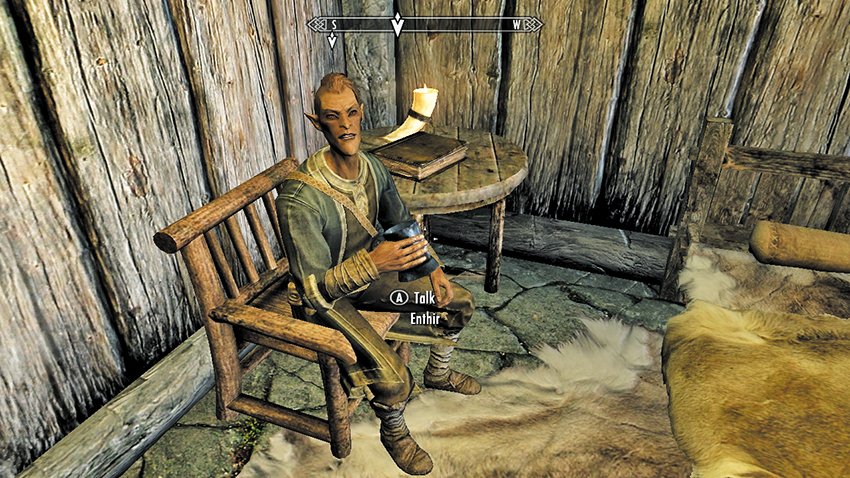
You commence this quest with the objective already active. Trudge up to Winterhold, where you can find Enthir in the cellar of the Frozen Hearth Inn (usually he wanders the College of Winterhold). After you speak with him, he reveals Gallus’s Journal to be written in Ancient Falmer, a long-dead language of the Snow Elves. Even he won’t be able to translate this, but he believes that Calcelmo, the court wizard of Markarth, may have the materials needed for the translation. But he warns you that Calcelmo guards his research fiercely, and getting the information won’t be easy. You can also ask Enthir about Gallus, what the Falmer actually were, and other related questions before stepping out into the cold.
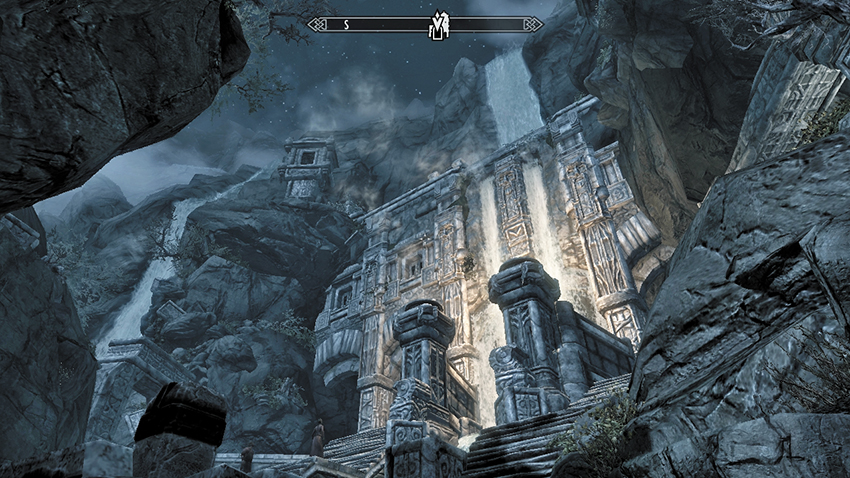
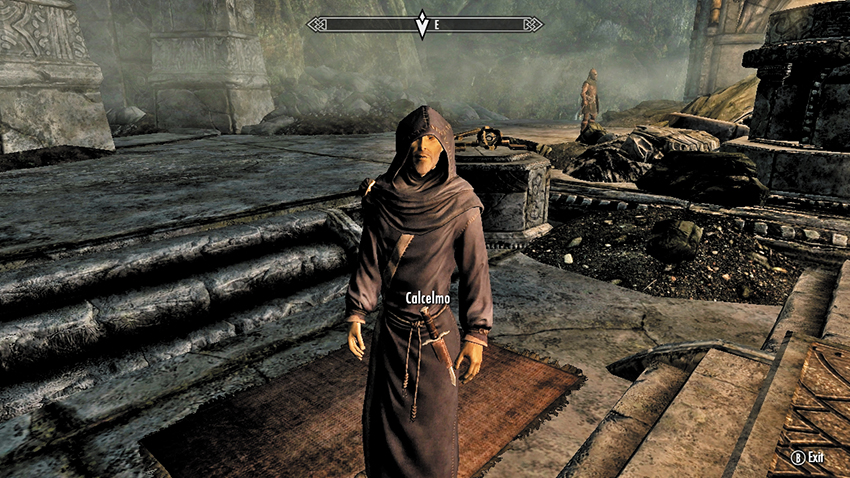
Make your way west toward the canyon city of Markarth. Once through the front gates, scale the stone steps to reach Understone Keep, the site of major excavation work. You’ll find Calcelmo to the left (west), checking over artifacts and the progression of the dig inside a gigantic Dwemer entrance chamber. Alas, Calcelmo is extremely overworked and uncooperative (even if you helped him during Temple Quests: The Book of Love). He says your idea to view his work on the Falmer tongue is “preposterous,” and he won’t allow anyone to view it before it is completed. You can:
- (Persuade) Inform him you’re a great admirer of his work. With a high enough Persuade, Calcelmo allows you access to the Museum part of his quarters but still keeps the Laboratory off-limits. You also receive a key to the Museum, which is reasonably handy for this quest but still means you must break into the Laboratory.
- (Bribe) Ask what it’ll cost to change his mind. He isn’t interested in personal wealth, so this option leads you nowhere.
- (Intimidate) Threaten him. He isn’t interested in your threats, so this fails as well.
Calcelmo also remembers if you’ve helped him before but points out he’s already given you access to the Museum. Alas, none of these options allow you access to Calcelmo’s research, which is likely to be ready in several more years. You need another plan. The only way you’re getting into that laboratory is by clandestine sneaking, lockpicking, out-and-out brutality, or a mixture of these.
Trespasser in the Keep (Part 1)
If you’ve helped Calcelmo in the past, you may already have access to his Museum (both Temple Quests: The Book of Love and Miscellaneous OBJECTIVE: Neutralizing Nimhe* award you the key and his permission to enter the Museum). If not, you can do either of those quests now. Having legitimate access to the Museum will make the next part of this quest much easier, especially if you have a low Sneak skill.
Alternately, you can steal a key. Your quest target points you to one on the low plinth nearby, hidden among Calcelmo’s artifacts. Both Calcelmo and the guard near the Museum entrance (at the top of the stairs in the keep’s entry chamber) have keys you can pickpocket.
Or you can simply pick the Adept Lock on the Museum door and slip in while the guard’s back is turned.
- Dwemer Museum Key
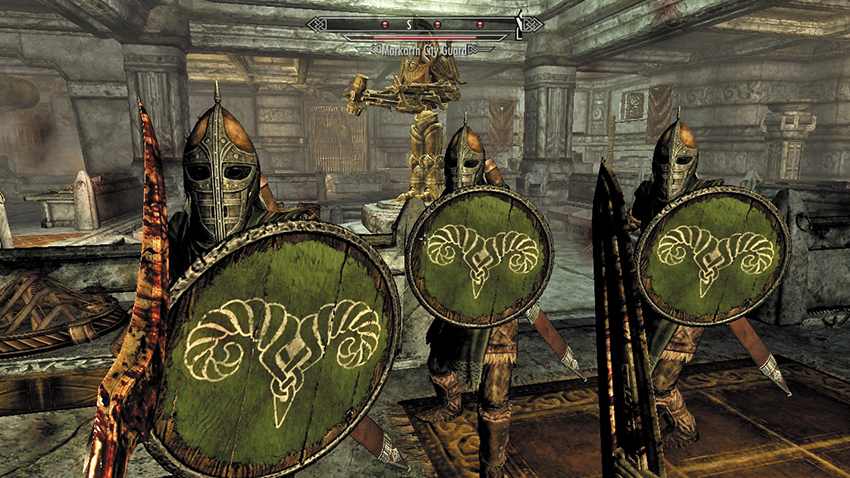
As you enter the Museum, creep forward to overhear a conversation between two of the guards. This eavesdropping gives you a preview of your objectives to come; it sounds as if Calcelmo has called in every one of his favors to populate and secure the upper level using his own private expedition team. As Calcelmo’s overriding plan is to ensure his research is protected, your tasks just got a lot tougher. From the Museum, you have three options:
- Plan A: Walk on through with nonchalance. If Calcelmo gave you the key and permission to visit the Museum, the guards have already been informed and won’t ask any questions. Provided you don’t try to steal anything, you can head through, take in the sights, and then continue through the western door to the second level. This is both straightforward, safe, and direct.
- Plan B: Blind, ugly violence. Despite all the valuables, Calcelmo’s Museum is protected by just three city guards. Depending on your level, you may be able to take them out with melee strikes or (preferably) with some well-placed arrows, allowing you to loot the room at your leisure. When you’re done here, continue to the western door. Note that these are Markarth Guards, so you’ll pick up a hefty Bounty (3,000+ in Crime Gold) for their murders.
- Plan C: Stealth. The museum is large, well lit, open, and patrolled by three guards, so expect a significant challenge here. All the usual tips on Sneaking still apply—use anything you have to increase your Sneak; use spells, potions, abilities, or items that give you Invisibility or Muffle, and take off those heavy boots. Then, when you’re ready, carefully take the following path:
- From the entryway, observe the guard on the north side. When he passes by, carefully sneak along behind him and crouch behind the spider display in the room’s northeastern corner.
- When the northern guard steps into the room’s center, carefully head west. This time, watch the guard in the center. When he faces back south, duck into the northern hallway.
- Wait for the northern guard to begin another loop, then creep west. When the center guard turns away again, carefully sneak into the western hallway (ducking behind the pillar if necessary on the way).
If you’ve chosen Plan A or B, it’s worth spending some time in the Museum. There are more lockpicking opportunities in this room than anywhere else in Skyrim, making this a fantastic place to improve your skills. Also, the loot here is exceptional (provided you don’t get caught). The two side rooms off the main chamber are also worth exploring.
Your ultimate target is the door at the Museum’s west end. This leads to Calcelmo’s Laboratory. You can:
- Unlock the door with the Museum Key, which you may already have, or you can pickpocket/loot from any of the guards in this room.
- (Lockpick [Adept]) Or pick the lock on the door if you don’t.
Trespasser in the Keep (Part 2)
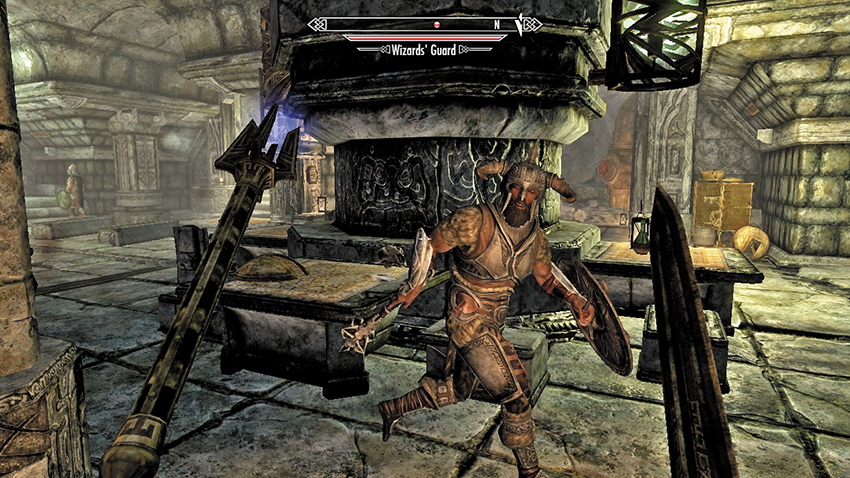
Enter the Laboratory and note the scene between Aicantar and the soldier up ahead. You’re not facing city guards any longer. Calcelmo’s men have orders to kill intruders on sight and will call for reinforcements if they spot you. Your permission from Calcelmo doesn’t extend to this floor of the Keep, so you’ll have to sneak or fight your way through.
Initial Two Chambers
There are two guards in this first area. One already patrols the second room to the west; the other enters after a minute or two through the previously sealed eastern door, once Aicantar has finished with him. You can:
- Try to sneak by. This is all but impossible without Invisibility, as the western guard keeps a close eye on the exit.
- Fight them head-on. They’re tough, and they’ll call for reinforcements if they spot you—one guard who enters from the far eastern door.
- Take them out with the traps in this space. You have plenty of options to choose from: The first room has a large pool of flammable oil and a row of dart traps. The second room has a wall trap, a set of threshers, and a ballista in the hallway littered with rubble.
- But by far the most unusual (and entertaining) option is just to your left as you enter the first room. On the table in this small chamber is a unique item: Aicantar’s Spider Control Rod and a journal that explains it. When you take the Rod, a Dwemer Spider drops in, ready to help you take on the guards.
- Spider Control Rod
- Aicantar’s Lab Journal
The door on the western end of the second room is locked (unless you triggered the reinforcements). You can:
- (Lockpicking [Adept]) Pick the lock.
- Or unlock the door with one of the Laboratory Keys. All of the Wizards’ Guards carry a key, or you can find one in Calcelmo’s bedroom on the north side of the second chamber.
- Calcelmo’s Laboratory Key (2)
- Dwemer Museum Key
The Steam Hall
Two guards patrol the steam hall and comment on one of the traps there as you approach. As before, you can try to sneak by them (which is extremely difficult) or fight them and their reinforcements (with or without the help of the Dwarven Spider).
A better option is to continue past them and take the ramp to the lower level, where the hallway is blocked by clouds of noxious steam. Sneak through here, out of sight of the guards, stopping on the pressure plates as necessary to turn off the gas and allow your health to recover. If the spider is following you, direct it onto the pressure plate to keep the gas off, allowing you to walk through.
Back on the upper level, the valve at the hall’s far end will turn on the thresher traps, easily wiping out the guards. Loot them and the treasure in the side rooms before continuing on.
The Statue Room
The next chamber, decorated with two Dwarven Sphere statues, is relatively easy to sneak through. Just wait until the guard by the eastern door leaves his post. Or, as always, you can fight your way through.
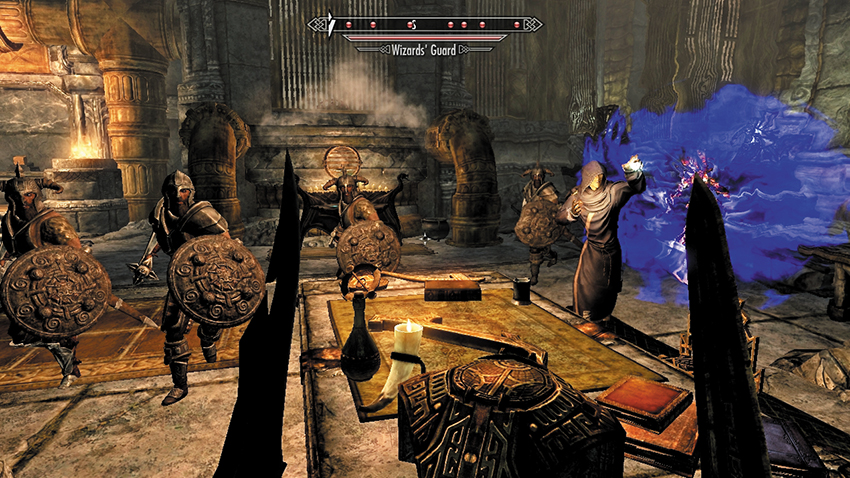
Aicantar’s chamber offers one final set of options. Once again, sneaking here is difficult: Aicantar keeps close watch on the exit. You can certainly fight him, the guard, and a pair of reinforcements (optionally with your spider). But a better option is to sneak into the control booth on the walkway and turn the valve.
Chaos breaks out below. All the traps in the room turn on, and Aicantar and the guard panic, yelling for everyone to flee the Laboratory. They and any surviving guards in the Laboratory make a break for the Museum. They may not get far, as Aicantar’s robes have a nasty tendency to get caught in the thresher....
- Dwemer Puzzle Cube
Continue out onto the Markarth wizards’ balcony.
There’s the Rub
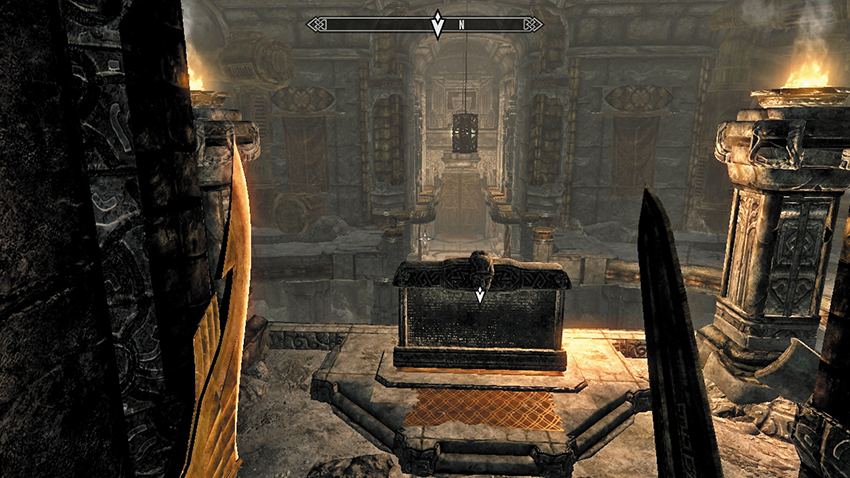
After marveling at the impressive vista, clamber up the steps and enter Calcelmo’s Tower. On this room’s upper level, you can see an ornate stone covered in hieroglyphics: there appear to be verses written in Ancient Falmer and Dwemer. This looks to be the guide to translating Gallus’s Journal! However, getting it back may pose a challenge....
Continue up the stairs on the left (east) and enter Calcelmo’s private office, packed with artifacts and rubbings. A door from the office leads out to the stone. But interacting with it won’t get you far: The stone is much too heavy to lift.
Puzzle Solution: Sift through the valuables and check the main table. Calcelmo has been making some rubbings on paper, and these are scattered everywhere. Take a roll of paper and some charcoal from a side table. Return to Calcelmo’s Stone and make a rubbing of the text there. (It’s possible to find the roll of paper and charcoal in the world prior to this quest, but it isn’t necessary; there’s plenty of it around.)
- Roll of Paper
- Charcoal
- Calcelmo’s Stone Rubbing
Nocturnal’s Quisling
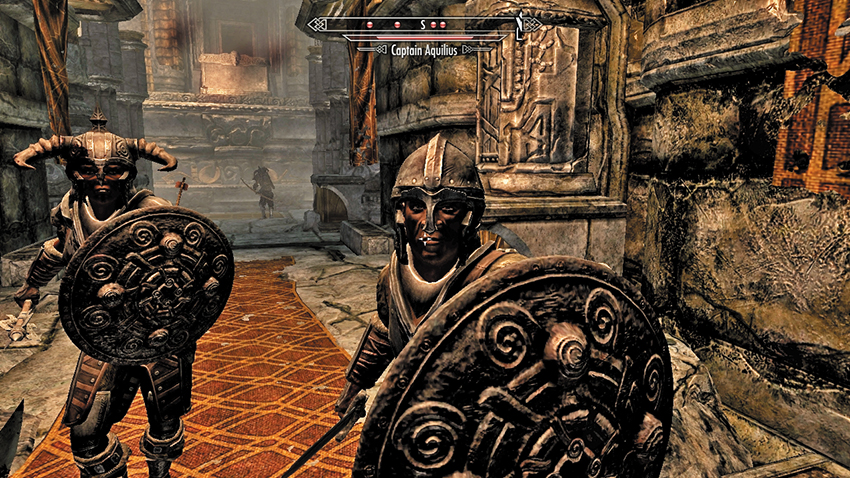
Now for the small matter of an escape plan. Mere moments after you make the rubbing, the doors to the tower open and a group of soldiers enter, led by Captain Aquilius of the Wizards’ Guard. They are joined by Aicantar (if he’s still alive). After a brief argument, they spread out to scour the tower.
You can try to fight or run past them. With an excellent Sneak skill, you may even be able to get out undetected: drop onto the platform to the west and head up the stairs. At the gap, leap onto the narrow metal catwalk and race for the door.
Out on the balcony, you have a choice: You can try to backtrack through the Laboratory, Museum, and Keep, but between the Wizards’ Guards and the city guard, you’ve probably made some enemies by now. Your quest target suggests a better option: On the balcony’s east side, some of the stonework has fallen away, exposing a narrow stone path. Follow it, leap into the waterfall at the end, and make your getaway. Fast-Travel back to Winterhold at your earliest convenience.
Back inside the Frozen Hearth, hand the stone rubbing to Enthir and tell him it should help with the translation. Karliah will be here when you arrive with the rubbing. As Enthir pores over the rubbing and Gallus’s Journal, he reveals the disturbing truth: Gallus suspected Mercer’s wavering allegiance to the Thieves Guild for months; this included a vast expenditure on a lavish lifestyle of gold and trinkets. Mercer was apparently paying for this by removing valuables from the Guild’s treasure vaults without anyone’s knowledge! There is also talk of Mercer desecrating something known as the Twilight Sepulcher, which disgusts Karliah.
Quest Conclusion
Speak to Enthir again, and he urges you to help Karliah and reveal the traitor to your brethren. He also thanks you for your help and tells you that if you’re ever in this area again, he can fence any goods you may have gathered via slightly nefarious means.
- Gallus’s Translated Journal (Item)
- Vendor (Fence): Enthir
Locate Karliah nearby, who tells you the Twilight Sepulcher is the sacred temple to Nocturnal, the patron of thieves and gamblers. Defiling the sacred ground he swore to protect, Mercer is now revealed as an insidious fiend. But getting the rest of the Guild on your side may require more than simple guile. For your part, Karliah rewards you with Gallus’s old weapon.
- Nightingale Blade
Postquest Activities
The Nightingale Blade is a leveled weapon, with an Absorb Health and Drain Stamina enchantment on it. After some optional additional questions, Thieves Guild Quests: The Pursuit commences. Build up influence in more cities by continuing Thieves Guild Quests: Additional Jobs. You may want to return to Markarth, especially if you’ve slain the museum guards, and brush up on your Lockpicking before cleaning the place out, as there’s a wealth of loot to pick over.