
Elder Scrolls V: Skyrim Special Edition Guide Quests Act I
Main Quest: Bleak Falls Barrow
Main Quest: Bleak Falls Barrow
Reliable Sources
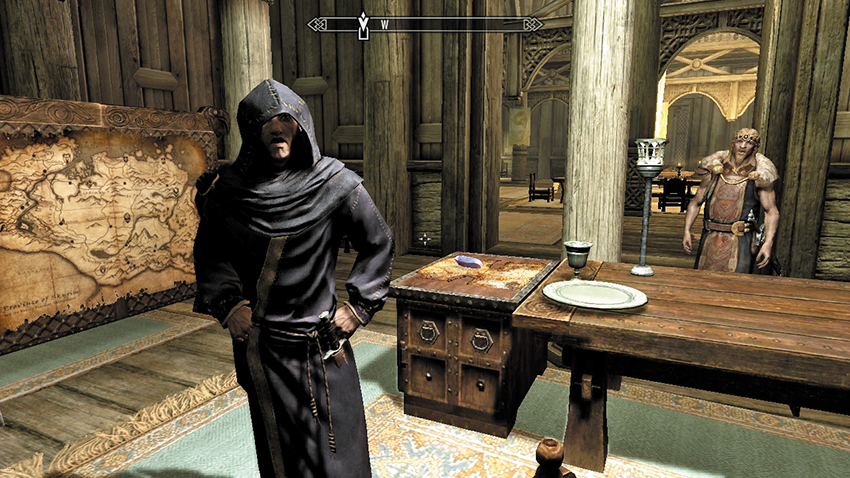
At the end of your conversation with Jarl Balgruuf the Greater, he asks you to consult with his court wizard, Farengar Secret-Fire. Follow the Jarl into Farengar’s study, where the Jarl introduces you. Farengar has a job for you almost immediately: to delve into a dangerous ruin in search of an ancient stone tablet. Ask for further information, and Farengar explains you’re to look for something called a “Dragonstone,” a tablet said to contain a map of the dragon burial sites across Skyrim. Farengar believes the stone is interred in the main chamber of Bleak Falls Barrow, and he has “reliable sources” that have confirmed as much. Before you leave, you can speak to Farengar about a variety of topics to gain a deeper understanding of his role in the Jarl’s court.
Unreliable Bandits
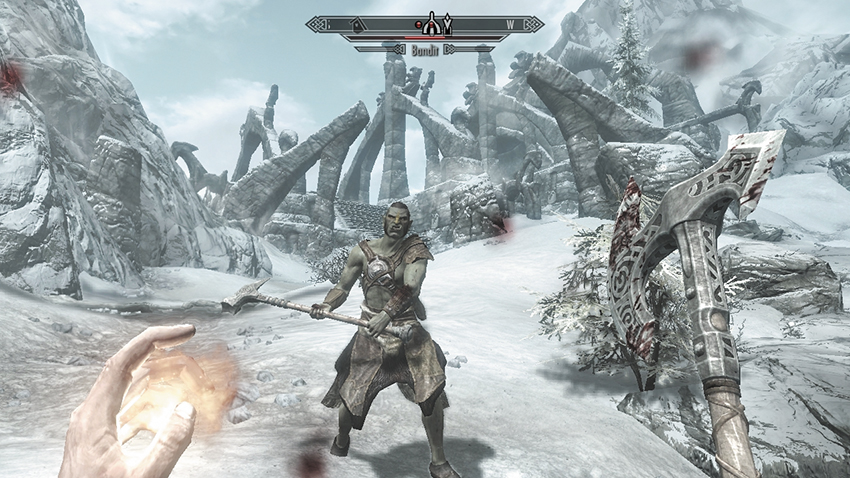
Head up the mountain path north of Riverwood, passing the Riverwood Folly (where bandits roam). At the summit, the Nord tomb appears through the blizzard. Expect more bandit activity in this area. Locate the arched carved door leading into Bleak Falls Temple. Inside the first chamber, you hear two bandits around a campfire talking about a Dark Elf heading farther into the Barrow. End their conversation swiftly before venturing down the stairs.
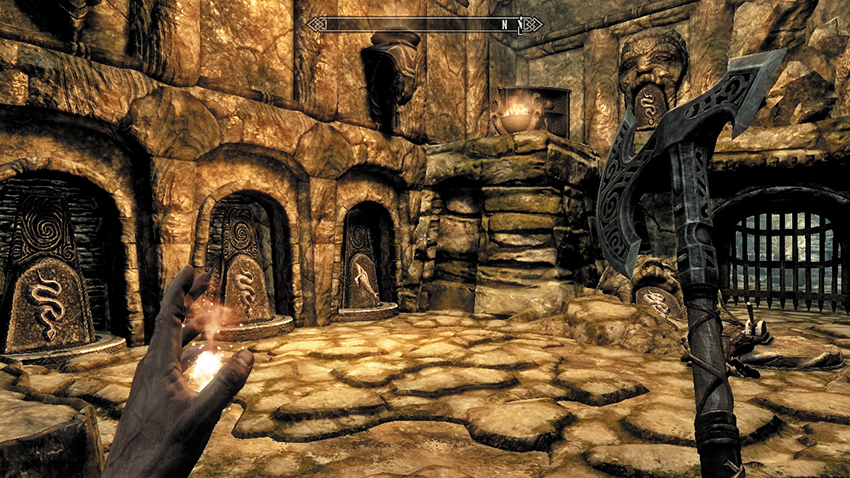
Pass through the spiderwebs and the burial urns, and around the dead Skeever. Engage another bandit on your way to a ceremonial entrance room. A portcullis blocks your path, and the lever nearby is currently inactive. In the alcoves to the left are a trio of three-sided pillars. Approach the first; they can be activated. Each side has a different animal carving: the Hawk, Whale, and Snake.
Puzzle Solution: Rotate the pillars so a Snake, Snake, and Whale face out. The carved Nord heads above the portcullis (and the fallen middle one) hold the answer in their maws.
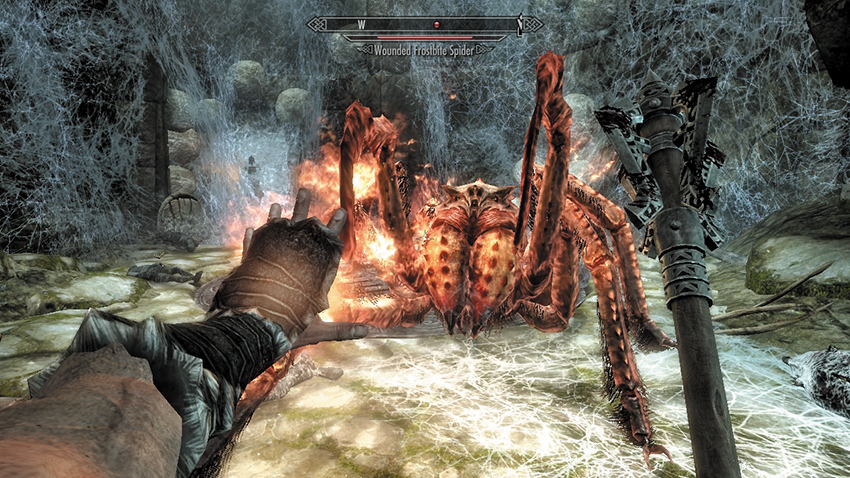
Descend the spiral steps beyond, battling a few Skeevers on your way down. As the thick spider silk begins to cover the walls, you hear a voice up ahead and to your left. Cut through the doorway covered in webbing, and enter the lair of a Giant Frostbite Spider. Attack the arachnid before venturing toward the trussed-up Dark Elf—one of the bandits from the raiding party you slaughtered previously. This is Arvel the Swift, who is carrying a Golden Claw, which is pertinent to both this quest and the Side Quest. He quickly tells you he knows how it fits into the door in the Hall of Stories. The bandit is babbling. But he needs cutting down first. Oblige him.
After a couple of weapon swipes (or magical blasts), Arvel’s sticky prison gives way. He immediately flees, laughing that he won’t be sharing his treasure with the likes of you. This is correct, but that’s due to his imminent departure from this realm. This can be by your hands—a quick arrow or two in the back or other ranged attack—or by the denizens that lurk deeper in this crypt.
Knee-Deep in the Nordic Dead
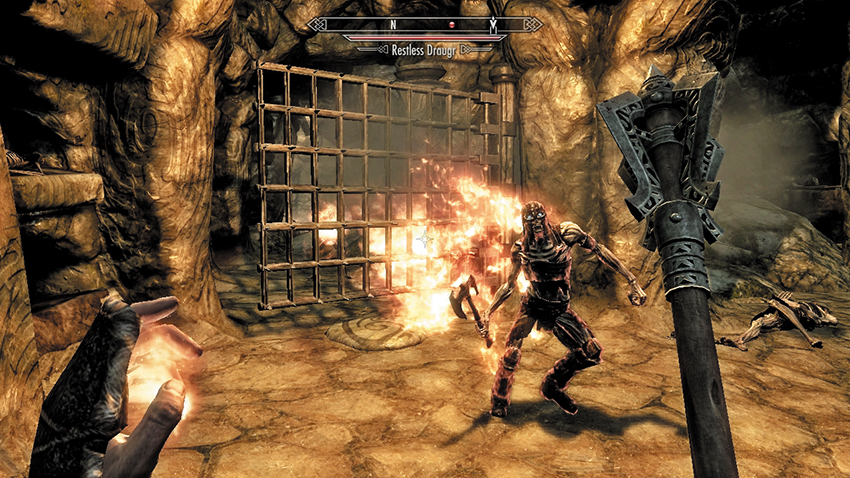
Follow Arvel, passing through the crypt entrance and down into the catacombs. The Swift soon meets the dead, as Arvel falls under a flurry of Draugr attacks. The Nord undead now turn their attention to you. Battle them back or run north toward the open spiked gate and pressure plate. Keep to the extreme left, and you can activate the swinging gate trap without being hit. Use it as a skewering device against the Draugr; then search Arvel. Among his belongings are the Golden Claw and the Dark Elf’s journal. Read it for more clues on this Barrow’s secret.
- Golden Claw
- Arvel’s Journal
Continue downward, battling Draugr and searching corpses, both resting and animated, as you go. At the swinging blades, sprint forward the moment the closest blade swings past you. Brandish your weaponry but don’t be overzealous with fire in the passageway with puddles; this is actually oil leaking from a hanging lamp, and the corridor erupts if flames touch the ground. Use this as a trap against your bony foes.
Eventually, you climb steps into a tall chamber with a waterfall, and another Draugr. The Barrow’s secret lies past a portcullis above the rushing stream. Locate the chain next to the portcullis and activate it before splashing down the stream and into a larger cavern with an opening at the far end. Head to a natural bridge below the waterfall, or stand atop the waterfall and fire down on the enemy below (this is either a Draugr or a Frost Troll). By the bridge, optionally scavenge on the curved path below. Then follow the path into the illuminated entrance to Bleak Falls Sanctum.
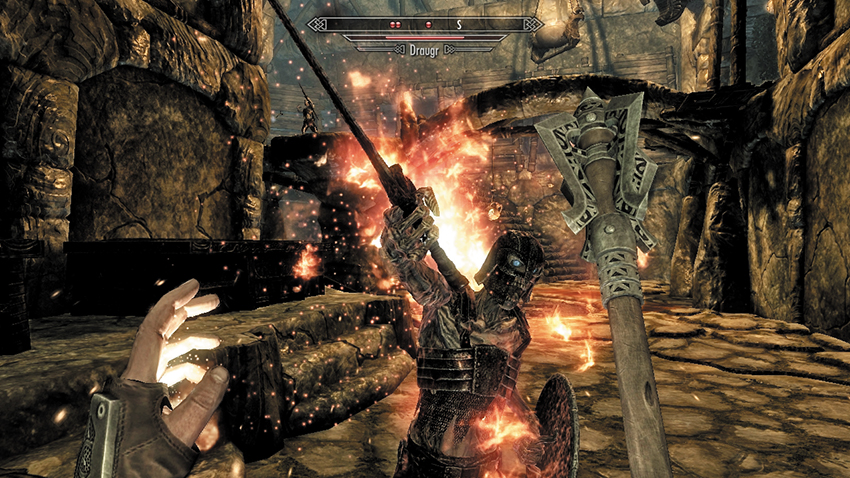
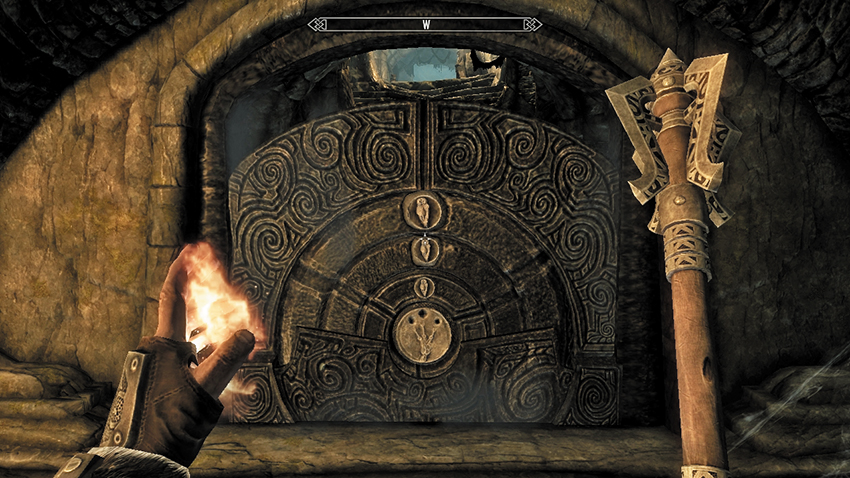
Open the Sanctum doors, and weave your way to a bladed corridor. Coax the Draugr beyond into this trap before dashing through it, into the Great Chamber. Expect attacks from Draugr bowmen on the bridge above and melee strikes from the ground. Remember you can drop oil lamps and burn these foes as you head over the bridge and to the Iron Door leading into the long Hall of Stories and to a Nordic Puzzle Door.
Puzzle Solution: The door consists of three “rings” that rotate when you activate them. Each of them has three animals plated into the structure, and you unlock the central keyhole by using the Golden Claw itself. This puzzle is inaccessible without it. The puzzle solution is actually on the palm of the Golden Claw; rotate it in your inventory to see the three circular petroglyph carvings on the Claw’s palm. Move the rings so the Bear, Moth, and Owl appear on the outer, middle, and inner rings, respectively. Then insert the Golden Claw into the keyhole.
Guardian of the Dragonstone
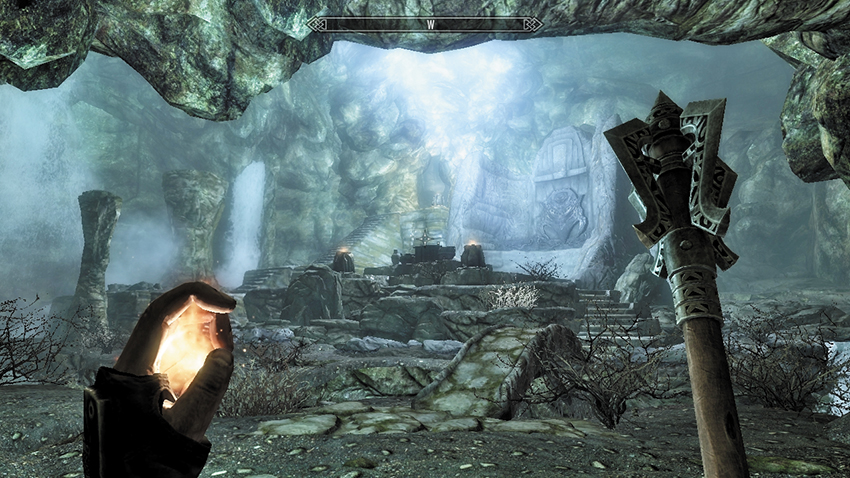
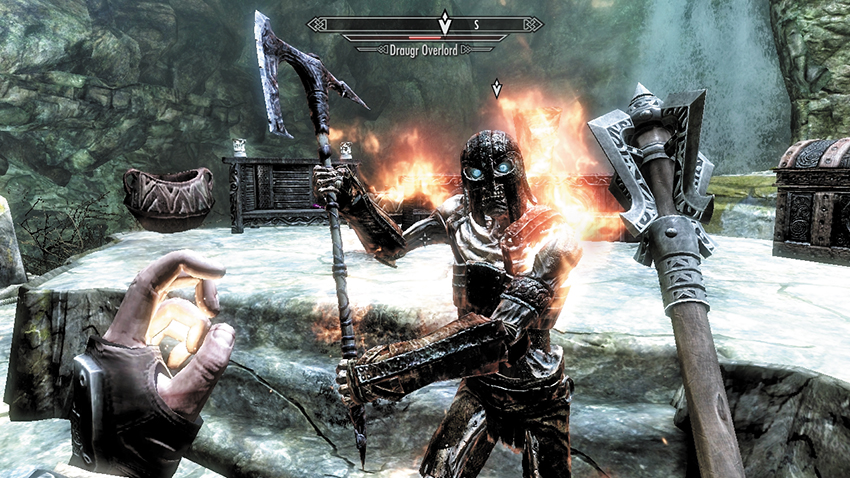
This reveals the Barrow’s secret at last: a ceremonial burial grotto with waterfalls surrounding the long-forgotten chamber. Move to the carved stone center, and check the chest and scavenge what you need; then inspect the Word Wall, where you’re granted a Word of Power! However, this stirs a toughened Draugr from his rest, and you must defend yourself from this final Barrow guardian. After the fight, inspect the corpse of the Draugr; he is carrying the Dragonstone you seek! Grab this before taking the staircase on the chamber’s left side, activating the handle to raise a secret stone slab door out in an upper Barrow alcove, and then exit out into Skyrim.
- Word of Power: Unrelenting Force
- Dragonstone
Quest Conclusion
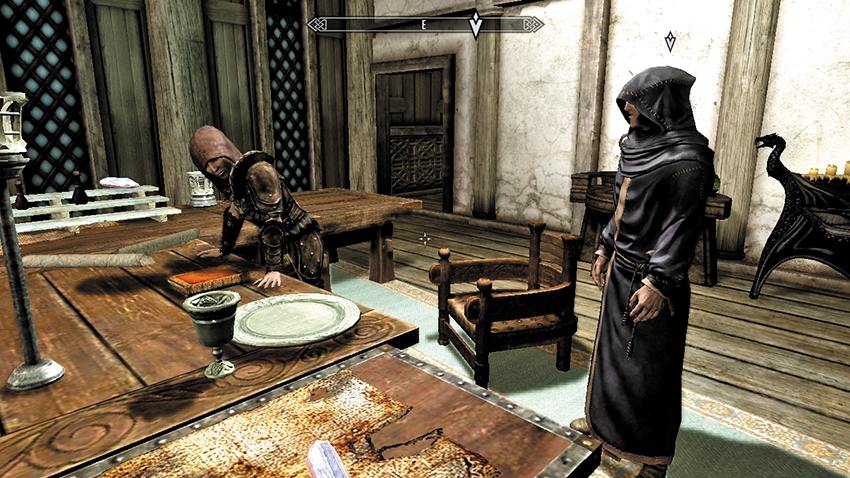
Return to Dragonsreach (the quickest way is to Fast-Travel directly to it), and immediately consult with Farengar. If this is the second time you’ve visited him, he is joined in his study by a mysterious hooded figure named Delphine—possibly the “reliable source” he referred to earlier. He is talking about the cross-referencing of texts that mention dragons. Finally, Farengar turns to you, impressed that you didn’t die in the Barrow. As you hand over the Dragonstone, he says that you’re a cut above the usual brutes the Jarl sends his way. Speak to the Jarl for your reward, which occurs during the initial conversations of the next quest.
Postquest Activities
Main Quest: Dragon Rising begins immediately.