
Elder Scrolls V: Skyrim Special Edition Guide Quests Act I
Main Quest: The Way of the Voice
Main Quest: The Way of the Voice
Arise, Thane of Whiterun
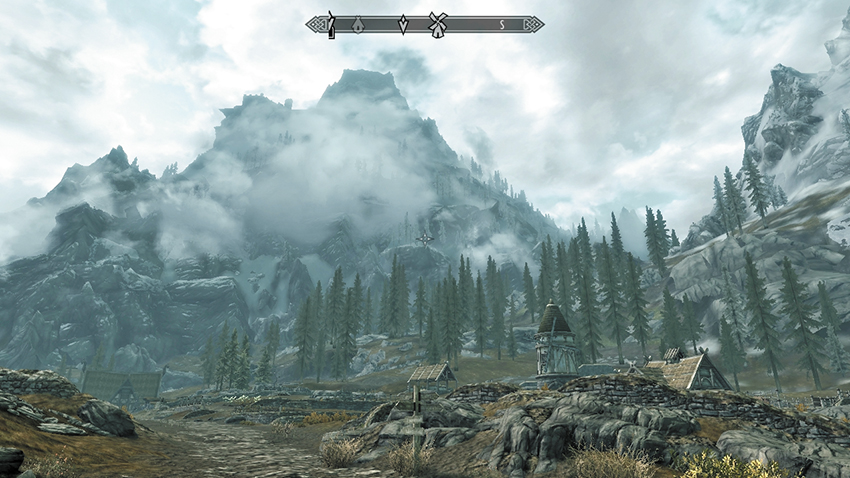
Continue to speak with Jarl Balgruuf about the Greybeards. He informs you that these venerable monks live in secluded isolation high on the slopes of the Throat of the World (the largest mountain in Skyrim). They have the ability to focus your vital essence into a Thu’um, or Shout, and they give you the location of their monastery in High Hrothgar—atop a 7,000-step climb! After a verbal altercation between Hrongar and Proventus Avenicci over Nordic sacred traditions, Jarl Balgruuf grants you the greatest honor within his power: You are named Thane of Whiterun. You also receive a weapon from the Jarl’s armory and a Housecarl of your own.
- Axe of Whiterun
- Follower: Lydia (Housecarl)
Journeying to Ivarstead
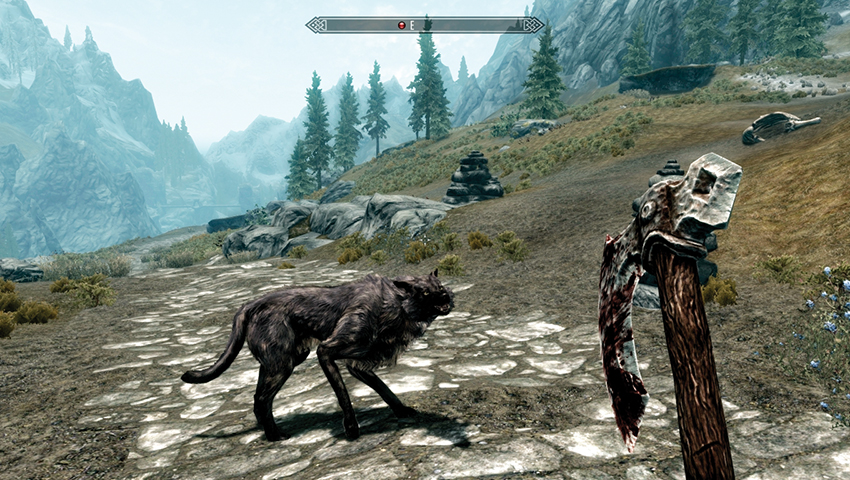
The route to High Hrothgar involves a lengthy, spiraling journey clockwise around the base of the throat of the World. the first stop along this path is at the base of the 7,000 steps, in the town of Ivarstead. exit Whiterun and trek east, passing the Honningbrew Meadery. Cross the stone bridge over the White River, and follow the marked signpost to ivarstead. Continue along this stone path past a few encounters with wolves to a fork in the paths. At this point, you can choose one of two recommended routes to Ivarstead: the long and winding road or the short and steep trail.
The Long and Winding Road
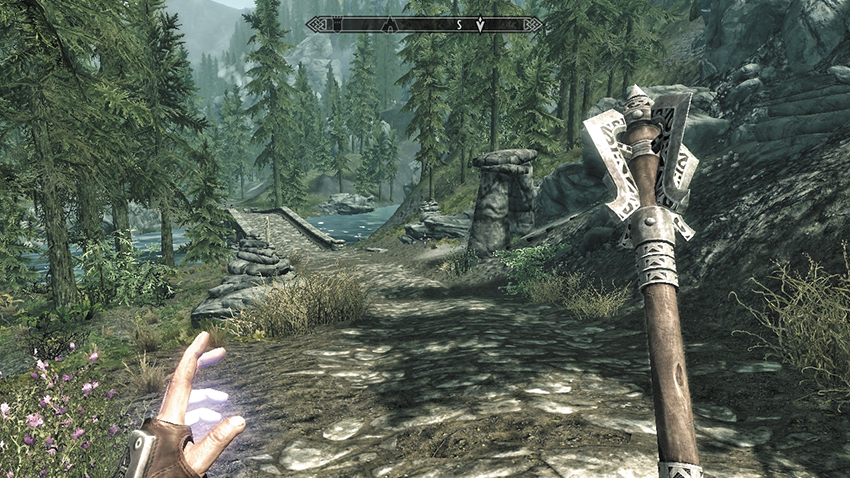
You may continue along the marked path, ignoring the track up to the Giants of Guldun Rock. Prepare to pay a toll (or fight) at the bandit-infested Valtheim Towers. Then descend past the waterfall, along the same path past some drystone walls and the stone trilithon at the base of a stepped side path indicating the entrance to Hillgrund’s Tomb. Cross the bridge over Darkwater River and journey south (and southeast), right past Fort Amol. Head over another bridge close to a waterfall and continue along the stone path. Beware of more animal encounters, including a Sabre Cat or two! Head over another bridge, next to an even-more impressive waterfall, and trek east up a hill, where the stone path deteriorates.
The path soon turns southwest, up a long, steep slope, past Snapleg Cave. Continue southwest, ignoring the bridge. Head into birch woodland where Sarethi Farm is located. Expect elk, deer, a hunter’s tent or two, and a view of Lake Geir from the bridge over the Treva River. Continue farther into the forest as the path winds west, past a junction and more drystone walls. Then turn right (northwest) at the small stone ruins near Honeystrand Cave. You finally reach Ivarstead after crossing another stone bridge.
The Short and Steep Trail
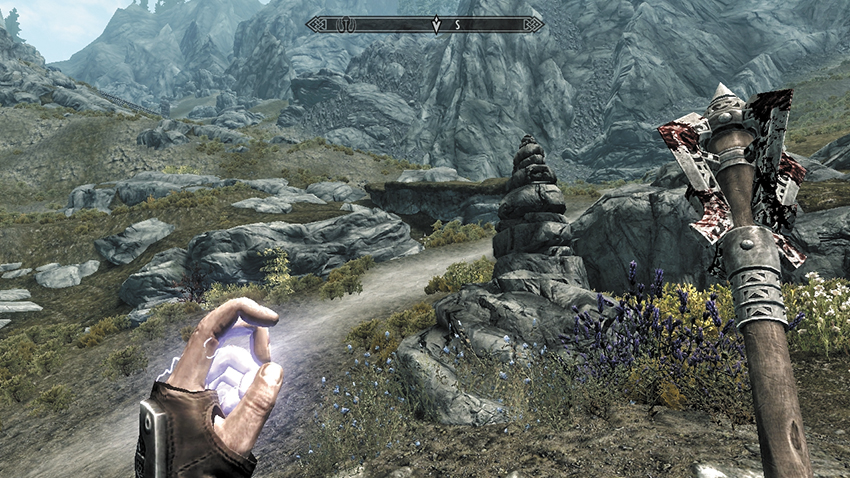
Or you can try this shortcut. Follow the path around to the right (east) just after you pass White River Watch, and come up to The Ritual Stone on your left. Cut south close to the Whiterun stormcloak camp, and up through the snowy foothills of the mountain, up an unmarked goat trail. Be sure you’re traveling southeast up a steep embankment and into the snow. This levels out eventually, after you make several zigzags up very steep terrain above the snow line. Pass a few goats as the trail levels out and then quickly descends, joining a more recognizable trail. Head southeast and over the brow of the hill and past a copse of birch trees to the rushing rapids of Darkwater River. Cross the river, listening for the strange chime of a Nimroot growing around the corpses of a Troll’s victims at Darkwater Overhang. Fight or flee from the Troll, then trek up the left side of the roaring waterfalls and into Ivarstead.
7,000 Steps Above Ivarstead
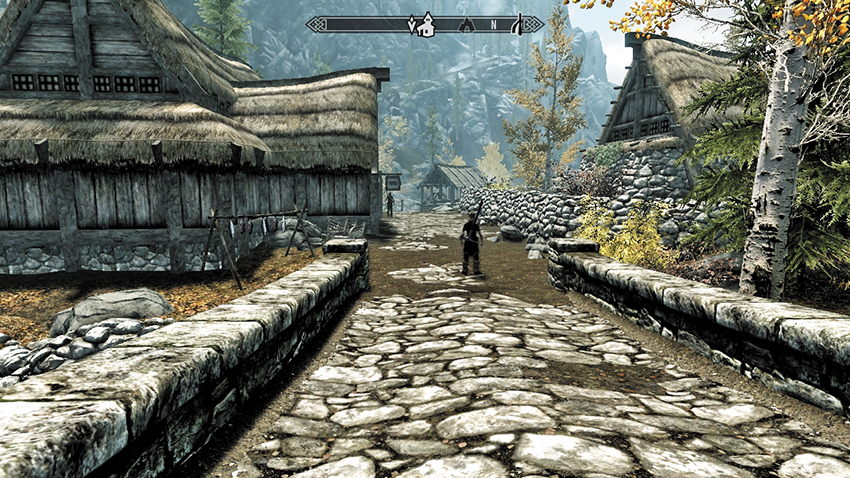
Ivarstead is a slightly depressing place. The inhabitants are leaving for the greener (or at least, less snowy) pastures of Riften. You can stay and chat with the locals (mainly about their troubles or the supplies they need to send up to the Greybeards), or listen to them talk about the path up to High Hrothgar; they don’t think the 7,000 steps are safe. You’ll find out soon enough!
Your pilgrimage begins at the other side of the stone bridge. Almost immediately, you spot a small shrine. Inspect it more closely, and you’ll see an Etched Tablet carved into the shrine arch. Read the emblem for the first of ten verses detailing the history of dragons and man.
Follow the winding path: At the second shrine, you may find a hunter named Barknar praying. He tells you to watch for wolves. You’re now at the edge of the snow level. Continue up the precarious path: Expect a couple of wolf attacks along the way. The third shrine is nestled on a small snowy plateau. Follow the path down and up two sets of snowbound steps; remain on the side of the mountain, as the drop is precipitous. The fourth shrine is near some stab stones and a small copse of fir trees. You may find another traveler at this shrine, a pilgrim named Karita.
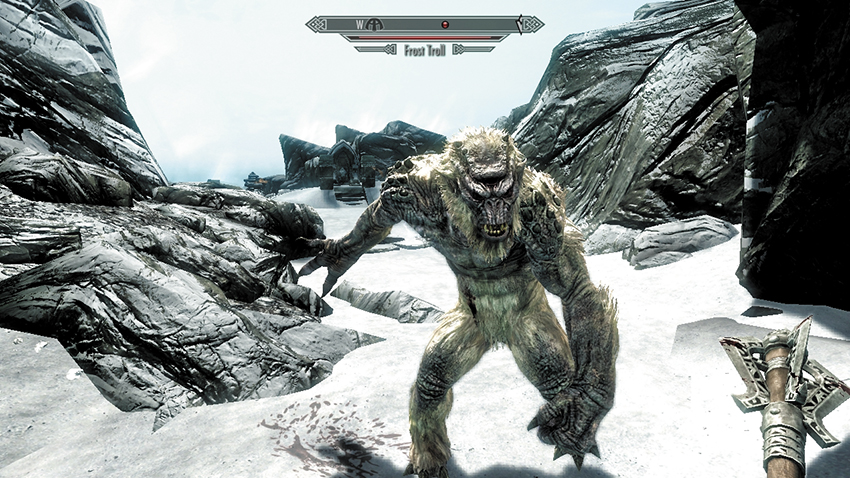
Use the marker stones as you wander up, into a granite gully. A Frost Troll is likely to be guarding this area, leaping down to maul you. Retaliate or run. The fifth shrine is just beyond the Frost Troll ambush. The blizzard is worsening; trek north down the snow steps, passing a few windswept trees to the sixth shrine, in front of a stone marker. Continue north and locate the seventh shrine jutting out to the west, on a precarious promontory. If you could see it, you’d be looking out across southern Eastmarch. Turn north, and look for the eighth shrine in front of a rocky outcrop, to your left (northwest).
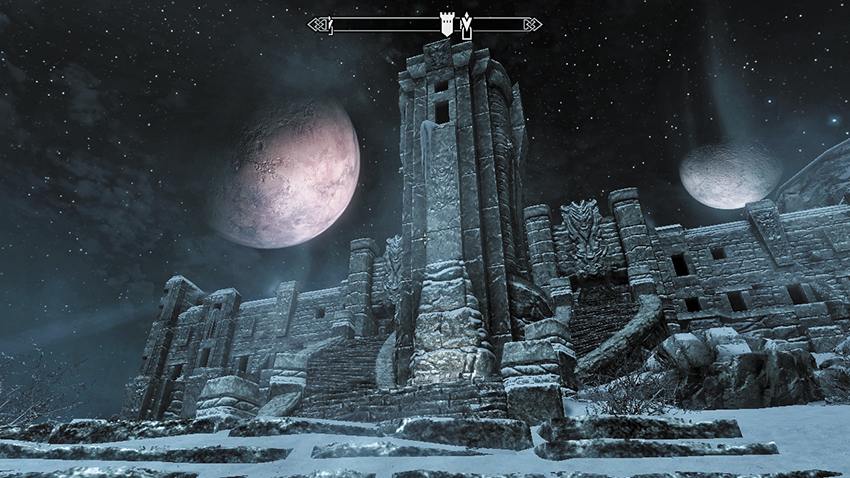
The ninth shrine is below a stone statue to Talos. You’ll see this as you round the bend in the path and come across the High Hrothgar monastery. As you close in on the final set of steps (did you count 7,000?), the final shrine is set off to the right (southeast) side, by the entrance stairs. Climb the entrance steps, grab any supplies and offerings at the base of the stairs, and then ascend the left set of stairs to enter High Hrothgar.
Something to Shout About
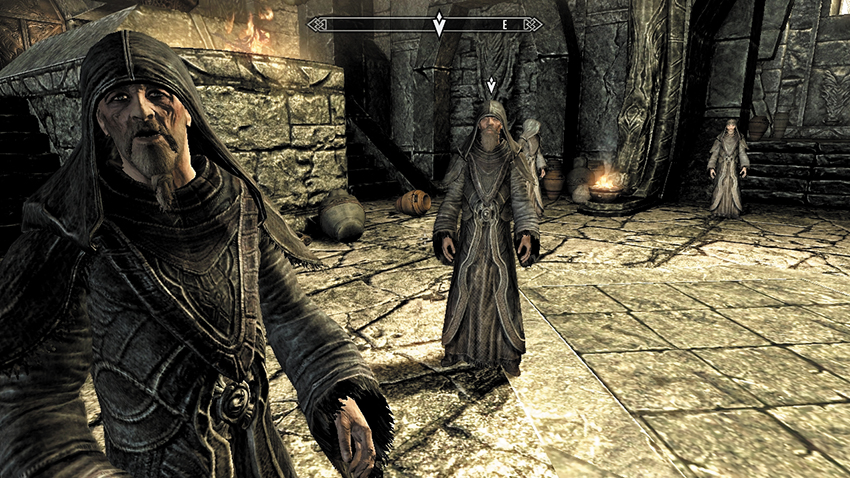
The monastery is adorned with carvings from ancient times and banners bearing the strange symbols of the dragon language. An old monk in a long robe steps forward; this is Arngeir, the leader of the Greybeards. He knows who you are. Speak with him, and he asks for a taste of your voice. Oblige him.
Select the Unrelenting Force Shout from your Magic menu, and bellow at or near Arngeir. The other Greybeards, Borri, Einarth, and Wulfgar come to watch. Your fate is confirmed; speak with him again, and he welcomes you to the monastery. Master Arngeir speaks for the Greybeards and asks why you have come. Answer any way you wish (questions lead to more information on the monastery and the Greybeards’ existence). When you are ready, tell Arngeir that you’re “ready to learn.” Arngeir wishes to train you so you’re better able to execute a Thu’um, or Shout.
Master Arngeir explains that all Shouts are made up of three Words of Power. As you master each Word, your Shout becomes progressively stronger. Currently, you have only learned Fus (or “Force”), the first Word of your Unrelenting Force Shout. Master Einarth now teaches you Ro (or “Balance”), the second Word. This allows you to focus your Thu’um more sharply. Einarth Shouts into the hallowed stone of the monastery. Step onto the dragon runes that glow from the Shout, and absorb this second word.
- Word of Power: Balance, Unrelenting Force
Your learning impresses Arngeir, but he warns you that to unlock its meaning, you must constantly practice. As part of your initiation, Master Einarth allows you to tap into his understanding of Ro. Einarth glows with an orange light, imparting his knowledge onto you, in the same way you absorb the soul of a dragon. Now comes the real test: to see how quickly you’ve mastered the entire Shout!
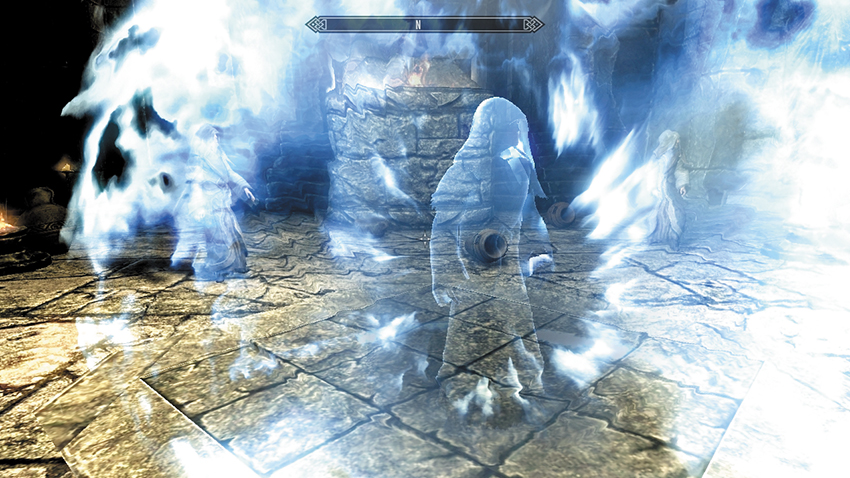
The monks have three targets for you to bellow your Shout toward. As the first ghostly monk figure is conjured, execute your Shout. The trick to this Shout’s strength is the length of time that you hold the Shout button down. Continuously hold the button until the Shout is omitted. Tap the button if you wish to lessen the stagger you inflict upon your foes (or in this case, your ghostly Greybeard). After you complete three Shouts to Arngeir’s satisfaction, he congratulates you and motions for you to follow Master Borri into the courtyard.
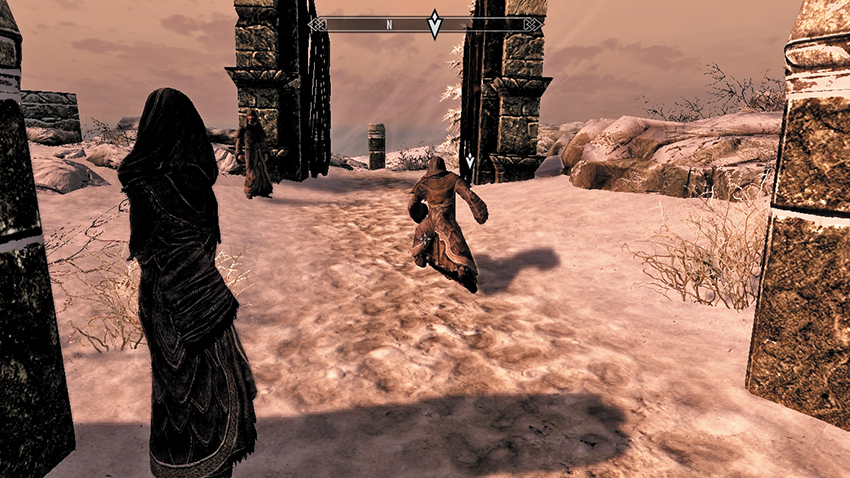
Follow Master Borri to the door to High Hrothgar Courtyard and step outside, stopping next to Borri, who is ready to teach you a new Shout—the Wuld (or “Whirlwind”). Stand over the snow that Borri has projected the Shout into, and absorb the Shout. Then approach Borri and he glows, gifting you his knowledge of the Word.
- Word of Power: Whirlwind, Whirlwind Sprint
Master Borri walks toward an iron gate. Before following him, enter the Magic > Shouts menu to change your Shout to Whirlwind Sprint (you don’t want to bellow Unrelenting Force at the gate!). Stand between the two stone columns facing the gate, with Master Wulfgar in view. He demonstrates the Whirlwind Sprint, rushing at an amazing speed through the gate before it closes. Now it is your turn: The moment the gate opens, execute the Shout and rush forward, aiming for the single stone column by the cliff edge. You should easily pass through before the gate closes. If you don’t, try again.
Quest Conclusion
Master Arngeir is astonished at your quick mastery of a new Thu’um. He tells you that the gods gave you this gift for a reason, but it is up to you to figure out how best to utilize it. For now, though, you are ready for the final part of your trial: Retrieve the Horn of Jurgen Windcaller, the founder of the Greybeards. Arngeir tells you that the horn is in Windcaller’s tomb in the ancient fane (temple) of Ustengrav. If you remain true to the Way of the Voice, you will return.
Postquest Activities
Continue to ask Arngeir questions if you wish. Main Quest: The Horn of Jurgen Windcaller has already begun!