Elder Scrolls V: Skyrim Special Edition Guide Training Training Part 3: Adventuring Across Skyrim
Followers
Followers
Throughout the realm, there are those who stand ready to join you in your adventure and are prepared to lay down their lives in your service. These selfless companions are broadly known as Followers. Followers may join you for any number of reasons, whether because you’ve hired their services, helped them in the past, or are simply taking on a charge that they have an interest in. Some join you only for the duration of a specific quest, while others will follow you indefinitely. This section explores these and other details about your Followers.
General Traits
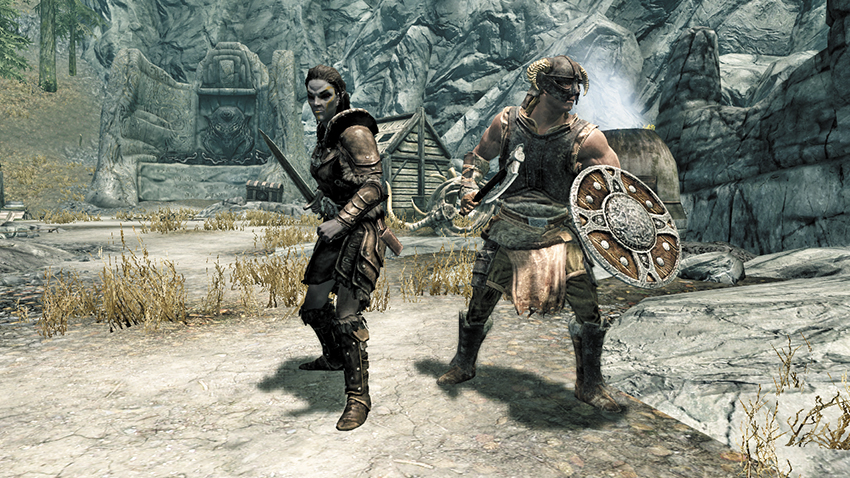
When a Follower has agreed to join you on your adventure, there are several advantages they bring and help you can expect from them:
- Equipment: Your Followers will always equip the best weapons, armor, and items they have available and will try to use staffs and other items effectively. They take their own skills and proficiencies into account when making these decisions, so all else being equal, expect Jenassa (an archer) to prefer a bow to a two-handed sword and light armor to heavy plate.
- Skills: All Followers have a specific set of favored skills (listed below), which improve as their level increases. Unlike your character, Followers do not become better at the skills they use—for example, no matter how hard you try to force Marcurio (a mage) to be a greatsword-wielding warrior, he’ll always be better with magic. Make sure to select a Follower whose skill set meets your needs.
- Levels: Most Followers automatically level up when you do, so there’s no need to worry about a Follower “falling behind” if you go off and adventure on your own or want to work with someone else for a while.
- Tactics: Followers will try to follow your lead whenever possible:
- When you sneak, they will sneak as well and will stop when you do. Don’t expect them to take cover on their own, though—if you want them to hide in a particular location, order them to move to it.
- When you draw or sheathe your weapons, so will they.
- When attacked, they will use their best weapons, spells, and tactics to defend both themselves and you.
- Catching Up: If you travel on horseback (or with the great loping strides of a werewolf), you may find that your Followers fall behind. Don’t worry about losing them; there are several ways you can help them catch up:
- Just Wait (using the Wait System), and they’ll use the time to catch up.
- Load into any new space, and they’ll be right behind you.
- Fast-Travel anywhere, and they’ll arrive next to you.
- Heading Home: If you dismiss a Follower, they will return home and take up their original routine. Most Followers will rejoin you if you ask, though you may need to pay for the services of hirelings again if too much time has passed.
- Death and Dying: When a Follower’s health is exhausted, they will collapse. Heal them or finish the combat and wait for their health to regenerate, and they will recover, none the worse for wear.
At Your Command
You can also issue orders to your Followers. To do this, either speak to them or enter Command mode (target them, then press and hold the Activate button until the cursor changes). The available orders are:
- Wait/Follow: If you want to explore an area on your own or try a stealthy approach, use the Wait command to tell your Follower to stop shadowing you. Once you’re done, return to your Follower and tell them to accompany you again. Note there are some situations and locations where Followers can’t accompany you (such as to jail, if you’re arrested). If you leave a Follower at a location and don’t return, they eventually return home.
- Do Something: You can order your Follower to do something specific, which can be helpful in all kinds of situations. Move your target crosshairs onto something you want your Follower to use, take, steal, or attack, then press Activate to give the order.
- Trade Items: This allows you to exchange items between your inventory and your Follower’s. Some notes:
- All Followers start with some basic equipment. You can’t take these items from them. You can, however, give your Followers better gear, such as items that you’ve improved, enchanted, or think your Follower might be more adept at using. If they judge the item is better than what they currently have, they’ll equip it immediately.
- You can have your Follower carry their share of the treasure, effectively turning them into a pack mule. This roughly doubles the amount of loot you can carry, which is handy if you’re trying to gather as much as you can from a dungeon before returning to town and selling it off. Note that your Followers do have a maximum carry weight (not shown), so there is a limit to what they can carry as well.
- Part Ways: If this relationship just isn’t working out, you can tell your Follower that you no longer need their services. They’ll head home, and you can then acquire a different Follower or set off on your own.
Other Notes and Tips
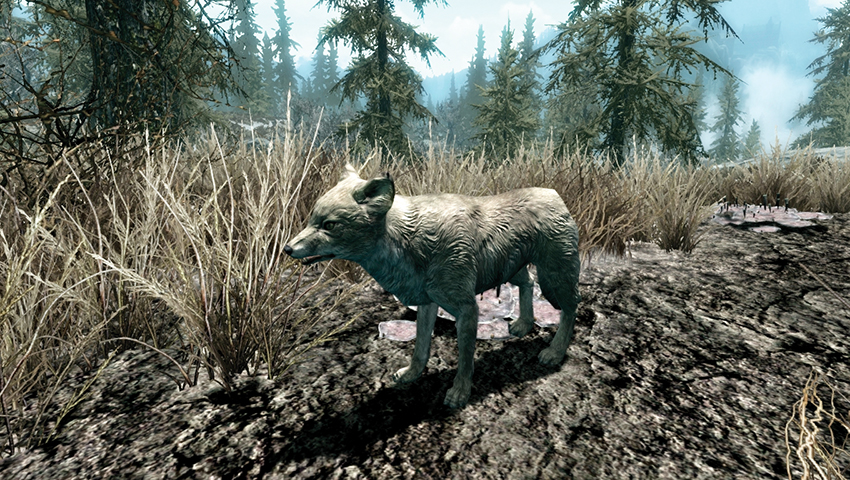
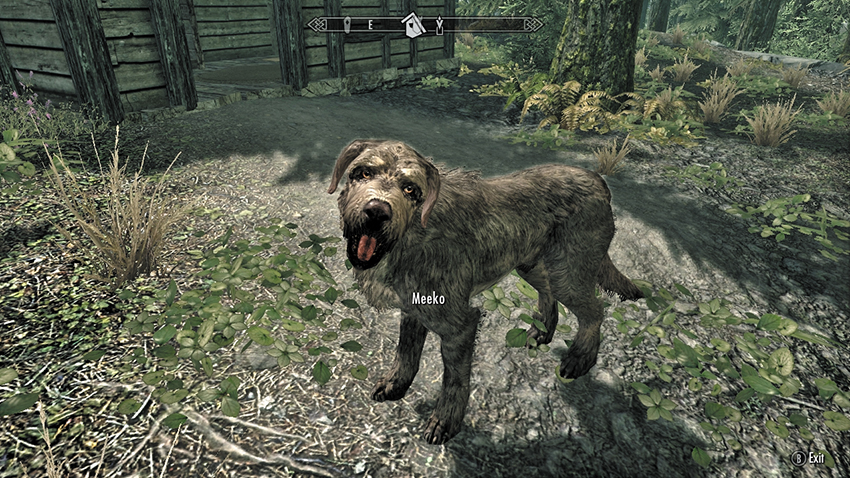
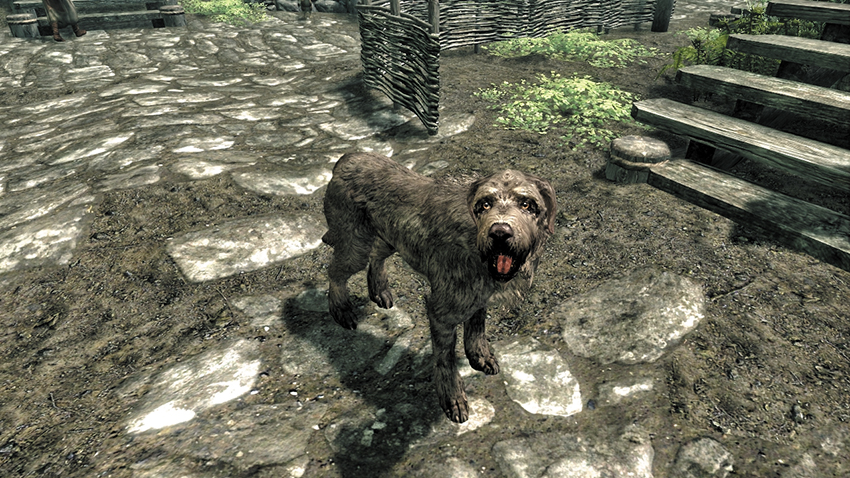
When choosing a Follower, pick one that complements your play style. If you’re adept at sneaking and silent ranged takedowns with a bow, find someone with similar prowess. If you’re a robed mage, seek the company of a powerful warrior to hold your foes at bay. Experiment around with the available Followers until you find one you enjoy adventuring with. Then add a dog!
It’s almost always a good idea to bring a Follower along; they can distract foes, soak up damage on your behalf, and help you to take down enemies more quickly. However, there are two cases to be wary of:
- If you plan to take a stealthy approach to your next mission, Followers can be more of a hindrance than a help. Even with a well-outfitted stealthy Follower, they can’t use cover and concealment as effectively as you can. When stealth is essential, you may want to go it alone.
- If you’re a Mage with a lot of area-of-effect spells, the collateral damage can be lethal to your Followers. Control your casting carefully, or leave your Follower at home and take up Conjuration instead—Atronachs are immune to spells of their element, and Zombies are, well, dead anyway.
Types of Followers
This section identifies all of the characters who can become your Followers. We detail each Follower’s primary combat style (e.g., Warrior) and their favored skills. We also note any prerequisites for obtaining them.
In general, Followers can be classified into these major categories:
- Hirelings: Mercenaries who will accompany you if you hire them.
- Housecarls: If you are named Thane of a Hold, the Jarl will appoint a Housecarl as your bodyguard.
- Guildmates: If you join one of the major guilds, you may be able to ask your fellow guild members to follow you.
- Quest or Dungeon Followers: These characters will follow you once you complete their quest or dungeon.
- Favor Followers: Friends you have completed Favors for may join you if you ask.
- Animal Companions: Loyal dogs who will fight at your side in combat. The following are also available:
- Armored Trolls, Armored Frost Trolls, Death Hounds, and Huskies
- A Steadfast Dwarven Spider and a Steadfast Dwarven Sphere
Hirelings
The following are mercenaries for hire, each with their own unique combat style. To purchase their services, you must pay a flat fee of 500 gold pieces. If you dismiss them, they may charge you that fee again.
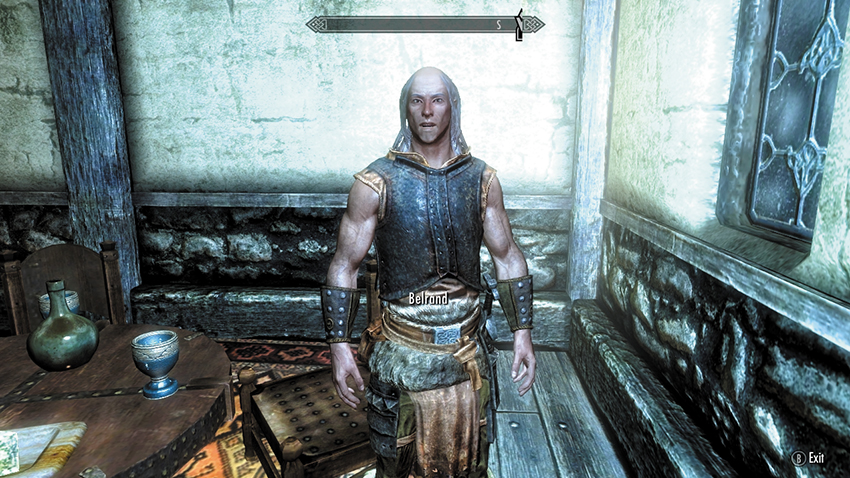
Spellsword: One-Handed, Light Armor, Destruction, Restoration
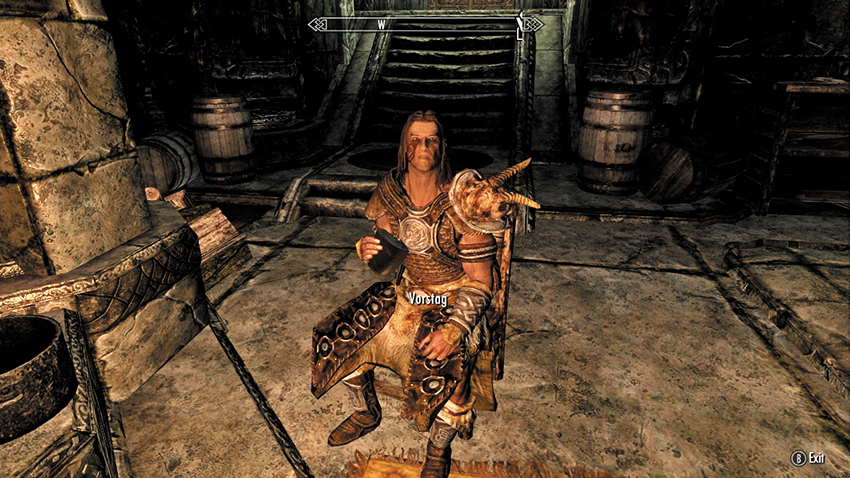
Warrior: One-Handed, Heavy Armor, Archery, Block
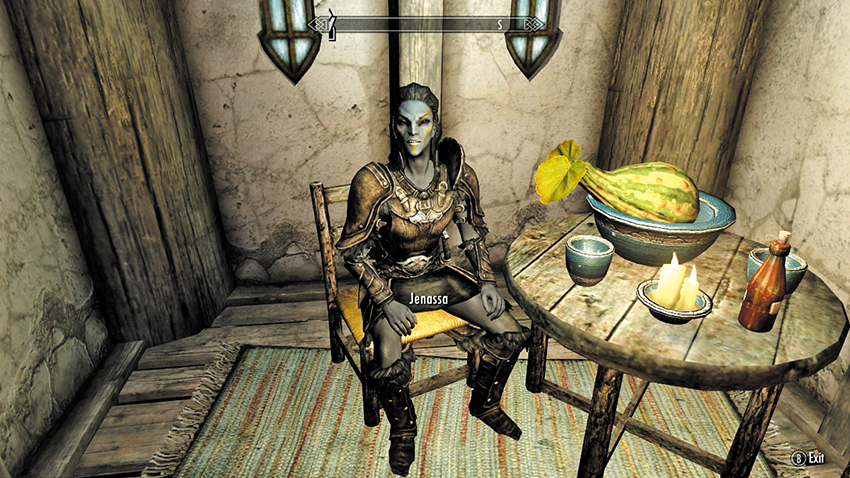
Archer: Archery, Light Armor, One-Handed, Block, Sneak
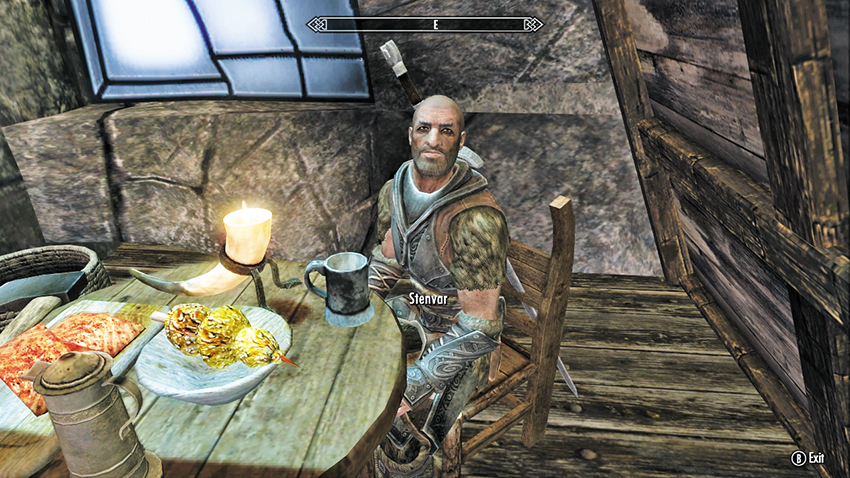
Knight: Two-Handed, Heavy Armor, Archery, Block
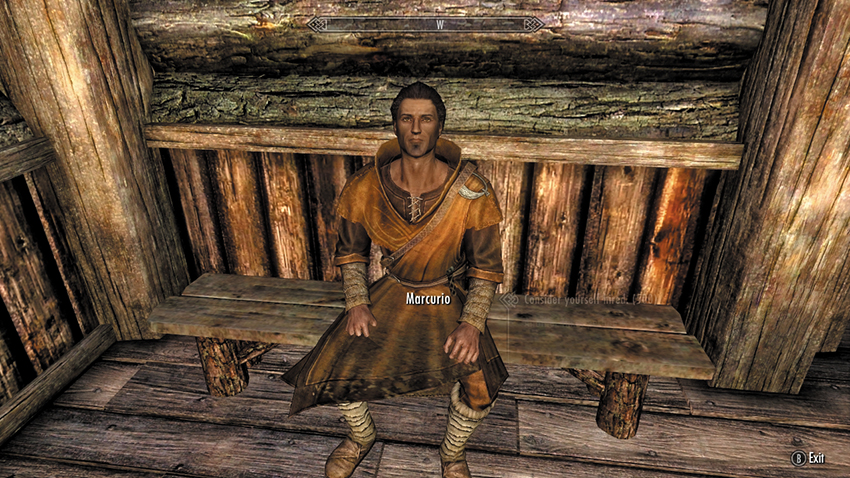
Mage: Destruction, Restoration, Alteration, Conjuration, Sneak
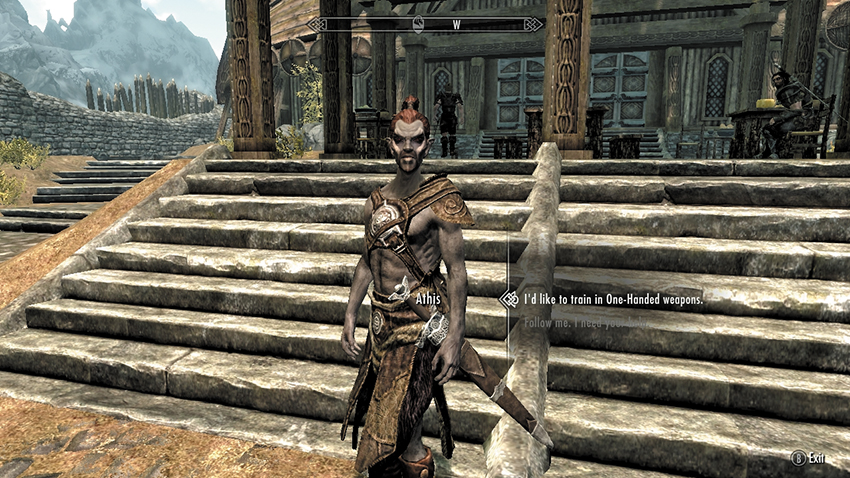
Barbarian: Two-Handed, Light Armor, Archery, Block. (You must complete Miscellaneous Objective: Erik the Slayer before you can hire Erik.)
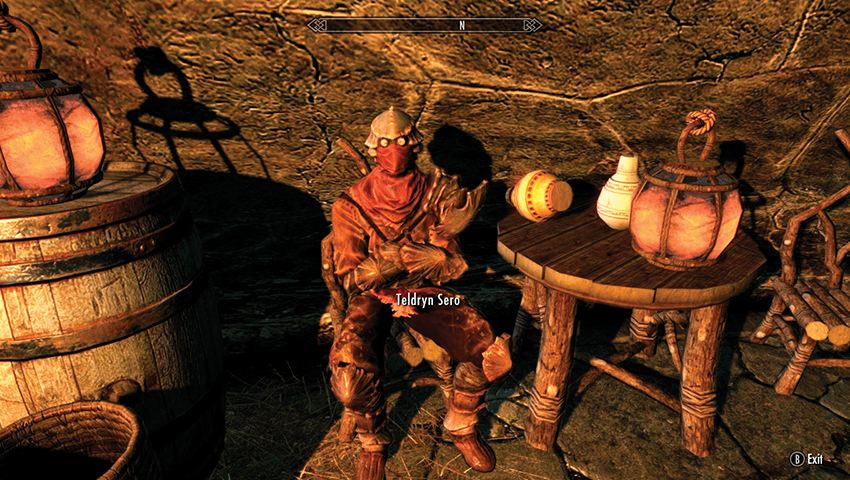
 Teldryn Sero, in Raven Rock (Solstheim)
Spellsword—One-Handed, Destruction, Light Armor, Conjuration, Restoration
Housecarls
The following Housecarls are bodyguards sworn to your service as Thane. For advice on becoming the Thane of one or more Holds. You do not receive a Housecarl for becoming Thane of Winterhold.
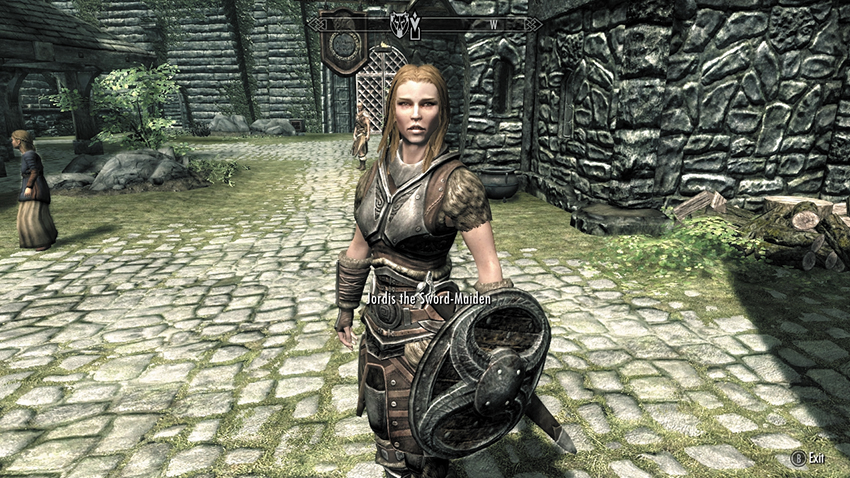
Housecarl: One-Handed, Heavy Armor, Archery, Block
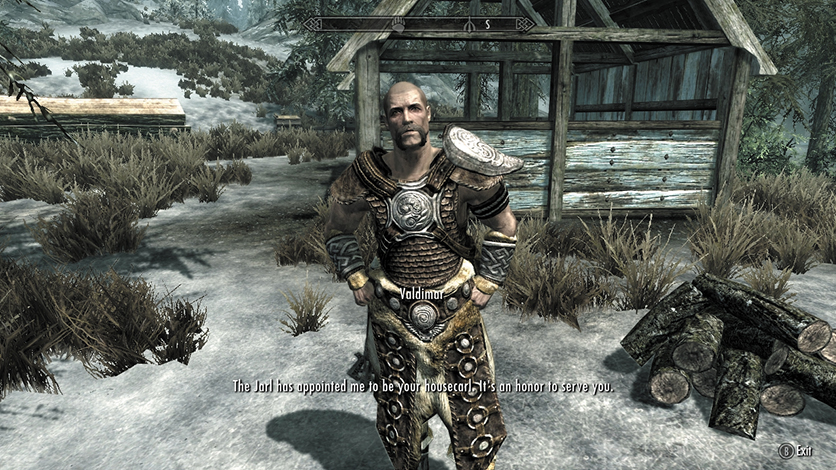
 Valdimar, Housecarl of Windstad Manor (Hjaalmarch)
Housecarl: Heavy Armor, One-Handed, Archery, Block
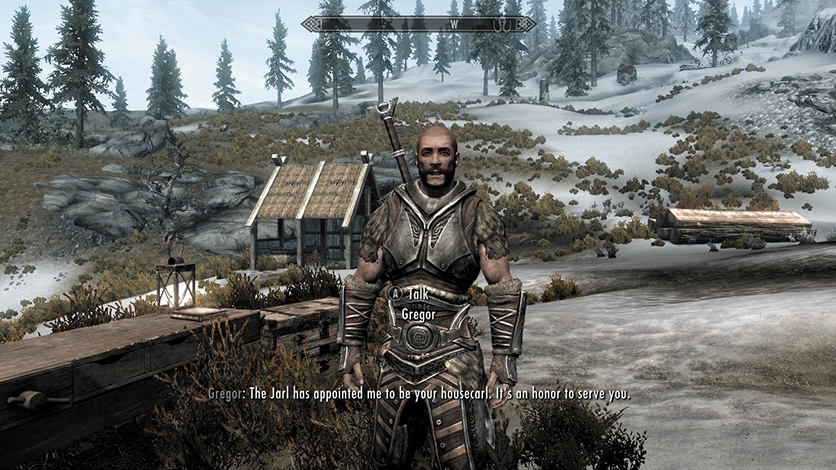
Gregor: Housecarl of Heljarchen Hall (The Pale)
Housecarl: Heavy Armor, One-Handed, Archery, Block
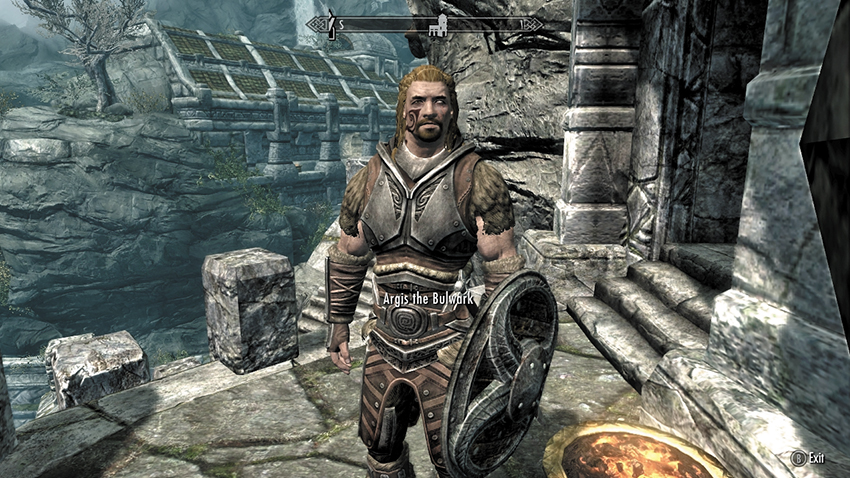
Housecarl: One-Handed, Heavy Armor, Archery, Block
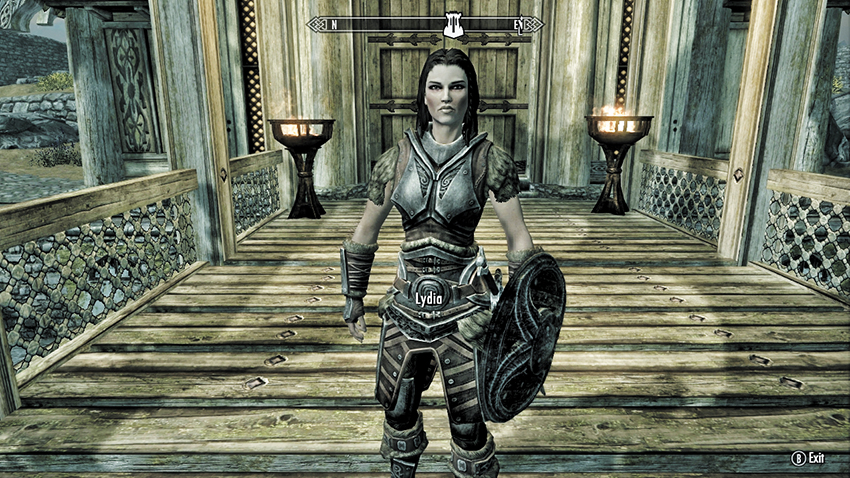
Housecarl: One-Handed, Heavy Armor, Archery, Block
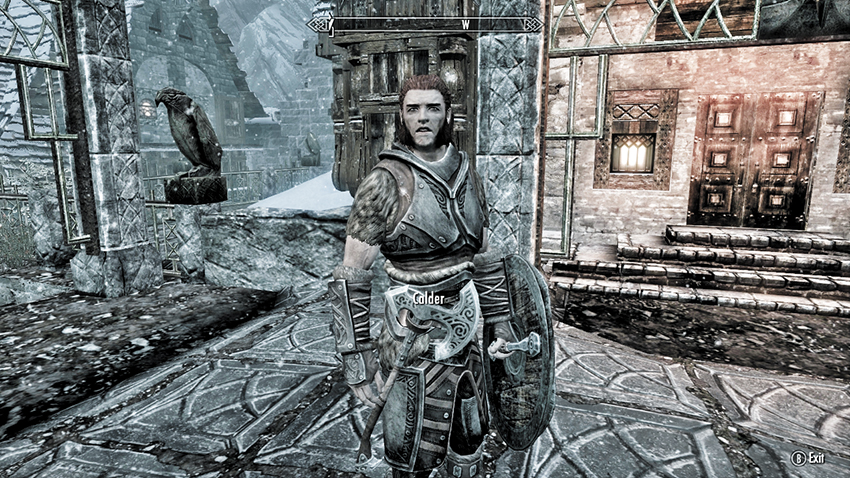
Housecarl: One-Handed, Heavy Armor, Archery, Block
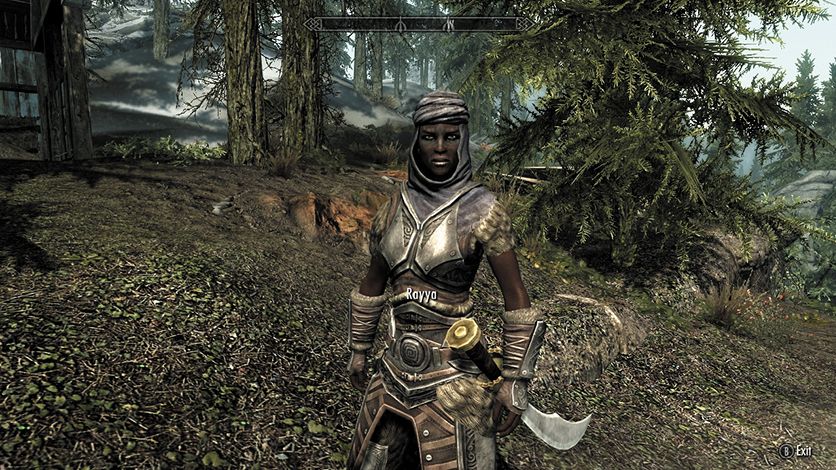
Rayya, Housecarl of Lakeview Manor (Falkreath Hold)
Housecarl: One-Handed, Heavy Armor, Archery, Block
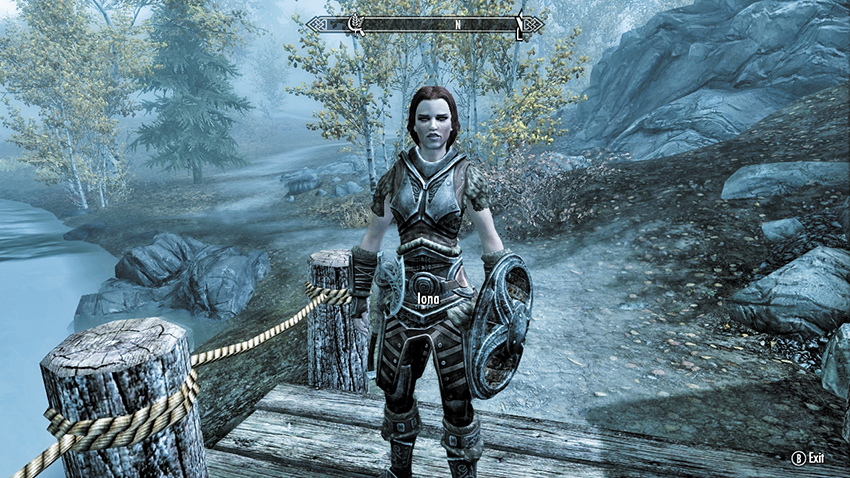
Housecarl: One-Handed, Heavy Armor, Archery, Block
The Companions
This ancient and renowned order of warriors is headquartered in Whiterun. Companions have an extremely close bond, referring to each other as Shield-Siblings. Once you complete their questline, the following Companions become available as Followers. Visit Jorrvaskr in Whiterun to find them.
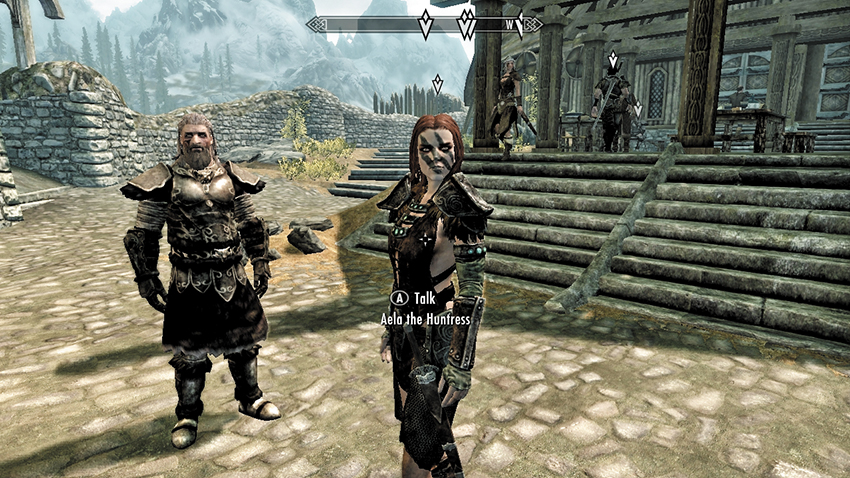
Archer: Archery, Light Armor, Sneak, Speech, One-Handed
Expert Trainer: Archery
Warrior: One-Handed, Block, Archery, Light Armor
Expert Trainer: One-Handed
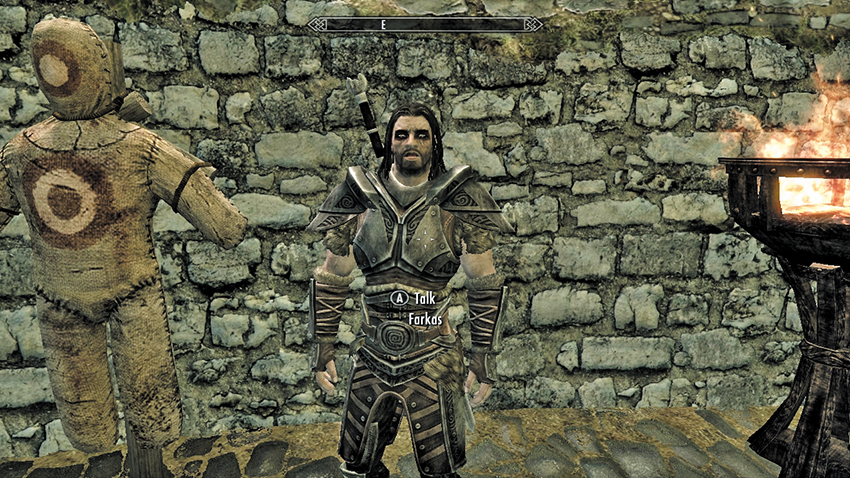
Warrior: One-Handed, Heavy Armor, Smithing, Speech
Master Trainer: Heavy Armor
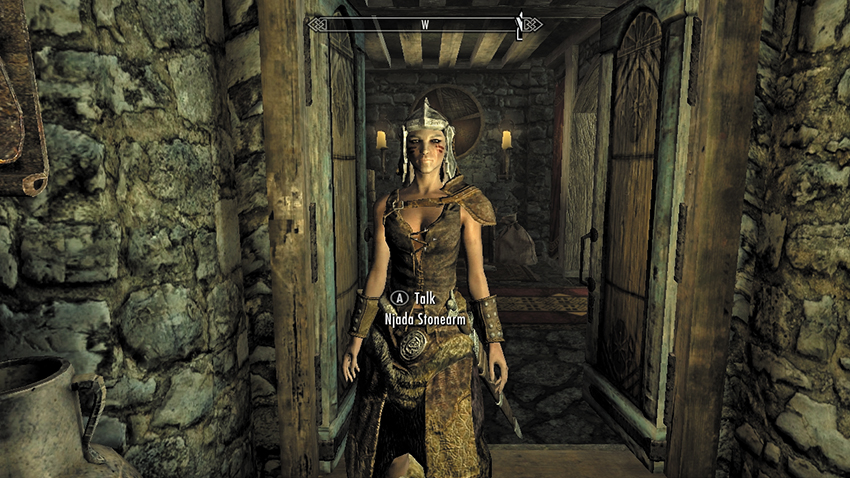
Warrior: One-Handed, Block, Speech
Expert Trainer: Block
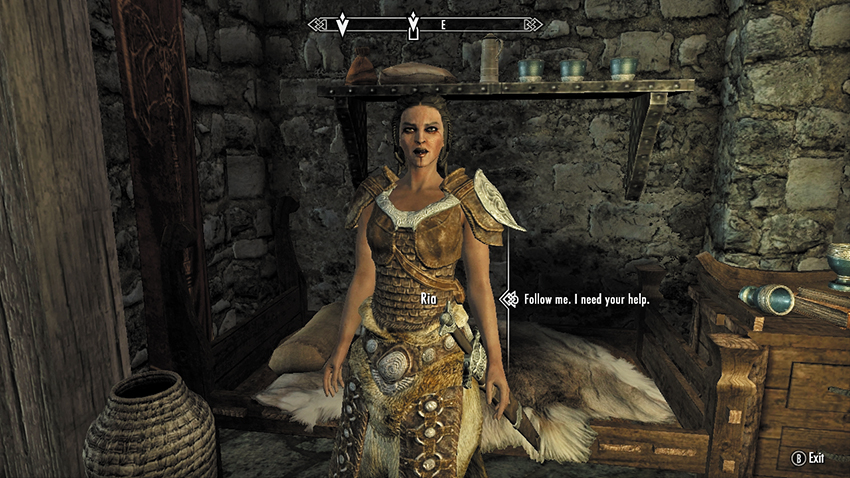
Warrior: One-Handed, Heavy Armor, Archery, Block
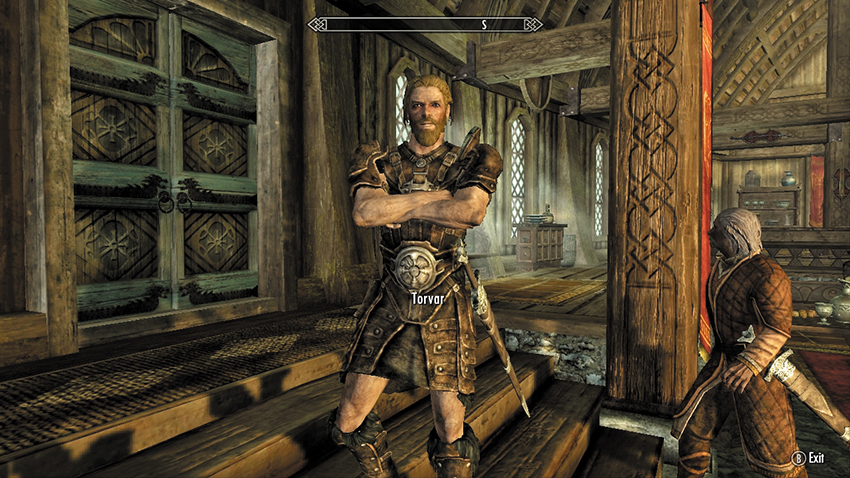
Warrior: One-Handed, Heavy Armor, Archery, Block
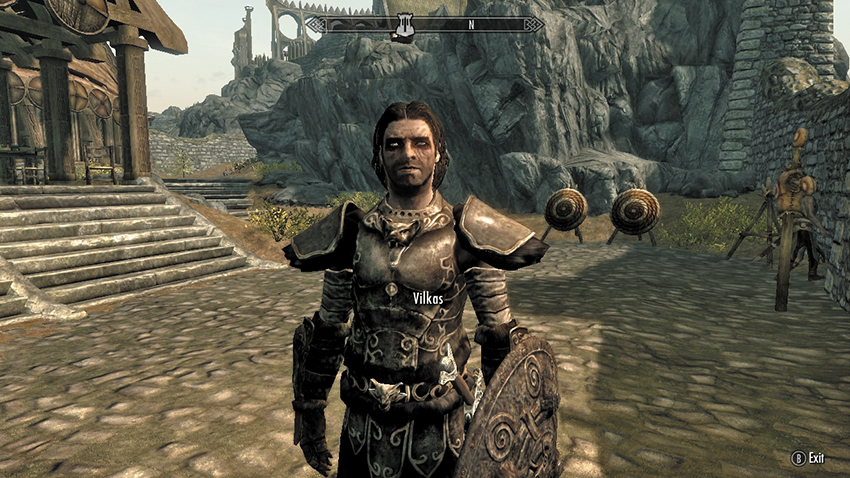
Knight: Two-Handed, Heavy Armor, Archery, Block
Master Trainer: Two-Handed
The College of Winterhold
Your fellow students at the College of Winterhold will join you once you are a member of the College and complete their specific College of Winterhold Radiant Quest:
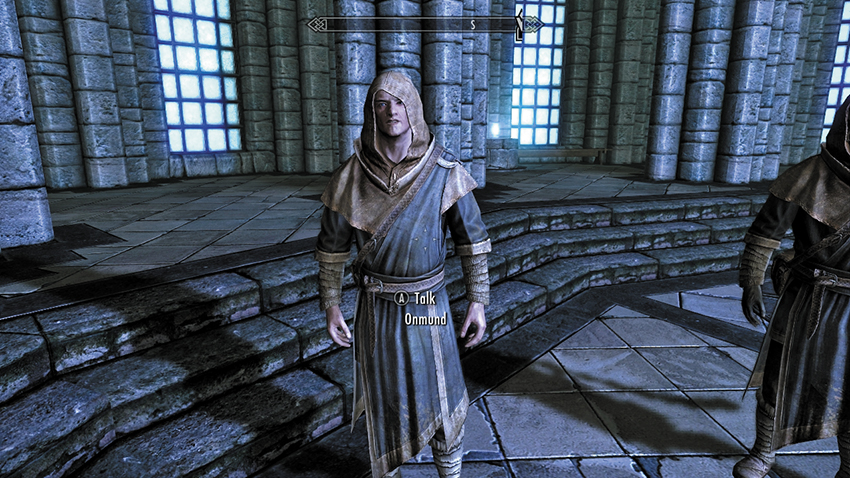
Sorcerer: Destruction, Illusion, One-Handed, Heavy Armor
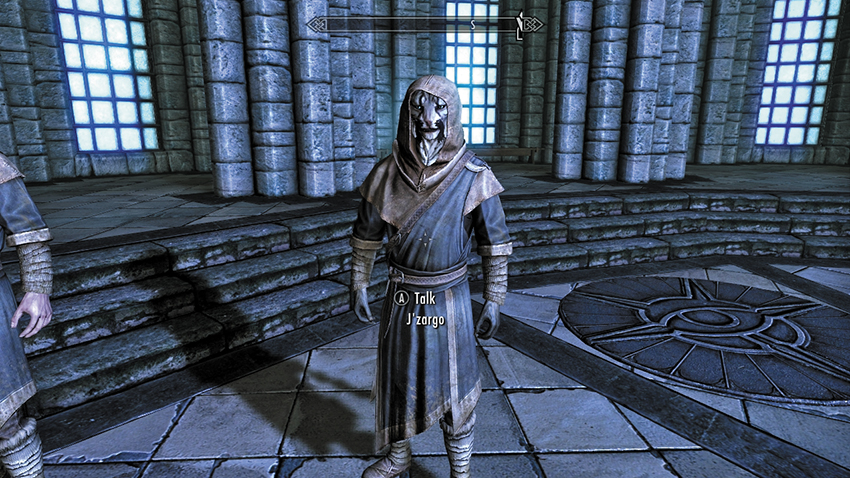
Sorcerer: Destruction, Illusion, One-Handed, Heavy Armor
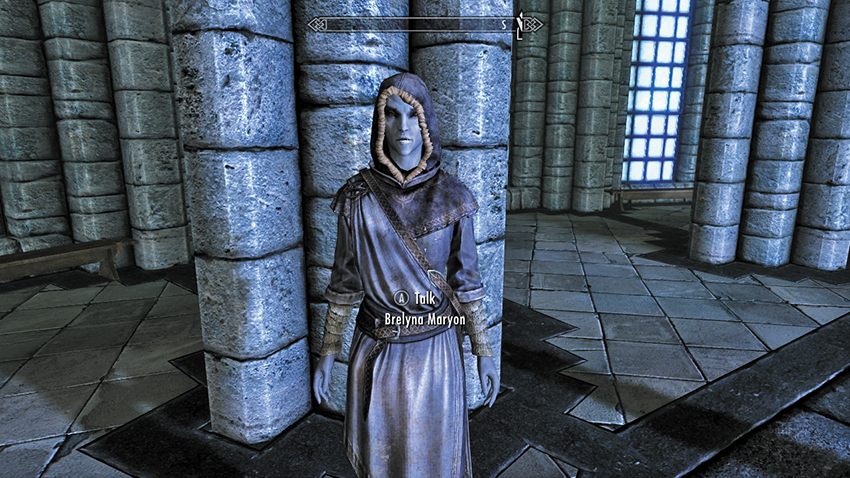
Mage: Alteration, Illusion, Conjuration, Sneak
Dark Brotherhood Assassins
After completing the Dark Brotherhood questline, two new initiates and a strange jester are available to aid and abet you in your adventures. You’ll find them at the Dawnstar Sanctary in the Pale:
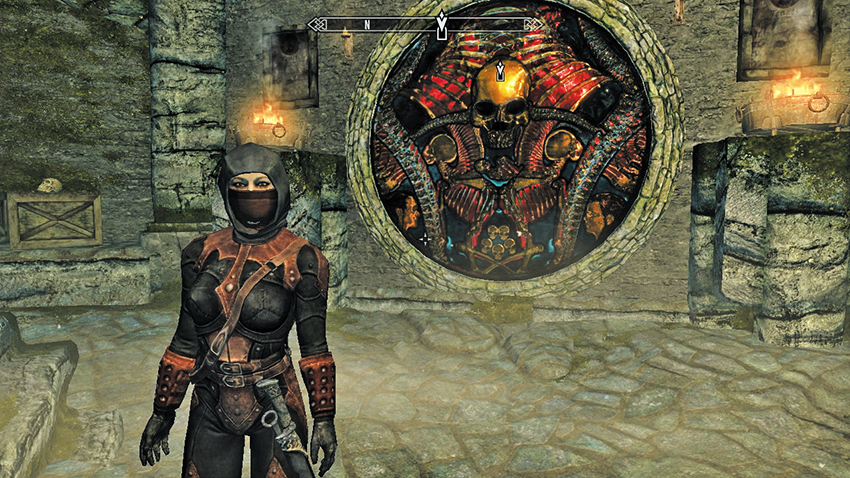
Assassin: Sneak, One-Handed, Archery, Light Armor
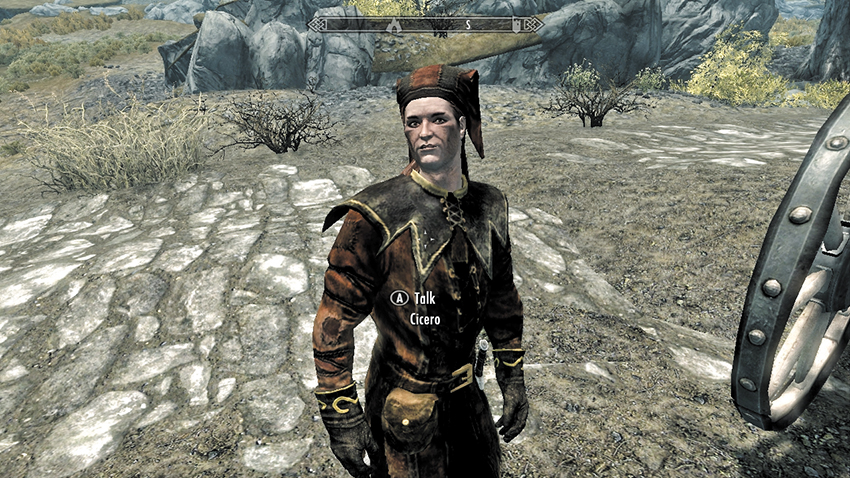
Assassin: Sneak, One-Handed, Archery, Light Armor
Quest-Related Followers
The following citizens of Skyrim and Solstheim sometimes accompany you on specific quests and are willing to join you after you finish the quest they are involved in (providing they survive the quest as well). Consult each quest for more information.
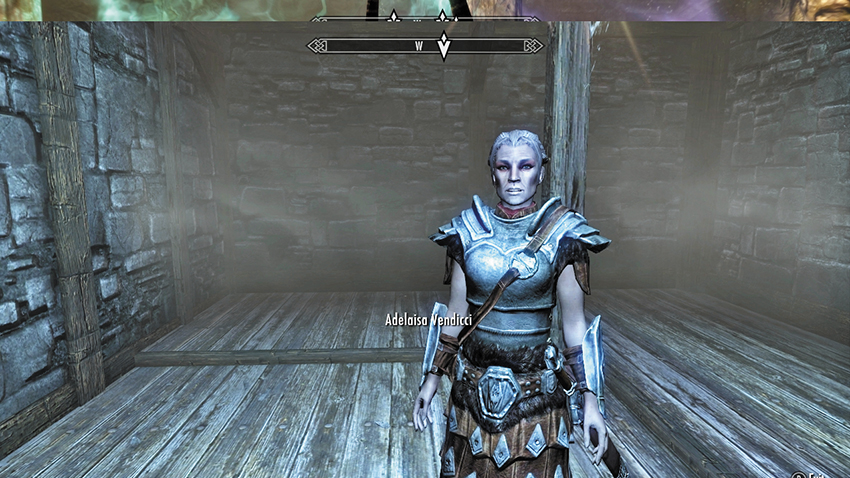
Townsperson: Alchemy, Enchanting, Smithing, Speech
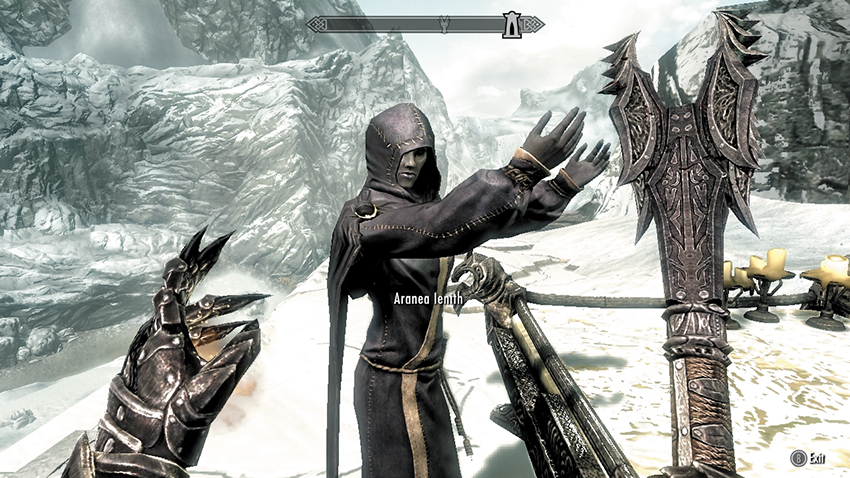
Mage: Destruction, Restoration, Conjuration, Alteration
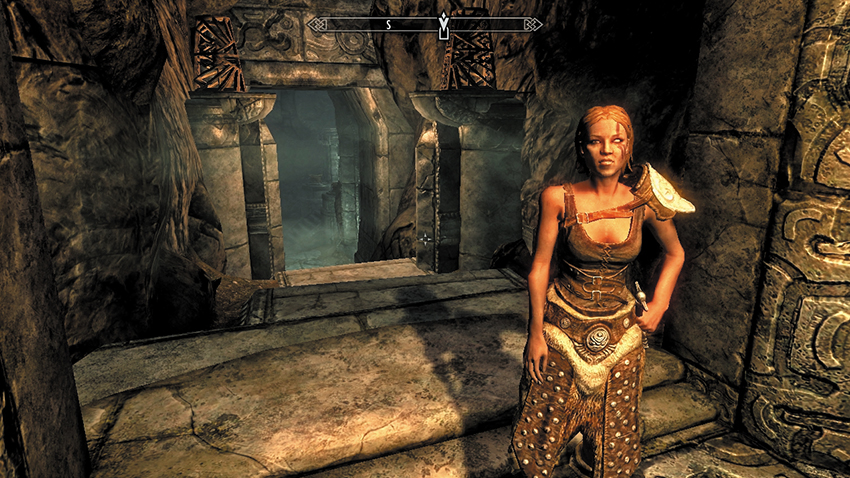
Nightblade: Destruction, One-Handed, Alteration, Sneak
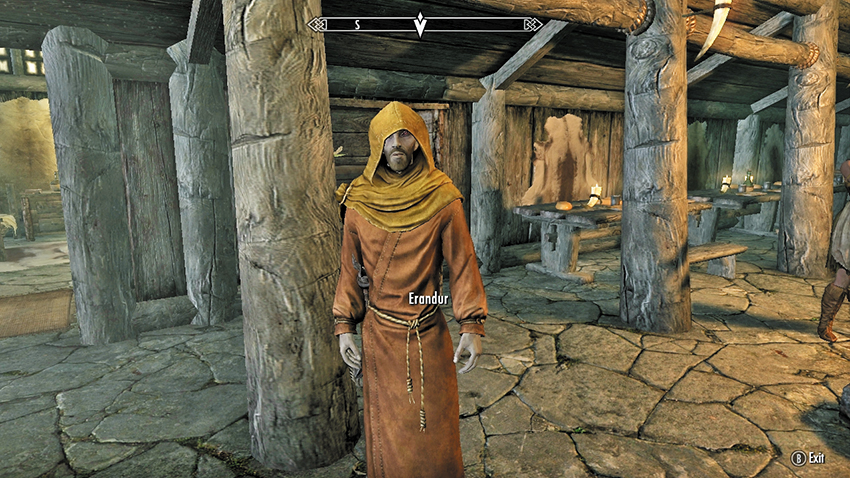
Healer: Restoration, Conjuration, Speech, Alchemy
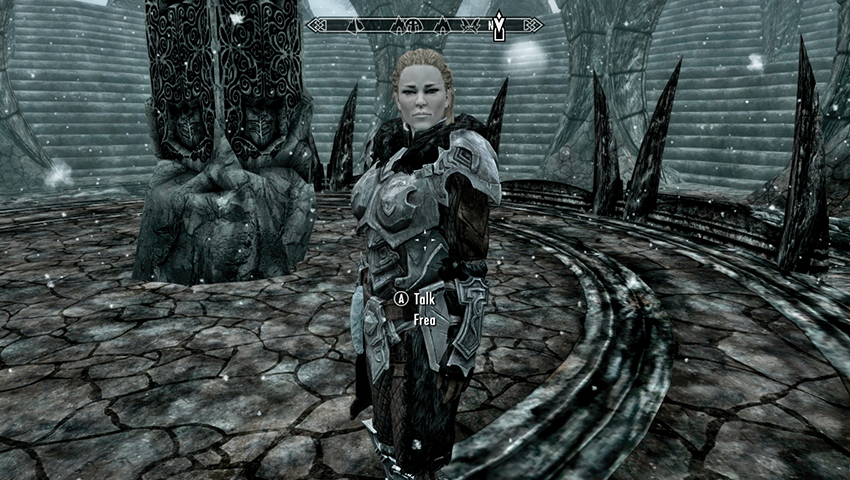
Frea (Dragonborn Main Quest: The Temple of Miraak)
Shaman: One-Handed, Alteration, Light Armor, Restoration, Archery
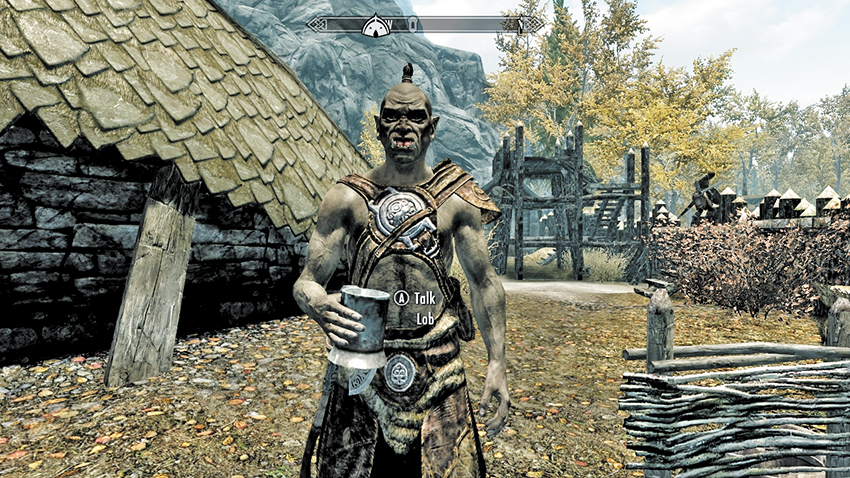
Archer: Archery, Light Armor, One-Handed, Block, Sneak
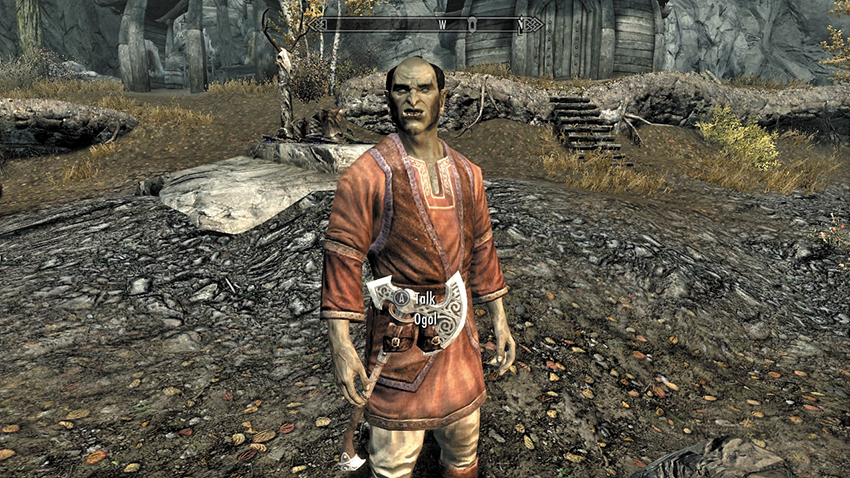
Warrior: One-Handed, Heavy Armor, Archery, Sneak
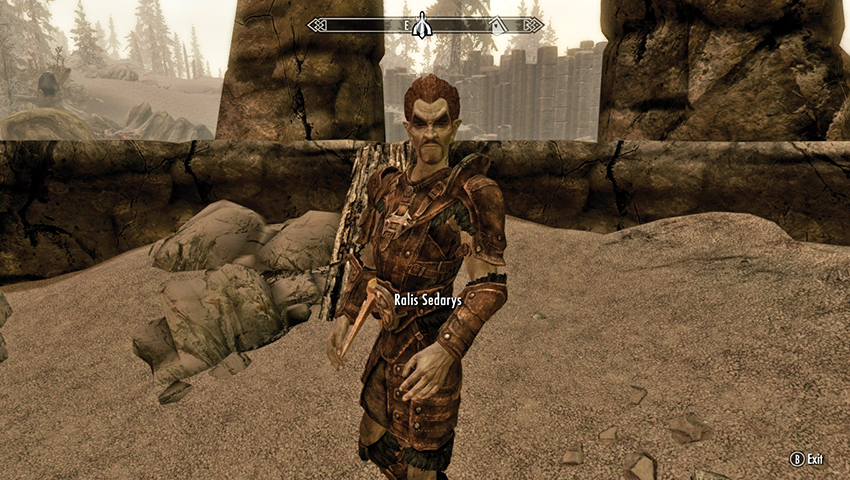
Ralis Sedarys (Solstheim Side Quest: Unearthed)
Warrior: One-Handed, Light Armor, Block, Sneak
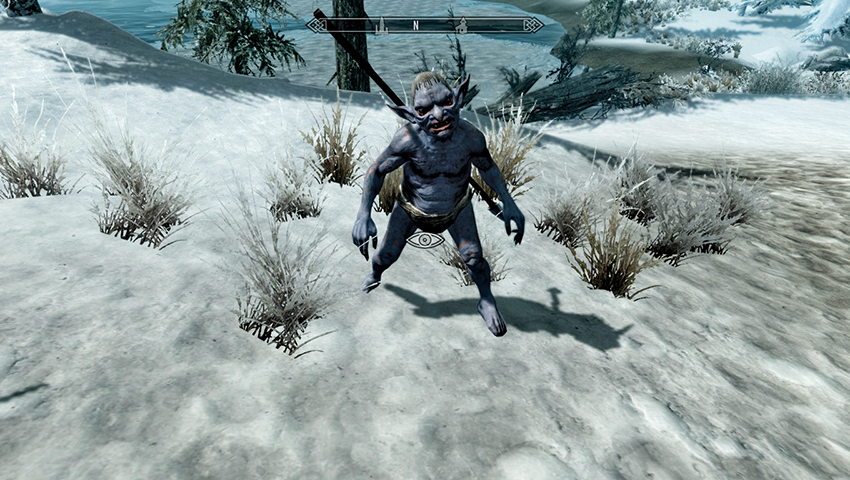
Rieklings (Solstheim Side Quest: The Chief of Thirsk Hall)
Riekling: Archery, Two-Handed, Light Armor, Sneak (see the Bestiary for complete details)
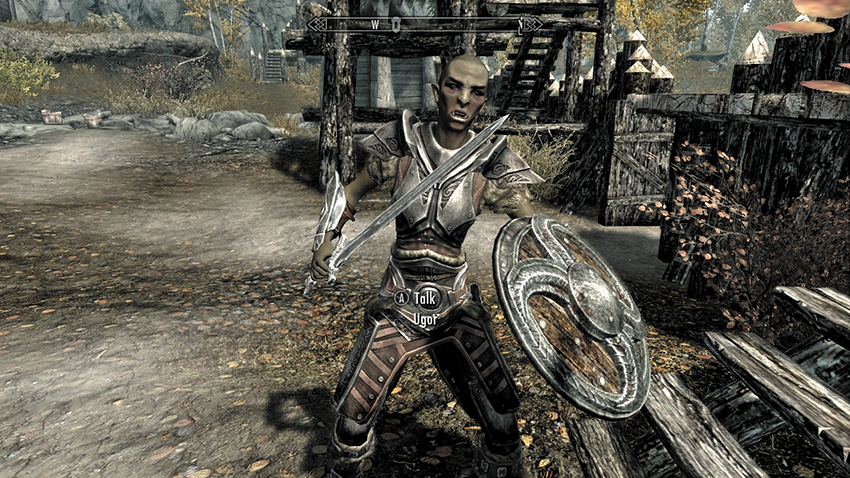
Archer: Archery, Light Armor, One-Handed, Block, Sneak
 Dawnguard Followers
The characters listed below are willing to join you on your adventures if you meet their requirements. However, for most of the Dawnguard Main Quest, you will be fighting alongside Serana, who is vehemently opposed to leaving your side. You can have an animal companion and Serana with you, but not another higher-functioning bipedal Follower. For these Followers, request their presence after the Dawnguard Main Quest is over.
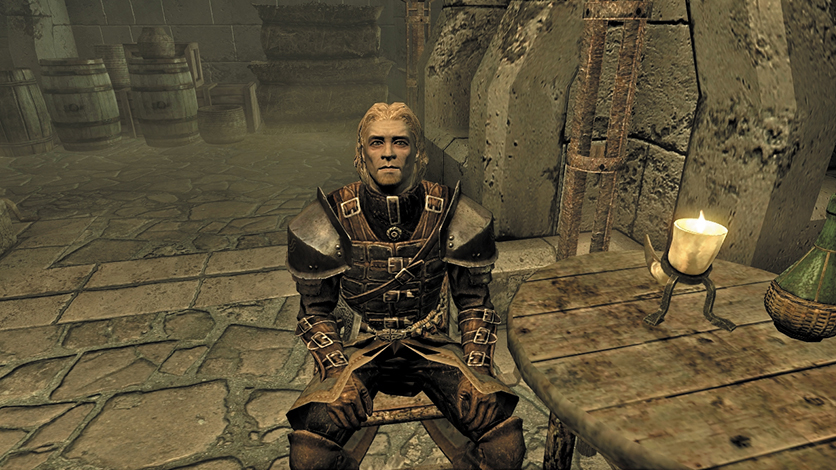
Dawnguard Recruit: One-Handed, Two-Handed, Block, Light Armor, Heavy Armor.
You must be allied with the Dawnguard and complete Dawnguard Main Quest: Prophet.
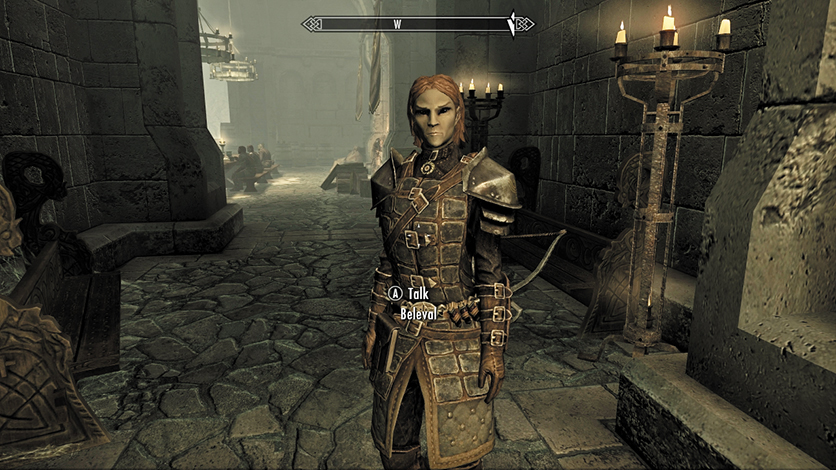
Dawnguard Recruit: One-Handed, Two-Handed, Block, Light Armor, Heavy Armor.
You must be allied with the Dawnguard and complete Dawnguard Main Quest: Prophet.
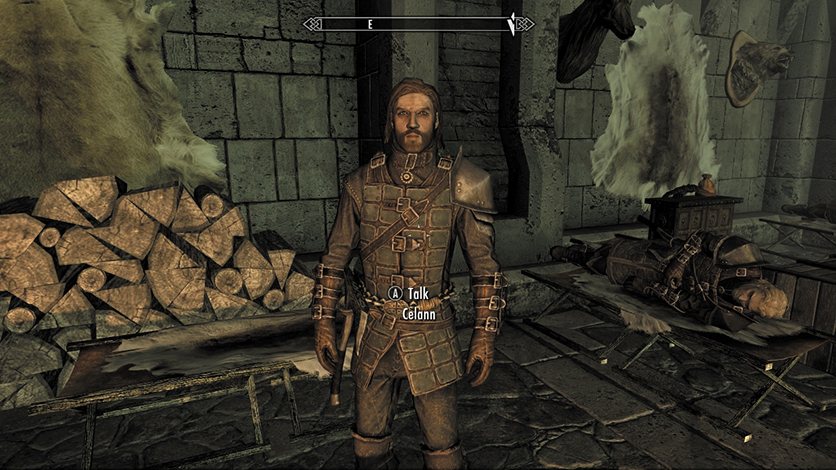
Dawnguard Warrior: One-Handed, Heavy Armor, Archery, Block.
You must be allied with the Dawnguard and complete Dawnguard Main Quest: Prophet.
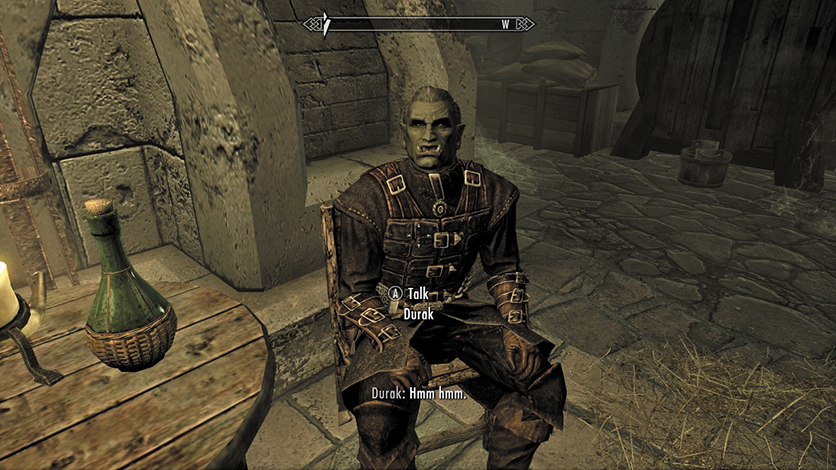
Dawnguard Hunter: Archery, One-Handed, Light Armor, Block.
You must be allied with the Dawnguard and complete Dawnguard Main Quest: Prophet.
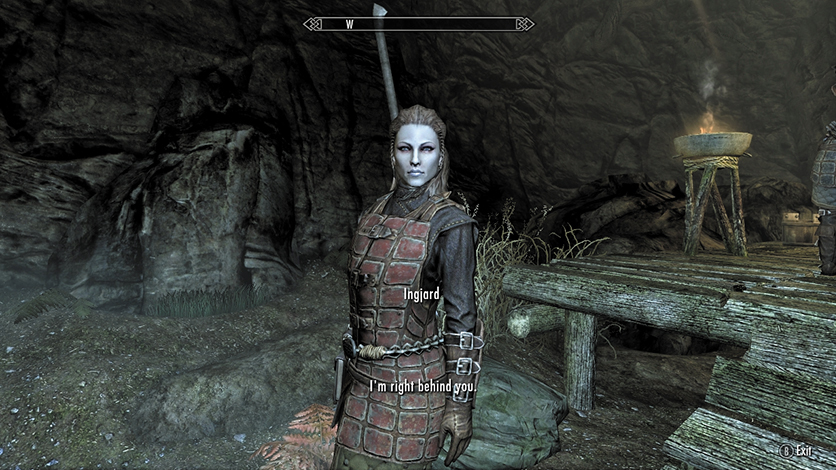
Dawnguard Warrior: Two-Handed, Heavy Armor, Archery, Block.
You must be allied with the Dawnguard and complete Dawnguard Main Quest: Prophet.
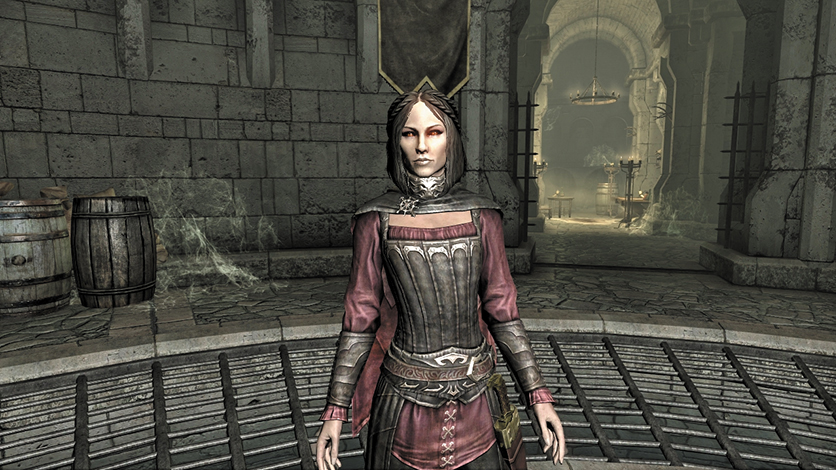
Vampire Mage: Sneak, One-handed, Light Armor, Conjuration, Destruction, Alteration.
Available once Dawnguard Main Quest: Awakening is complete. For a full rundown of Serana’s abilities and strengths, consult the introduction to the Dawnguard Main Quests.
Dungeon-Related Followers
The following denizens of the dungeons of Skyrim are available to help your cause once you clear the dungeon in which you find them. Providing they survive. Consult the Dungeon Quests for more information.
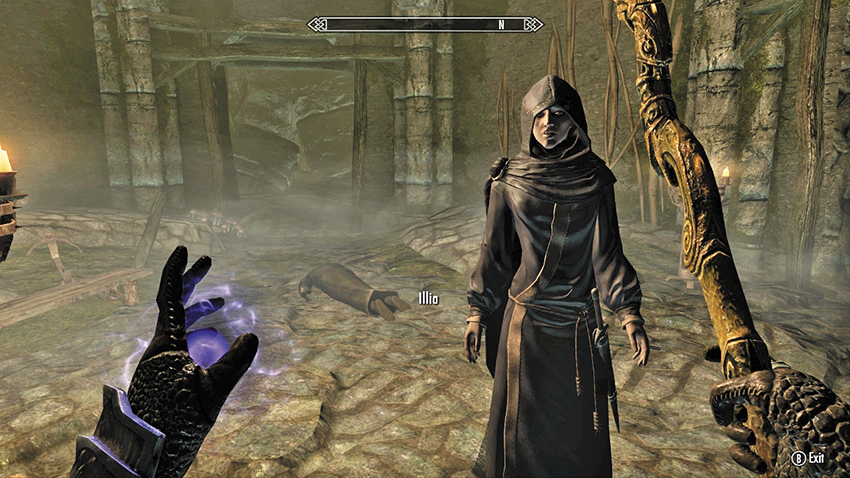
Mage: Destruction, Restoration, Conjuration, Alteration
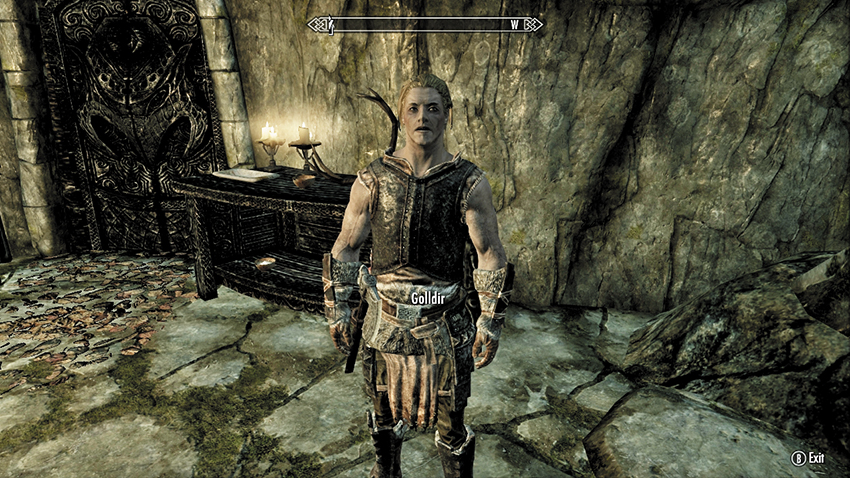
Warrior: One-Handed, Heavy Armor, Archery, Block
Favor Followers
The following inhabitants of Skyrim agree to join you once you’ve befriended them by completing a task or Favor they set for you. Consult Favors for more information.
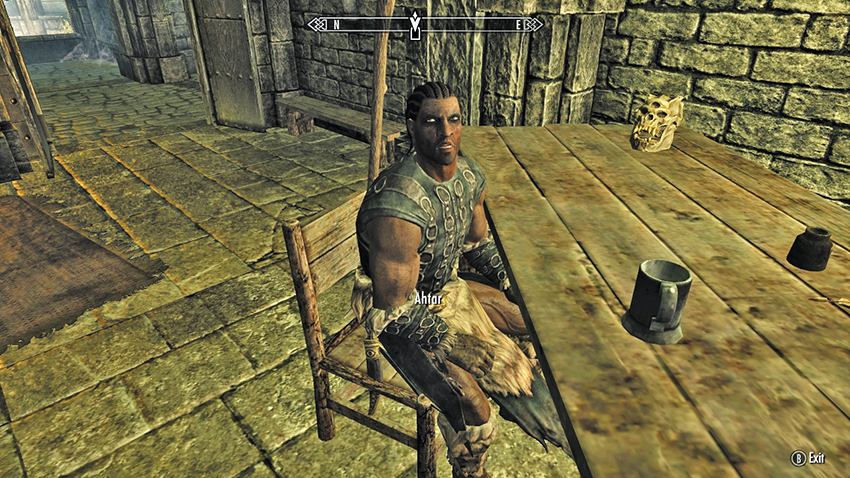
Knight: Two-Handed, Heavy Armor, Archery, Block
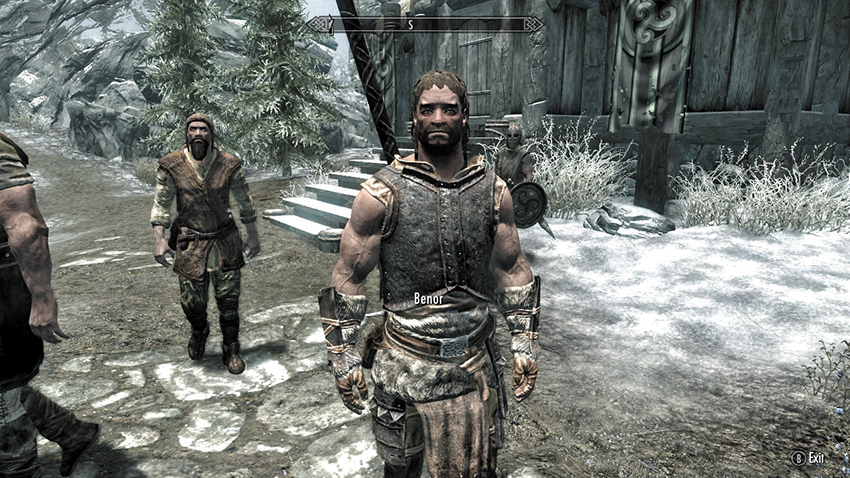
Knight: Two-Handed, Heavy Armor, Archery, Block
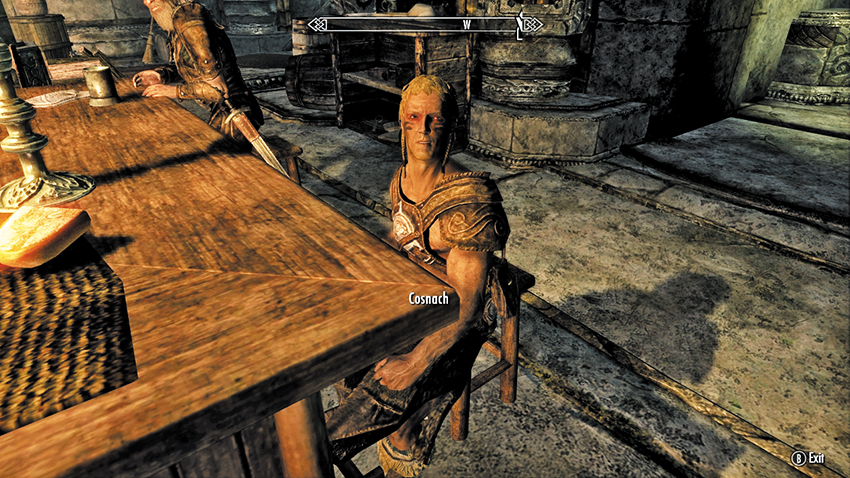
Warrior: One-Handed, Heavy Armor, Archery, Block
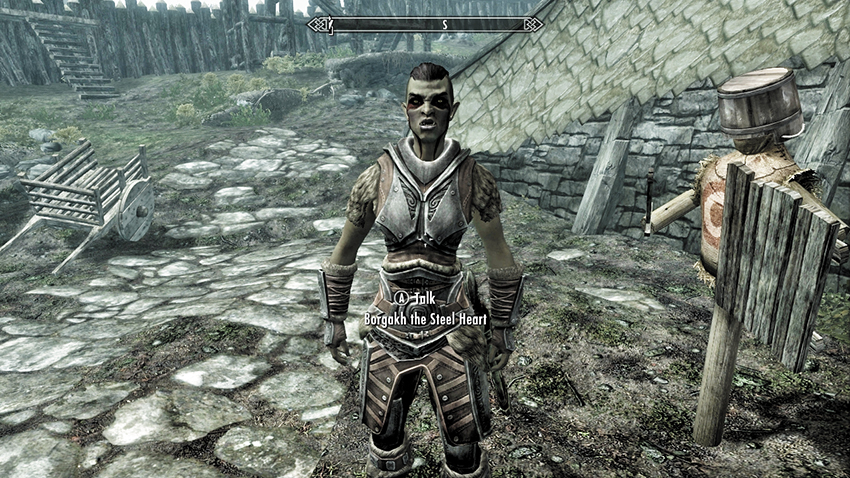
Warrior: One-Handed, Heavy Armor, Archery, Sneak
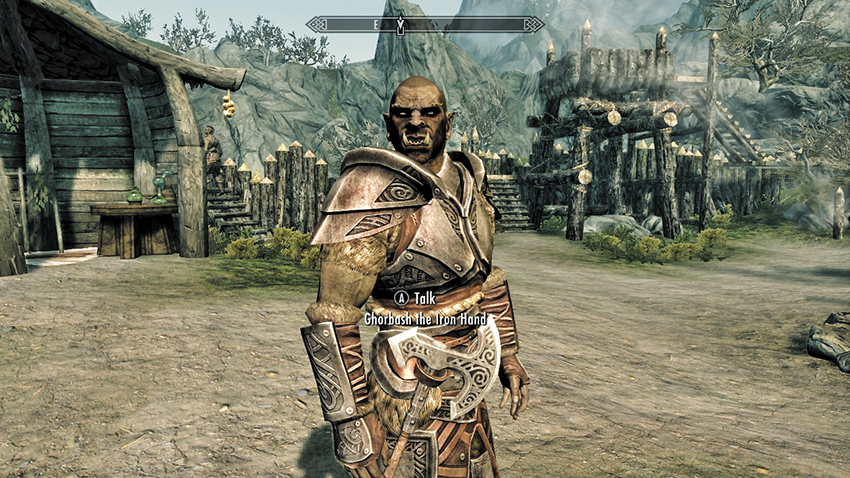
Archer: Archery, Light Armor, One-Handed, Block, Sneak
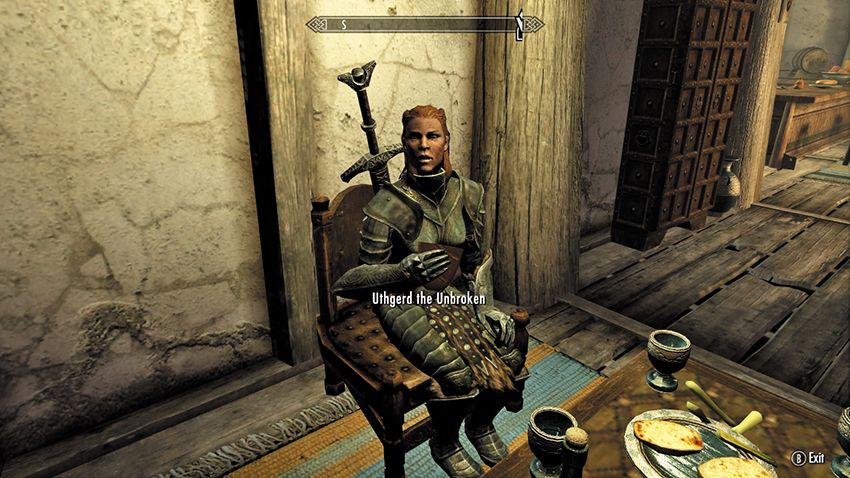
Warrior: One-Handed, Heavy Armor, Archery, Block
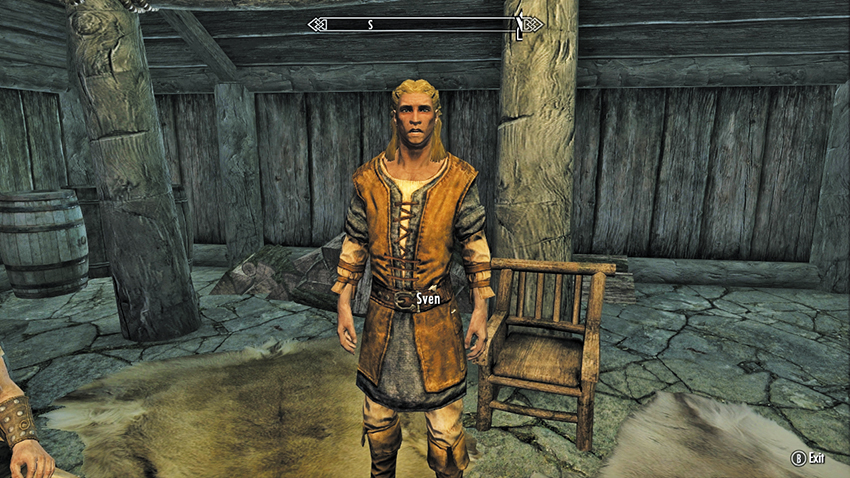
Townsperson: Alchemy, Enchanting, Smithing, Archery
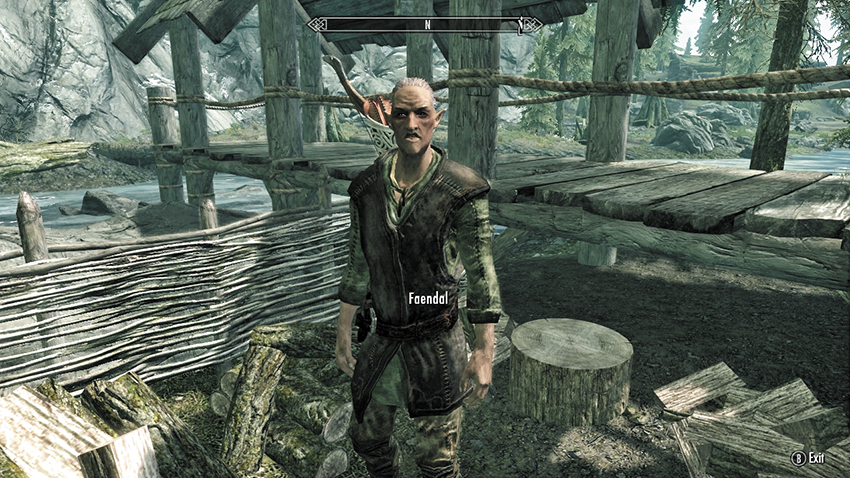
Archer: Archery, Light Armor, One-Handed, Sneak
Journeyman Trainer: Archery
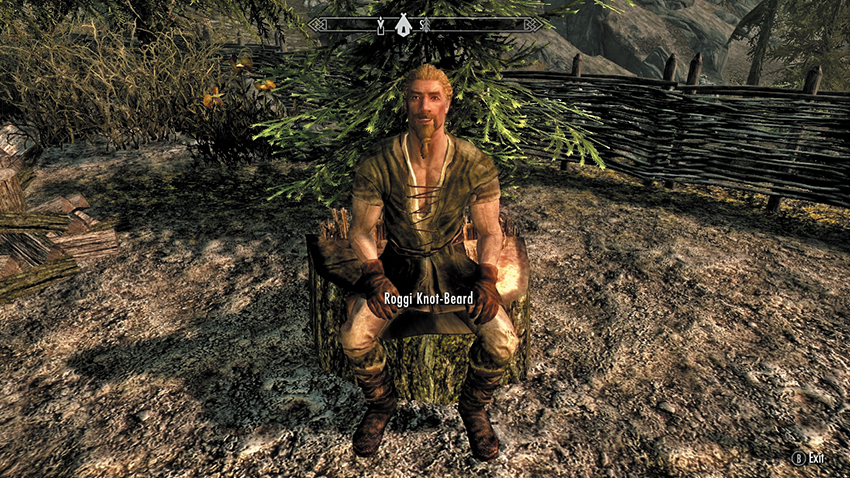
Townsperson: Alchemy, Enchanting, Smithing, One-Handed
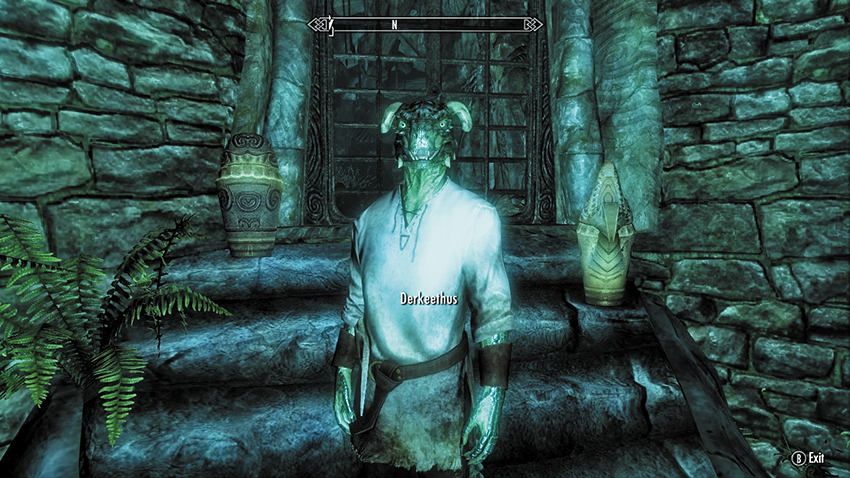
Archer: Archery, Light Armor, One-Handed, Block, Sneak
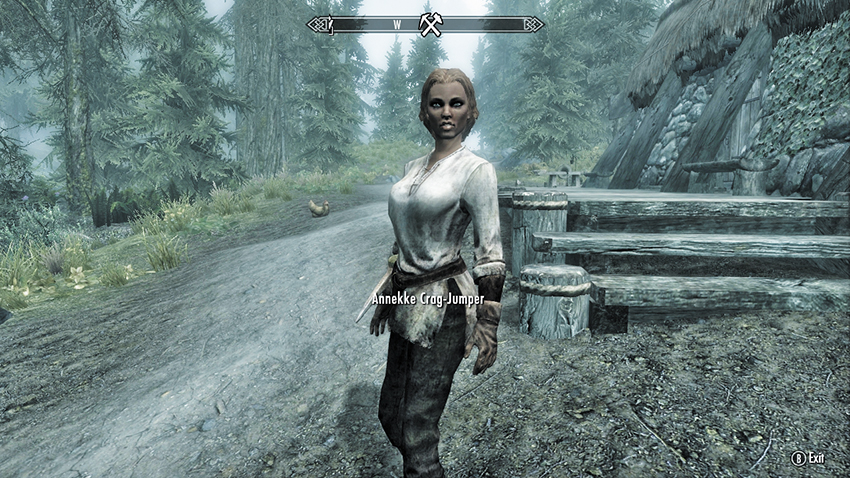
Archer: Archery, Light Armor, One-Handed, Block, Sneak
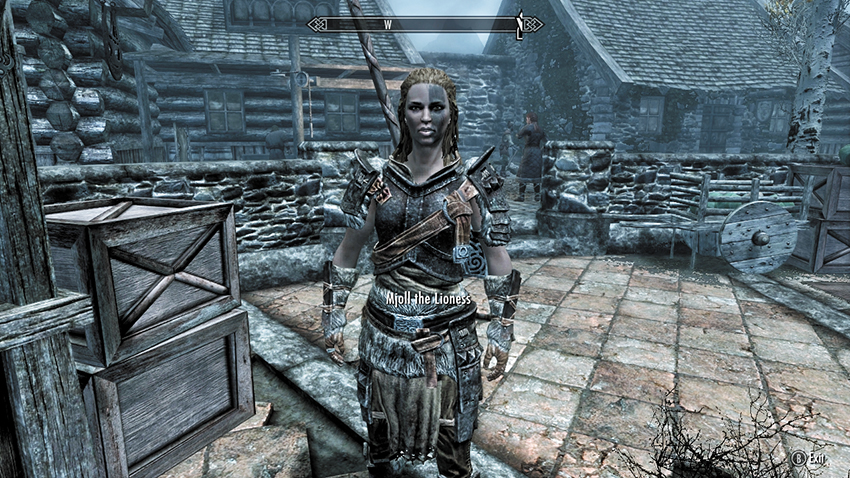
Knight: Two-Handed, Heavy Armor, Archery, Block
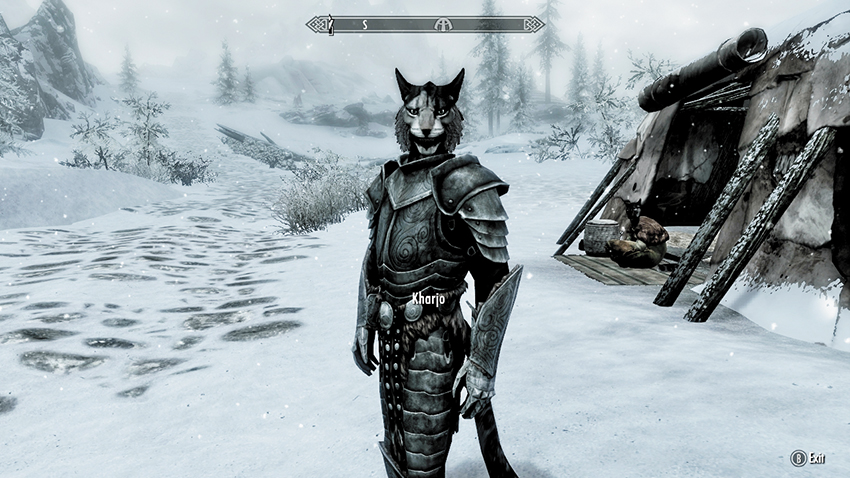
Warrior: One-Handed, Heavy Armor, Archery, Block
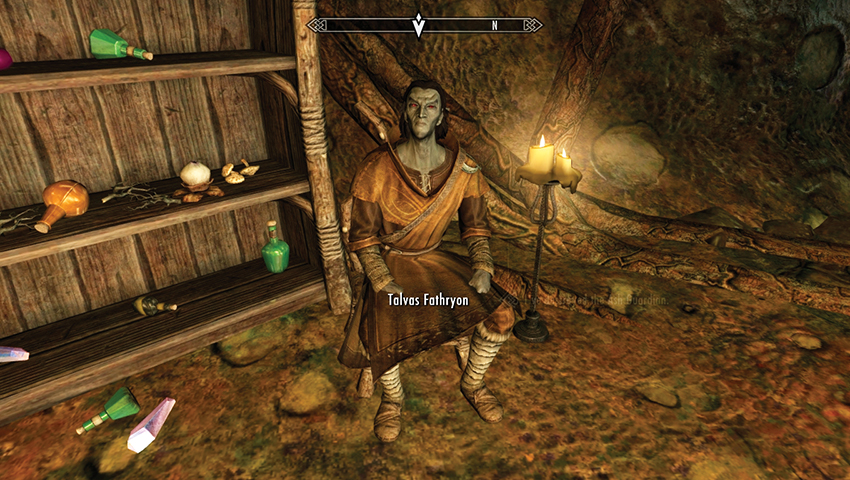
Talvas Fathryon, Master Neloth’s apprentice in Tel Mithryn (Solstheim)
Mage: Conjuration, Restoration, Destruction, Alteration, Sneak
Animal Companions
Two-legged, higher-functioning Followers aren’t the only ones you can bring with you on adventures. Four-legged friends and other beast or mechanical Followers are also available. The following animal companions can follow, stay, and attack, but they can’t carry items:

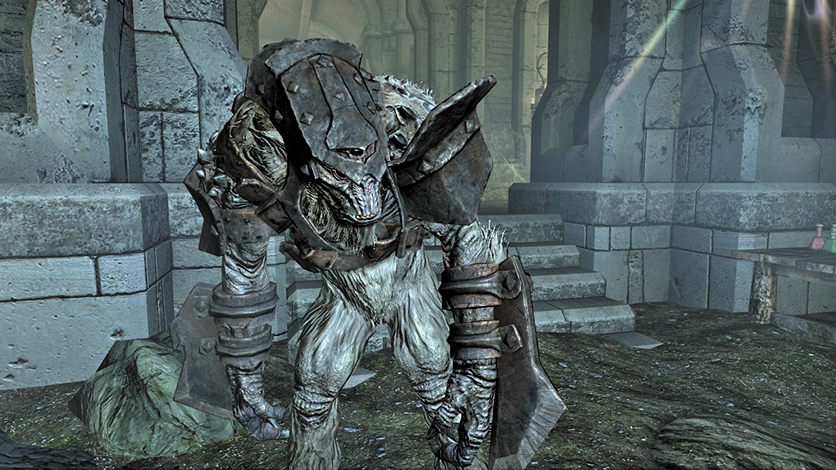
Armored Frost Troll
- In Fort Dawnguard
Frost Troll: Claw and Bite attacks. Animal companion. You must be allied with the Dawnguard and complete Dawnguard Main Quest: A New Order to hire this troll from Gunmar for 500 gold.
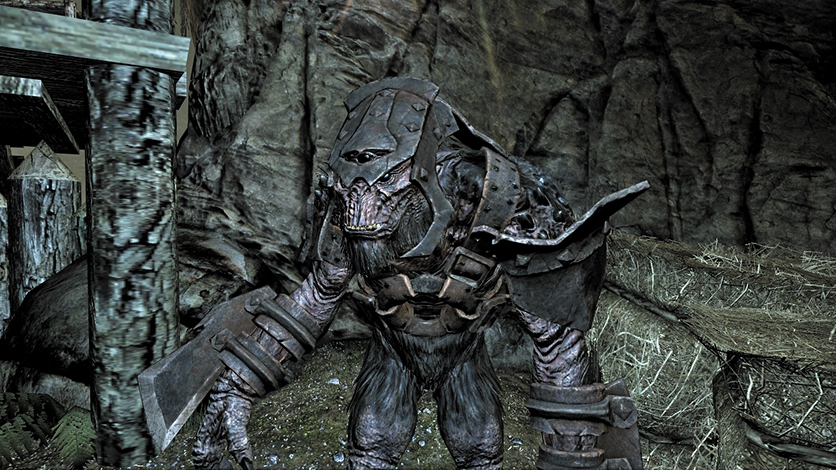
Armored Troll
- In Fort Dawnguard
Troll: Claw and Bite attacks. Animal companion. You must be allied with the Dawnguard and complete Dawnguard Main Quest: A New Order to hire this troll from Gunmar for 500 gold.
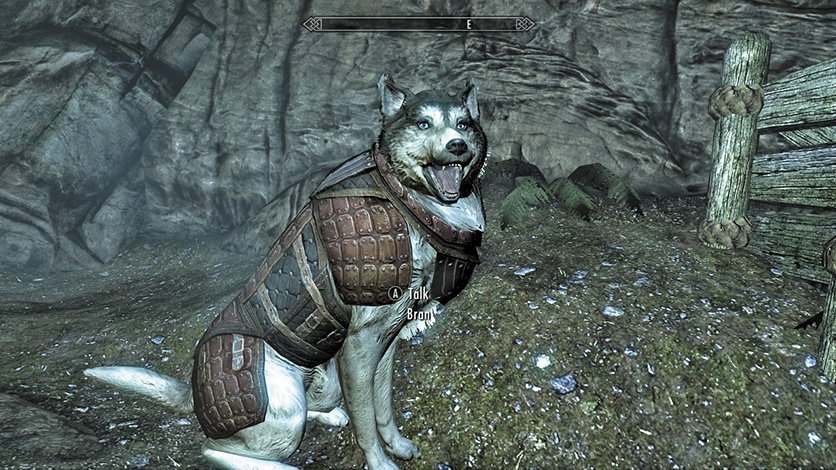
Bran
- In Fort Dawnguard
Dawnguard Husky: Bite attacks. Animal companion. You must be allied with the Dawnguard and complete Dawnguard Main Quest: A New Order.
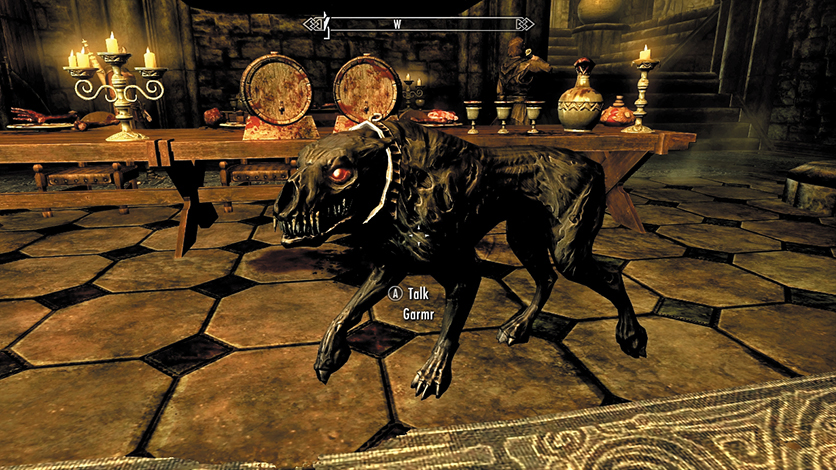
CuSith
- In Castle Volkihar
Death Hound: Claw and Bite attacks. Animal Companion. You must be allied with the Volkihar Vampires and complete Dawnguard Main Quest: The Bloodstone Chalice.
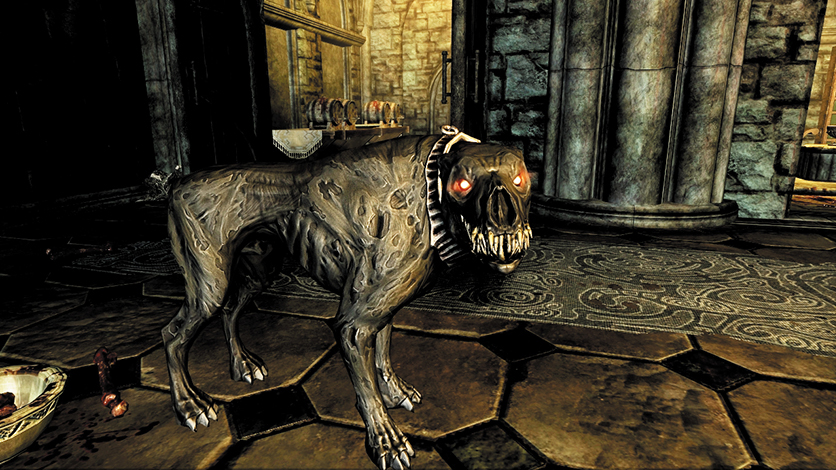
Garmr
- In Castle Volkihar
Death Hound: Claw and Bite attacks. Animal companion. You must be allied with the Volkihar Vampires and complete Dawnguard Main Quest: The Bloodstone Chalice.
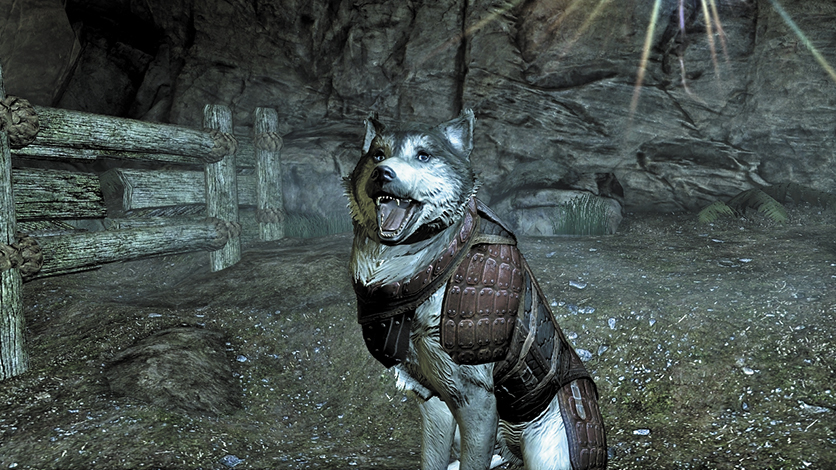
Sceolang
- In Fort Dawnguard.
Dawnguard Husky: Claw and Bite attacks. Animal companion. You must be allied with the Dawnguard and complete Dawnguard Main Quest: A New Order.
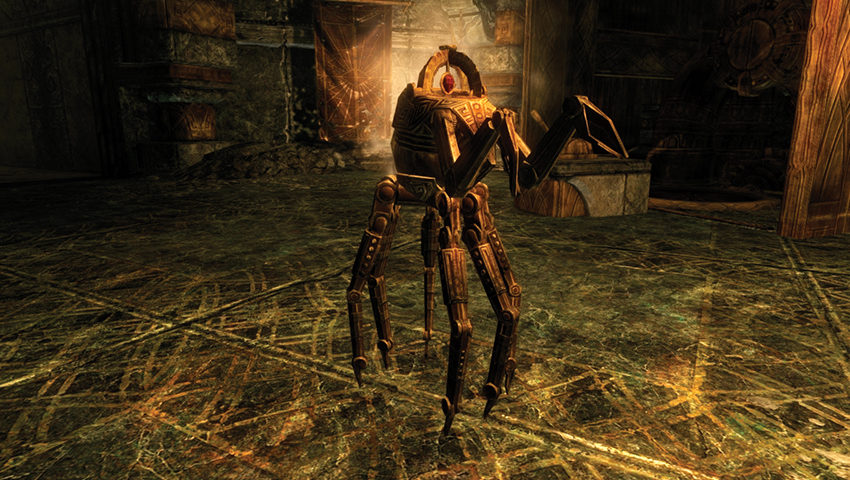
Steadfast Dwarven Spider: Your prize for completing the first battle in Kagrumez, as part of Solstheim Side Quest: The Challenges of Kagrumez*.
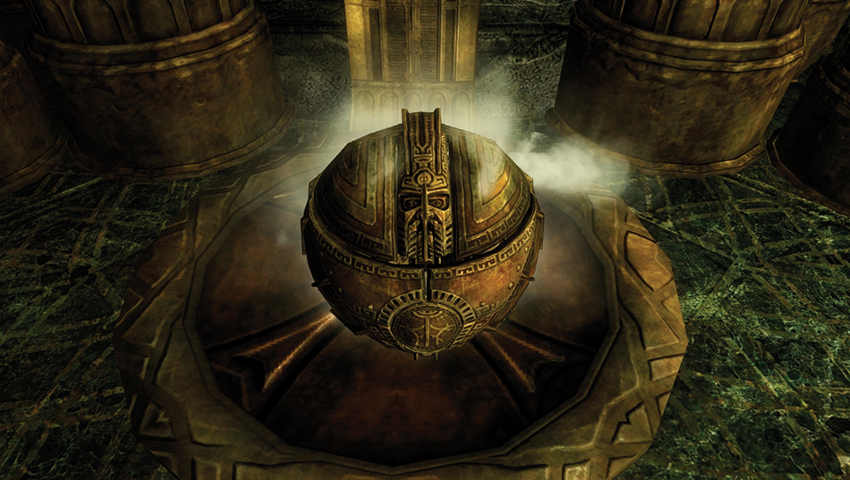
Steadfast Dwarven Sphere, your prize for completing the second battle in Kagrumez, as part of Solstheim Side Quest: The Challenges of Kagrumez*.
Pets
Finally, if you’ve built your own dwelling and adopted a small child, they may bring home an animal to play with. These pets aren’t cut out for adventuring.