
Elder Scrolls V: Skyrim Special Edition Guide Quests Thieves Guild Quests
Thieves Guild Quests: Loud and Clear
Loud and Clear
Do as You’re Told, and Keep Your Blade Clean
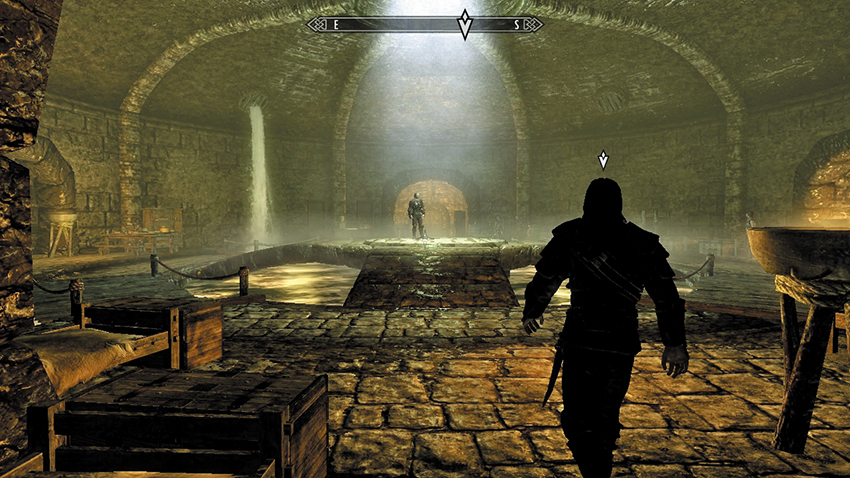
You begin this quest with the previous objective already active. Follow Brynjolf into the Ragged Flagon’s Cistern. The time has come to meet the rest of his team, including the leader of this small operation—Mercer Frey.
Mercer Frey is initially suspicious of you and tells you that acting like a maverick will result in a docking of your pay. You may be with thieves, but there is a code to uphold. Once you agree, Mercer Frey has a job for you, one that Brynjolf is worried may be much too difficult. It involves infiltrating Goldenglow Estate, just outside of town; even one of Mercer’s own found this job too dangerous. The farm’s proprietor is no longer honoring his bargain with the Guild; you must go there to teach him a lesson. Brynjolf suggests you speak to more of the Guild members to gain a better perspective of both your task and the Guild in general.
Ask Brynjolf about the Goldenglow job. The farm is owned by some smart-mouthed Wood Elf named Aringoth. Honey production is a valuable commodity on the farm, so setting fire to some of the hives there is your first instruction. Then clear out the safe inside the main house. You can’t set the whole place ablaze, though, as an important client with ties to Goldenglow Estate would be furious. Ask for more information, and Brynjolf mentions the estate is guarded by mercenaries; the entire island is fortified, and Brynjolf recommends you find out more from Vex, who already scouted the area and narrowly missed being killed.
Back in the Ragged Flagon, seek out Vex, who sees the recent Guild problems as a run of bad luck. You can speak to her about some extra work: This starts the Thieves Guild Quests: Additional Jobs (consult this quest for more information). You can also pay her to train you in Lockpicking if you have the coin. Lastly, if you ask her about Goldenglow, she mentions a sewer access point running under the estate, which could be a more clandestine way of entering the premises.
A few years ago, the Ragged Flagon was as busy as an Imperial City, but speak to Delvin Mallory and he firmly believes a curse was responsible for the Guild’s downfall. Speak to him, and he offers you the chance to earn more coin: This starts the Thieves Guild Quests: Additional Jobs (consult this quest for more information). He can also train you in the art of Sneaking, provided you have the gold to pay him.
Speak with Tonilia, who gives a “warts and all” review of this little Guild—you’re only as good as the gold you’re bringing in. She buys and sells, but on this one occasion, she has something for free; you’re given your Thieves Guild attire. You can now begin your first major infiltration!
- Thieves Guild Boots (Fortify Pickpocket)
- Thieves Guild Armor (Fortify Carry)
- Thieves Guild Gloves (Fortify Lockpicking)
- Thieves Guild Hood (Fortify Speech)
Compare the statistical increases of this attire to your normal apparel and see which you favor; the magical bonuses offered by the Thieves Guild clothing makes them extremely useful.
Goldenglow Estate: Reconnoiter
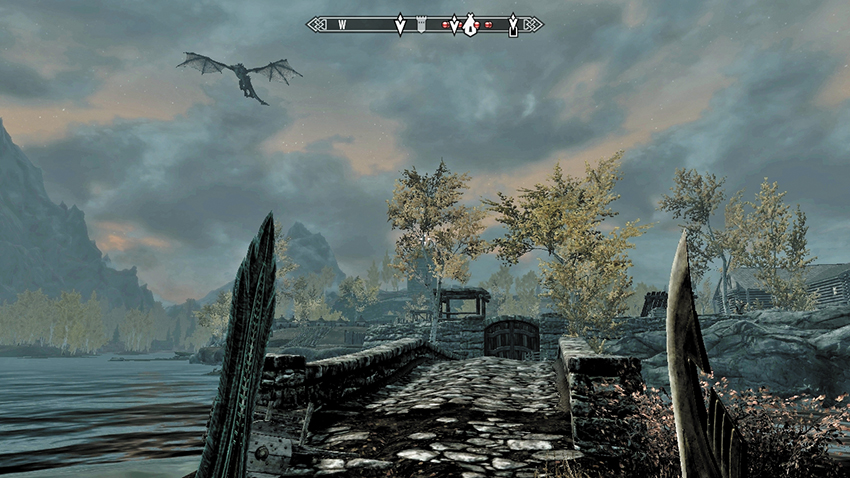
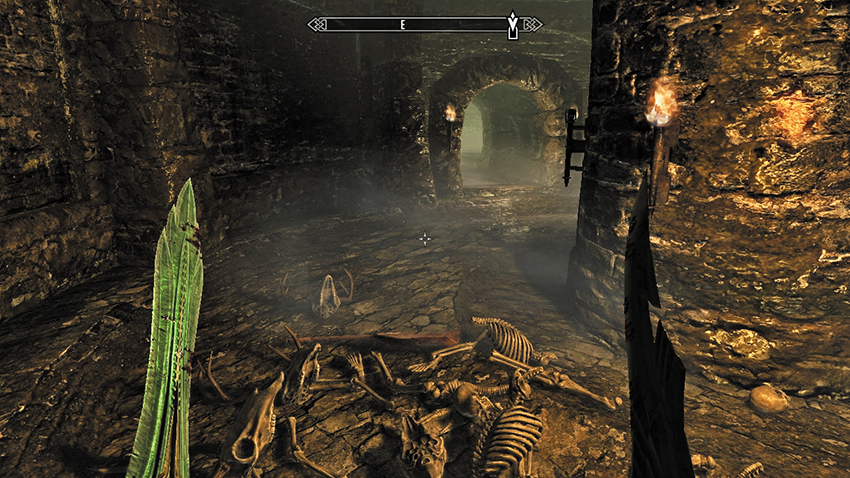
The Goldenglow Estate consists of three connected islands in the middle of a lake. How you choose to access this location influences how dangerous this task becomes. Bear in mind any or all of the following plans before you set foot on Aringoth’s property.
To enter the property, you can:
- Slay the gate guard at the main gates and search his corpse for the key to the main gates. Use this to unlock the main gates for an easier way onto the island.
- Fire on the mercenaries from a distance and take down any you can before setting foot on the islands.
- Swim around to the jetty behind the main building, and sneak up to the house from this point.
- Locate the sewer entrance on the northwest side as Vex described. Drop down and follow it to the back entrance of the estate house.
There are other helpful methods of completing this task. You can:
- Infiltrate the estate under cover of darkness; this makes you less likely to be spotted by the mercenary guards.
- Complete the beehive destruction first, as this lures more mercenaries out of the estate house, helping your main infiltration.
- Throw caution to the wind and wade into the establishment. Although not normally tolerated, killing any mercenaries. This isn’t a problem.
- (Sneak) You may also utilize Sneak throughout this task, creeping around to either estate entrance and moving through the house, launching Sneak attacks on enemies you cannot pass before hiding and continuing on. There is a locked rear entrance to the estate building just near the exit from the sewers. It’s a difficult lock but a great way to slip inside unseen.
Beehive Burn
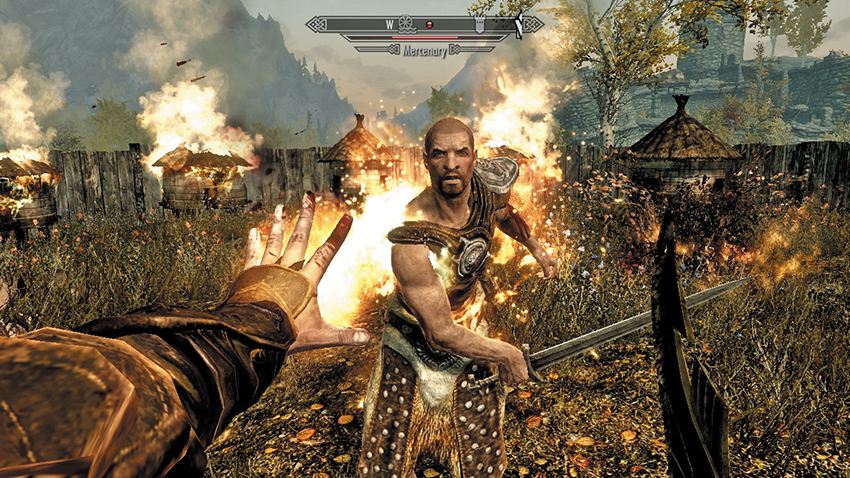
Set the bees ablaze, but don’t snuff out all the hives. Do this at any time, but coaxing more mercenaries out of the house before you enter the dwelling means you can fight them in an open area and at distance, which is easier. Burn the hives before or after alerting the mercenaries. You can:
- Use a ranged fire attack (such as a fireball or arrow fired from a flame-enchanted bow).
- Use a melee-range fire attack (such as a torch).
Continue with this ransacking until three of the hives are alight. Ignore the other hives or face a dock in your reward and an annoyed Brynjolf if you set more than three ablaze.
Sneak to the Safe
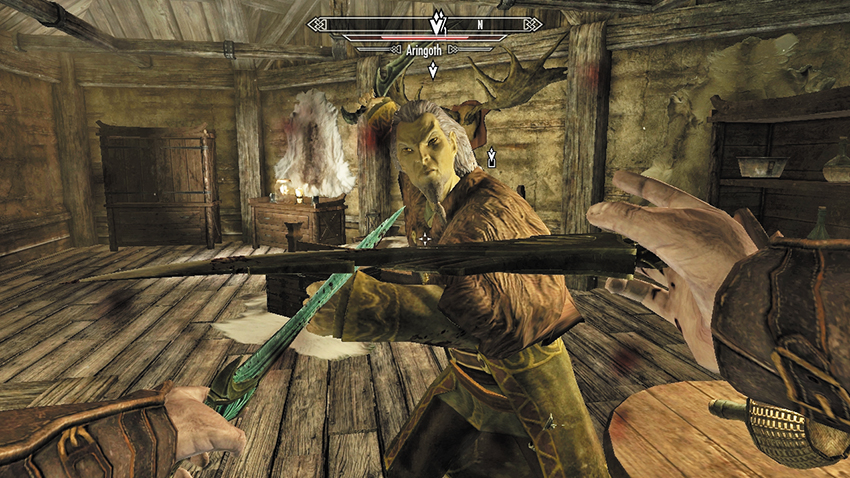
No matter which route (or entrance) you took to infiltrate the estate house, once inside, an additional objective becomes available: As Aringoth’s safe is tricky to unlock, you may wish to seek out Aringoth and take both of his keys. If you want them, head up to the second floor and search for the Wood Elf. You may be able to avoid further bloodshed. You can:
- (Persuade) Try a little light threatening to make him hand over the key.
- (Fight) Or use violent bloodshed, a normally frowned-upon plan but one sanctioned for this task.
- (Sneak) You may also be able to sneak up to his room and pickpocket the key from him.
- Goldenglow Cellar Key
- Goldenglow Safe Key
- Queen Bee Statue
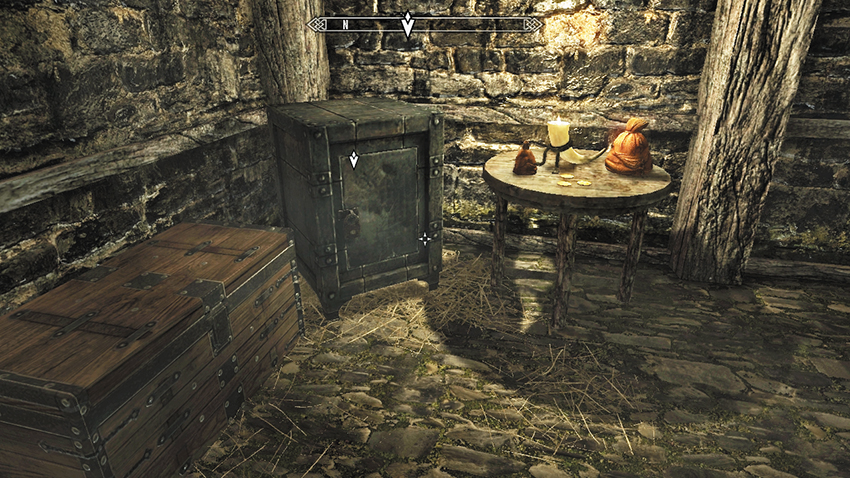
If you don’t want the hassle of confronting Aringoth for the keys, head to the gate door that leads to the cellar. You can:
- (Lockpick [Novice]) Unlock it using your skills.
- Or utilize the Goldenglow Cellar Key.
After navigating down more steps and encountering additional mercenaries, you finally locate the safe. You can:
- (Lockpick [Expert]) Utilize your talents and open the safe.
- Or use the Goldenglow Safe Key, which you pried from Aringoth.
Inside the safe is the Goldenglow Bill of Sale and some gold. Take everything!
- Goldenglow Bill of Sale
Quest Conclusion
Locate Brynjolf in the Ragged Flagon and hand the Bill of Sale over to him. Assuming you burned the correct number of beehives, he rewards you with gold for your troubles. The Bill of Sale is of particular interest, as it reveals that the estate was purchased by an unidentified buyer who seems to be aligning against the Thieves Guild! The note has a strange dagger symbol on it, but no one is certain what it means. Maven Black-Briar will be furious now that she’s been cut out of a deal. Brynjolf rewards you and then tells you it is time to meet the real power behind the Guild.
- Leveled gold pieces
Postquest Activities: Meet the Family
Thieves Guild Quests: Dampened Spirits is now active. After your induction into the Thieves Guild, you are requested to speak to Vex and Delvin Mallory about Thieves Guild Quests: Additional Jobs.
Now that Mercer Frey has fully inducted you into the Thieves Guild, there are now several benefits of having close ties to this organization, which are available to you from this point on:
- The Caches hidden in Riften are now available. Consult the City Influence Quests: Ultimate Rewards table to learn more about these.
- The hidden Hall of the Dead Mausoleum entrance for the Thieves Guild is now accessible from the graveyard. Press the button on the face of the mausoleum. The entire slab slides into the wall, leading to some steps to a hatch and into the Cistern. This means you need not traverse the Ratway any longer and can Fast-Travel directly to this location, as it becomes a map marker!
- You can now bribe and pay off Guards in The Rift, giving you more options for dealing with any bounties you may acquire. See the Crime and Punishment section for details.
- You are now part of the Thieves Guild faction! Everything contained within the Cistern (including Guild chests, books, and anything else you may have wanted to steal) can now be looted!