
Elder Scrolls V: Skyrim Special Edition Guide Quests Daedric Quests
Daedric Quests: The Only Cure
The Only Cure
A Fine Fume
This quest becomes available once you reach Level 10. You may also hear about the Afflicted by stumbling upon Bthardamz or by randomly encountering an Afflicted in World Encounter: Peryite’s Pilgrim.
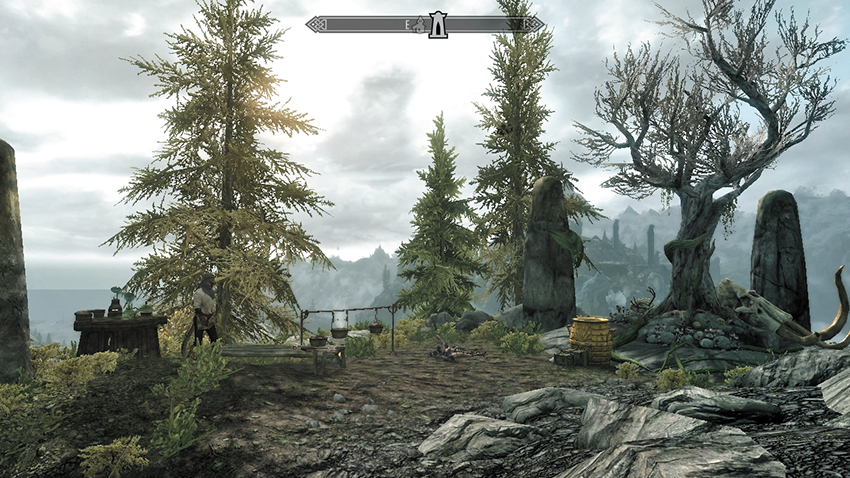
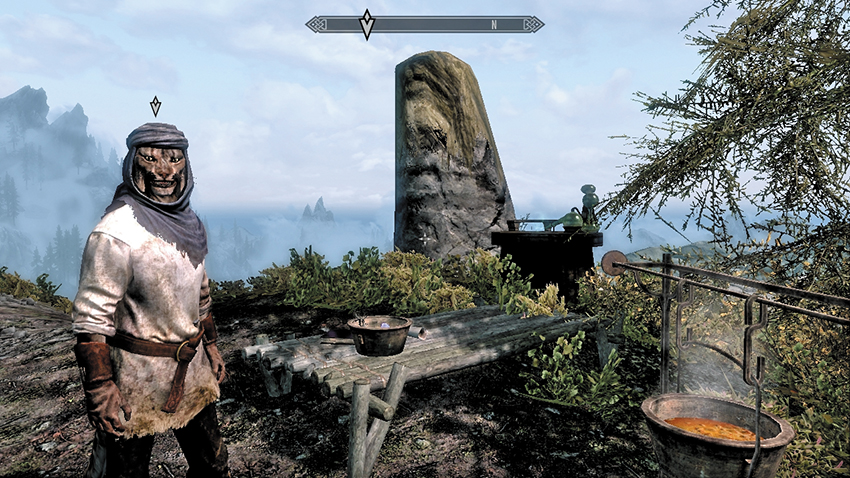
On a wooded clifftop bluff in the Druadach Mountains above Karthwasten lies a Shrine to Peryite, the Bringer of Pestilence. As you approach, you see a single figure: a Khajiit named Kesh the Clean. He is tending to his Alchemy Lab and a large golden cauldron by the shrine. Approach Kesh, and he inquires whether you’ve come to commune with Peryite the Taskmaster. You may find out more about this Daedric entity and ask whether you may speak to Peryite. Kesh says that he likes you, but for the commune to begin, incense is needed. He lists the ingredients necessary to mix the incense and gives you very general hints about where to find them.
Vampire Dust
You find Vampire Dust when you search the corpse of a vampire you’ve killed. Vampire Dust is also occasionally found in dungeons and is sold by merchants. Here are the easiest locations to look:
- Any alchemy shop in a town that has one, or Court Wizard Quarters in a Hold capital city
- If you have your own house, one of the Alchemy Lab upgrades comes with Vampire Dust
- Seek out a vampire lair, such as Shriekwind Bastion or Broken Fang Cave
- Vampire Dust
Deathbell Flower
Deathbell Flowers are found in the frozen Tundra in Hjaalmarch Hold, scattered about the landscape, and in some dungeons. They are also available from the odd apothecary. Here are the easiest locations to look:
- Anise’s Cabin, on the other side of the river close to Riverwood
- The vampire lair known as Bloodlet Throne
- Any alchemy shop, Fort Snowhawk, or Fort Amol
- Deathbell Flower
Silver Ingot
To get Silver Ingots, you either need to mine and smelt silver ore, or find it already refined. Silver Ingots are sometimes sold by vendors as well, and you can sometimes steal it. Here are the easiest locations to look:
- There are several Silver Ingots to steal in Dragonsreach (Whiterun).
- There are a few to steal from the vault inside the Treasury House in Markarth.
- If you don’t want to steal, try exploring the Forsaken Cave, just west of Windhelm.
- Head inside a silver mine (such as Fenn’s Gulch Mine in Karthwasten), mine a vein of silver ore, and use the smelter outside to turn the ore into ingots.
- Silver Ingot
Flawless Ruby
A flawless ruby can be found by mining, and it is sold by merchants in the bigger Hold Cities. Here are the easiest locations to look:
- The vampire lair known as Shriekwind Bastion.
- The throne room inside Korvanjund. Access this during the Civil War Quests; the ruby is in a bowl with a spell book on an upper ledge left of the throne.
- The Emperor’s ship the Katariah, which docks near Solitude. Access this during the last Dark Brotherhood Quest; the ruby is in a jewelry box at the foot of the Emperor’s bed.
- Otherwise, purchase it from any caravan or vendor in a large city.
- Flawless Ruby
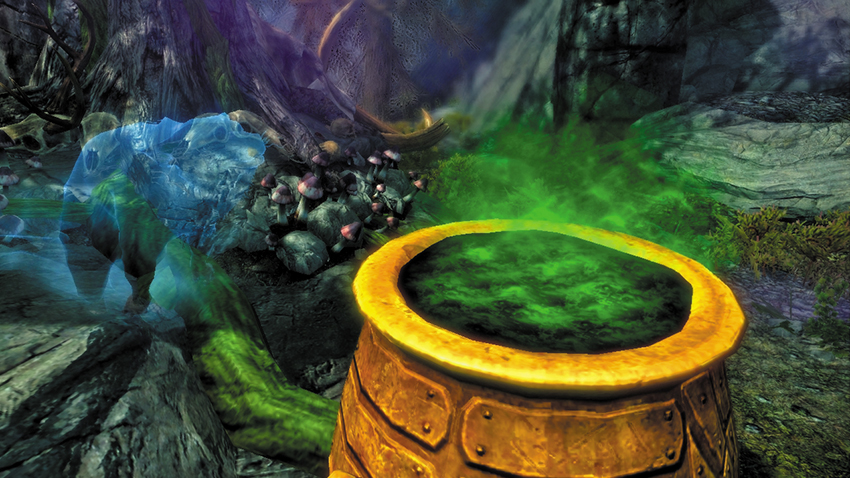
Kesh the Clean won’t entertain mixing up the incense until you have all four ingredients on your person. Only then should you return to the Shrine of Peryite. He takes the ingredients and deposits them into the golden cauldron, encouraging you to inhale the bubbling ichor deeply. Your vision clouds, and a purple mass forms in front of you. This aspect of Peryite speaks to you. He has watched you for some time, found you intriguing, and wondered whether you’d make a proper agent for a task.
When you ask about the task, Peryite tells you he sent a blessing, a wasting plague that infected a scattering of Breton villages. One of his monks, an elf named Orchendor, was tasked with gathering the Afflicted. He was last seen shepherding them into Bthardamz but has since lost his way. Betrayal cannot be tolerated; you are to find and kill Orchendor. You may ask the aspect of Peryite clarifying questions and receive an angry answer thanks to your impertinence. Ask what you’d gain, and Peryite says he will grant you a powerful token: a Dwemer shield.
Assault on the Afflicted
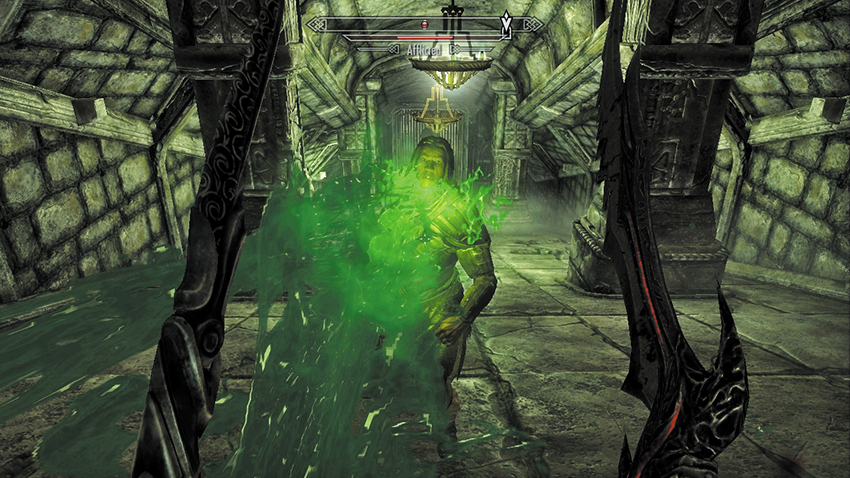
Bthardamz Exterior: Before you begin the trek to Bthardamz, optionally speak with Kesh the Clean again. He provides further information on Orchendor and the Dwarven ruins of a vast underground city, which you can actually see from this vantage point if you look due west. Then head down the mountain and climb the stone entrance steps to the pavilion domes that ushered in the Afflicted. Some still guard the area and will attack on sight. They are powerful warriors but have a weak constitution thanks to the pox Peryite infected them with. Work your way through the pavilion, and into the main entrance, complete with buttress domes on each side (you’ll use one to exit from this place).
For the moment, head down the steps with the blade trap slit down the middle. The first golden lever you see activates these blades. The second lever to the right of the doorway blocked by spears removes this obstacle, allowing you through into the Bthardamz Upper District.
Bthardamz Upper District: Head down the ramped passage and around the corner to the right (north). Either open the gate (Novice) or navigate around two sleeping areas with Afflicted to pulverize. Continue along the corridors past an open storage room and down another slope to a large piston chamber where the Afflicted have gathered to breathe in the vapors of a bubbling ichor. Defeat or sneak around them, and head west into the main Upper District courtyard.
Amid the pipes and stonework is a central platform with green ooze bubbling. Take out the enemies, head north, climb the stairs to the balcony, and activate the lever. Spear bars retract from the balcony opposite, allowing you to leave via a stone path. Open the gold door and enter a passage heading west that ends in a pipe room. Dwarven Spheres are activated here if you enter. Take the sloping corridor on your right (south) with the whirring blade trap. Journey down a cobblestone street to a carved stone arch opening. Slay the Afflicted guarding this door to Bthardamz Workshop.
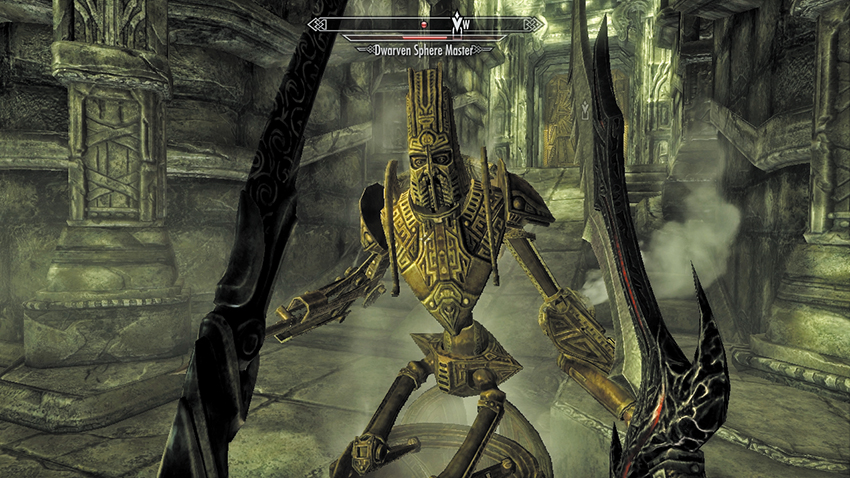
Bthardamz Workshop and Upper District (2): Move around the pipes, checking the gate on your right and left (north and south) to reach sleeping quarters. The second bedroom has a note revealing the exact location of Orchendor; he is inside the Bthardamz Arcanex. Continue along the green-tinged corridors to a stairwell where you fight your first Dwarven Spiders. The staircase allows you to enter the Upper District; gaze across the small maze of stonework and open a small chest. You can drop down from here (to the southeast, or you’ll have to retrace your steps), or you can to return to the Workshop and head south into a steam pipe room with Afflicted and a second entrance back into the Upper District. Back in the Upper District, head southeast toward a series of stone steps. Climb them to the top. Along the way, there’s a balcony you can check, as well as a separate Bthardamz Dwelling to scavenge. The stairs continue around to the southwest. Go up stone ramps offering a spectacular view back down and a corridor ending at a door to Bthardamz Lower District.
- Afflicted’s Note
Bthardamz Lower District: Now in the Lower District, tread through the echoing gloom, past a gate (with a chest behind it), and through a gold door and Dwarven Spider attack. In a large, ruined coliseum is a central plinth on which rests a chest. The lever on the balcony activates a blade trap on the plinth. Battle the Afflicted here. The exit to the east leads to the main Lower District. Cross the curved courtyard, go through the open gate, and cross the two stone platforms that span a winding subterranean stream. Afflicted are active here.
Head through another open gate. Battle two Dwarven Spheres and a mass of Afflicted just after the arch with the lever on it. The lever drops a nasty spike just behind you; use it to skewer foes or stop them from following you. But it is better to sneak past or kill everyone. There are two sets of steps here. The ones to your left (north) lead to a circular platform; water pours from (currently inaccessible) upper walkways. The other staircase at the District’s east end leads past Dwarven Spiders and into the Bthardamz Study.
Bthardamz Study: Through the gate to the east is a small study area. To your south is a golden door. Head through and go up the stairs (without setting off the pressure plate and activating the blade trap). Enter through a gate and into the Lower District once again.
Bthardamz Lower District (2): You’re now on the upper walkways you could only see earlier. Head down the rooftop stone ramp. To your right (east) is a gate and a chest. To your left (west) is a large covered L-shaped walkway with a turret balcony in the middle. Expect combat with at least six Afflicted here, and watch your step; don’t head off the platforms to a crushing fall below! Move through the second walkway heading south, and exit into the Bthardamz Arcanex.
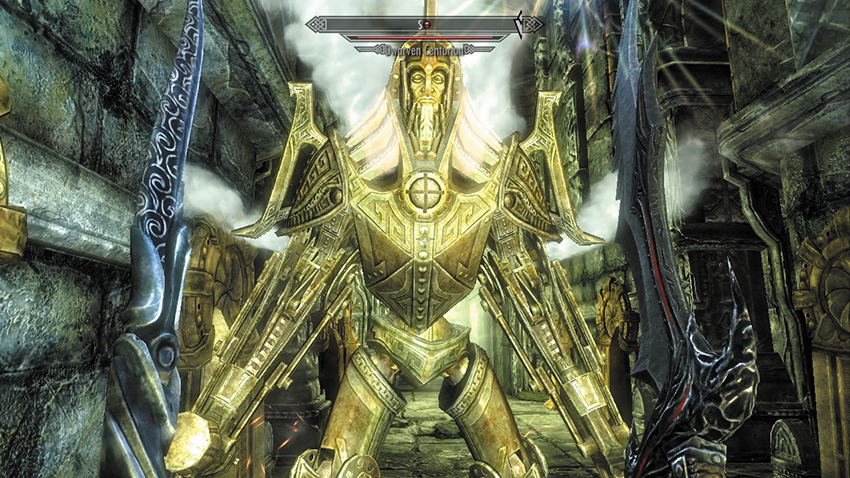
Bthardamz Arcanex: This is essentially a large watery grotto with Dwarven towers and platforms built inside it. Head along the platforms, preparing for combat with Dwarven Spheres. Climb the spiraling stone path to the upper corridor, at the end of which a Dwarven Centurion roars into life. You can try sprinting around him or backing up and tackling him from range. If you flee forward, you also meet Dwarven Spiders that can overwhelm you. Fight carefully, retreating if the Centurion becomes too much of a threat.
Once you flee from the mechanical foes or defeat them, climb the stairs beyond the Centurion and reach the upper balcony area. There are six more Dwarven Spiders to defeat before you sprint past a clanking pipe corridor that opens into a pipe-laden Arcanex chamber with two Dwarven Spheres. Defeat them before heading through the gap in the north wall to the rear of the Arcanex chamber, where you have a final confrontation with Orchendor.
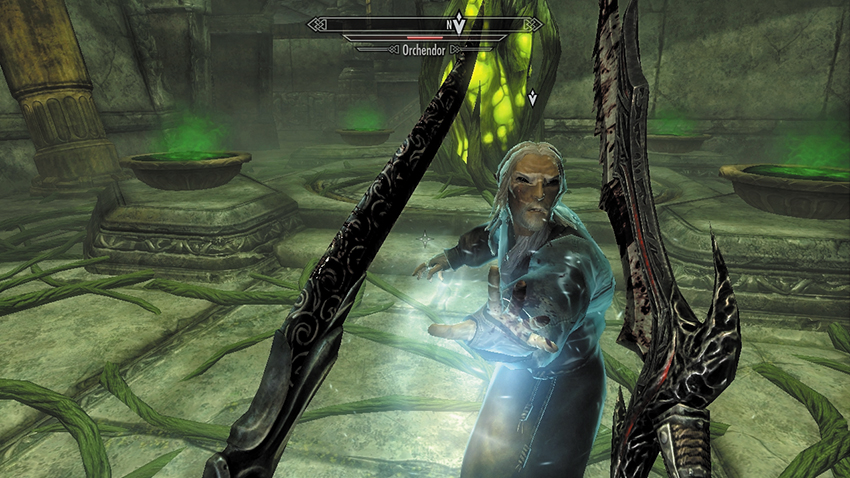
Orchendor is in no mood to talk and attacks immediately. Use the scenery to your advantage. Use the gap in the wall or the stairs behind him to hide or fire from if necessary. Watch for his teleportation and for any Dwarven foes you haven’t killed, as they tend to follow you into this combat. After you dispatch Orchendor, search him. Among his trinkets is a key allowing you to exit this place without having to retrace your steps.
- Key to Bthardamz Elevator
Quest Conclusion
Head up the stairs at the Arcanex chamber’s north end, using the key to reach the Bthardamz Elevator and activating the lever. Ride the elevator up to the exterior entrance. Run along the stone walkways and down to the pavilion to escape this Dwarven maze for good. Fast-Travel at any point or trek east, back to the shrine. Commune with Peryite by inhaling at the cauldron again. Peryite congratulates you, as your actions have sent Orchendor to roam the Pits; his betrayal will be punished and your obedience rewarded.
- Spellbreaker
Postquest Activities
Spellbreaker is as impressive as it is unique. It generates a Ward when you’re blocking, making it very useful when you’re fighting against magical enemies. Also beware of (random) retribution: There’s a chance World Encounter: The Afflicted versus You* will occur, and you’ll face Afflicted wishing you harm after your massacre here.