
Elder Scrolls V: Skyrim Special Edition Guide Quests Thieves Guild Quests
Thieves Guild Quests: Blindsighted
Blindsighted
Infiltration of Irkngthand
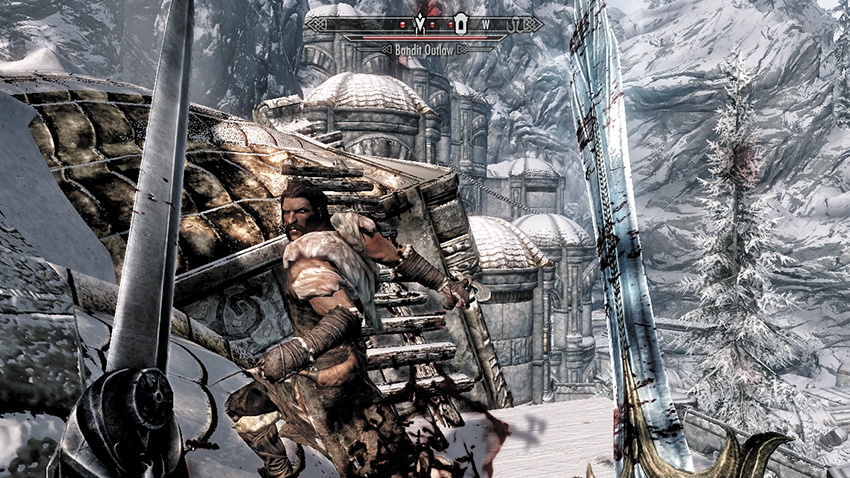
This quest begins with the first objective already under way. Head to Irkngthand, in the mountains above Lake Yorgrim. The exterior is a sprawling jumble of fallen dwarven ruins, a sealed gate, and a complement of bandits you must sneak past or slay. Ignore the gate with the bars and instead head right (west), under the fallen columns, and to the stone steps near some bear traps. Step onto the upper ledge next to the dwarven exterior, and head southeast. Follow the ledge to a corridor in the right wall, watching for the spear trap as you exit. Find the rickety wooden steps and follow this precarious path across the domed rooftops and over two wood bridges to the upper entrance of the main structure, Irkngthand Arcanex. Another option is to locate a lever along the path that drops the gate, allowing an easier access in and out.
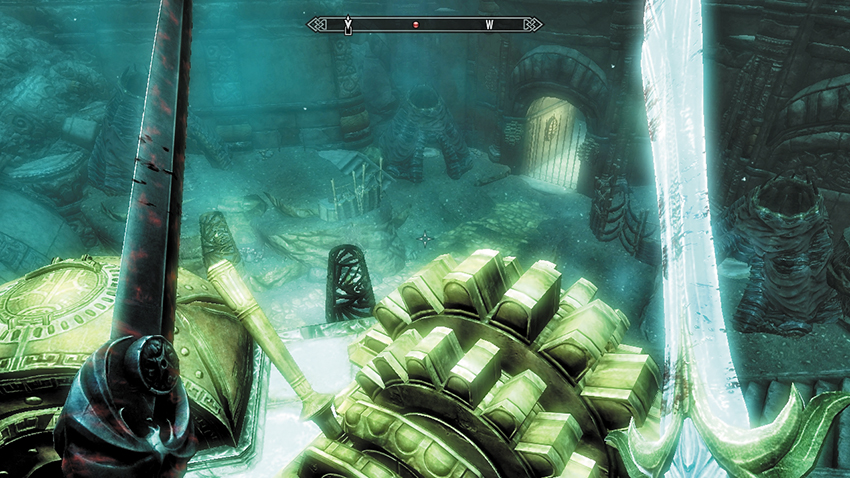
Step into the golden gloom. Pass the bloodstained camp, moving southwest into a ceremonial pool chamber with more strewn dwarven machinery. A sphere springs to life here. Head into a chamber of faint green mist, and quickly avoid the numerous fire pillars, following the path among the rubble to the southeast gate. Once through the gate, locate the Dwarven Elevator and ride it down to the Grand Cavern. You meet Karliah and Brynjolf down the steps. Mention the bandits Mercer slew, and commence your hunt for Mercer Frey.
Moving around to the large balcony overlooking the last chamber in this area, Karliah spots Mercer Frey skulking close to the exit. You can’t directly access this lower stepped chamber, so head through the door and along the winding corridors to a giant chamber of dwarven ruins. Cut down the Falmer that inhabit these parts before moving west along the ledge. There’s a locked (Master) cage where an ancient ballista can be fired on foes down below. Head to a ledge with a lever. There is a second lever on the room’s opposite side. Brynjolf mentions that these levers hold the key to your progress:
Puzzle Solution: Both the levers must be pulled to lower the bars that block your passage. Each lever is on either side of the raised area. If you aren’t quick enough, the levers reset, so remove the enemy threats first. Then pull the lever farthest from the exit, and quickly rush to the opposite side and pull the other. This gives you the most amount of time to reach the exit. Both lamps by the door should be lit for you to proceed.
Now descend to the earthen floor, fighting Falmer and Dwarven Spheres, and head through the exit you created.
The subsequent chamber is in an even more dilapidated state. Climb atop the rubble and rooftops, fighting Falmer as you go. Head west to the stone ramps and up to the gold door. Beyond is a small study area and a gate to the southeast. Although Mercer has already ransacked this area, he neglected to grab a couple of Detect Life Scrolls strewn in this room; grab them, as they are useful later during your battle with him.
- Scroll: Detect Life (3)
Enter the gate, and your route opens up into a massive grand cavern. This is actually the location you saw from the balcony, which is in this chamber. Now you can battle through the Falmer to the opposite side, optionally challenging a Dwarven Centurion to fight if you wish or jumping off the small bridge and pressing the button on the console to release the Centurion on the hapless Falmer. Climb the stone ramp and run across the ledge to reach the upper Falmer camp. Exit into the Irkngthand Slave Pens.
Brynjolf notices the stench in these parts; you’re going to be encountering several Falmer and their nasty pets, the Chaurus. First, though, destroy a Dwarven Spider or two, pass a locked gate (Apprentice), and head down the steps into a Dwarven Torture Chamber with bone chimes that alert the Falmer of your movements. If you sneak up on them, you can use the lever on the overlook to unleash a dwarven thresher trap on the Falmer below.
Journey down the corridor, turning right (south) into a Falmer camp. Slaughter (or sneak) your way east and south, opening the Chaurus pens to reach a chamber of pipes. Take the low road or high ledge to the drop-down at the eastern end, which leads to your ultimate destination: the Irkngthand Sanctuary. Or you can sneak across the dwarven pipes that run along the ceiling in one area, allowing you to cross most of this large expanse undetected.
No Mercy: Into the Frey!
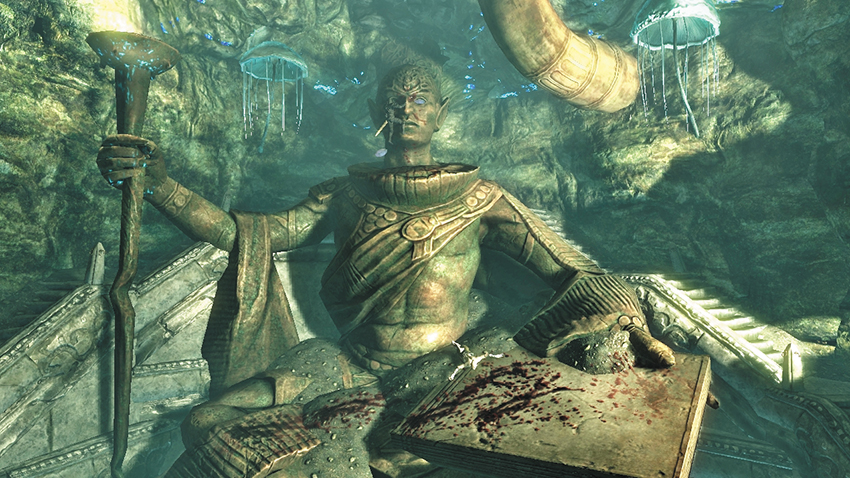
A giant Falmer statue greets you from the opposite side of this huge Sanctuary chamber. Mercer has set about defiling it already, and Falmer blood has been spilled. Although Karliah and Brynjolf attempt silence, Mercer Frey finishes prying out the statue’s massive eyes, notices you all, and casts a shock-wave-type spell that disrupts and destabilizes the massive chamber. The pipes in the ceiling burst, and water floods the chamber to about ankle depth. There’s an immediate rumbling as you tumble down from the ledge, which splits apart, leaving your brethren stranded. You must face Mercer Frey alone! He speaks to you from your fallen position. You can speak to Frey about Nocturnal and the key, but there’s only one way this ends: with one of you at the end of a blade!
Mercer is a vicious swordsman. He is nimble and dextrous and can turn himself invisible. Even before you fight him, he uses one of his stolen Nightingale powers to Frenzy Brynjolf, who turns on Karliah, effectively keeping them from helping you in this battle. This causes no end of problems, especially as the chamber you’re on is getting wetter and is very steep. There are steps around the statue, and you can cross the statue’s lap.
Mercer Frey may be invisible for most of the fight, but keep an eye on the water, as it will ripple when Mercer runs through it.
If you grabbed the Detect Life Scrolls or have a spell of the same name, now would be an exceptionally good time to use it!
Strike Mercer with your Nightingale Blade. This drains him and leaves a shimmering trail from him, even when he’s invisible. Use that to your advantage. Keep moving so he can’t sneak up on you, and keep your back to a wall so he can’t hit you from behind.
Mercer’s form is shimmering and isn’t completely invisible; strike out quickly when you see this shape. If you’re attacking at melee range, remember you can still block and then counterattack immediately. This helps when fighting blind. Spells with ongoing effects also help, such as Flames, which coat Mercer in fire, allowing you to see him more clearly.
After the shadows take him, search Mercer Frey quickly. Among his belongings, you can claim the two Eyes of the Falmer and the Skeleton Key Karliah spoke of. Now is the time to make good your escape!
- Eye of the Falmer (2)
- Skeleton Key
The statue chamber becomes increasingly unstable, with torrents of water cascading down from an increasing number of holes in the ceiling. Karliah yells that there must be a way out, and yet the water still rises. Stay calm, and after snagging your final Larceny Target, turn and face the chamber’s southeastern side, just above the head of the Falmer Statue. Right before the cavern completely fills with water, a cluster of rocks dislodge, revealing a tunnel opening—but only if you have the power of the Skeleton Key, so be sure to grab it off Mercer’s corpse. Don’t waste any more time; scramble up into the tunnel and escape!
Quest Conclusion
You emerge into the Bronze Water Cave, on the shore of Lake Yorgrim. Brynjolf has matters to attend to, but Karliah speaks with you for a few moments, realizing her 25-year exile is over and presenting you with a token of her esteem. Now it is time to return the Skeleton Key to its rightful place, by traversing the Pilgrim’s Path in the Twilight Sepulcher. This is a journey you’ll be taking alone.
- Nightingale Bow
Postquest Activities
This is a leveled bow that deals Frost and Shock damage and slows the target slightly. Thieves Guild Quests: Darkness Returns begins now!