
Elder Scrolls V: Skyrim Special Edition Guide Dawnguard Quests Dawnguard Main Quest
Dawnguard Main Quest: Kindred Judgment
Kindred Judgment
Auriel’s Light Shines
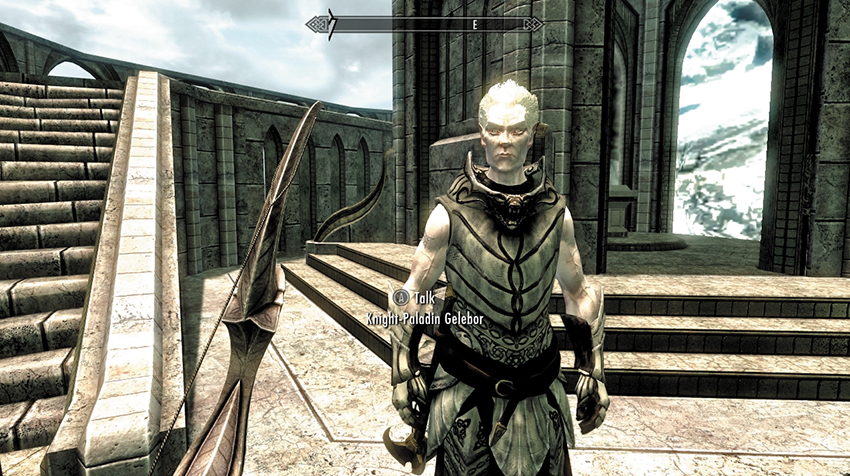
After your talk with Gelebor, turn and speak with Serana. She tells you that it’s time to face her father.
After what her mother told her, Serana realizes she can’t trust her father. His death is the only option. You can proceed to Castle Volkihar at your earliest convenience.
Bringing the fight to Harkon is easier than letting him relentlessly stalk you both, but you will need allies in order to assault the castle. Serana suggests you head back to Isran and let him view the prize you’ve attained. He’s likely to lend a sword or two to the cause.
Fast-Travel away from the temple balcony. Your next destination depends on your alliance.
Dawnguard: A New Dawn Rises
Travel back to Fort Dawnguard. Here, Isran is uncharacteristically incredulous, marveling at the beauty of Auriel’s Bow. After one final nod toward the trustworthiness of Serana, Isran agrees to address the Dawnguard; his men deserve to know they’ve gained the upper hand. Wait a few moments for the Dawnguard to assemble (including the friends you may have made completing the Faction Quests), and listen to Isran as he rouses his forces. The time has come to march on the lair of these wretched abominations and wipe them out once and for all! Isran promises to meet you outside Castle Volkihar.
Twilight Over Castle Volkihar
Whenever you are ready, travel to Castle Volkihar.
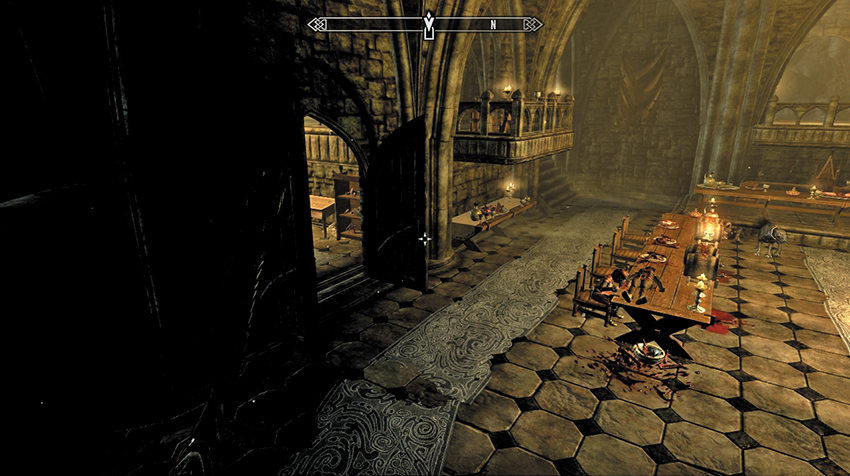
If you’re allied with the vampires, simply head inside the castle as you have countless times before, passing your brethren in the banqueting hall. Take the stairs to the left (northwest), activating the pull chain and opening the double doors to Volkihar Cathedral. Harkon is there, in Vampire Lord form, waiting for you.
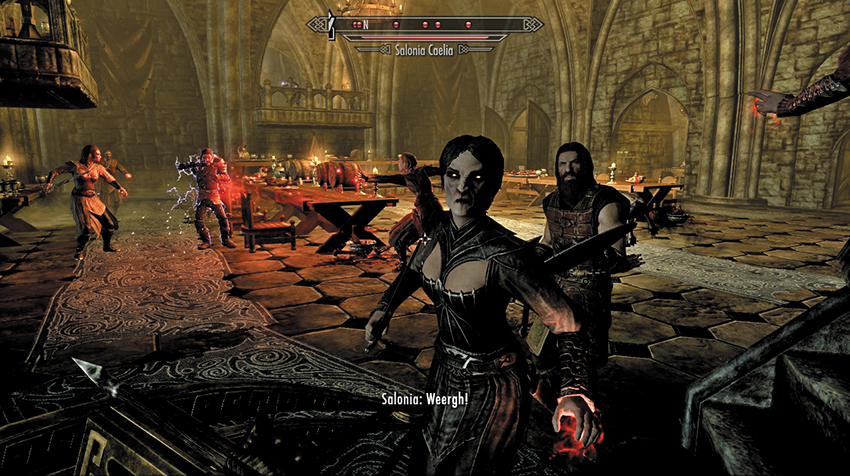
If you’re allied with the Dawnguard, when you arrive at the jetty and watchtower, a full complement of Dawnguard troops, including your friends and Armored Trolls, are readying their weapons under the command of Isran. Assault the vampires charging across the bridge, with their hated Death Hounds and gargoyles. Fight your way up to the main door, then into the keep. You may elect to lead the charge or provide supporting fire for the more melee-focused members of the Dawnguard. In any case, the combat is likely to be confusing and hectic, but it is worth spending the time to systematically slaughter every vampire you see across the feasting hall and any that retreat into the side chambers. When the Dawnguard have the upper hand, pass your friends in the banqueting hall and climb the stairs to the northwest, activating the pull chain to reach the double doors leading to Volkihar Cathedral. Harkon is there, in Vampire Lord form, waiting for you.
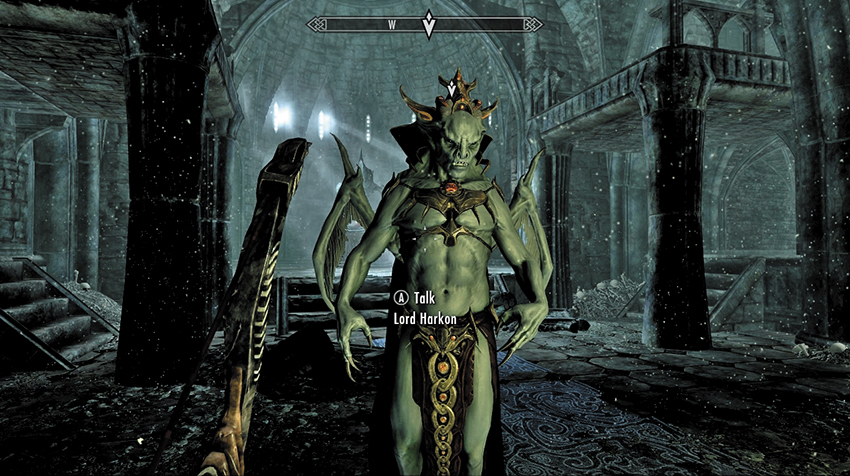
You can attack Harkon immediately, if you wish. Otherwise, you must listen to a barrage of offensive comments about your relationship with Serana. She stands her ground, estranging herself once and for all. Harkon now turns his attention to you, challenging your intentions. After further belittling, Harkon offers you a chance: a single opportunity to hand over Auriel’s Bow to him. You can:
- Refuse, beginning combat.
- Or agree, giving over Auriel’s Bow. He attacks you anyway, but you are now deprived of the power of Auriel’s Bow.
Your confrontation with Harkon begins now!
Harkon’s Lament
Lord Harkon is a formidable opponent, regardless of how experienced you are. He’s fast, evasive, powerful, and almost all of his attacks drain your Health and restore his own. Below are the best methods of defeating him.
Initial Preparations
Before returning to Castle Volkihar, make sure to do the following:
- Stock up! Unless you plan on fighting Harkon as a Werewolf or Vampire Lord, you should bring with you a sizable number of Health, Magicka, and Stamina potions, as needed.
- Choose weapons or spells that take advantage of Harkon’s weaknesses. The Dawnguard’s weapons, especially the Runic ones (from Dawnguard Faction Quest: Lost Relic) work well against him. Spells that do fire damage or that damage undead also work well against him. However, note that spells that normally turn or repel undead will not cause Harkon to flee.
- Speak to Knight-Paladin Gelebor and have him make you some Sunhallowed Arrows before leaving the Forgotten Vale. These inflict extra damage on Harkon when they break his Shadow Shield.
Before the Battle
The following tactics work well just after entering Volkihar Cathedral:
- Listen to the poignant scene between father and daughter. But you should also take advantage of Harkon’s static position by striking him with your best shot. You’ll increase your chances considerably by starting the fight with a Fire Storm or a Sneak attack at point-blank range before Harkon can retaliate.
- This should be painfully obvious, but...don’t hand over Auriel’s Bow to Harkon. You may not live to regret it.
General Battle Tactics
As a Vampire Lord, Harkon has several powerful attacks and strategies:
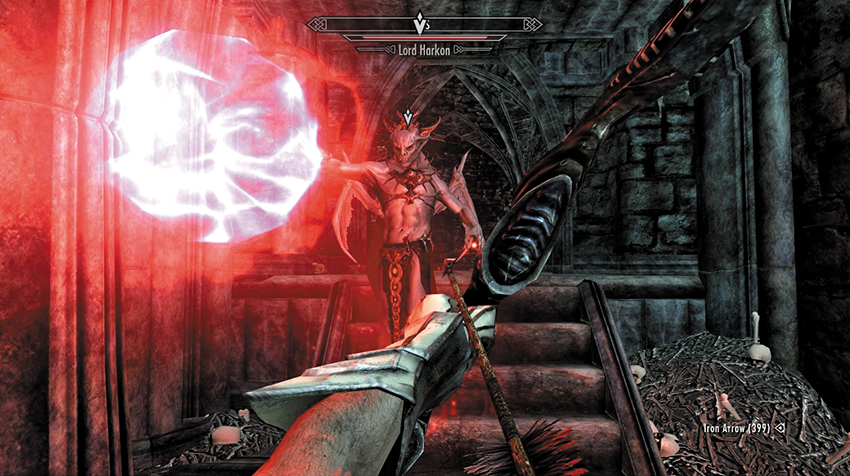
- He uses Drain Life to suck the health from you, increasing his health in the process (picture 1).
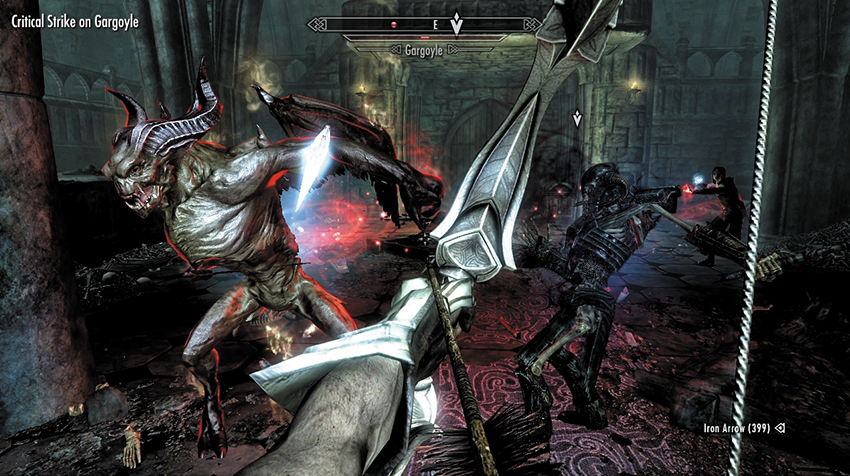
- He uses Raise Dead to summon skeletons from the bone piles around the room, and he can raise them a second time to continue their assault (picture 2). Periodically, gargoyles will also break from their stone shrouds to attack. Deal with them first.
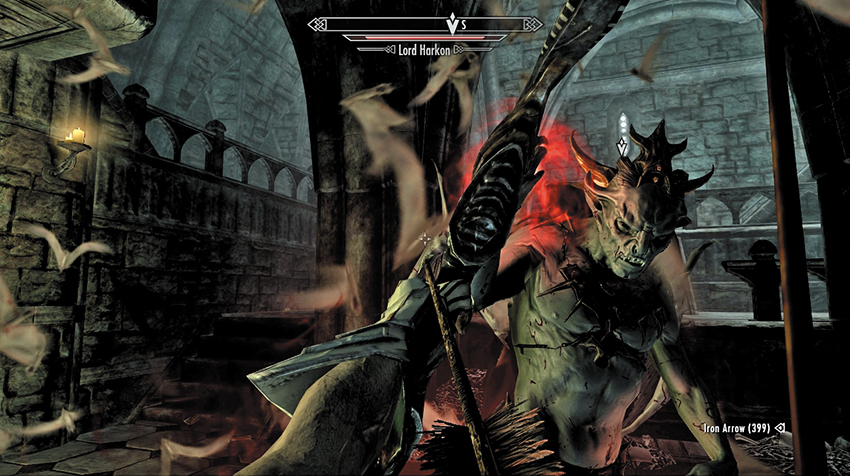
- He tends to glide rapidly across the room, making him difficult to hit (picture 3).
- He uses the power of bats to teleport short distances. This allows him to evade your attacks and prevents him from becoming pinned down. It also dispels any long-duration effects (like burning or slow) you may have inflicted on him. He typically employs this after absorbing too much punishment (usually in a short period of time) or after time passes.
- Although you may not think it, Harkon doesn’t have all that much health. However, he has several ways to regenerate and evade your attacks. Use his lack of health to your advantage by striking him with single, powerful attacks instead of with many less-effective swipes, as the latter just causes him to turn into bat form and flee.
- Harkon prefers his “Magic” (rather than “Melee”) Vampire Lord form, floating quickly around the tiered room. Don’t waste valuable arrows or projectile spells when he’s shifting about, as you’re likely to miss. Save them instead for when Harkon comes to a stop. When this happens, however briefly, unload with as many strikes as you can muster.
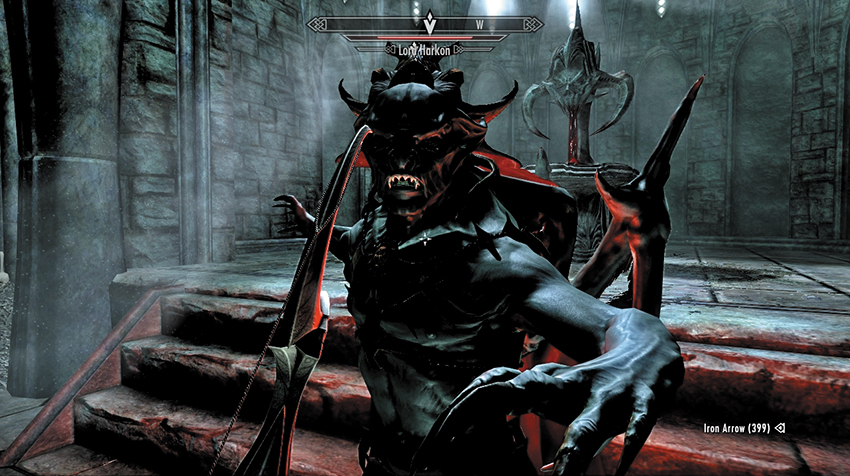
- Occasionally, Harkon shifts to his melee stance and attacks with his claws (picture 4). This is your best opportunity to attack, especially with your own melee weapons.
- Has Harkon disappeared? Then he is attempting to regenerate his health in Mistform (although this doesn’t occur as rapidly as it does when you’re in Vampire Lord form and use this technique). Quickly dispatch any surviving minions to force him back into combat.
Serana is also a force to be reckoned with. And if Harkon or one of his skeleton or gargoyle minions are concentrating their attacks on her, allowing you some easier strikes, then so much the better.
Combating Harkon’s Shadow Shield
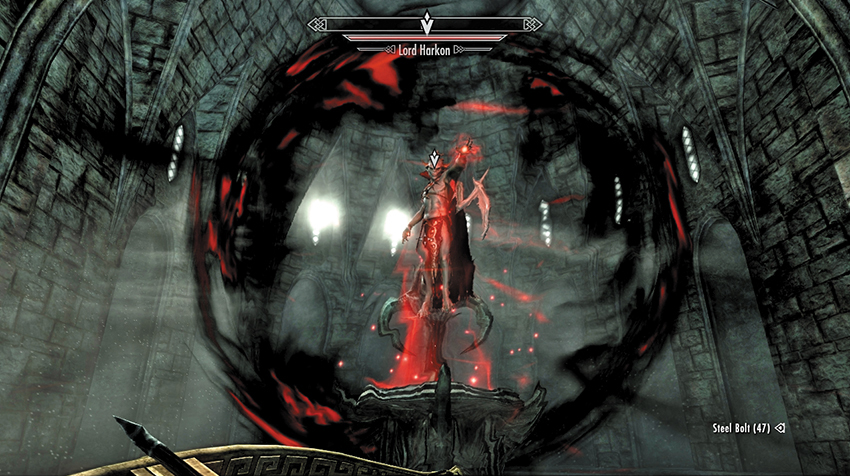
When Harkon takes damage, he retreats to his blood shrine and casts Shadow Shield (picture 5). When this occurs, use Auriel’s Bow and fire an arrow (of any kind) to immediately bring the shield down. Harkon draws energy from the shrine to replenish his health while the shield is up, so removing it is vital for gaining the upper hand and reducing Harkon’s power and the length of the battle.
The one time when you might consider leaving Harkon behind his Shadow Shield is when the gargoyles are attacking, as they can be formidable to face on their own. You have two (or three at higher levels) gargoyles to face, so remove all but the last one, break the shield, and face the final gargoyle. Then turn your attention back to Harkon.
When firing Auriel’s Bow at the Shadow Shield, employ Sunhallowed Arrows if you have any, as they inflict extra damage to Harkon.
Are you all out of arrows? Then rush the shrine and bash the Shadow Shield with Auriel’s Bow; this also dissipates it. This isn’t an elegant solution, but it’s effective.
Did you give Auriel’s Bow to Harkon? Then you deserve every extra attack inflicted upon you! Expect a lengthy combat, as you have no way to force Harkon from his Shadow Shield. The battle is not impossible, though: Harkon will use Shadow Shield only three times. After the third casting, you can defeat him.
Getting Hairy: Werewolf Form
Fighting Harkon as a werewolf is a challenge. Your speed and high-damage attacks work well against him, but his spells sap your health quickly, and you have few (or no) opportunities to feed. You also can’t use Auriel’s Bow to break his shield.
As much as possible, avoid Harkon while he’s in Magic form to conserve your strength, or let Serana act as a distraction. Match him claw-for-claw in Melee form.
If you have the Savage Feeding perk, the gargoyles that emerge midway through the battle are your only feeding opportunity. Dig in quickly, before Harkon or Serana resurrect them.
Harkon’s Mistake: Vampire Lord Form
As a Vampire Lord, you can match Harkon spell for spell and attack for attack. Your abilities may differ in some cases—he has Shadow Shield and a more versatile Bats power, while you have the benefits conferred by your perks and quest items (such as the Amulets of Night power from the Faction Quest). But without the use of Auriel’s Bow, you’re in for a long, drawn-out fight.
Depending on your aim, you may find it easier to match your Melee form against his Magic form (he’s hard to hit with Drain Life while on the move), and your Magic form against his Melee (he’s easy to hit while he’s running right at you).
Summoned gargoyles and resurrected minions are effective decoys, but remember that Harkon can drain their health as well. Use them judiciously, or they may end up just prolonging the battle.
The epic struggle continues until Lord Harkon’s health is sapped, his crushing verbal abuse snuffed out, and his vampire form tears itself apart. Shrieking his final words to his daughter, his bones collapse in a pool of ash and gore at the foot of his blood shrine. Sift through his remains to secure Harkon’s Sword—and Auriel’s Bow if you were foolish enough to give to him.
- Harkon’s Sword
Quest Conclusion
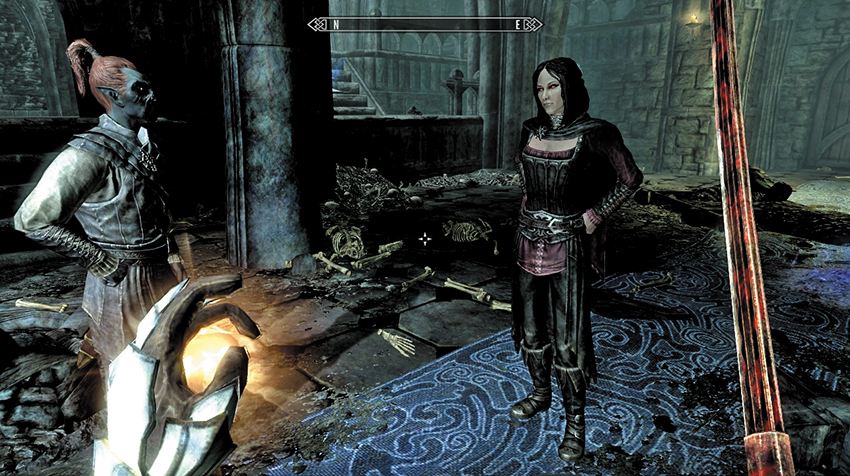
Once you’ve picked through the pool of blood and offal, Garan Marethi walks forth into the cathedral, offering his sympathies to Serana. Then he turns your way, congratulating you on being the superior vampire.
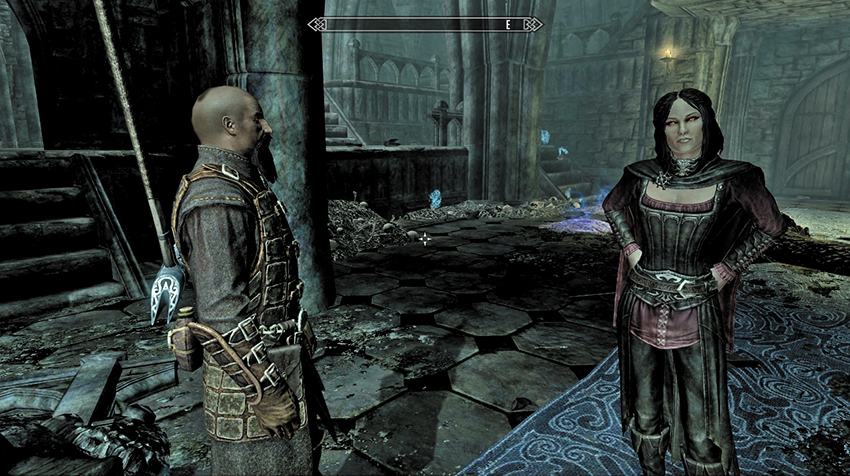
Once you’ve sorted through the heap of bones and blood, Isran walks into the cathedral and finally realizes his debt to Serana. Then he turns to you, vowing that the prophecy of Auriel’s Bow will never come to pass.
Postquest Activities
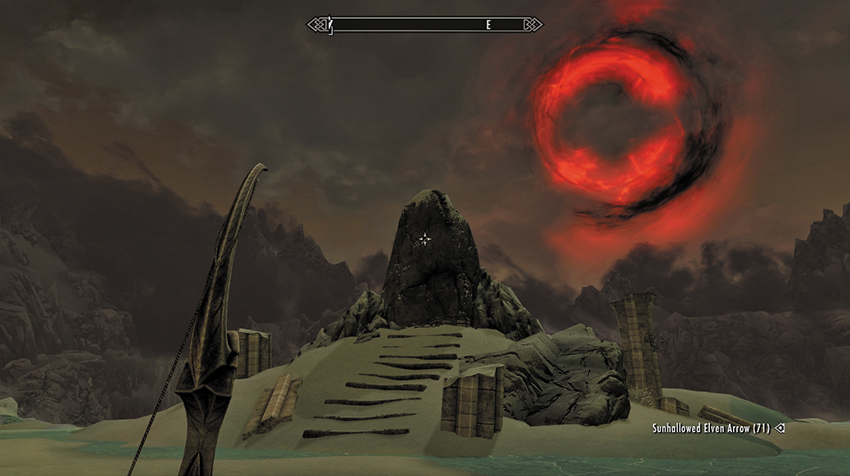
You may now continue adventuring, with or without Serana (who stays at the castle). As the new master of the vampires, you may continue their Faction Quests. And now, when adventuring during daylight hours, your Bloodcursed Arrows can turn the lands into perpetual darkness (as shown, although you can use Sunhallowed Arrows too). May your reign of terror last for the ages!
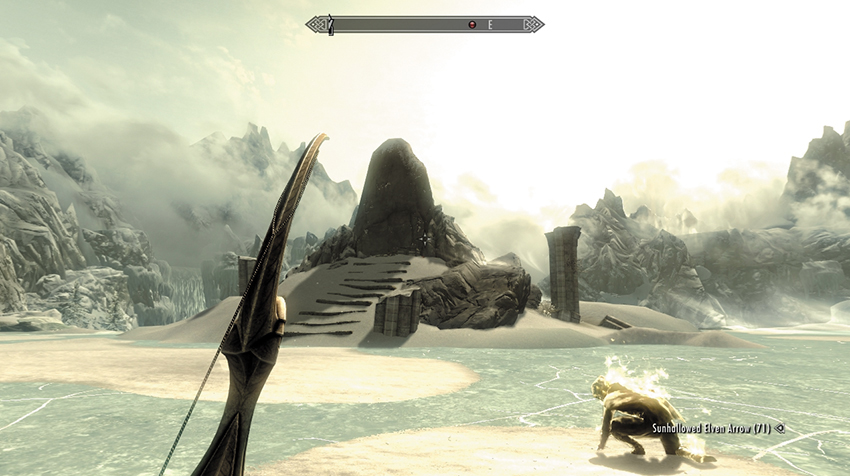
You may now continue adventuring, with or without Serana (who stays at Fort Dawnguard). As the hero of the Dawnguard, you may continue their Faction Quests. And now, when adventuring during daylight hours, your Sunhallowed Arrows can call down a powerful volley of sunfire, turning enemies into immolated husks (as shown, although you can use Bloodcursed Arrows as well)! May tales of your valor be told through the lands!
You may now continue adventuring, with or without Serana (who stays at Fort Dawnguard). As the hero of the Dawnguard, you may continue their Faction Quests. And now, when adventuring during daylight hours, your Sunhallowed Arrows can call down a powerful volley of sunfire, turning enemies into immolated husks (as shown, although you can use Bloodcursed Arrows as well)! May tales of your valor be told through the lands!