
Elder Scrolls V: Skyrim Special Edition Guide Dragonborn Quests Solstheim Side Quests
Solstheim Side Quests: Lost Legacy
Lost Legacy
A Sacrifice Will Bring You Closer to That Which You Seek
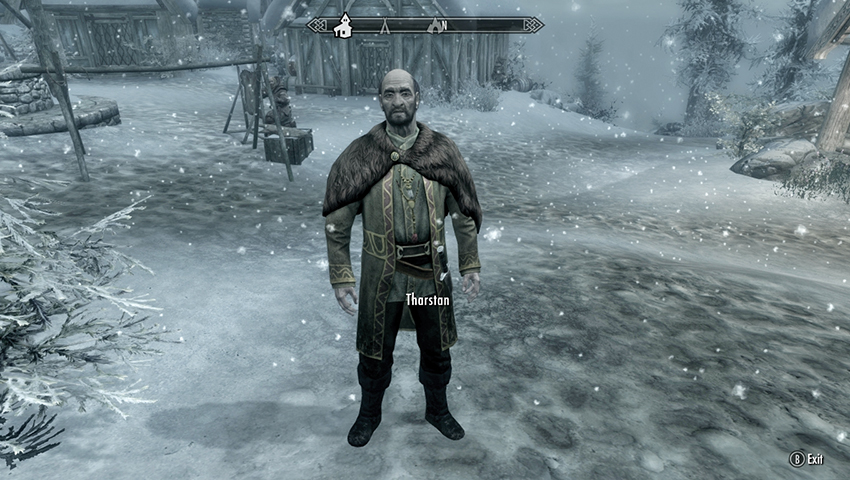
A historian named Tharstan stops to speak with you, noting your bravery when you looked for Baldor. It is this very courage he seeks in a partner to aid his forays into the many ancient ruins that cover the island. Tharstan has recently discovered a new passage, opened by an earthquake after one of Red Mountain’s eruptions. But the place may be dangerous, so he’ll pay you to watch his back down there. The quest starts and continues when you decide to meet Tharstan at the ruins. Before then, you can question him about his background and his studies.
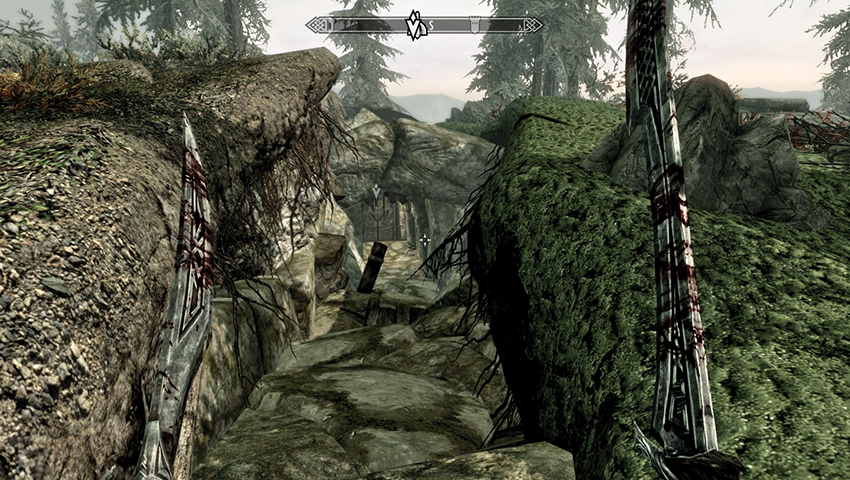
Vahlok’s Tomb is southeast of Thirsk Mead Hall and is reasonably difficult to spot; it’s a crack in the earth that’s wide enough to slip into and reach a previously hidden door to Vahlok’s Tomb. Open it, and head down the initial (south) tunnel to reach your new historian friend.
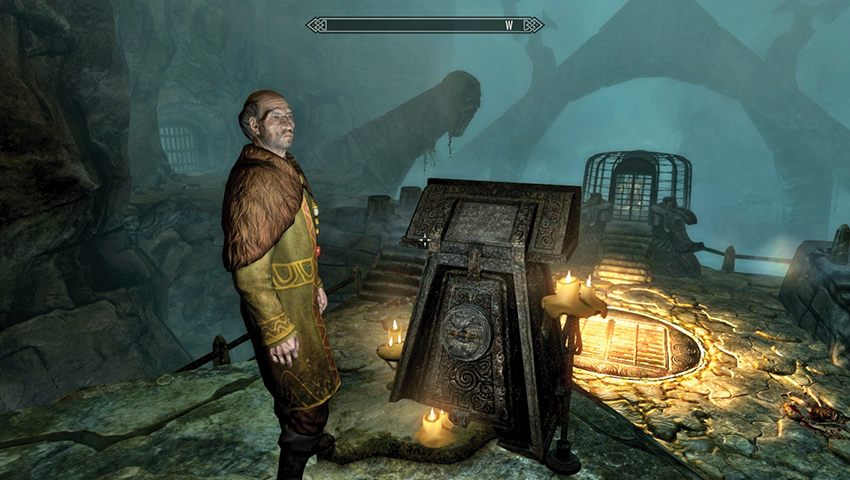
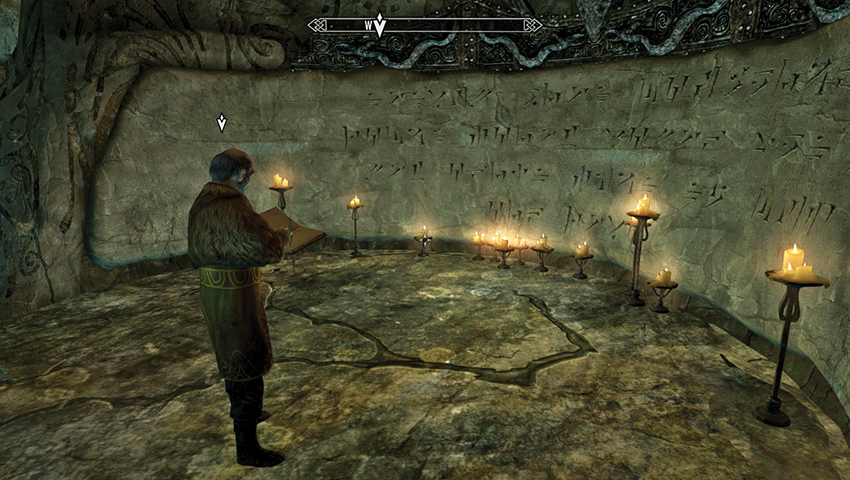
Tharstan is positively giddy about this newly uncovered crypt, and he’s already had a look around. Up until your arrival, the only area of interest is an inscription and a switch in the grand main chamber. Move to the pedestal (pictured), where Tharstan reads off a cryptic riddle written in the dragon language. It translates as, “A sacrifice will bring you closer to that which you seek.” Curious.
Tharstan descends to a glowing grate on the lower stone plateau, telling you to watch your step, as there are corpses strewn about the floor here. Tharstan wonders whether the fire beneath the grating has something to do with the inscription. Indeed it does:
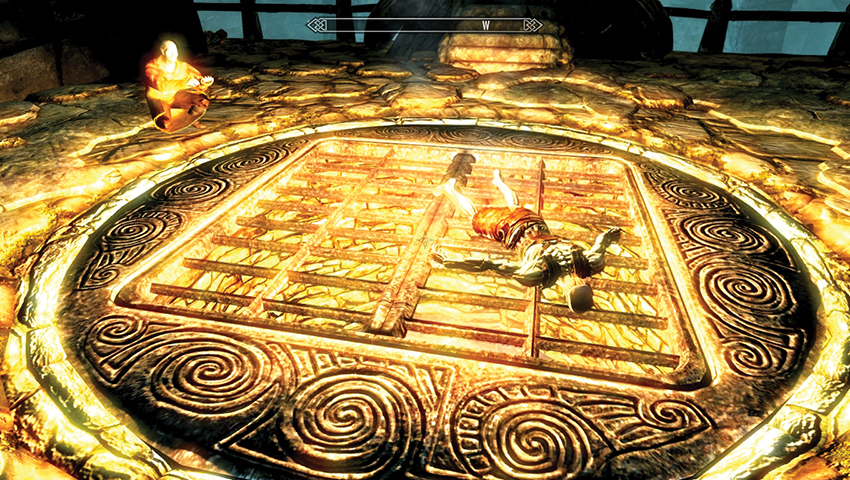
Puzzle Solution: Locate one of the dead Draugr and pick it up (press and hold down the appropriate button or key), and drag it onto the glowing grating. Then move to the pedestal with the inscription and pull the switch. The grating opens, and the corpse tumbles into the fire below. Well done! Ceremonial torches flicker into life on either side of the stone plateau, and portcullises to the left (south) and right (north) open. You’re able to head in either direction. Which way you go is up to you. Head left or right; you must solve puzzles on either side eventually.
All Men Must Die, Often by Their Own Means
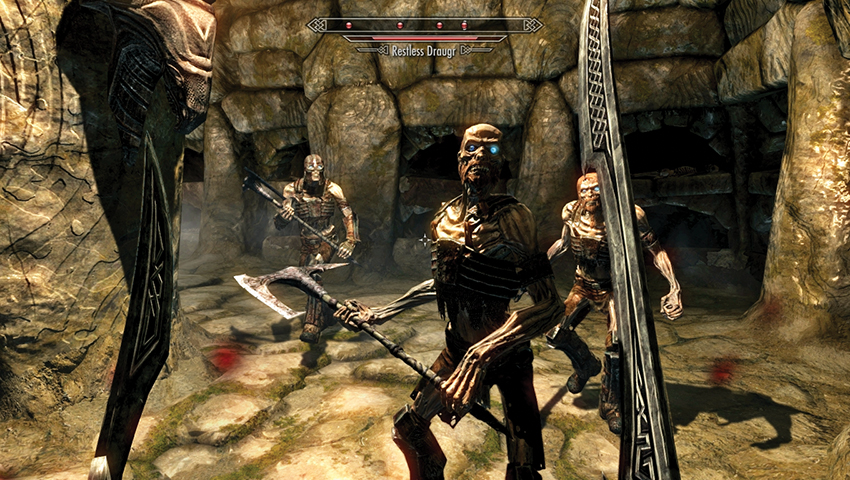
Head up the steps, passing the torches and under the open portcullis into a tunnel heading south. Turn left (east), opening the iron door and moving down into a Draugr crypt. As expected, you have company. Tharstan is a historian, not a fighter, so tackle the four or five Draugr by yourself; then climb the steps to the east, encountering one or two more Draugr before reaching a pull chain and barred archway. Pull the chain and enter a rather puzzling chamber.
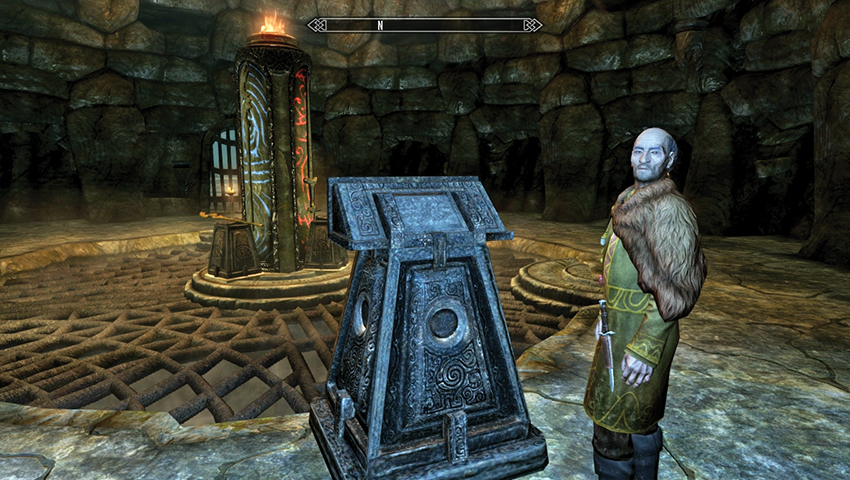
The exit arch opposite is currently sealed with a portcullis. Inside the chamber are three pillars around a central cylinder with odd, colored runes that glow with unnatural light. Tharstan inspects the pedestal plaque: “All men must die, often by their own means.” Sounds rather grim to him.
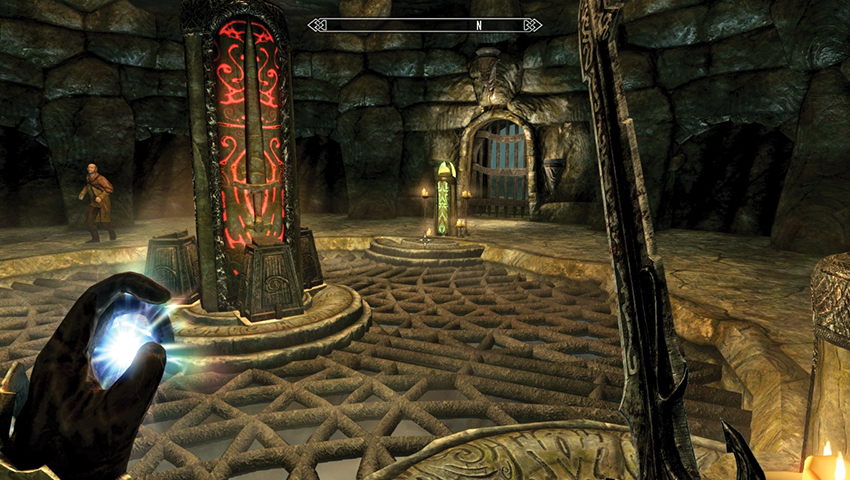
Puzzle Solution: The central pillar has three sides, all differently colored and each with a different weapon resting on or nearby their own pedestal:
- There is a green side with an Ancient Nord Bow.
- There is a blue side with a Staff of Flames.
- There is a red side with an Ancient Nord Sword.
The three smaller pillars have “impact stones” encased into them. These activate (glowing and changing color to match the part of the central pillar opposite) when a particular weapon is used to strike any part of the smaller pillar. However, the type of weapon is important:
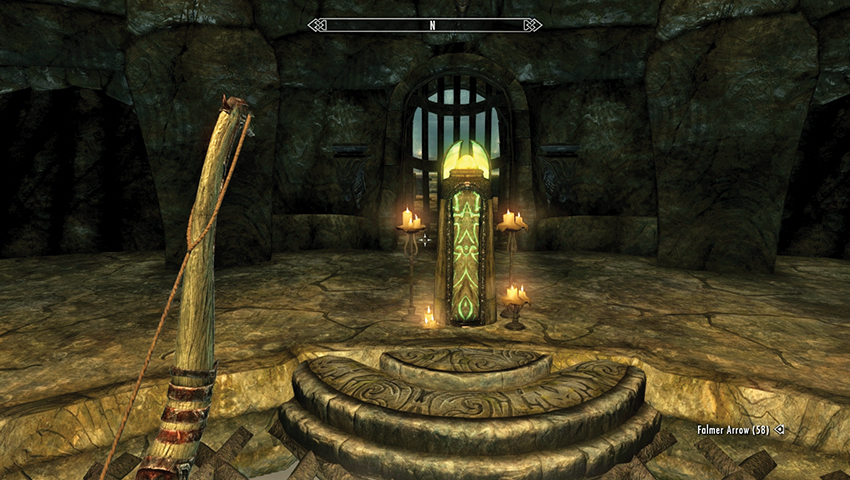
- Use the Ancient Nord Bow (or any other bow) and fire an arrow at the small pillar opposite the green side, so it lights up green.
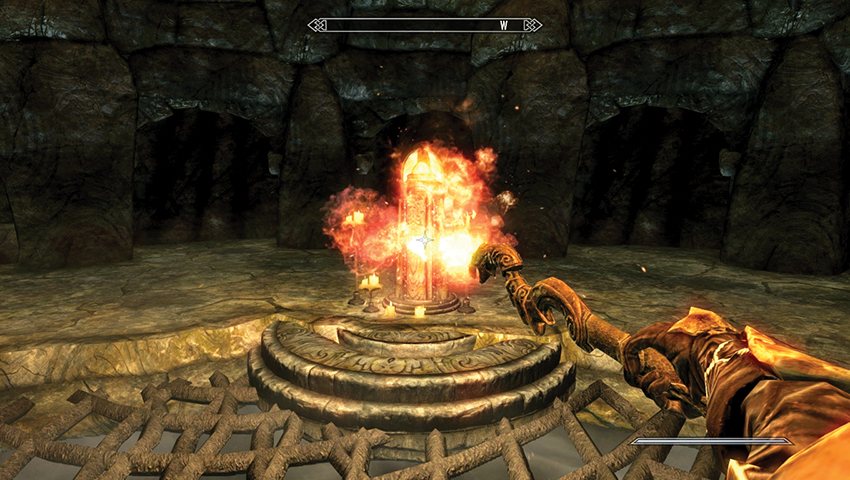
- Use the Staff of Flames (or any other staff) and unleash it at the small pillar opposite the blue side, so it lights up blue.
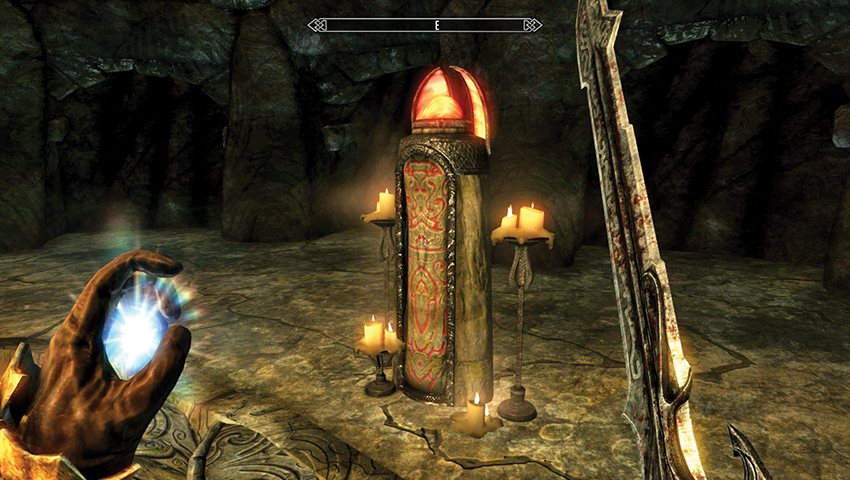
- Use the Ancient Nord Sword (or any other blade) and slash at the small pillar opposite the red side, so it lights up red.
The portcullis rises, and Tharstan is ecstatic. What lies beyond in the next chamber?
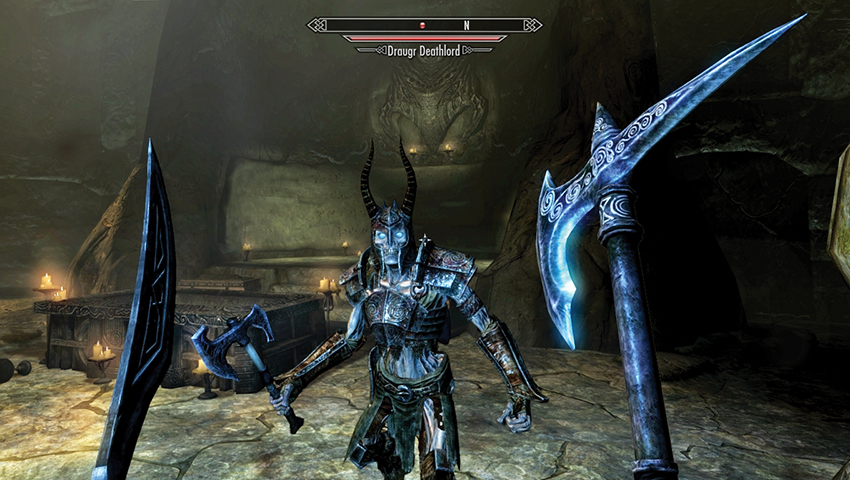
A particularly nasty Draugr rises from his central coffin, flanked by two lesser Draugr who break free of their nearer tombs. After a protracted fight (on your own, as Tharstan isn’t getting involved in this battle), inspect the Draugr corpses, the most troublesome of which is carrying the left half of an Amethyst Claw. Pry open two chests and gain a Word of Power. Meanwhile, Tharstan translates the runes on the wall, which describe a guardian who defeated someone named Miraak. Apparently this “Miraak” was a traitor. When you’re ready to go, leave through the gap in one of the western sarcophagi. Pull the chain at the tunnel’s end and step back into the initial grand chamber.
- Amethyst Claw (left half)
- Word of Power: Battle Fury
Continue Along the Path, Don’t Tread Where You’ve Been
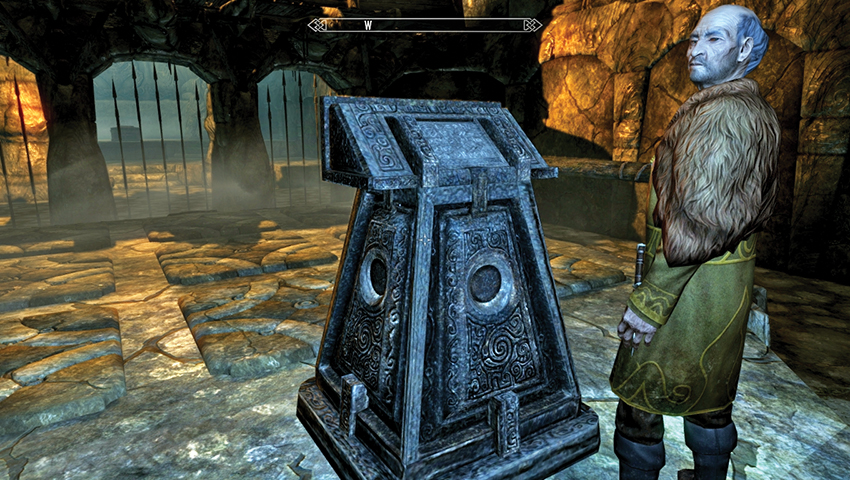
Head up the steps, passing the torches and through the open portcullis into a short tunnel heading north. Turn left (west) as the tunnel winds down, past a chest and into a rather puzzling chamber. Ahead are three archways, each with spears preventing your progress. Tharstan inspects the description on the raised pedestal near a group of nine pressure plates: “Continue along the path, don’t tread where you’ve been.” Interesting.
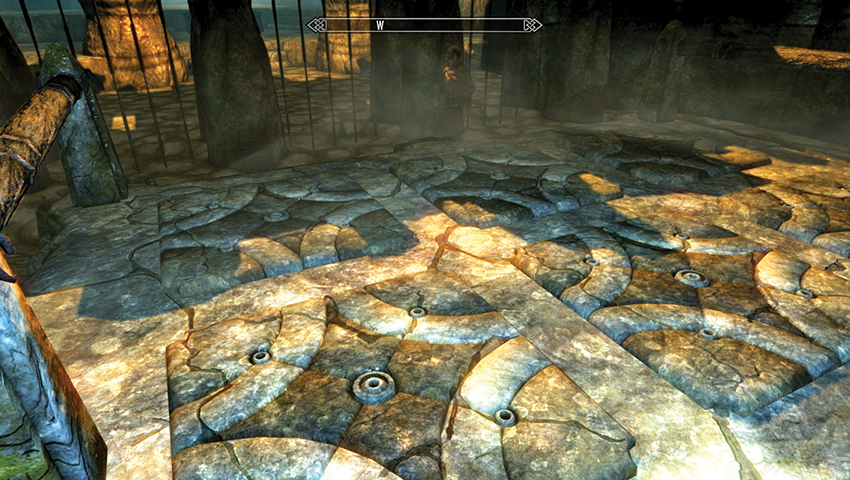
Puzzle Solution: Simply step onto the first plate in the near-right corner and sidestep left, zigzagging so you tread on each of the nine pressure plates only once. This is deceptively simple; as long as you don’t step on any plate more than once, and you don’t miss any plates, once you step on the ninth and last plate, the spears retract and progress is possible. Tharstan is excited. What lies beyond in the next chamber?
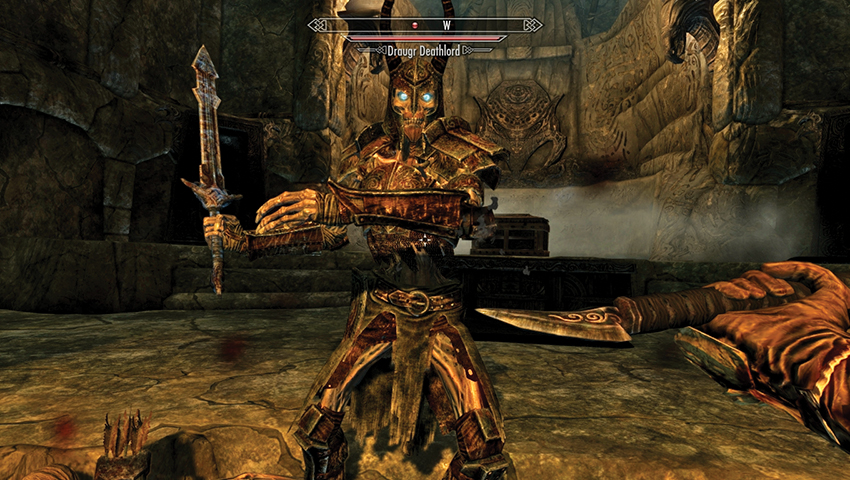
A powerful and troublesome Draugr clambers from his central coffin, and two lesser Draugr smash out of their nearer tombs. After a lengthy battle (by yourself, as Tharstan is paying you to remove all threats on his behalf), inspect the Draugr corpses, the most dangerous of which is holding the right half of an Amethyst Claw. Wrench open the chest and obtain a Word of Power. In the meantime, Tharstan ruminates on the wall runes, which refer to a guardian who inspired both men and dragons. He wonders if the guardian was himself a man or a dragon? When you’re ready to proceed, leave through the gap in one of the southern sarcophagi. Pull the chain at the tunnel’s end and step back into the initial grand chamber.
- Amethyst Claw (right half)
- Word of Power: Battle Fury
Ethereal Above, Corruption Below
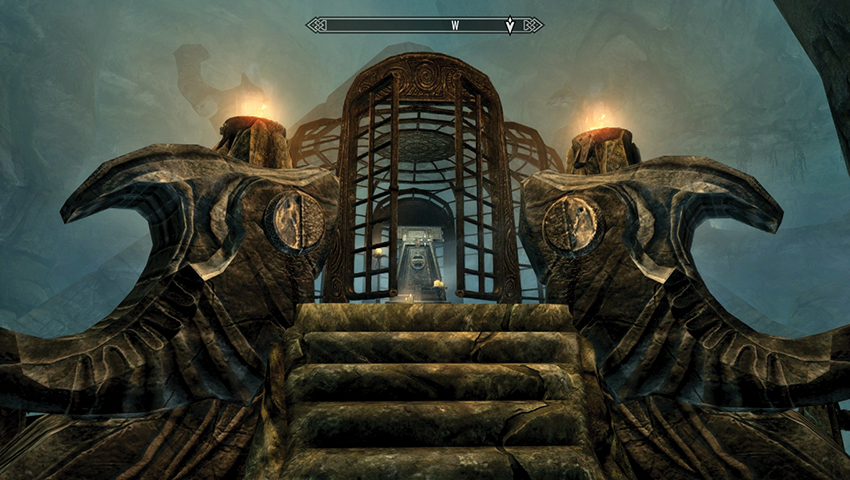
Move to the cage on the western side of the fiery stone plateau and inspect the indentations. These circular keyholes require you to place each of the Amethyst Claws into them, unlocking the cage in front of you. Pull the handle on the cage’s pedestal, and a series of ethereal blue platforms appears, linking a path to the ledge and door on the opposite wall. Tharstan is suitably impressed.
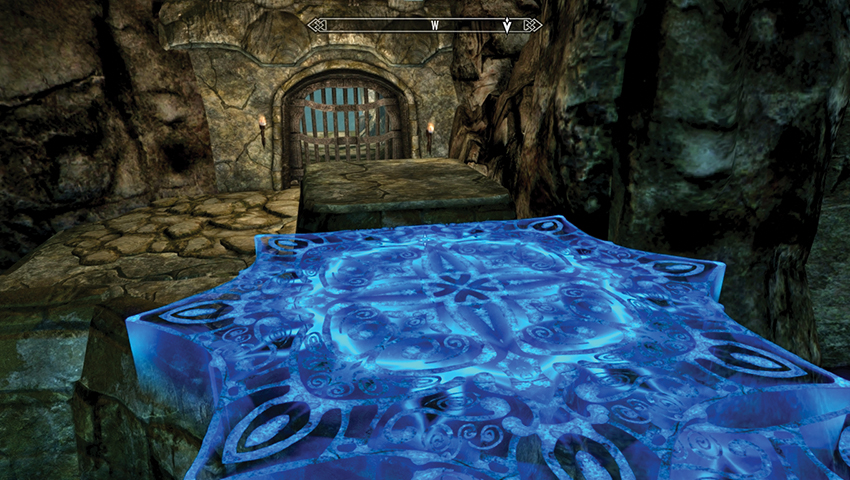
You may wish to trigger the platforms and watch how they appear (and disappear), and then activate the pedestal handle again. Follow the snaking path to the far ledge, drop down onto the dungeon passage heading west, and pass a barred door.
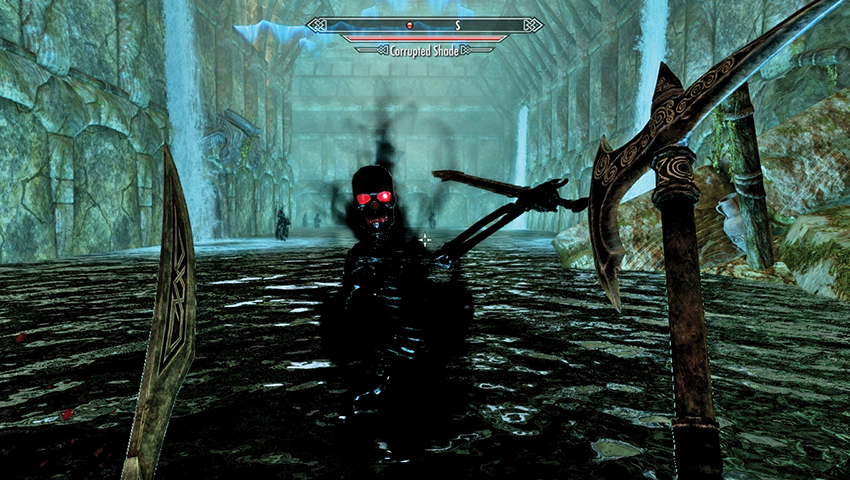
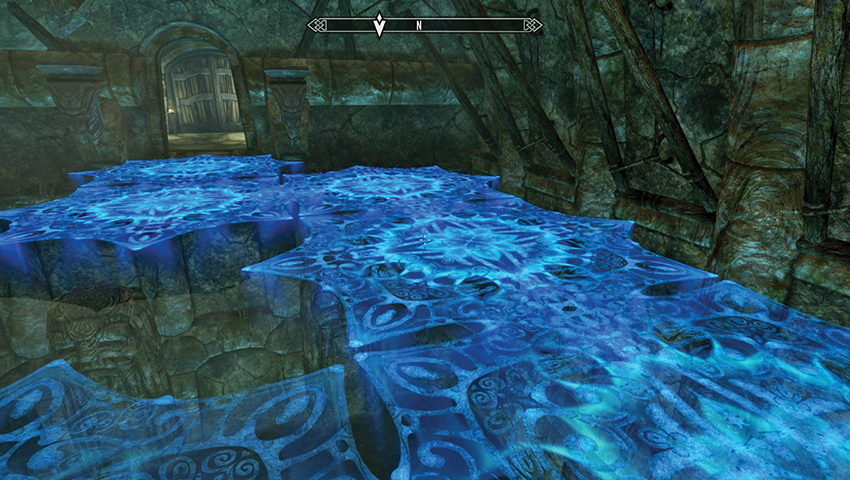
At the far end of the short tunnel is another pedestal and a handle. As expected, this releases another set of platforms, so quickly stand and follow each of them across the large waterlogged chamber to the upper tunnel across from you. This leads to another set of platforms, each time moving a little faster than before. Next comes a final set, moving so quickly you really need to run most of the time to reach the final ledge and double wooden doors.
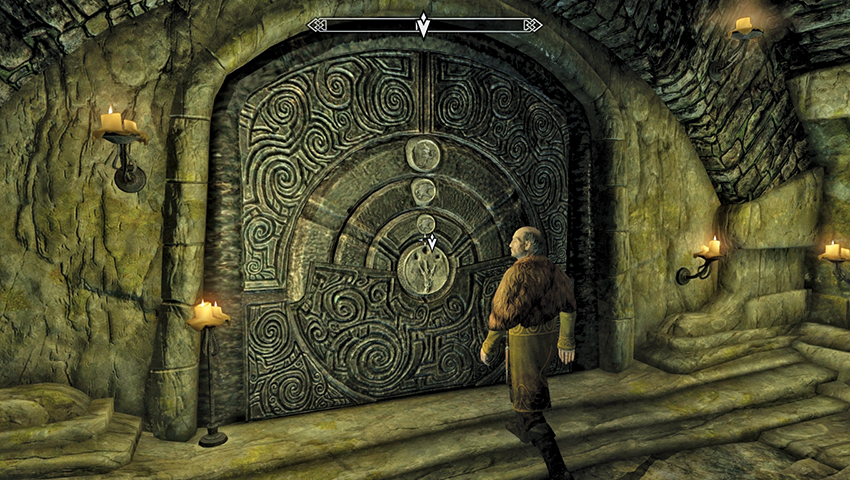
Through the doors is a Hall of Stories and a Nordic Puzzle Door at the far end.
Puzzle Solution: Those adventurers familiar with such a puzzle will know that the rings on this door correspond to a key on the palm of the claw the door opens. Not so this time! The palm of the Amethyst Claw is blank! While you’re scratching your head, Tharstan arrives and studies the door, then heads to the wall carvings to ascertain a combination. Among the etchings are the following clues:
- “A breeze, or maybe it’s wind.” This refers to the hawk, to be moved on the outer ring.
- “The night sky, and the moon.” This refers to the wolf, to be moved on the middle ring.
- “Something to do with fire, and scales.” This refers to the dragon, to be moved on the inner ring.
Vahlok Awakens
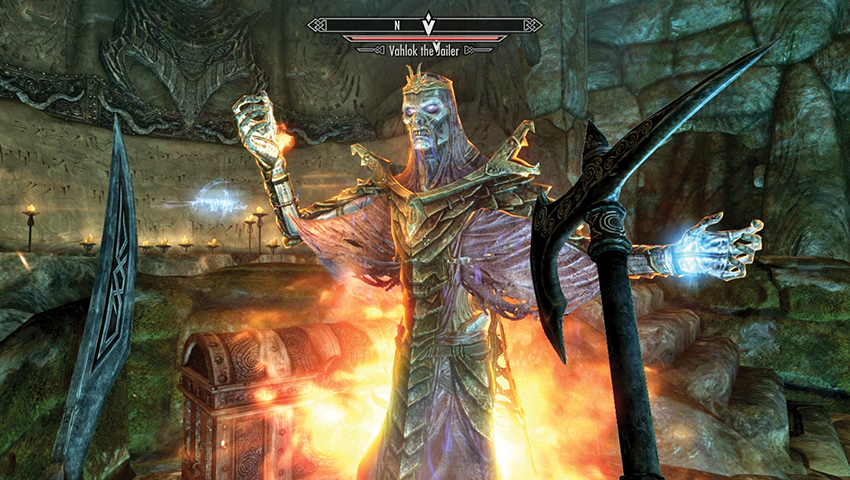
The door rumbles open. Pull the chain at the top of the steps to open a portcullis; this leads you out and into a high-status ceremonial tomb. As you edge forward, the stone sarcophagus ahead of you, near a large chest and Word Wall, cracks open as the Dragon Priest Vahlok the Jailer frees himself to face you!
The battle is frantic, and all the more tricky if you don’t combat Vahlok’s mainly fire-based attacks. Expect him to use Firebolt, Flame Cloak, Flames, and Incinerate, and he summons a Flame Atronach. Also watch for fire damage from the pressure plates dotted around the tomb; stay on the edges of the walkways or in the water, moving to the Word Wall to keep them from triggering.
Quest Conclusion
Tharstan is incredulous at seeing an actual Dragon Priest and believes there are numerous volumes to write based on this discovery alone! You’re paid for your help and can additionally learn the final Word of the Battle Fury Shout before leaving the way you came.
- Gold (1,000)
- Word of Power: Battle Fury
Postquest Activities
Vahlok was a Dragon Priest but did not wear a mask. You can revisit Tharstan and ask him more about the details of Vahlok’s life and his relationship with Miraak.