
Elder Scrolls V: Skyrim Special Edition Guide Quests Daedric Quests
Daedric Quests: A Night to Remember
A Night to Remember
Drinking to Forget
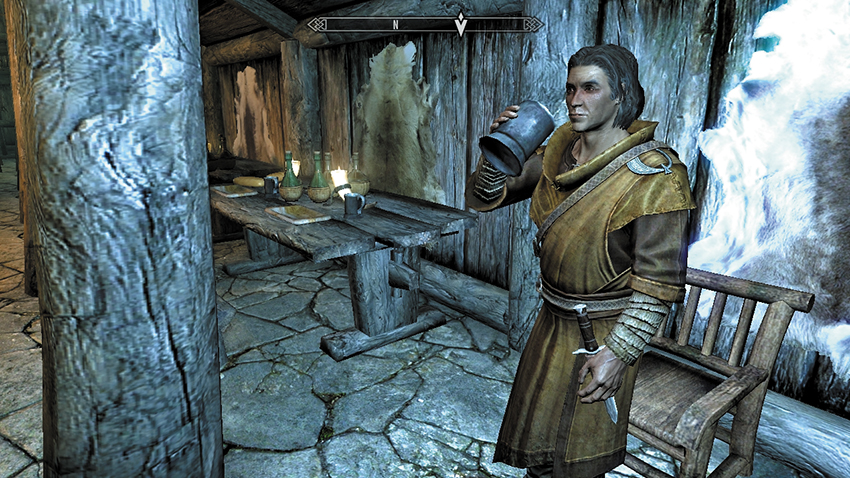
Enter one of the many taverns in Skyrim. This could be the Bannered Mare in Whiterun or any of the other inns in any of the Hold Cities. Sometimes you’re approached by a man wearing black robes named Sam Guevenne, who wonders if you’d like to play a drinking game in order to win a staff. If Sam isn’t in the tavern, visit another watering hole; be patient until he appears. Sam produces some “special brew” and gets started immediately.
Sam downs a flagon and offers one to you. Swig it down. Sam brings out his flagon again and impressively downs another. Agree to the second drink. Sam tells you he’s hit his limit and says that with one more drink, you’ll win both the contest and the staff. You reply that you’ll take that challenge. Down a third flagon. Sam tells you you’re a fun person to drink with. He reckons you should join him at another place where the wine flows like water. You’re about to respond when you black out.
The Day After: Recovery and Recollections
Part 1: Incoherently Blathering Drunken Blasphemer!
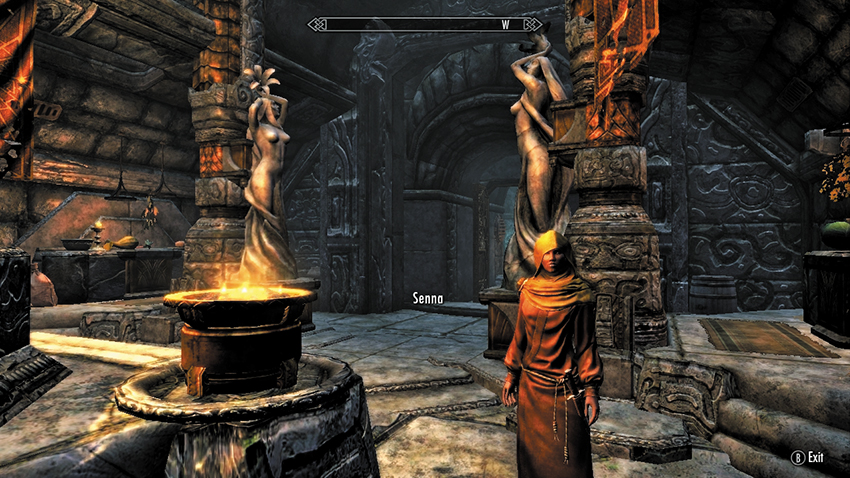
Your next memory is waking up to a tongue-lashing from a furious priestess. Unless you’ve remarkable knowledge of temple gods, you don’t immediately realize where you are. Priestess Senna wonders why you don’t remember blathering incoherently about marriage or a goat. Or indeed, losing your temper and throwing refuse across this sacred temple of Dibella. You can:
- Ask about the man named Sam. This gets you nowhere until you’ve tidied up your mess.
- (Persuade) You can apologize and tell her you don’t remember how you got here.
- (Bribe) You can ask how you got here and pay for any damages.
Begin tidying up the temple, collecting the rubbish listed below. Among the wine bottles is a note. Read it, and a list of three items are mentioned that can “repair the broken staff.” The note is signed “Sam.” You’re fortunate that two of the three items on the list are among the trash you’re clearing up! Now there’s just the small matter of searching Skyrim for Sam. And the goat.
- Alto Wine
- Repair Supplies Note
- Giant’s Toe
- Holy Water
If you didn’t bribe or persuade Senna, return to her after the tidy-up and apologize. As Dibella preaches forgiveness, she grudgingly lets you leave and tells you that through your slurred ranting, you mentioned the town of Rorikstead.
Part 2: Fermented Feed–Smelling Goat Rustler!
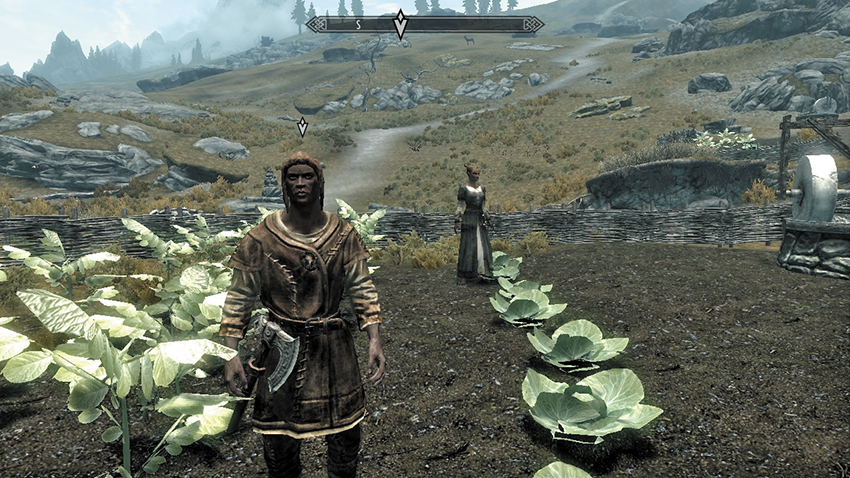
Exit the temple. You’re in Markarth, in the Reach. Your next place to investigate is Rorikstead, to the east, on the edge of the Tundra plains. Wander into town and seek Ennis, who’s tending to his vegetable patch or is locked behind closed doors (which you can pick, but it’s better not to show clandestine behavior under these current conditions). Ennis angrily states you have a lot of nerve showing up here again. He proceeds to admonish you for stealing Gleda—his prized goat—and selling it to a giant. At this point, you can:
- (Intimidate) Threaten Ennis to tell you everything so he doesn’t end up like Gleda.
- (Bribe) Ask him to help retrace your steps in return for some serious coin.
- (Persuade) Tell him you need Sam and the staff to return Gleda.
- Or ask what needs to be done. Ennis wants his prized goat back. Unharmed.
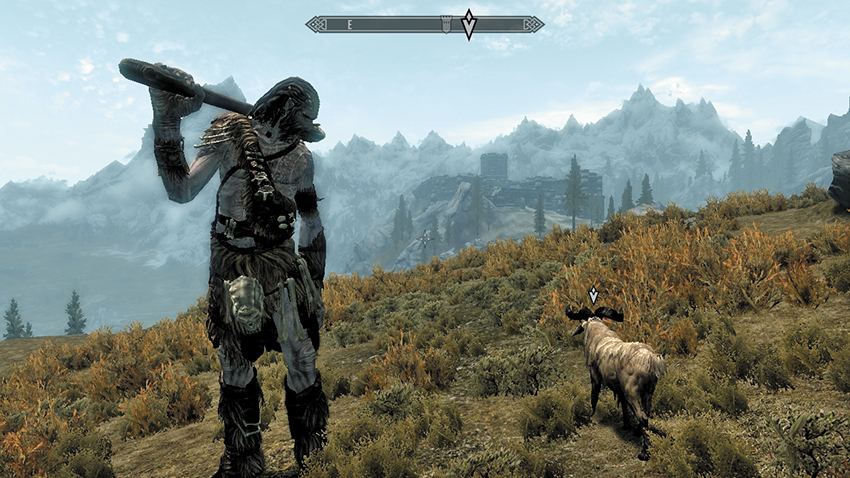
Assuming you chose the last option, your goat hunt begins now. Head up the heath to the south of Rorikstead, where the wandering giant and his new companion are resting on the Tundra foothills. At this point, you can:
- Interact with the goat so it follows you, and run from the giant with the goat trotting along behind you.
- Or kill the giant and coax the goat into following you by approaching and interacting with it.
Bring the goat down the hillside and back to Ennis. In return for your goat-wrangling, Ennis mentions you left a note that had the words “Ysolda” and “Whiterun” on it.
Part 3: Ring-Stealing Hagraven-Loving Cheapskate!
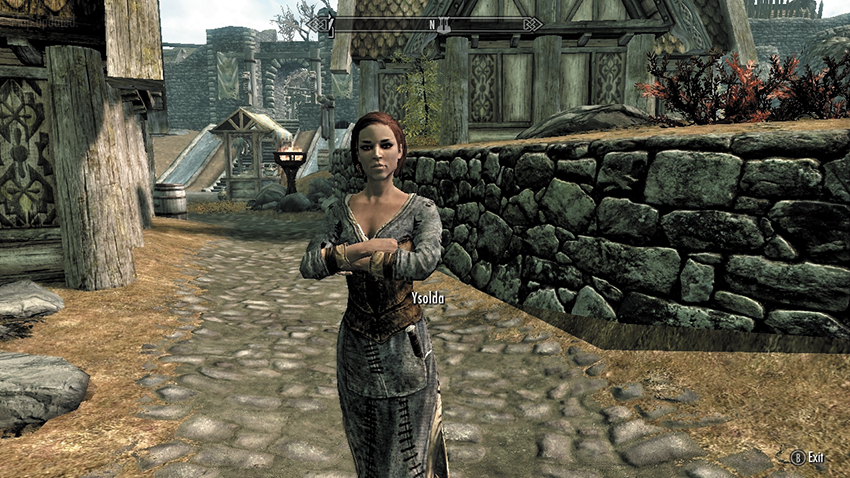
Travel to Whiterun and locate Ysolda hanging out near her house or walking about town. She tells you she’s been patient, but you still owe her. Naturally you can’t remember why, so Ysolda explains that it isn’t about the money; you were in love, and she gave you a wedding ring. If the wedding isn’t occurring, you should give her back the ring. Alas, you don’t have it, or any memory of becoming engaged. Ysolda is shocked that you’ve mislaid both the ring and your betrothed! Especially after you told her a sweet story of how you met in Witchmist Grove! At this point, you can:
- (Persuade) Plead with Ysolda that you need to get to the wedding.
- (Intimidate) Shout that you want to know what else you said.
- (Bribe) Pay a considerable sum for the ring.
- Or ask what needs to be done. Ysolda wants the ring back if you aren’t getting married.
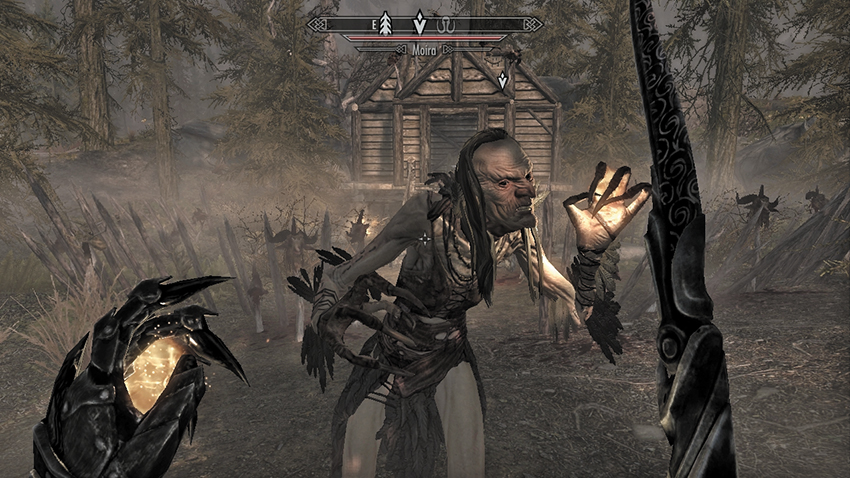
South of Windhelm, deep in Eastmarch is a fog-filled pine glade with a lone cottage surrounded by spikes and various skewered animal heads. As you close in, a Hagraven named Moira bounds toward you, ready to consummate the love you have for each other! When you explain you want the ring back, the Hagraven hisses that she won’t share you with Esmerelda (another Hagraven) and immediately attacks you. Kill your cackling fiancée, watching for her icy attacks, and claim the third ingredient from your list, as well as the Wedding Ring.
- Wedding Ring
- Hagraven Feathers
Return to Ysolda and hand the ring back by speaking to her. She’s sad that it didn’t work out for you both, especially as you’d told her there would be a huge ceremony at Morvunskar. You even told her about a magic staff, too! That’s the information you needed!
Sam’s Special Delivery
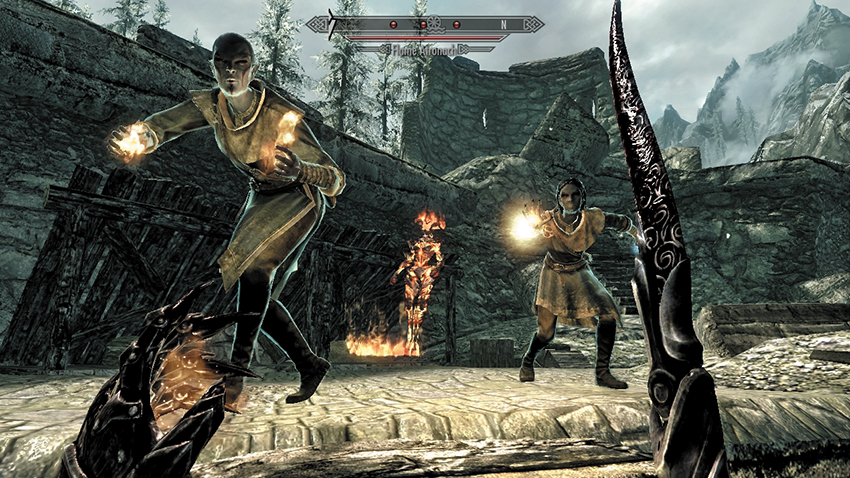
The fort of Morvunskar is on the opposite bank of the White River, just southwest of Windhelm. Enter the battlements, and you’re immediately assaulted by a variety of magicians: Expect combat with Fire Mages, Ice Mages, Storm Mages, pyromancers, conjurers, and necromancers. Open the main wooden door with the lantern hanging near it, in the middle of the upper wall to the west, and enter the fort. Battle (or sneak) southeast once you’re inside. Go down the steps leading to a wooden door and a winding stone tunnel. This brings you out into a huge column-filled chamber with more mages to dispatch or flee from. Dash to the double set of stone steps and run to the upper northeast corner. As if by magic, a portal blinks open and you vanish.
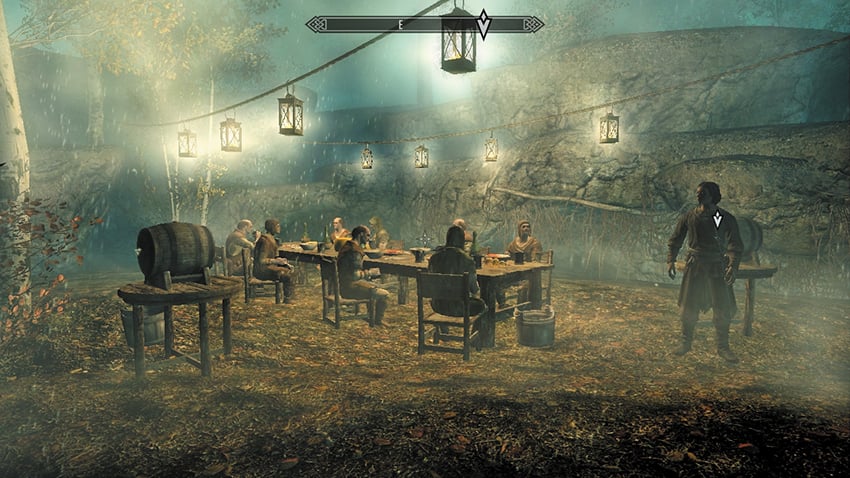
You appear in the Misty Grove. There’s a strange, immediate sensation of brooding fear tempered by an odd calmness. Fireflies flutter by. Lanterns light your way along an easy-to-follow path over a stream that leads to an outdoor tavern. That master trickster Sam Guevenne greets you by the mead barrel. Ask where you are, and he’s not surprised you don’t remember your previous trip here. But you’ve definitely earned the staff. Mention you have everything needed to repair it. None of that matters, you see...
Quest Conclusion
Sam—or Sanguine the Lord of Revelry, as he’s known to his worshippers—simply needed you to go out into the world and spread merriment. Sanguine has chosen you, whether you like it or not. But you gain the staff as a partial benefit for your forgotten hijinks. A moment later, you’re back in the tavern where you first met Sam, a little worse for wear but carrying an impressively potent staff.
- Sanguine’s Rose
Postquest Activities
After this quest, there’s a (random) chance that World Encounter: The Drunken Dare* occurs. You run into someone who states that you and Sam dared him to head into a bandit camp. He says he did the dare, and you owe him 10,000 gold! You can pay him, negotiate the price down to 750, or kill him (he’ll attack if you fail either of the nonviolent plans).