
Elder Scrolls V: Skyrim Special Edition Guide Dragonborn Quests Solstheim Side Quests
Solstheim Side Quests: Unearthed
Unearthed
Uncovering Kolbjorn Barrow
During your travels through Solstheim, you can learn about Kolbjorn Barrow from a variety of sources. There are several ways to begin this quest:
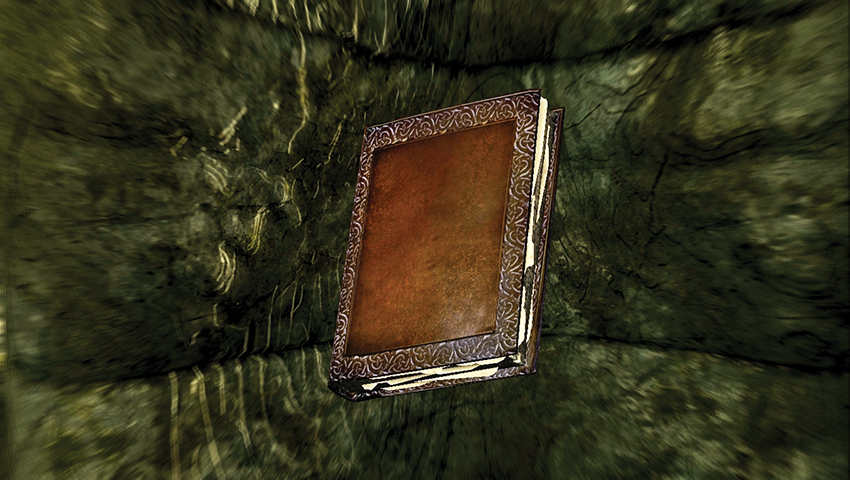
- Read the book Ahzidal’s Descent. There are a number of copies scattered around Solstheim. For example, in Tel Mithryn, on a table close to the floating lift in Neloth’s chamber, or in Raven Rock, on Glover Mallory’s bedroom shelf, on the second floor of his house.
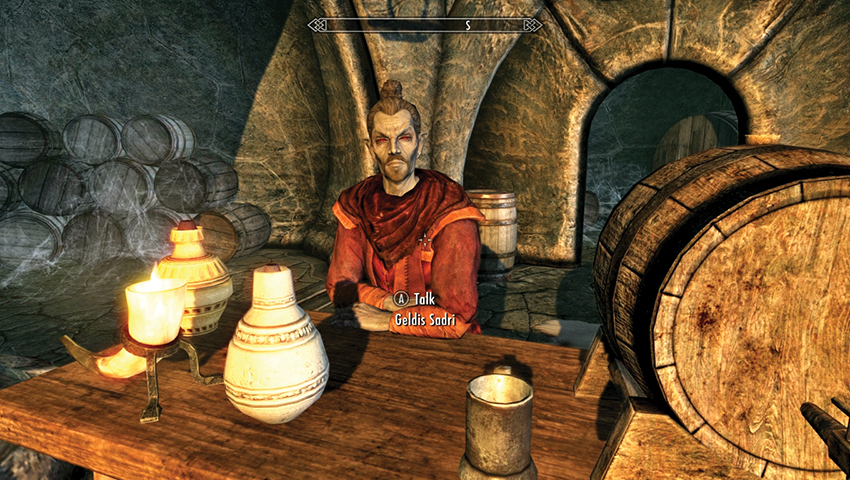
- Visit The Retching Netch in Raven Rock and speak to Geldis the innkeeper about rumors. He mentions a Dunmer named Ralis is up at the Barrow.
- Or, you can simply stumble upon the Barrow, just southeast of Raven Rock, on the upper plateau overlooking the sea.
- Book: Ahzidal’s Descent
Digging with a Dark Elf
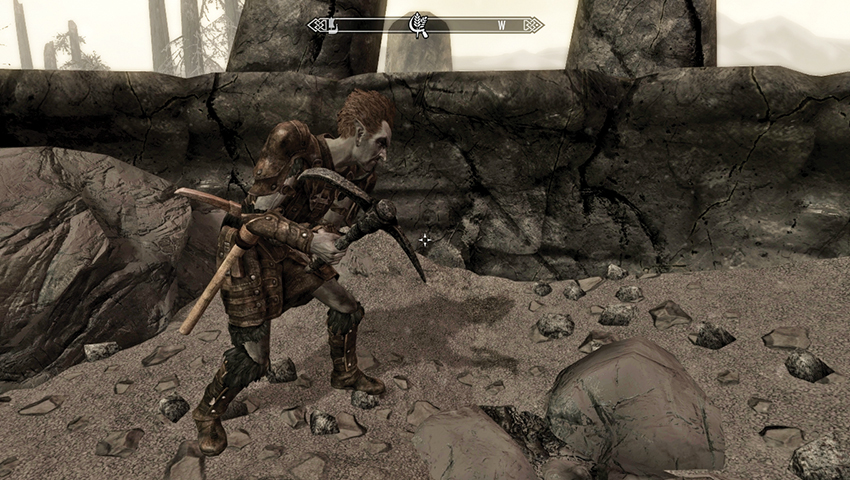
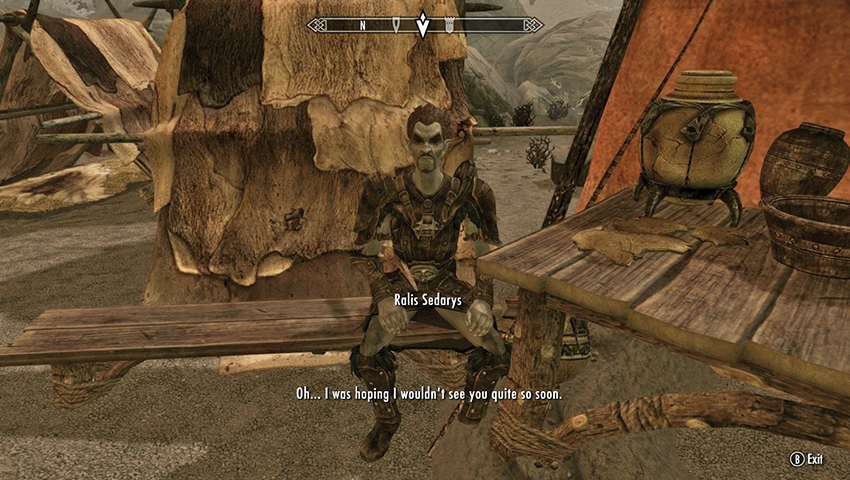
As you approach Kolbjorn Barrow, buried by the ash from Red Mountain, you’ll spot a Dunmer named Ralis Sedarys (and his nearby journal on a bed of hay). Ralis is an explorer from Mournhold who came to Solstheim in search of the Relics of Ahzidal, a set of powerful enchanted items said to have been entombed below.
As you progress with the conversation, asking why he toils with a pickaxe instead of hiring miners, he mentions his lack of funds to secure such workers. This is where a wealthy financier might come in handy. After asking more about the treasure, the quest starts and the objective updates:
- The Journal of Ralis Sedarys, vol. 19
Once you have the money, return to Ralis, and ask if he’s looking for a partner. He’s agreeable, as long as you manage the coin and he manages the dig. Offer him the 1,000 gold, giving him enough to hire a few lackeys and dig down deeper. But that will take time, so he’ll send word when the tomb entrance is found.
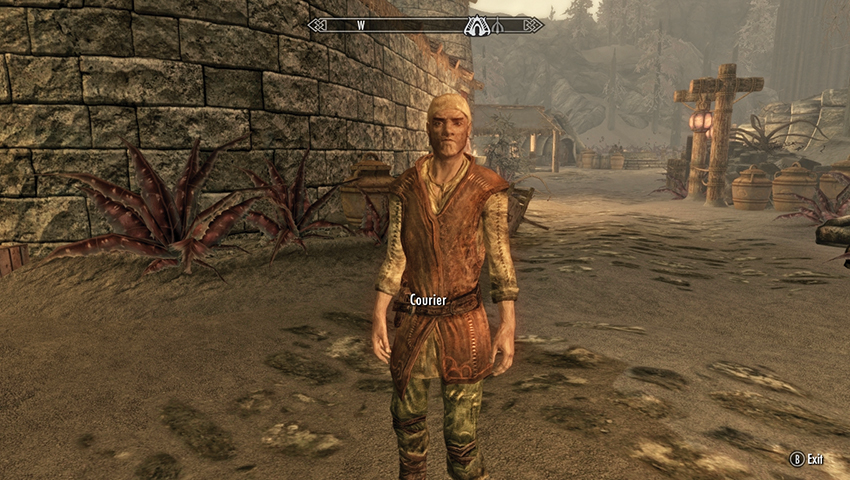
Journey away from the Barrow, to any main settlement on the island (such as Tel Mithryn or Raven Rock), and wait three days. Occupy yourself with other quests or simply sleep until the time has passed. Then Fast-Travel to a different settlement. A courier approaches with a parchment for your eyes only. Ralis seemed excited when he handed the message to the courier.
- Letter from Ralis Sedarys 1
Phase 1: Disturbing the Draugr Dead
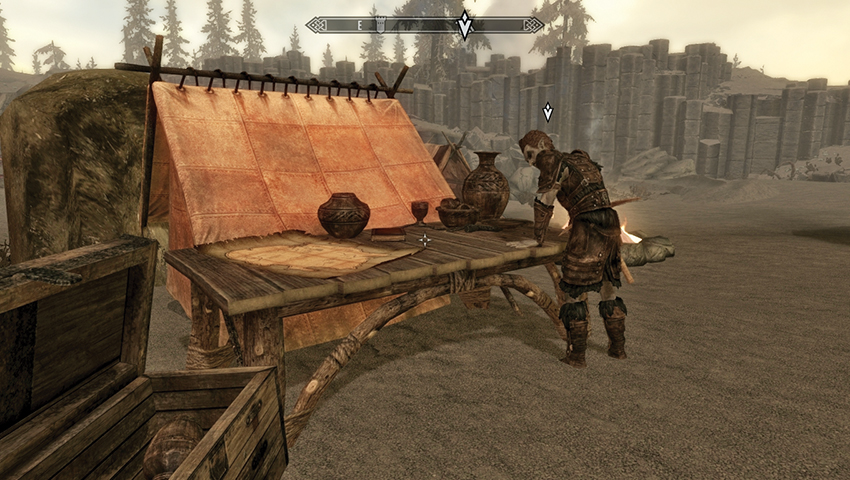
Upon your return, it appears your money has been spent; there are miner tents and Ralis is on-site, moaning that something managed to wake the Draugr within the crypt. All the miners are dead, and only Ralis escaped. Unless you’re prepared to deal with the draugr, the whole venture is over.
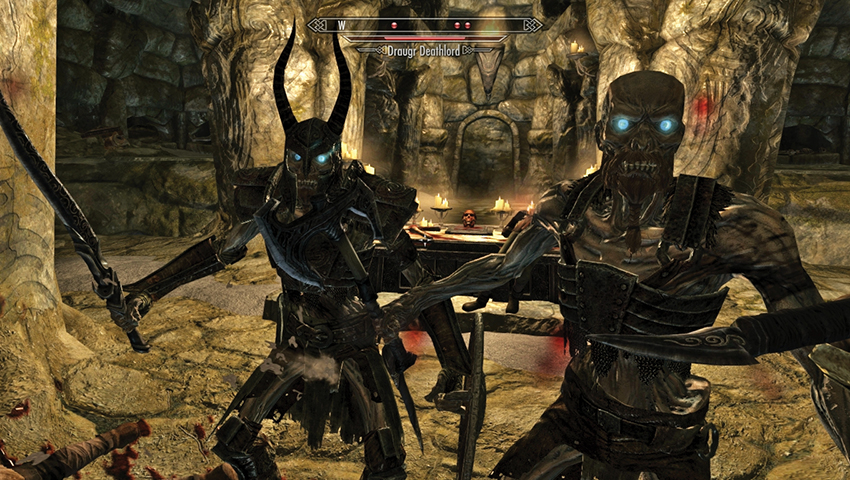
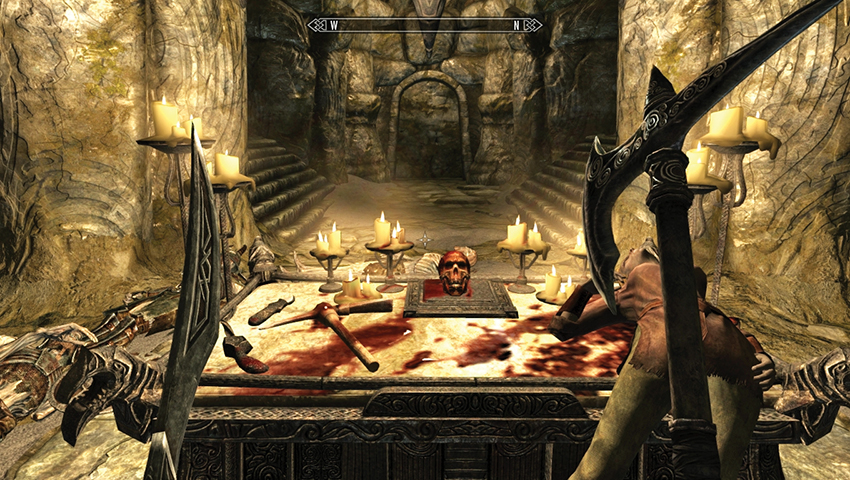
The miners dug out the entrance, allowing you access down past their bloodied corpses and into an initial burial chamber, where they apparently hit a dead end. Expect at least six Draugr to contend with, both in the main path and from the four raised crypt corners. Once you’ve embedded your preferred weapons into their rotted hides, one of your objectives completes. But you still need to find a way onward.
Locate the main altar in the center of the burial chamber, and study the strange red skull. Lift it from its pressure plate, and a rotating wall arch ahead of you grinds open. Your objective updates, but don’t leave just yet. Head into the newly opened chamber, and you’ll see that a lot more digging is in your future. But Ralis’s information appears to have been correct—a unique pair of boots sits on the pedestal directly ahead of you.
- Skull
- Ahzidal’s Boots of Waterwalking (Waterwalking ability, +10 Enchanting if four Relics of Ahzidal are worn)
Head back to the surface, and inform Ralis that his barrow is Draugr-free. He’s moderately happy but needs to recruit more miners. This won’t be an easy sell, as their friends recently perished here. When you’re prepared (or able) to part with 2,000 gold, hand it to Ralis, who tells you it will take a few days to dig up more laborers. Why not swing back when you get a chance?
Just as you did before, you must head away from the barrow and drum your fingers for three days. After 72 hours of occupying yourself with other tasks, head to a settlement and locate a courier, who has another message from Ralis.
- Letter from Ralis Sedarys 2
Phase 2: Deeper with the Dead
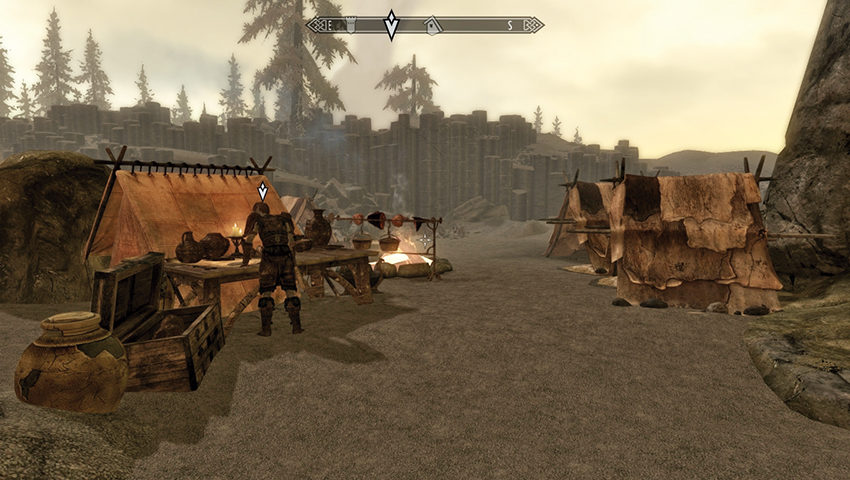
As you arrive, it seems your cash injection has been spent; there’s a cooking pot and two more tents, and the place is starting to look like an excavation site rather than a hunter’s camp. Ralis isn’t happy, though; more Draugr have emerged. At least six miners are dead, and the rest have fled. Perhaps a few are hiding or trapped down there?
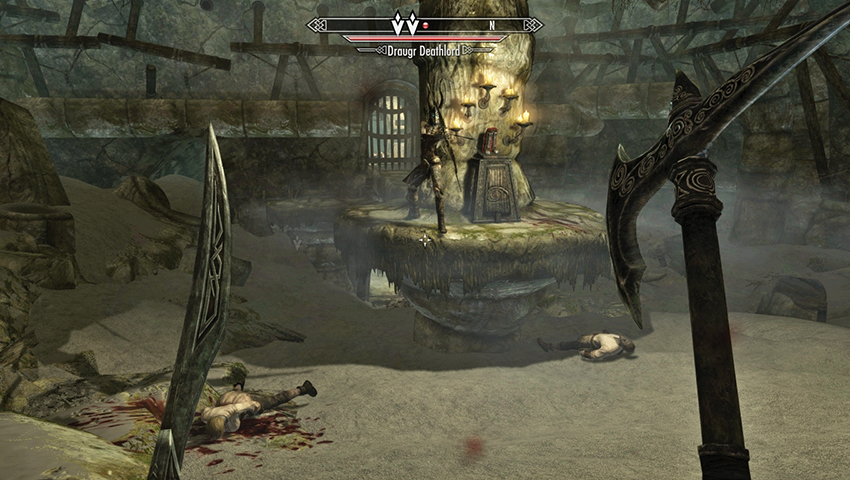
Concern yourself first with eradicating the rotting Nords; head into the initial crypt area and lay waste to the foes appearing from the crypt walls and in the main corridor. Then head deeper (northwest) into the barrow. A toughened Draugr attacks from a circular platform; slay the fiend with ranged weapons or spells.
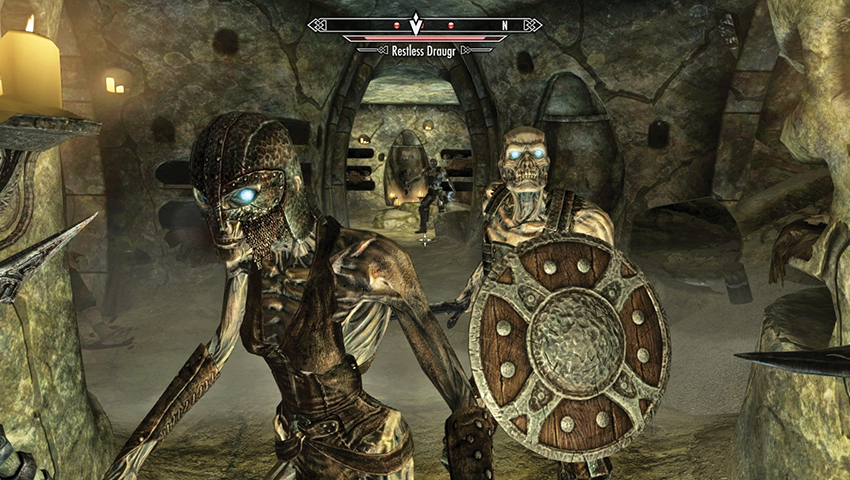
With the Draugr defeated, head under the narrow bridge to locate the two compass targets (the miners) in the crypt ahead. Bradyn is on the lower floor to your left (west). He’s quite dead. However, prepare for more Draugr combat as you reach his corpse; kill three more foes and then venture farther (northwest) into the crypt, yanking the pull chain on the candlelit alcove ahead of you.
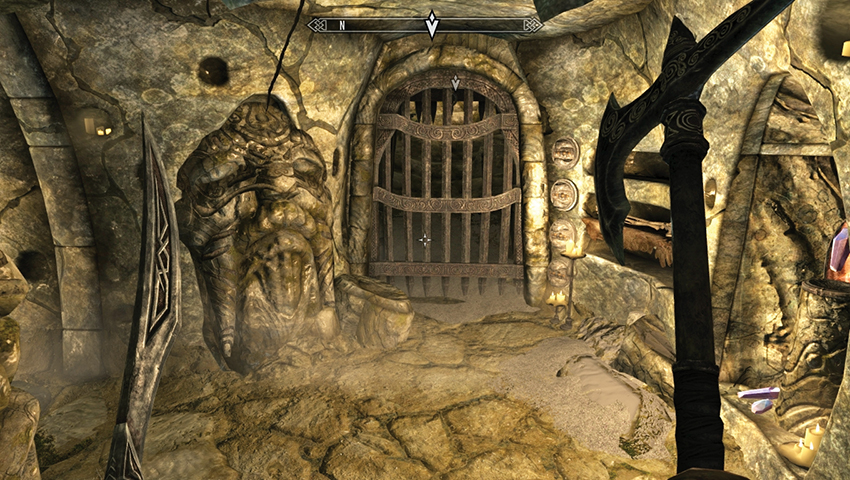
This opens a rotating door to your right (east), exposing a tough Draugr to tackle. Once he’s down, pull a second chain in this new chamber’s alcove, which opens a rotating door to the southwest, behind you. This leads to the upper crypt and another Draugr. Slay it, step around the pressure plate so the magic caster trap isn’t triggered, then move to the portcullis puzzle with four handles to the right of it.
Puzzle Solution: The top handle releases the first portcullis. The second releases darts, so ignore it. The third and fourth handles together release the remaining portcullises, so pull them and continue up.
In the upper crypt area are the splattered remains of Mireli. Take the letter on her body if you wish, then inspect the blocked passageways up here. It isn’t long before four additional Draugr show themselves. Wipe them out to complete the remaining objective. Before you leave, you might as well pocket another fabled item. Locate the seeming dead end to the northeast, hunting for a low handle on the protruding wall to your right, which slides open a secret alcove allowing you to pick up Ahzidal’s Ring!
- Mireli’s Letter to Mother
- Ahzidal’s Ring of Necromancy (whenever a creature you have reanimated takes damage, they explode for 50 points of Frost Damage and die)
Return to the surface and locate the dour Dunmer, informing him of the death down below. This hazard pay keeps piling up, and he now needs additional (some might say ludicrous) funds to continue this expedition. When your coffers can handle this outlay, hand it over and wait for Ralis to hire some brawny types to keep the new miners safe. Naturally, this will take a few days.
You know the plan by now; move away from the barrow and attempt other tasks or wait for three days. After 72 hours, saunter into a settlement and locate a courier, who has another message from Ralis. Apparently Ralis is starting to scare the letter carriers.
- Letter from Ralis Sedarys 3
Phase 3: Disturbing More Draugr
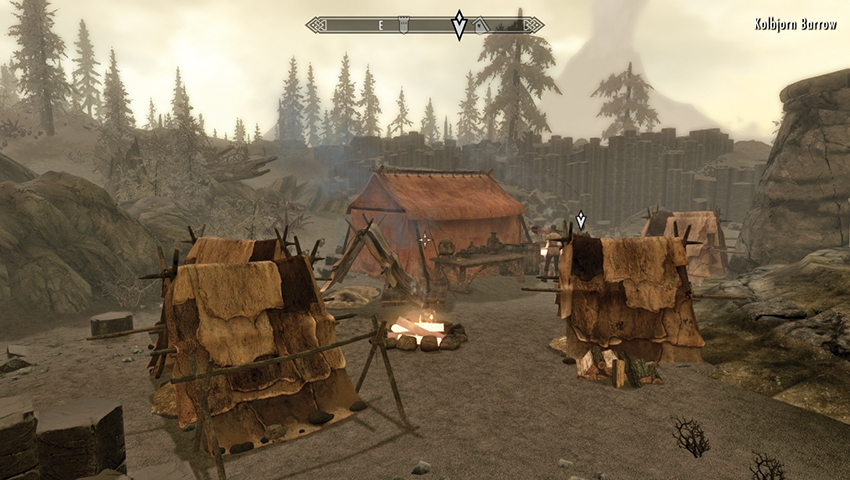
Upon your return, the barrow is almost bustling, with more tents and at least one living miner. So that’s encouraging! However, Ralis is less than thrilled as he tells you of yet another disaster: More Draugr have been uncovered! Your objective is as clear as the sunken eyes on Ralis’s face.
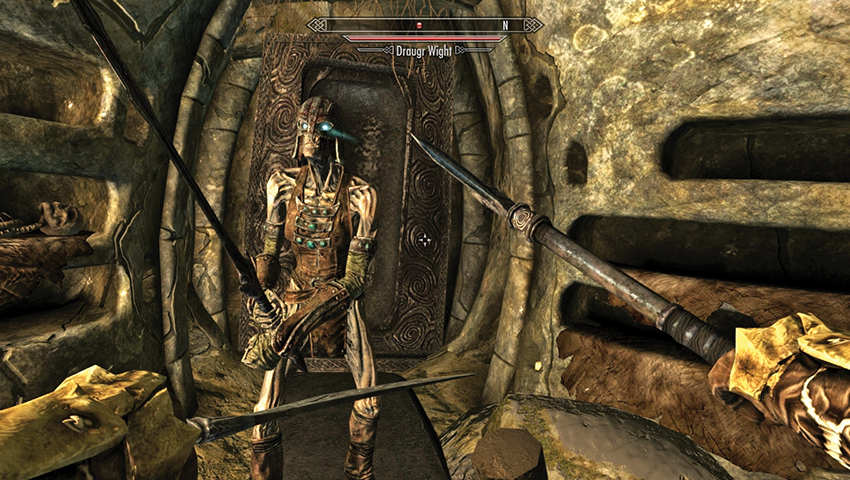
Expect two foes in the initial chamber, another in the main chamber by the pedestal, and the excavation to have cleared out much of the room. Cross the bridge and head into the two-story crypt you explored last time and bring death to the Draugr inside. Continue down the stairs to the lower level where a sarcophagus has been uncovered (a Draugr bashes its way out to meet your blades), and a locked iron door blocks your progress [Expert]. Pick this lock to reach a hidden antechamber with spiders to crush and a chest to inspect. Head down the stairs and deal with another foe, and you can see back out to the central chamber.
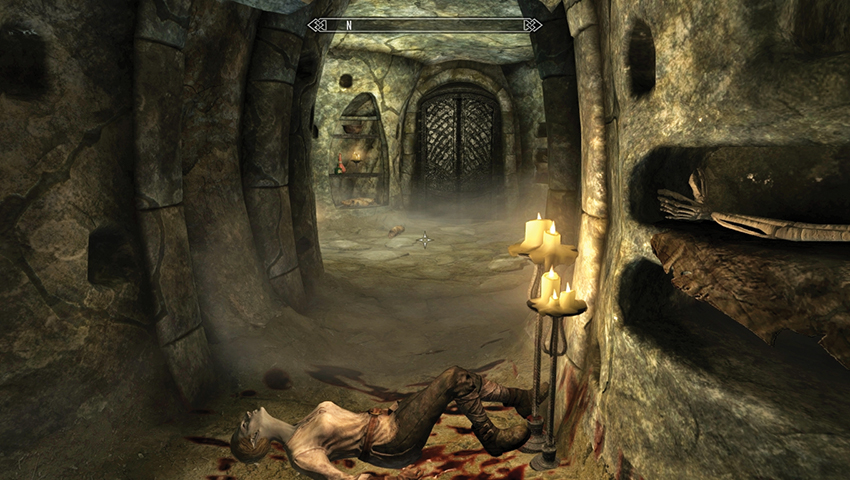
Press on to explore more of the catacombs. In the newly opened room, locate a wall chain and pull it, which opens a hidden room to the northeast, where you find Ahzidal’s Gauntlets.
- Ahzidal’s Gauntlets of Warding (your Wards are 25% less effective but absorb 50% of the Magicka from incoming spells)
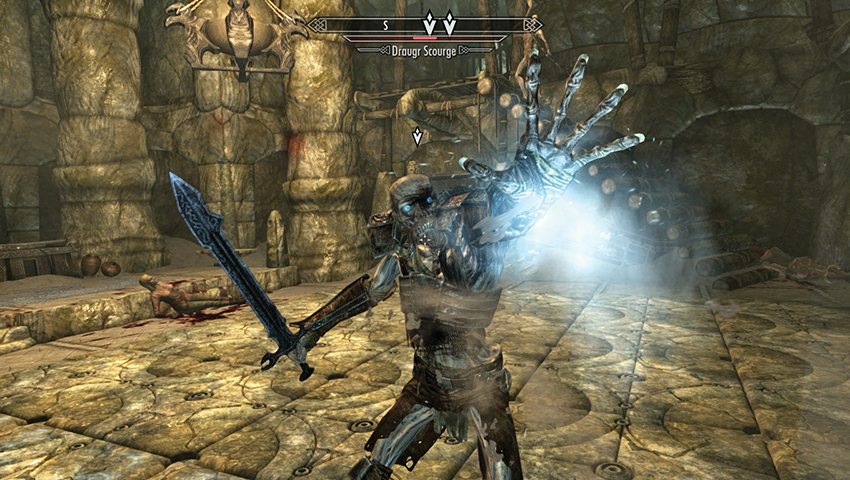
Backtrack to the room with the wall chain and open the iron door. This leads to a wide tunnel with a rockfall trap that can remove Draugr threats ahead of you. Head down the stairs, turn southeast, then go up the steps and into a large sacrificial chamber. Expect to fight two or three Draugr at first, and then another three before you clear the barrow of foes. Before you leave, check the room for dead miners and guards, then look to the left (northeast), into a small antechamber with a pedestal, upon which rests a ring. You can open the portcullis by quickly sprinting across all of the pressure plates so they activate (light up), or simply snatch the ring through the closed grate using the Telekinesis spell.
- Ahzidal’s Ring of Arcana (allows you to cast the spells Freeze and Ignite)
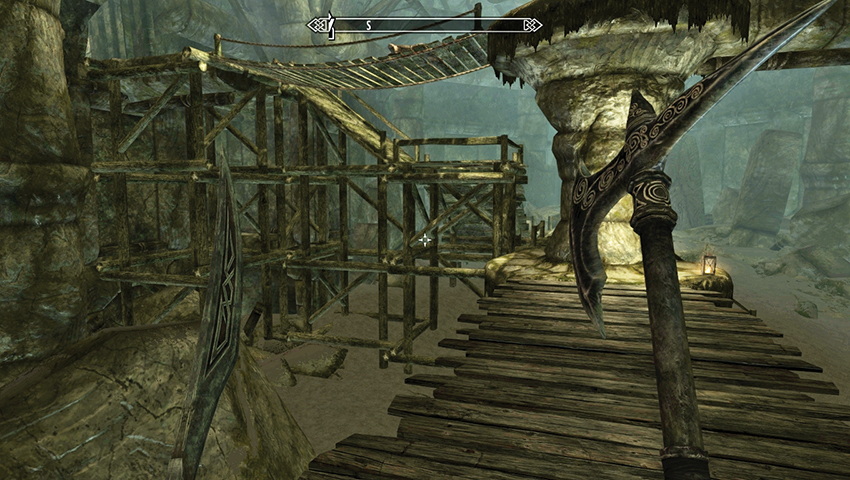
Head up the side steps in the sacrificial room and yank a chain to open the portcullis, watching for a subsequent blade trap and another chain that opens a quicker way back to the second chamber. Climb the wooden walkways and exit the barrow. Ralis is pleased at your Draugr dispatching but fears it’s going to be everything he can do to find more miners. Got any spare change? Dig into your breeches and come up with an amazing amount of gold so he can hire some experienced muscle. Stop back in a few days to see what’s been uncovered.
Execute the “wait around for Ralis” plan once more. After three more days, a courier appears, telling you this is the last time he’s visiting that place.
Phase 4: Curse of the Dragon Acolyte
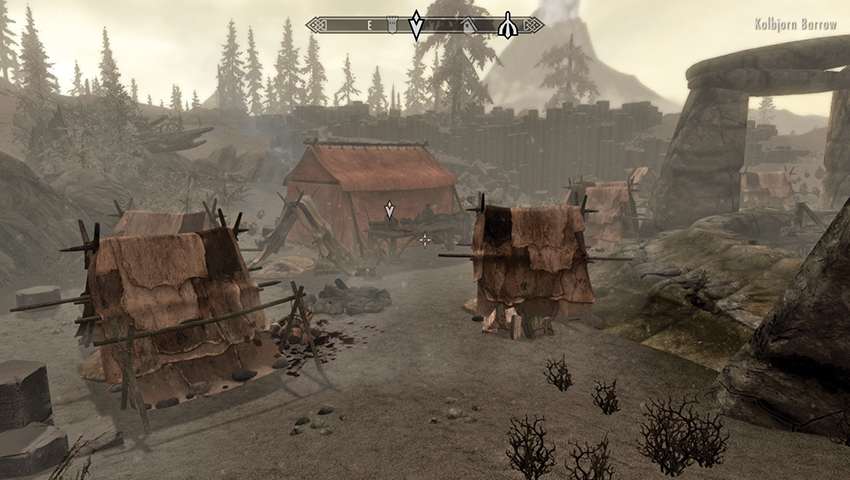
The camp is more like a small settlement now, with numerous tents but few miners. Optionally, you may want to enter Ralis’s tent and read some of his journals. Volume 23 is most illuminating, as the Dunmer appears to have been in league with (or driven mad by) Lord Ahzidal! No wonder there were so many deaths!
- The Journal of Ralis Sedarys, vol. 23
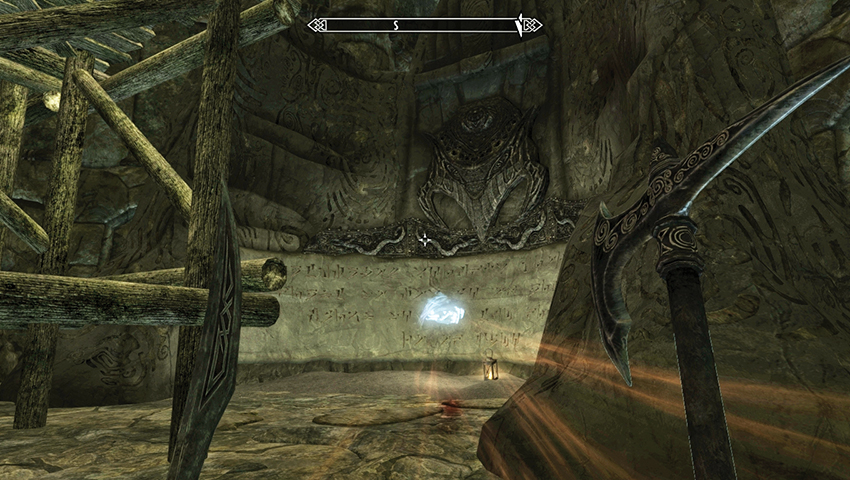
Descend into this barrow once more. This time, it isn’t necessary to remove all Draugr you encounter, but your rage at paying for Ralis’s sacrificial victims may have sent you into a fury. Gain some reward by descending the second chamber and approaching the Word Wall, learning the Word of Power before continuing and optionally taking the short route back to the sacrificial chamber. Yank the overhead pull chain to reactivate the blade traps and let them deal with some of the Draugr. Then press on and deal with the ones that await you in the sacrificial chamber.
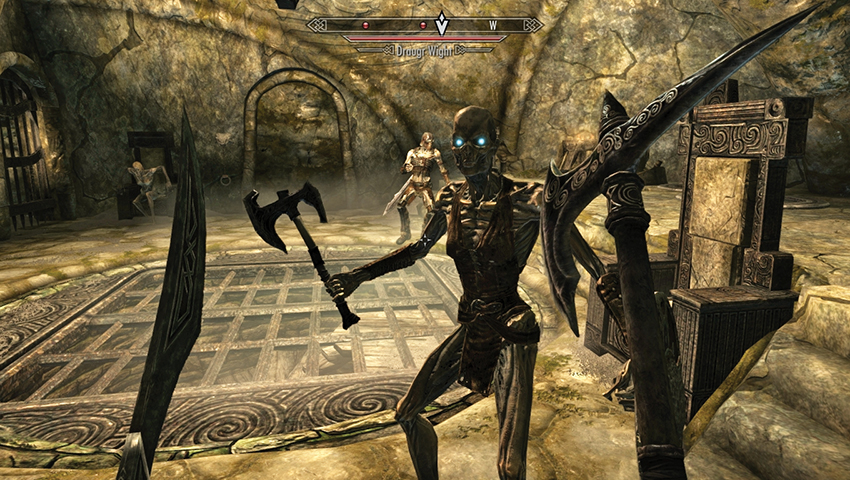
Continue down the newly opened tunnel to a throne chamber with three Draugr to slay as they rise from their seats. After that, ponder a small puzzle:
Puzzle Solution I: There’s a relic sealed in a small alcove here. Face north and south and pull each chain to rotate the wall so a whale petroglyph is exposed in opposite alcoves. Behind the two thrones are rotating pedestals. Shift both of them to the whale and pull the lever between them. The bars retract, allowing you to grab Ahzidal’s Armor.
- Ahzidal’s Armor of Retribution (enemies who strike you with a melee attack have a small chance of being paralyzed)
Puzzle Solution II: Further progress is stalled. To continue you must open the central trapdoor. Opposite the pedestals are carvings of two hawk petroglyphs. Turn the pedestals so they are both hawks, pull the lever, and the trapdoor opens.
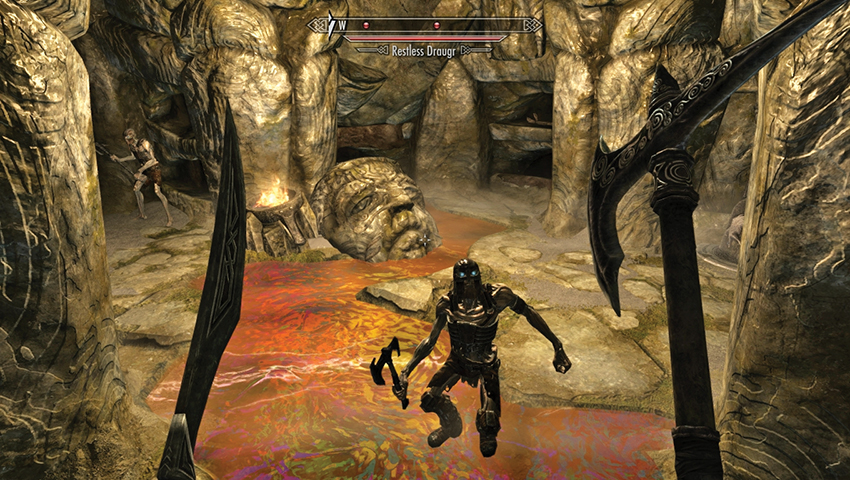
Descend the spiral steps, passing the scattered potions on the ceremonial table, then move into the lower crypts. Remove a Draugr to the right of the entrance before setting the floor ahead ablaze (via magic or a falling oil lamp shot by your bow). This helps remove the four Draugr in the main corridor and stops the forthcoming puzzle from burning you, if you’re incorrect in your choices. Turn right (northeast).
Puzzle Solution: Ahead is a portcullis with a chain and two petroglyph pedestals. If you pull the chain, a fire trap engulfs you. Instead, turn the pedestals so the serpent petroglyph points at the ground marking on each pedestal. This is the third of the puzzles, and two serpents is the only remaining pair that hasn’t been chosen. Pull the chain and claim Ahzidal’s Helm. Watch for another fire trap as you take it!
- Ahzidal’s Helm of Vision (your Conjuration and Rune spells cost 25% more but can be cast at greater range)
Pass the sarcophagus with the Stalhrim deposit (which you may want to mine if you have an Ancient Nordic Pickaxe handy), and move to the door opposite (southwest).
Into Ahzidal’s Clutches
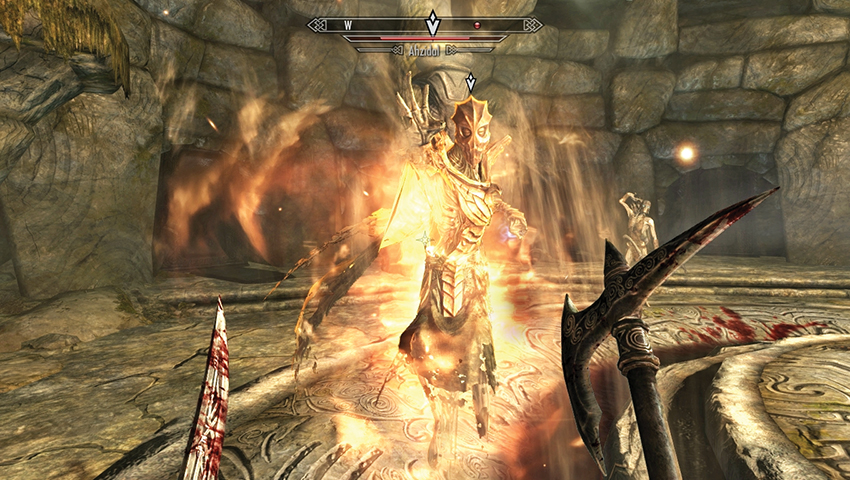
Ralis is either mad or under the influence of an ancient power; he is attempting to summon Ahzidal! Unfortunately, he’s successful! Expect waves of Draugr to crash out of wall crypts, with Ahzidal raising them to fight again when they fall. Concentrate your force on Ahzidal, countering his fire-based attacks and using the columns around the chamber to hide behind. When the fighting ends, check the ashes for his mask.
- Ahzidal (increases Fire Resistance by 50% and Fire spell damage by 25%)
Quest Conclusion
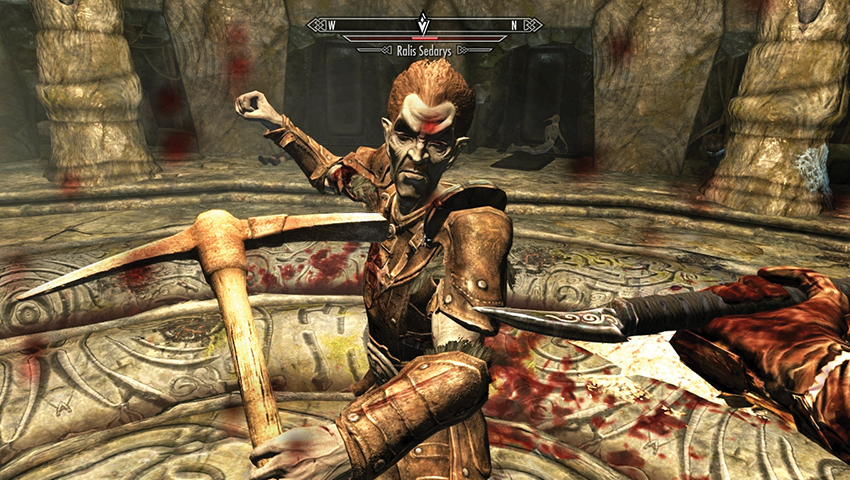
Ralis sways a little, confused over what just happened. Did he pocket your gold and take you for a fool? Or was he summoned here as a thrall? Did he kill all the miners under the influence of Ahzidal? He doesn’t know for sure. But you can determine whether he lives or not. You can:
- Believe him but tell him never to return. He agrees. The quest ends.
- Or tell him he can’t go unpunished. The objective “Kill Ralis” begins. Fight and slay him. The quest ends.
Postquest Activities: The Relics of Ahzidal
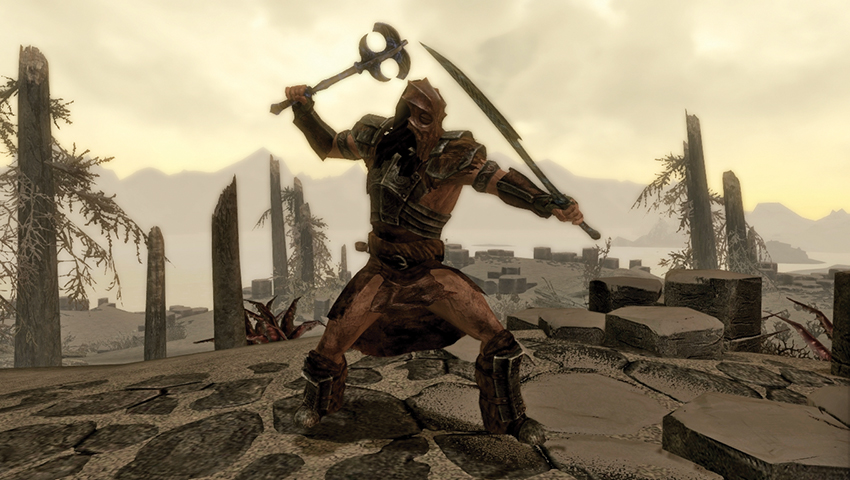
Now is the time to return to find any missing Relics of Ahzidal. These are a set of items with unique enchantments:
| Name | Type | Description | Found |
|---|---|---|---|
| Ahzidal | Mask | Increases your Fire Resistance by 50%, and your Fire Spell damage by 25%. | Phase 4. Mask worn by Ahzidal. |
| Ahzidal’s Helm of Vision | Helm | Your Conjuration and Rune spells cost 25% more but can be cast at greater range (+1 Range Increment). | Phase 4. Use the “Snake, Snake” combination in the lower catacombs. |
| Ahzidal’s Armor of Retribution | Cuirass | Enemies who strike you with a melee attack have a small chance of being paralyzed (5%). | Phase 4. Use the “Whale, Whale” combination in the puzzle chamber. |
| Ahzidal’s Gauntlets of Warding | Gauntlets | Your Wards are 25% less effective but absorb 50% of the Magicka from incoming spells. | Phase 3. Behind a secret door in the main catacombs (lower level). |
| Ahzidal’s Boots of Waterwalking | Boots | Waterwalking. If you wear any four Relics of Ahzidal, +10 Enchanting. | Phase 1. In the second (main) chamber. |
| Ahzidal’s Ring of Necromancy | Ring | Whenever a creature you have reanimated takes damage, they explode for 50 points of Frost damage and die. | Phase 2. Behind a secret door in the main crypt (upper level). |
| Ahzidal’s Ring of Arcana | Ring | Allows you to cast the spells Ignite and Freeze. | Phase 3. In the sacrificial chamber with the pressure plate puzzle. |
- Set Bonus: Ahzidal’s Genius (+10 Enchanting while wearing any four Relics of Ahzidal)
Interestingly, like the abilities on the individual items, this set bonus is also unique: no other armor confers a bonus to your Enchanting skill.
Postquest Activities: The Fate of Ralis
If you kill Ralis: You’ll find little of the 11,000 septims you’ve spent. In fact, only Hoarfrost, his unique Ancient Nordic Pickaxe, is of any real worth.
If you don’t kill Ralis: You’ll find him in The Retching Netch in Raven Rock. Speak to him and he’ll lend you his expertise as a Follower if you want him. You can pilfer his pickaxe after he joins you.
- Follower: Ralis
- Hoarfrost (targets take 15 points of Frost damage to Health and Stamina and have a small chance of being frozen solid.)
Postquest Activities: Black Books
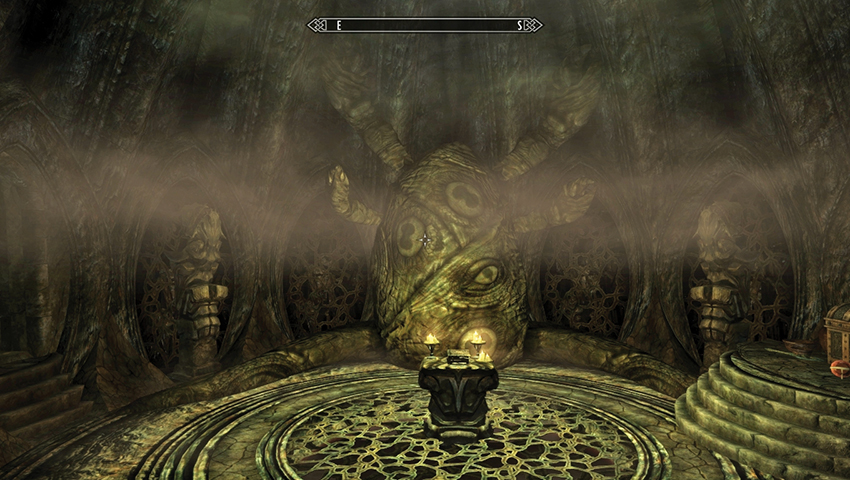
Leave Kolbjorn Barrow via the gap in the sarcophagus to the southwest, passing a large chest before reaching a pull chain and allowing access into a strange and terrible chamber. Here you find an effigy of Hermaeus Mora, another huge chest and assorted items, and a fabled Black Book. This begins Solstheim Side Quests: Black Book: Filament and Filigree.
- Black Book: Filament and Filigree
Whether you’re reading this book or not, exit to the northeast, noting the Stalhrim deposit before activating a lever to summon a rotating staircase down to your level. Ascend, and you emerge in the main chamber.