
Elder Scrolls V: Skyrim Special Edition Guide Dawnguard Quests Dawnguard Main Quest
Dawnguard Main Quest: Chasing Echoes
Chasing Echoes
A Rummage Through Valerica’s Undercroft
At the culmination of Dawnguard Main Quest: Prophet, when prying ears are away from the pair of you, Serana asks, “Do you have a moment to talk?” Indulge her. When you ask about the Elder Scroll, she says she firmly believes her mother, Valerica, holds the key to its whereabouts, but unfortunately, she only knows that Valerica left to go “somewhere safe.” Prompt her to think of Castle Volkihar, and she excitedly tells you of a courtyard in the castle where she used to tend a garden. She also knows of a back way you can reach the courtyard without arousing suspicion.
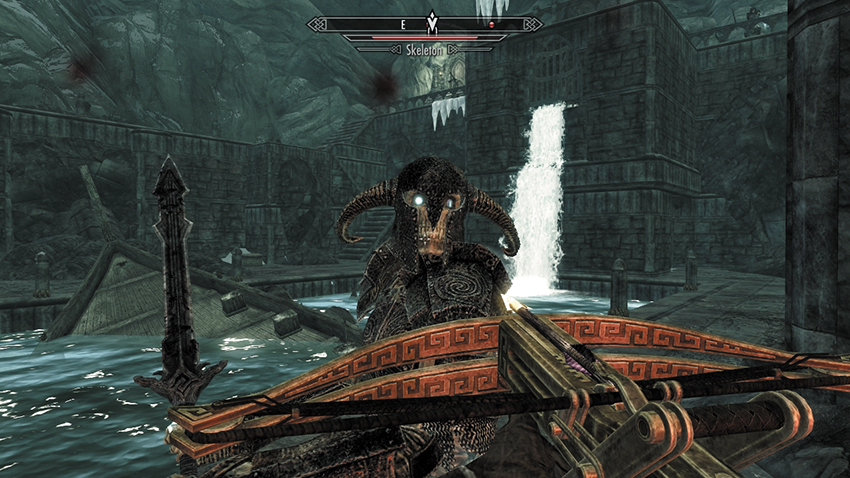
Return to the exterior of Castle Volkihar, then head to the left (northern) side of the bridge from the jetty watchtower, toward an unused inlet on the northern side of the island once used to bring supplies into the castle. It seems the previous owners left a skeleton crew—literally, as you’re attacked by three or four bony fiends as you clamber onto the U-shaped jetty. Use the stone balconies to gain height and cover, before climbing the steps to enter Volkihar Undercroft.
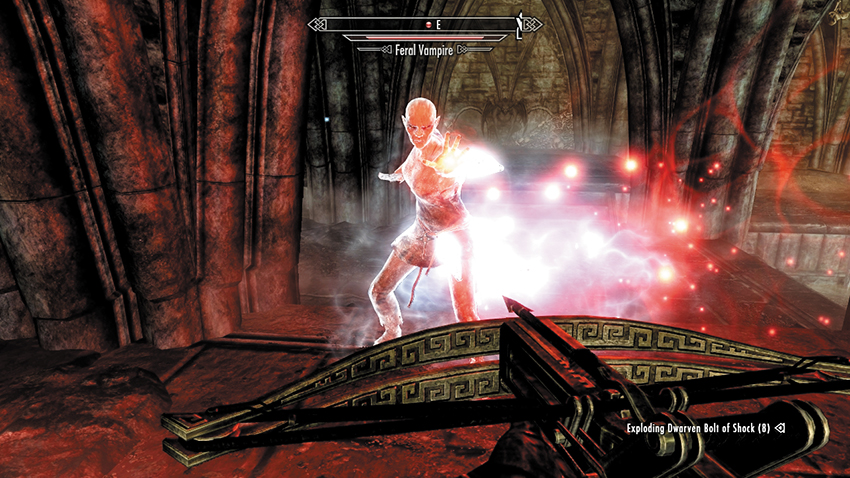
An air of dank fetidness greets you as you head down a set of narrow steps and balconies, pausing to rid the ground of Skeever vermin. A look across the balcony (or via the door you open) reveals a gloomy interior dock filled with supporting buttresses and the soft, padded footsteps of Death Hounds. Bring your finest fiend-culling equipment to bear and begin defeating the hounds and their mistress, a Feral Vampire cast down from Harkon’s court (you can read her scribblings on a Journal Fragment contained on her corpse). Pass by her shelves and small Alchemy Lab, up the steps to the west. Here you’ll find an upper platform of mead barrels, a small table with a copy of the Aetherium Wars on it, and a nearby lever that opens a portcullis below and to your right (west). You can now progress deeper into the Undercroft.
- Journal Fragment
Serana warns you to take a left at the bridge, with exits left and right; her father has built a security measure to negotiate. Heading to the right (north) takes you through a tunnel of bear traps, down to the spiked watery lower level with no exit, and sometimes a lone Skeever to fight. Instead, head down the left (south) tunnel, avoiding the dangling spike traps, to engage a trio of Death Hounds sniffing around several bone piles in this waterlogged catacomb. Then step out into the bone pile room, sloshing about in the water and noting the open grating above from which prisoners were once dropped.
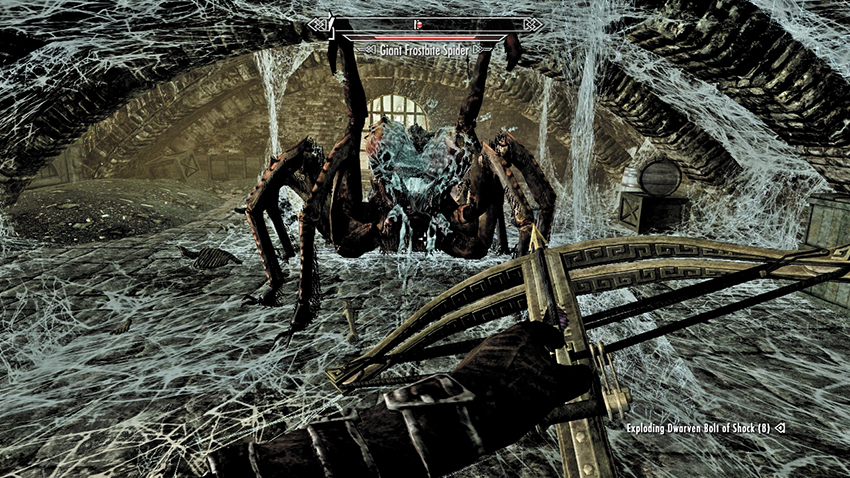
Head south, up the narrow steps and past the cabinets and manacled skeleton with the loose skull. Work your way around to the upper catacombs heading north, hacking your way through thick spiderwebs (there’s an alcove to the right with a chest [Adept] in it). The source of the webbing is soon revealed—a Giant Frostbite Spider, which you must negate. Beyond the arachnid is a lever and a view of the bridged area you came from. The lever lowers a wooden bridge, allowing access to the western tunnel.
Proceed through the wooden door to the lever’s left, and you emerge onto a balcony above the bone-strewn chamber. If you are a Vampire Lord (with Bats Power) or possess the Whirlwind Sprint Shout, use either to cross the gap to the opposite balcony, where you can acquire some otherwise inaccessible loot, including a large chest.
In any case, jump down, retrace your steps to the bridge, cross it, and then climb the sloping tunnel steps to the arched door leading out to Volkihar Courtyard.
Moondial Wiring Club
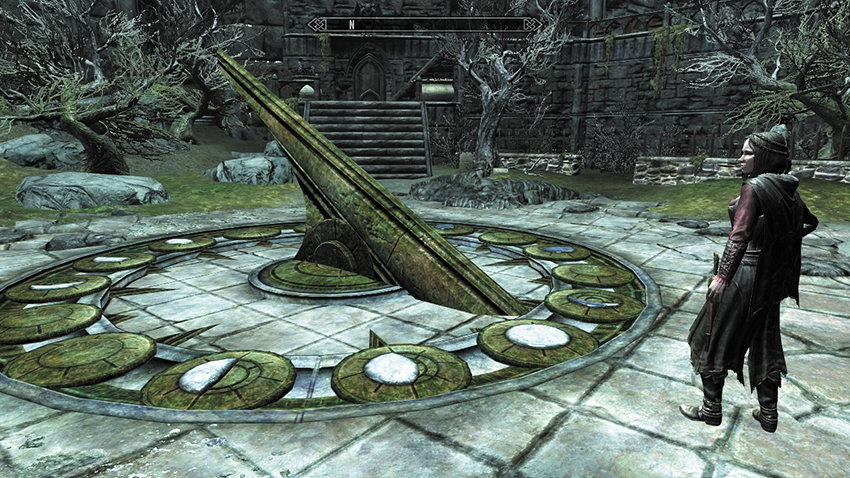
Serana’s initial excitement about seeing the courtyard gardens she tended is tempered somewhat by the general decrepitude of the place. She takes a measured walk around the grounds, lamenting the death of the gardens that had been tended for hundreds of years. Your way seems unsure until Serana spots the glint of the central moondial and notices that three of the crests showing the phases of the moon have been misplaced. Perhaps her mother removed them as a clue?
Sure enough, the moondial has gaps where three phases of the moon should be. Finding them is deceptively simple:
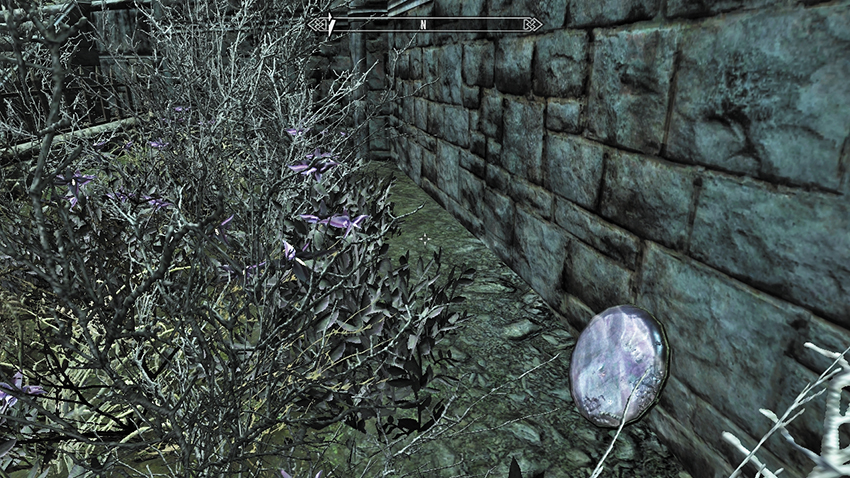
- The Full-Moon Crest is propped against a wall to the rear of the small walled garden, to the east behind the nightshade.
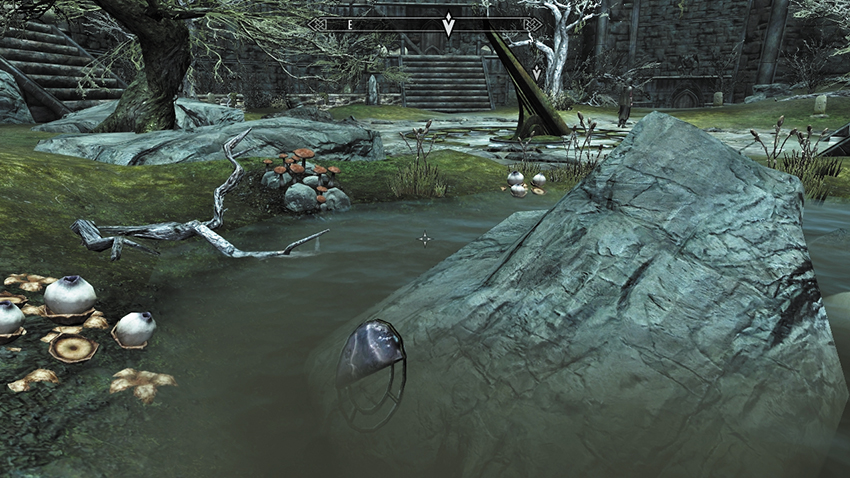
The Half-Moon Crest is partially submerged against a rock in the pond to the northwest.
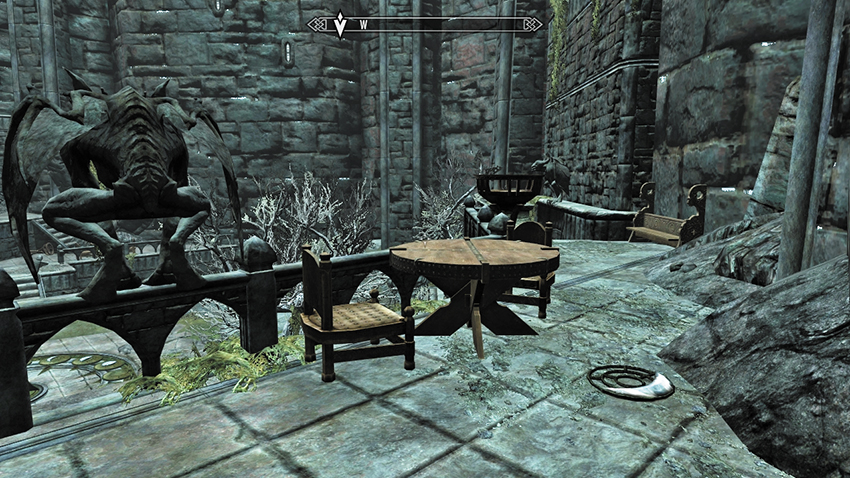
The Crescent-Moon Crest is on the stone balcony near a gargoyle statue and small table, in the northeast of the courtyard.
- Full-Moon Crest
- Half-Moon Crest
- Crescent-Moon Crest
Return to the moondial, and slot each of the missing moon crests into place. The central segments of the moondial disconnect and form a spiral staircase into the ground. Serana commends the cleverness of her mother. Head down and open the arched door to Volkihar Ruins.
The courtyard also contains three other exits. One leads to the main keep but has been blocked by rubble and is inaccessible until the end of the questline (see Postquest Activities). You can also enter the castle’s north and east towers from here, although these are essentially wild-goose chases. The east tower leads to rubble and a skeleton with a few valuables, while the north tower leads to a large banquet hall with skeletons and a gargoyle to face. Neither has an exit, or any moon crests, so these locations are completely optional.
Onward and Upward
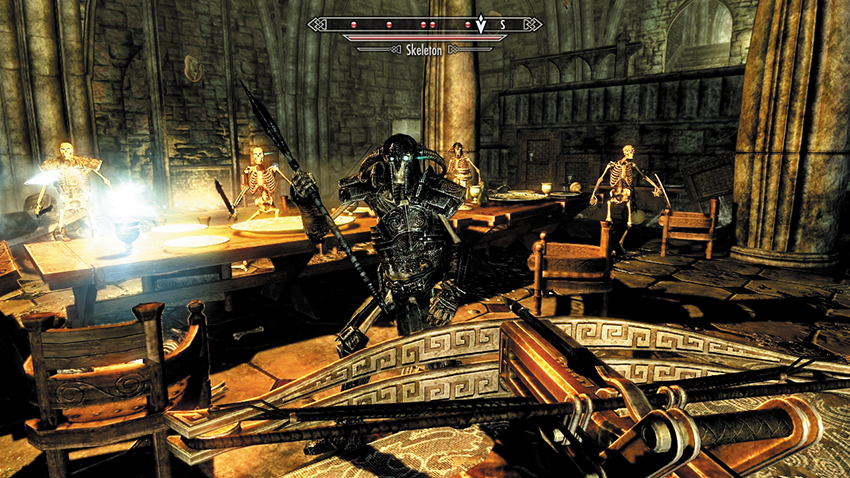
The door leads up a short flight to steps that lead to...a dead end—that is, until you pull the chain and open the secret door leading out into a ruined kitchen with a bloody wooden table. Serana warns you that even she hasn’t visited this part of the castle. Edge forward, up the stairs to the east and into a banqueting hall where six slumbering skeletons soon rise to greet you. After an optional rummage around, leave via the upper stairs to the south. These take you to a low-roofed crypt, where a gargoyle splits from its stone facade and attempts to maul you. Watch the hanging spike traps as you defeat it. Then take the arched door as you continue up the tower.
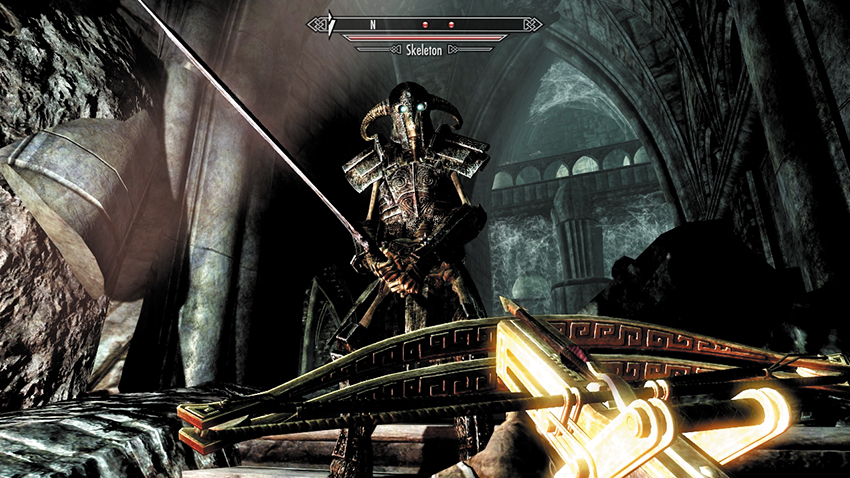
Defeat the two skeletons atop the steps, and optionally wrestle with a small closet lock [Adept] before heading southeast up the stairs. Torches, lit by unseen hands, burn bright as you move through a narrow chamber with vaulted ceilings. Another gargoyle bursts from its stony shell in front of you. Maneuver between the fallen stone buttress sections, dropping two more skeletons as you climb the stairs to the northeast. Turn around to a landing with a door and stairs ahead. The door [Adept] leads to a balcony with a chest, while the stairs allow you upward access, past some shelves and a few ruined rooms to stairs leading northeast to another arched door.
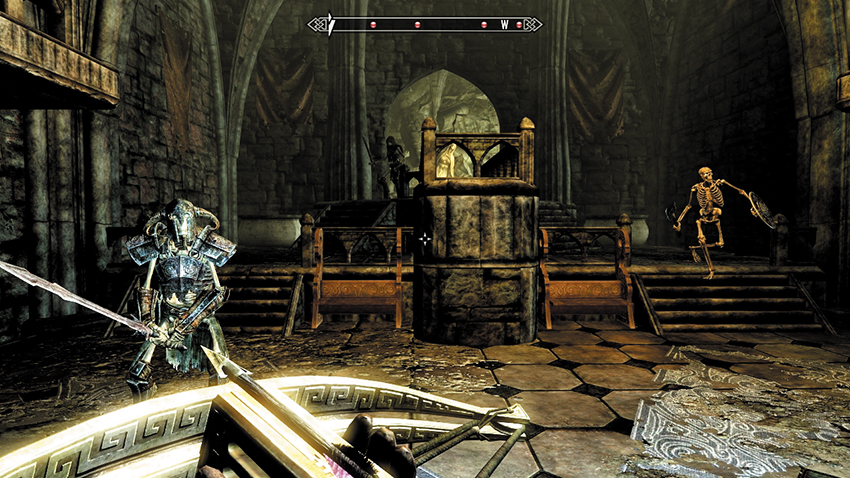
This door opens to a grand vaulted chamber where your mettle is tested against four armored skeletons. Tackle them all before crossing the chamber to the upper mezzanine level. To the left (northeast) is a portcullis, and the chain to release it is directly ahead (southeast), just behind the suspiciously stone-faced gargoyle. Sure enough, when you edge in to pull the chain, the gargoyle’s stone skin shatters, and it attacks! Defeat the beast, then head through the open archway and up the stairs—dealing with skeletal and gargoyle threats along the way—to a large gated archway and a smaller locked arched door [Expert]. These are both entrances to the tower’s chapel.
There are two ways to navigate through this tumbledown chapel to Mara, which now houses a group of four or five skeletons:
- You can unlock the door, following the side passage around to a bridge that crosses the main chapel floor, and cross it above the chapel with minimal combat (and maximum chance for sneak attacks).
- Or, you can pull the chain, stride through the larger arch, and systematically slaughter the undead throughout this once-hallowed place. After you slay all skeletons, quickly reconnoiter the place; there’s a weapons room to inspect. But you’re here to move through the side passage to the bridge, heading southeast across it, then turning right (southwest).
Follow the corridor up the steps to the southwest, through a strange examination room with a wolf’s head on the wall and a (deceased) skeleton on the table. Open the arched door, and head up the steps to a much more imposing double arched door and open it.
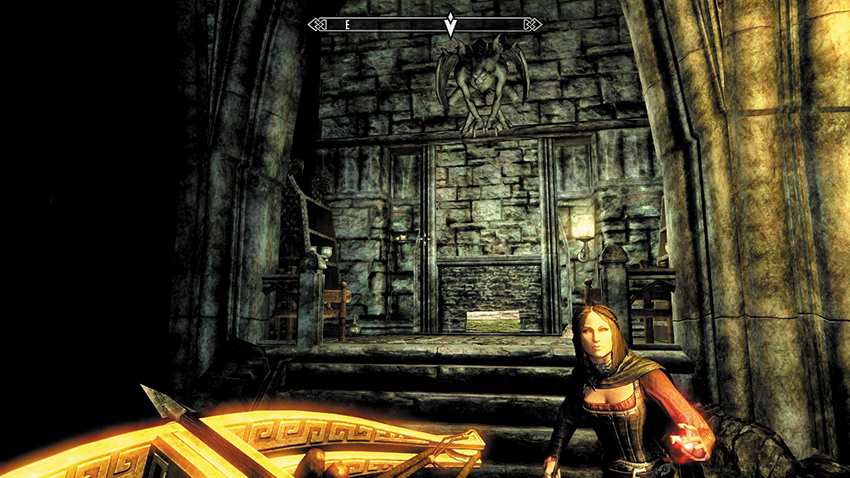
An upper chamber in the tower is home to a group of carved gargoyles, one of which hasn’t been completed. The other three are fully imbued with magic, however, so expect combat with three of them as you advance into the room. After the fighting subsides, make a sweep of the area. Among the coffins and vampire clothing is a seeming dead end. But Serana remarks that you haven’t reached the top of the tower yet. She bets there’s a secret passage somewhere around here, and she’s right: Approach the hearth to the southeast with the (inert) gargoyle above it (as shown), and inspect the left wall candlestick. Turn it and the fireplace rumbles open, revealing another set of winding steps to an arched door.
Soul Cairn Searching
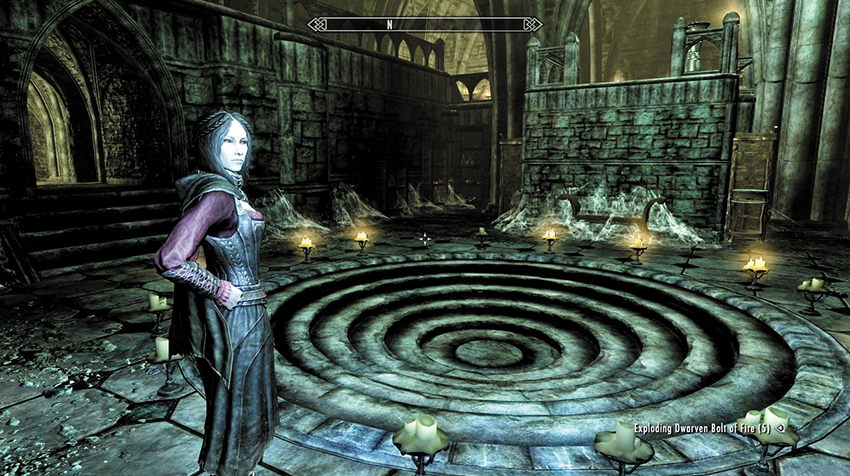
Serana is surprised as you step into an impressive laboratory dominated with a strange sunken circular array. She urges you to look around for a clue to where Valerica has gone. Before you begin rummaging, you can ask Serana more about gargoyles and the laboratory itself.
The bookshelves in the chamber’s western corner look promising, and they are indeed: Leaning on one of the shelves is Valerica’s Journal. Read it before speaking with Serana, as the tome offers some potentially incredible leads:
- The sunken circle in the laboratory floor is a portal to a place known as the Soul Cairn.
- Valerica has made her way there but has sealed the portal behind her.
- To open the portal, an offering needs to be placed in the vessel overlooking the portal.
- Valerica’s Journal
Return to Serana and inform her that you’ve found her mother’s notes. She explains her mother’s theory about Soul Gems, that after a Soul Gem uses the soul trapped inside it, that soul is banished to the Soul Cairn. In turn, Necromancers use the Soul Cairn to receive powers of their own from “very powerful beings” that inhabit this increasingly terrifying-sounding place. The journal gives a list of ingredients to mix into the offering in order to open the portal. However, Valerica’s blood, which is needed for the incantation, isn’t available. Suggest that Serana make do with her own. Now to find the items:
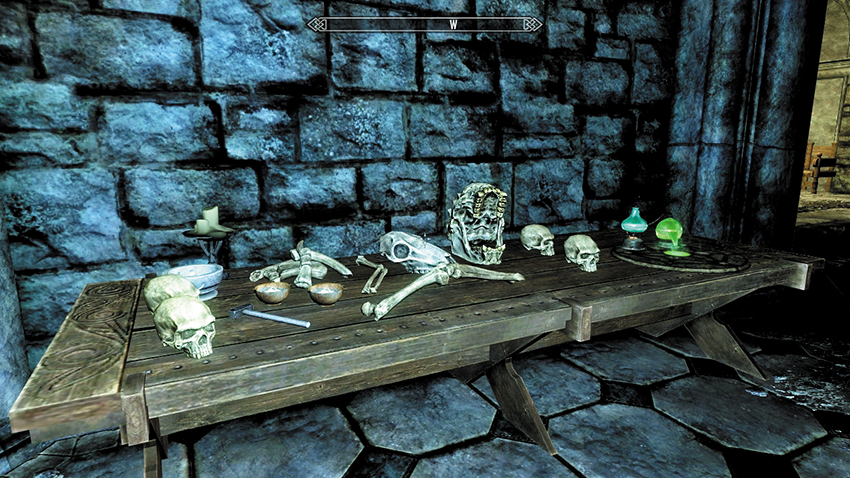
Finely Ground Bone Meal: Check the table of skulls and other assorted bone fragments on the southwest wall. The mortar behind the two human skulls holds the Finely Ground Bone Meal.
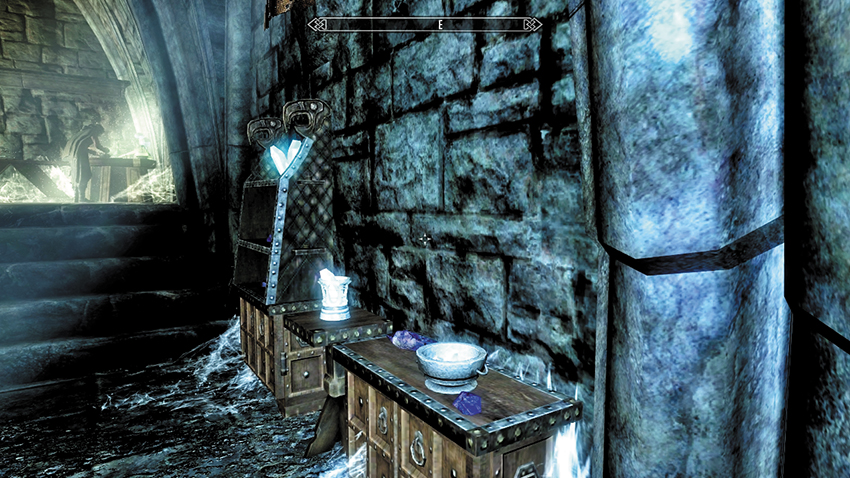
Soul Gem Shards: Head up the steps along the southeast wall. Between the two sets of steps are two low cabinets, one of which has a bowl on it. The Soul Gem Shards are in this bowl.
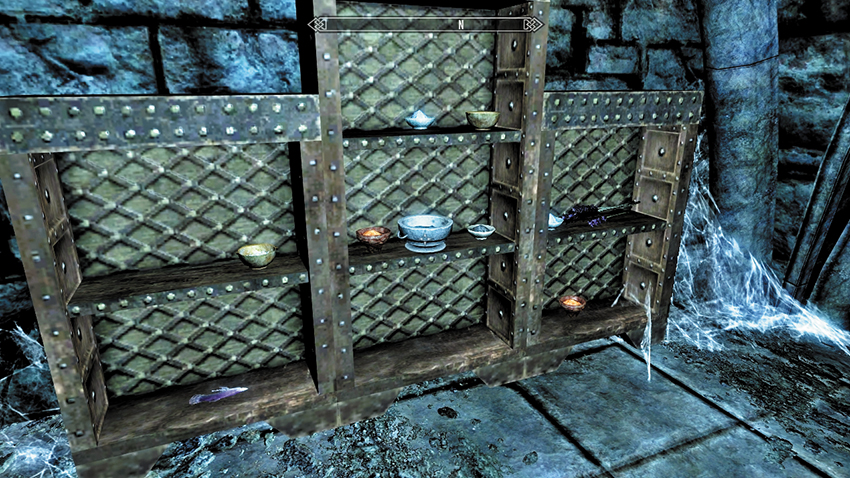
Purified Void Salts: Head around the balcony to the northwest wall, and find the shelving. The Purified Void Salts are in the largest mortar, on the center-middle shelf. Don’t take the Void Salts by mistake!
- Finely Ground Bone Meal
- Soul Gem Shards
- Purified Void Salts
Into the Otherworldly Graveyard
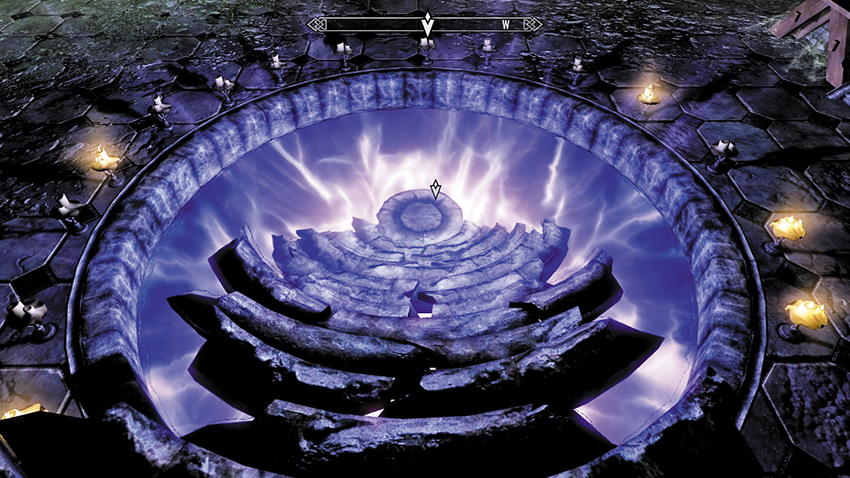
Set the ingredients into the portal vessel overlooking the sunken circles. Then, when you’re ready to proceed, speak to Serana, letting her know you’re ready for her to add her blood to the mixture. The Soul Cairn is a frightening place, so you may need to prepare.
However, once you inform Serana that you’re ready, she bites her wrist, letting her blood drip into the vessel. Her bloodline is true; with a crackle of purple soul energy, the sunken circle splits apart and great sections of stone rotate to form rudimentary steps down into the void. The portal to the Soul Cairn has opened!
Quest Conclusion
Take a few tentative steps down into the Soul Cairn’s entrance. However, there are stipulations regarding whether you can enter the Soul Cairn. These are based on which alliance you’ve picked and your general demeanor:
- If you’re already a vampire and have thrown your lot in with Lord Harkon, you can simply walk down the steps and enter the Soul Cairn.
- If you’ve sided with the Dawnguard but have contracted Vampirism since Isran tested you for this disease, you can enter the Soul Cairn.
- If you’ve sided with the Dawnguard and haven’t contracted Vampirism, you are drained of some health and a solid wall of force blocks your way as you try to enter the Soul Cairn. Speak with Serana, who realizes the Soul Cairn isn’t a place for a “normal” living being. Serana isn’t affected like you, as she’s a vampire. However, you’re not so “lucky.” You are now presented with a choice. You can:
- Step forward, let Serana embrace you and sink her teeth into you, and turn yourself into a vampire (with all their benefits and shortcomings). You may now enter the Soul Cairn.
- If you insist on maintaining your mortal state, Serana can partially Soul Trap you. This weakens you (reduces your health) while you are in the Soul Cairn. However, during Dawnguard Main Quest: Beyond Death, you can ask Valerica for the location where you can gain back the piece of your soul Serana has taken from you. This is the only way to enter the Soul Cairn without becoming a vampire. Your health is unaffected when traveling anywhere other than the Soul Cairn.
- If you’ve sided with the Dawnguard, haven’t contracted Vampirism, but don’t want Serana to bite you or remove part of your soul, you can temporarily halt this quest, contract Vampirism by the usual means (from a Vampire’s Drain Life ability), and return afterward. This is possible, but there’s little point in trying it.
Postquest Activities
Whatever your decision, once you enter the Soul Cairn, Dawnguard Quest: Beyond Death commences immediately.
If you sided with the Dawnguard but agree to let Serana transform you, note that you are now a member of Harkon’s bloodline, with full access to the Vampire Lord form and all its powers. Consult the Vampire Lord section for more details on your new abilities, as you won’t receive the same primer on them that vampire-allied players received from Harkon.
Note that you will need to cure yourself of Vampirism before you can accept quests from the Dawnguard again (see Side Quest: Rising at Dawn).