
Elder Scrolls V: Skyrim Special Edition Guide Dragonborn Quests Dragonborn Main Quest
Dragonborn Main Quest: The Path of Knowledge
The Path of Knowledge
An Insufferable Ally
This quest begins once you finish Dragonborn Main Quest: The Fate of the Skaal. You can complete it before, during, or after Dragonborn Main Quest: Cleansing the Stones.
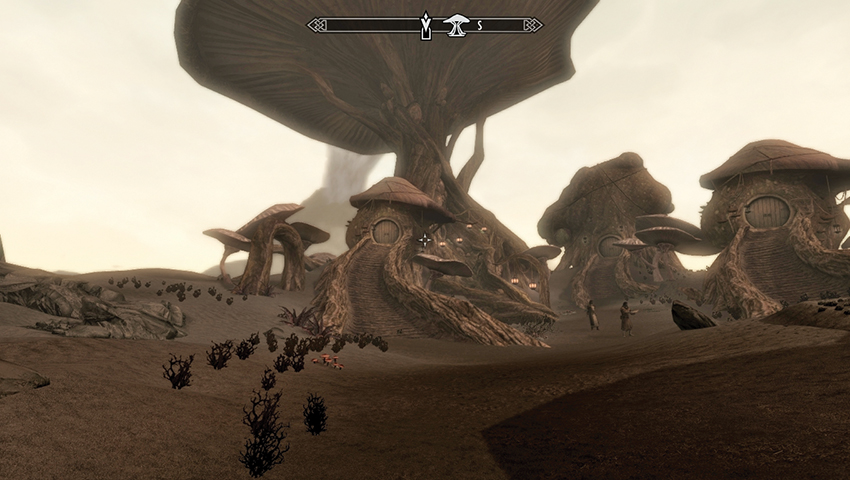
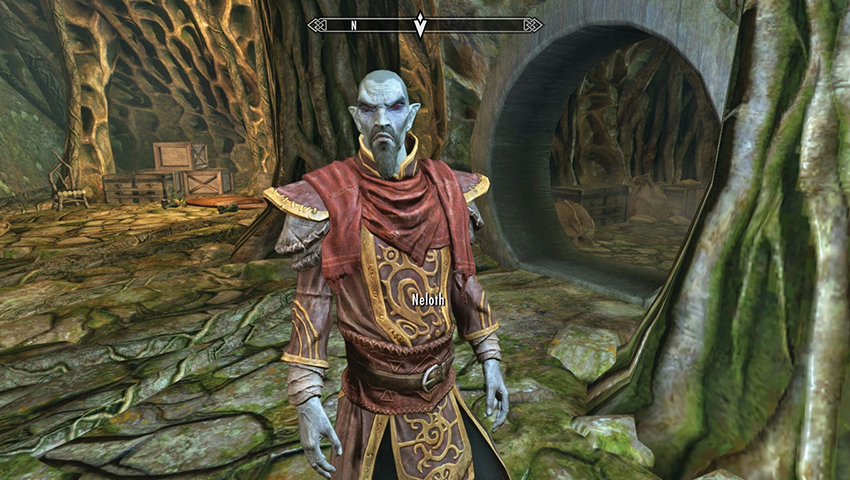
You may have already met Neloth as part of Dragonborn Main Quest: Dragonborn or by visiting his tower at Tel Mithryn on your own. He has since returned to Tel Mithryn, in the southeast of the island. Beware of ash creatures as you approach.
Look for the lantern-lit root pathway that leads up to a circular door into the main structure of Tel Mithryn. Enter the tower, and then float up the magical lift to the upper floor where Neloth is practicing his magic. He doesn’t recall inviting you here. Speak to him of the Black Book, after which you can converse on the following topics:
- Your exploration to find more of these Black Books. Continue this line of questioning, mentioning you need to know what Miraak knows if you wish to stop him. Keep talking as Neloth reveals he knows the whereabouts of a Black Book connected to Miraak.
- Questions regarding the Daedric Lord Hermaeus Mora.
- The Black Book Neloth has learned the location of is sealed within a “reading room” in the dwarven ruin of Nchardak. He agrees to accompany you to see the tome, which is visible but firmly locked away.
City of a Hundred Towers
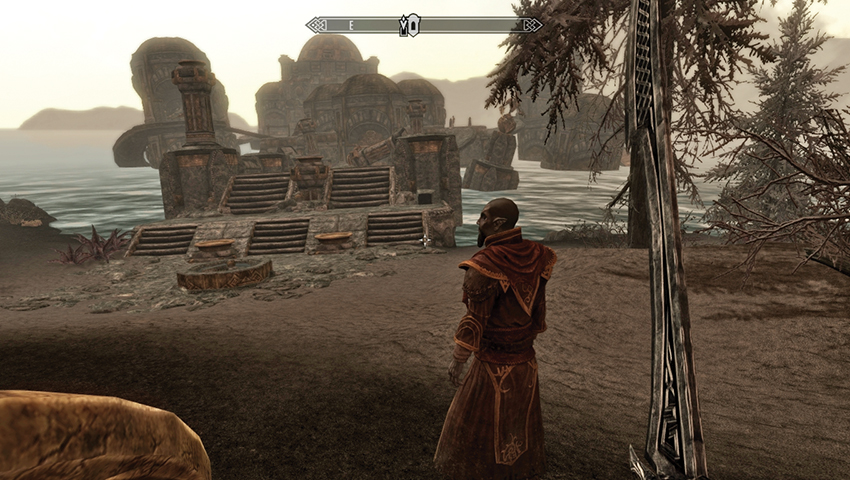
Neloth sets off at a quick pace, first due north, then northeast along the coastline. As you approach a copse of windswept trees, with the ruins of Nchardak looming from the water’s edge, Neloth remarks on the Dwemer architecture and says that the book is housed in the dome at the far end of the sprawling, half-sunken stone walkways and platforms.
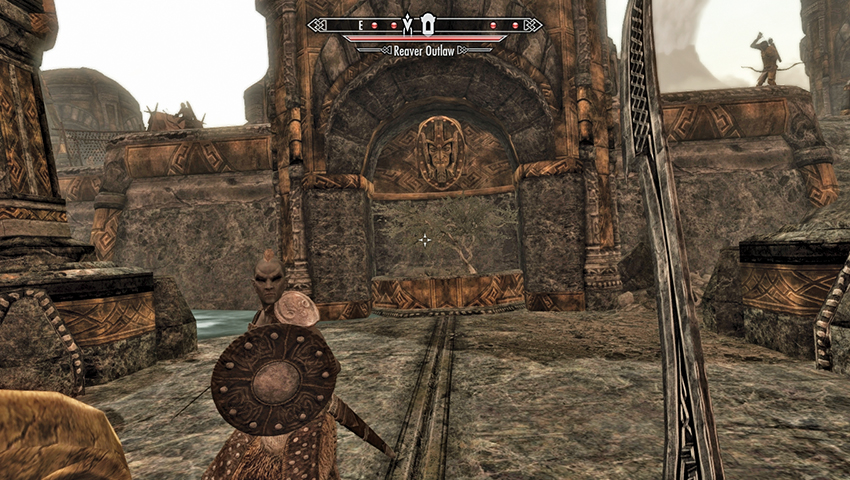
Step onto the sloping stone bridge, watching for “riffraff”—Reaver scavengers who lurk among the ruins—and tackle them one by one. Watch for long-range bowmen from upper platforms as you go. You can head across the left or right series of walkways. Although they look precarious, they both lead to the main domed platform where the Reaver leader can be found examining the door to the Reading Room. Neloth proves his mettle by backing you up. After you deal with all of the Reavers, approach the sealed door.
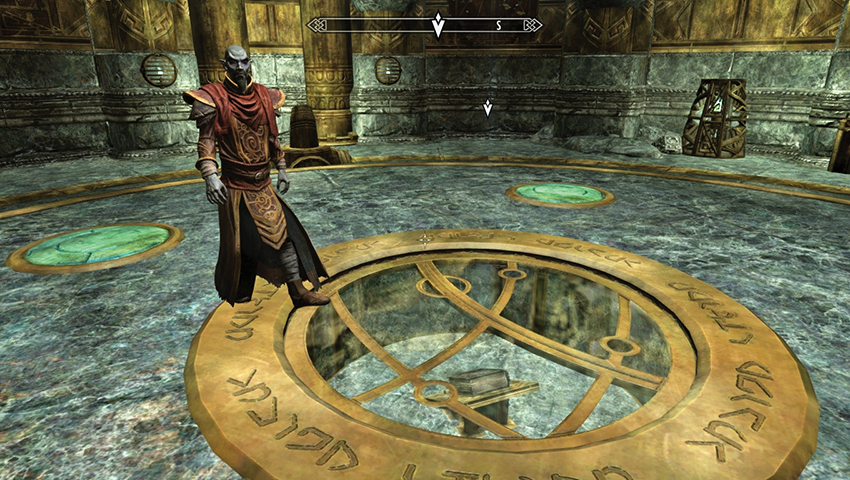
Inspect the control switch to the door’s left. Neloth explains that these pedestals are activated by special cubes. Fortunately, he secured one during his initial exploration and opens the seal, allowing you into the Nchardak Reading Room. Inside, Neloth peers down through the huge seal on the ground that houses the tome you seek. So tantalizingly close! But this calls for a laborious method of book extraction; you must restore the steam supply to this room, which will allow you to access the Black Book.
Cube Collecting
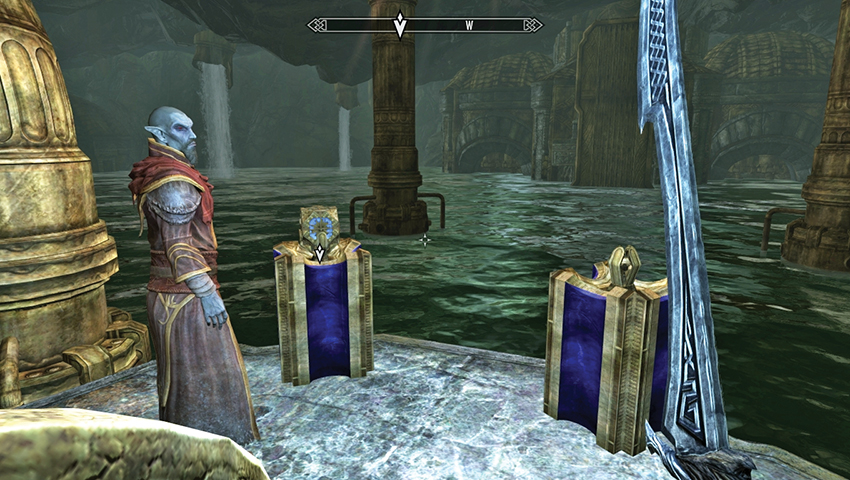
Using the cube Neloth already found, he approaches another control switch and opens the doors to an elevator that leads down to the Nchardak Great Chamber. Pull the lever to travel down, then follow Neloth as he explains the history of Nchardak, the “City of a Hundred Towers.” At the bottom of the steps is a promontory with a view of a vast, waterlogged chamber. In front of you are two blue pedestals.
Neloth explains that most of the lower levels of the city are flooded but that the old Dwemer water pumps still work. With that, he places the Control Cube into the pedestal, which lowers the water level some of the way. You will need to locate four more cubes so the boilers can restore the steam power to the room above. Take the Dwemer Control Cube from the pedestal, then follow Neloth again. The water level rises, but there’s nothing you can do about that for the moment.
- Dwemer Control Cube Total: 1
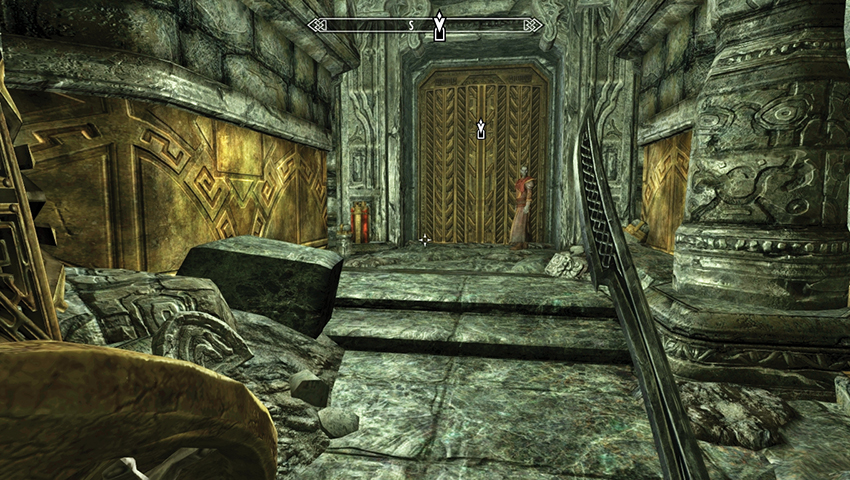
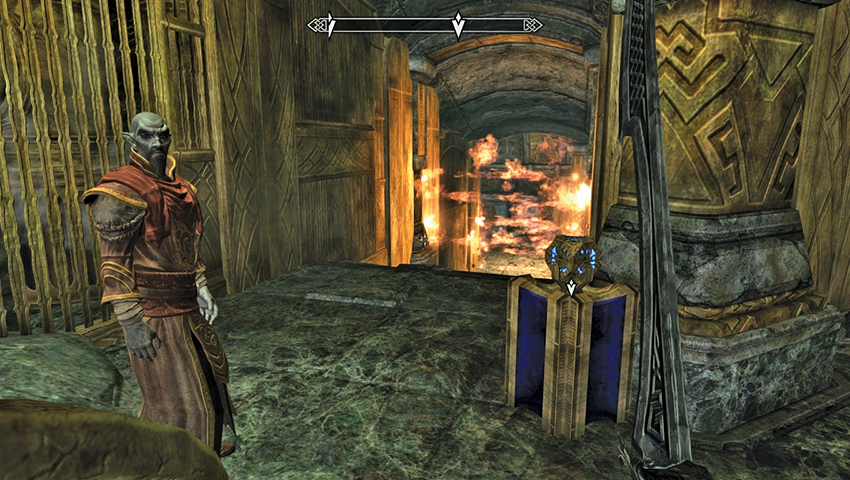
Neloth pores over a strange set of instruments that suggest where a Cube may be found. Head south to the door that leads to the Nchardak Workshop, and insert the Cube into the red pedestal to the door’s left to open it. Head inside, then take the first left, where you find a pedestal with a second Control Cube. Neloth suspects the rest won’t be so easy to obtain. Take the Cube, and the flamethrower traps ahead of you subside, but Dwarven Spiders and Spheres are released. Remove their threat and continue down the corridor.
- Dwemer Control Cube Total: 2
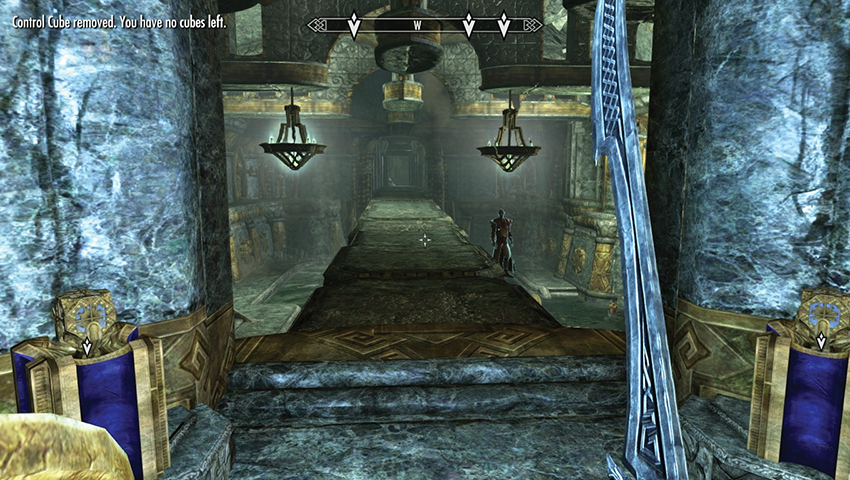
Your Dunmer friend remarks that this part of the city comprised the “Great Workshops of Nchardak.” As Neloth drones on about the manufacture of automatons, check the half-flooded chamber. To the left (north) behind a barred wall is another Cube. You can’t reach it yet, so stay on the bridge and move to the opposite (eastern) side, where there are two blue pedestals. Place one of your Cubes into either pedestal; they both lower the water level to waist level.
- Dwemer Control Cube Total: 1
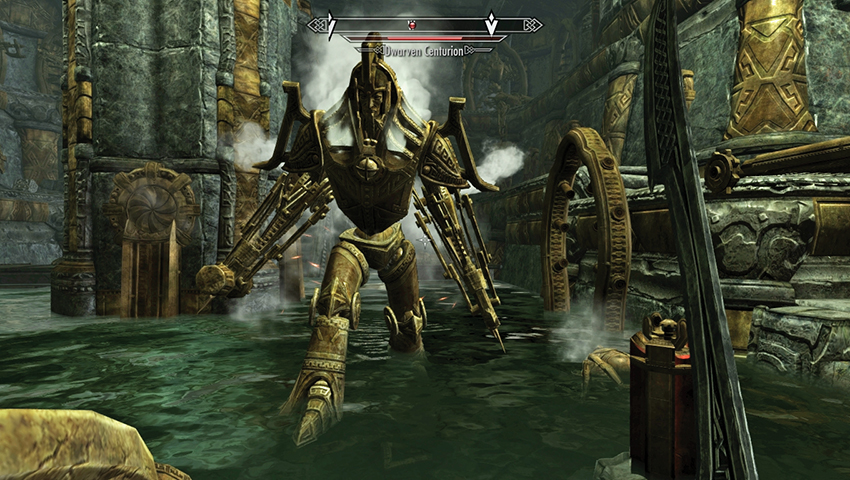
Head down to the ground floor, deal with the Dwarven Spheres and Spiders, and locate the red pedestal in the water on the northern side, below the small gold bridge. Place your only Cube into this slot (you automatically remove it again), and a set of stone steps rise behind the bridge. You need to climb the stairs, but the bridge is blocking your path. You can:
- Make your way around the midlevel perimeter of the room, proceed out onto the bridge, and drop onto the stairs from there. If you choose this path, be careful—the Centurion on the room’s west end (just beneath where you came in) will come to life if you approach him, and several piston traps threaten to push you back down to ground level.
- Attempt to jump up onto the bridge (or the platforms near it) from ground level. This is possible but difficult.
- Remove the Cube you placed in the blue pedestal earlier and simply swim over the bridge.
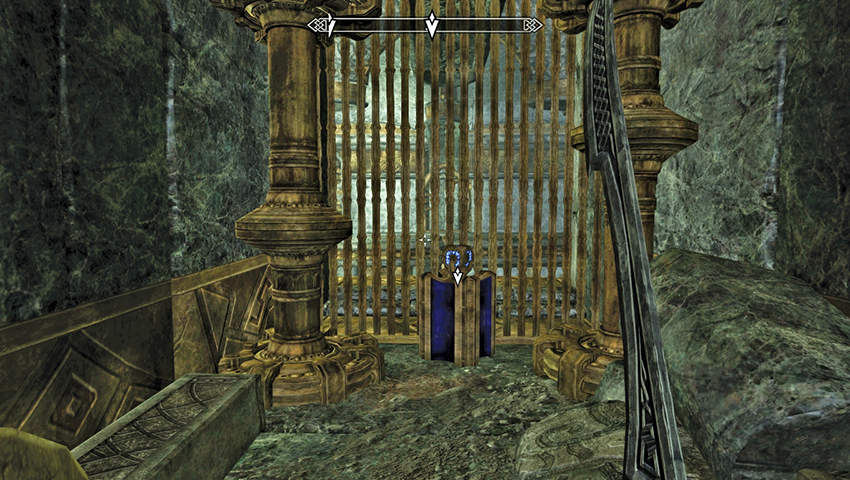
However you got there, the gold door in the north wall leads into a small, reasonably wide chamber with a secondary area around and to the left (south), leading to a new Control Cube (near the barred wall you couldn’t get to earlier). Grab this Cube (you should now have two), and Neloth tells you the water is rising; you must take care. Slay the spiders that have emerged behind you, then head back to the workshop chamber and retrieve the Control Cube you left in the blue pedestal there. This raises the water level even more, which allows you to proceed into the next chamber. Head south toward the gold door.
- Dwemer Control Cube Total: 3
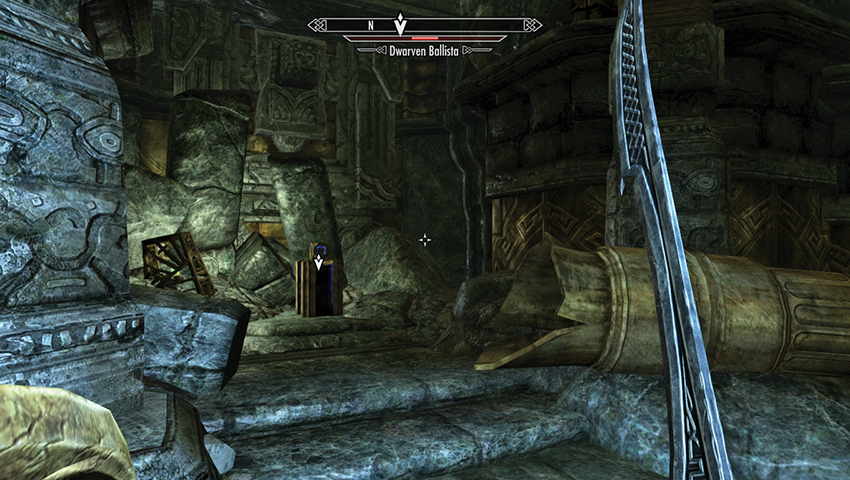
Once inside, turn right (west) and proceed through the collapsed passage. If you can’t reach the door on the far side, double-check to make sure you have all three Cubes—the water level will only be high enough if you have all of them. Beware of Spheres and Dwarven Ballistas in the subsequent chamber, and the waiting Centurion as you find the next Control Cube in a rubble-filled alcove to the north. Take it!
- Dwemer Control Cube Total: 4
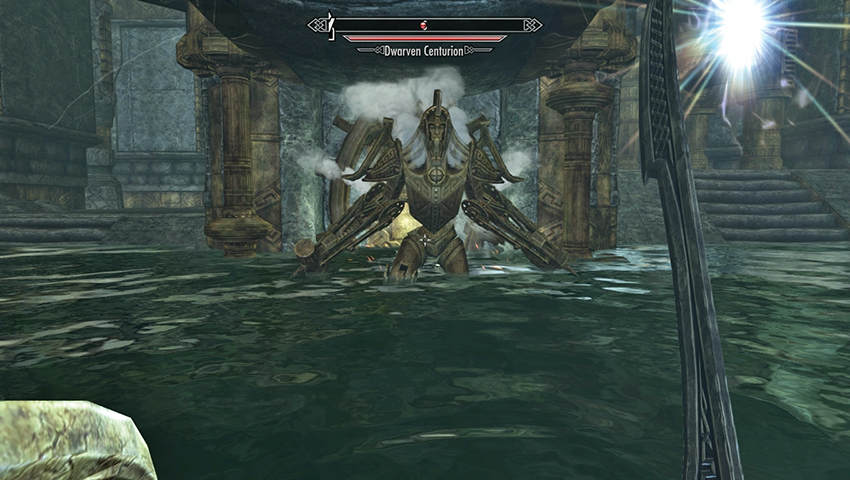
If you didn’t attack the Centurion, he emerges as soon as you take the Cube...right as the room begins to flood! Hurry up the stairs to the west, climb to the upper balcony, and finish off the Centurion and any remaining automatons. Then place a Cube in the red control switch, lowering a bridge and allowing you to escape this chamber. Head down and open the double doors leading back to the Great Chamber.
Assault on the Aqueduct
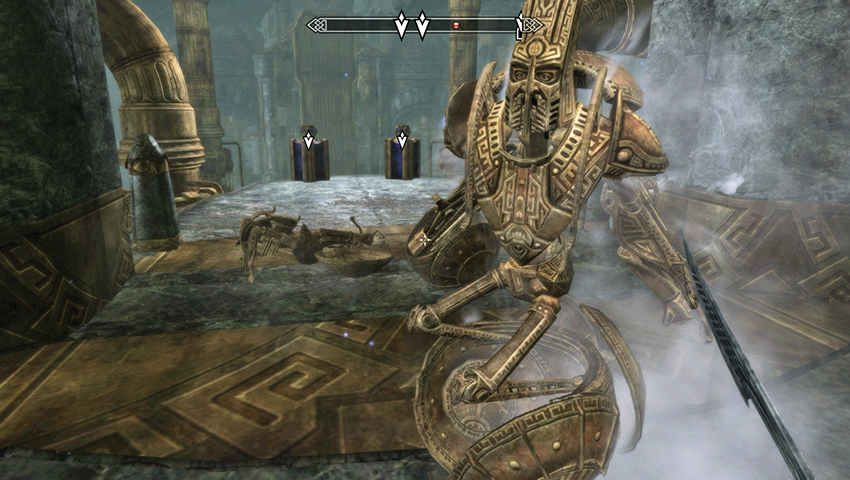
Quite a haul! The last Cube you need lies beyond a door on the Great Chamber’s north side, but to access it, you must drain the entire room. Place a Cube on each of the pedestals and leave them there. A small group of Dwarven Automata will emerge behind you; defeat them, then follow Neloth down the spiraling ramps.
- Dwemer Control Cube Total: 2
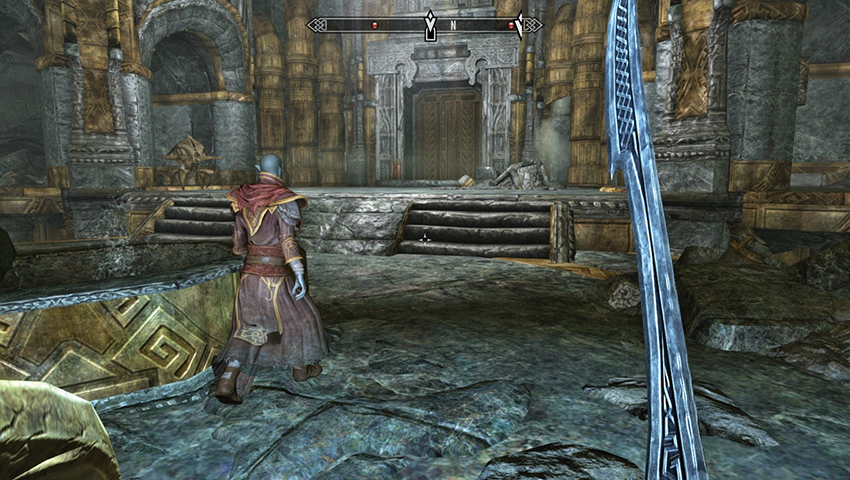
From the boiler platform, you can travel south or north. The southern ruin contains a Sphere to battle and another blue control pedestal. Insert a Cube, lowering the water level, and head down the ramp to a ground-level door with a red pedestal. Open the door with your last Cube, claim the items from a chest inside, and optionally wander the floor of the chamber for a second chest [Apprentice]. Then retrieve your Cube from the southern ruin before continuing.
On the chamber’s northern side, attack the two Ballistas with Neloth’s help. Then place a Cube into the red control switch, sliding open the gate to the Nchardak Aqueduct.
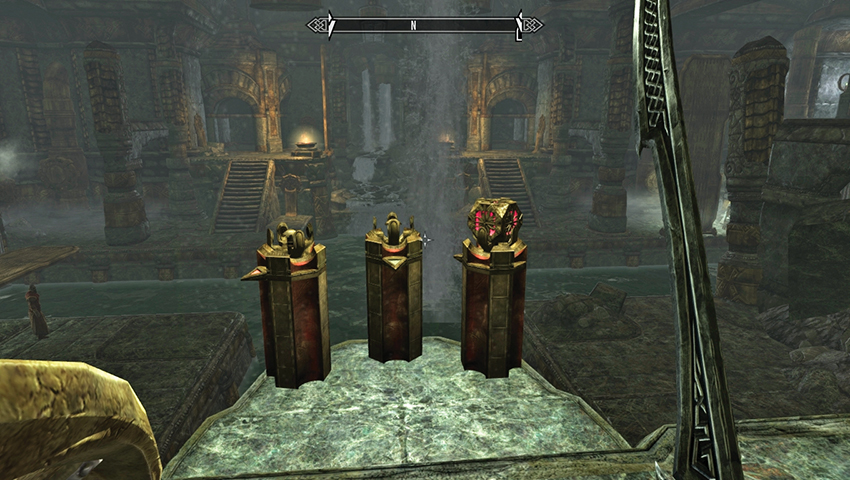
As you walk into the aqueduct chamber, Neloth remarks that he won’t be swimming around in this filth to find the last Cube. It obviously falls to you to get your feet wet. Looking to the east, Neloth says he’s spotted the pump activator in the overlook, so that’s your next target. All three gold bridges must be lowered to reach it.
This is achieved by some reasonably straightforward deduction: Locate the three red pedestals above the entrance corridor, heading up the ramp to find them. Activate the left pedestal, then the right one, to lower all three bridges. Then head back down to ground level to fight off the newly awakened Dwarven Spiders and Spheres. Follow Neloth, backing him up (or letting him take the bulk of the battering), slaying enemies as you go, until you cross all three bridges. At this point, Neloth moans again about the muck he’s been wading through.
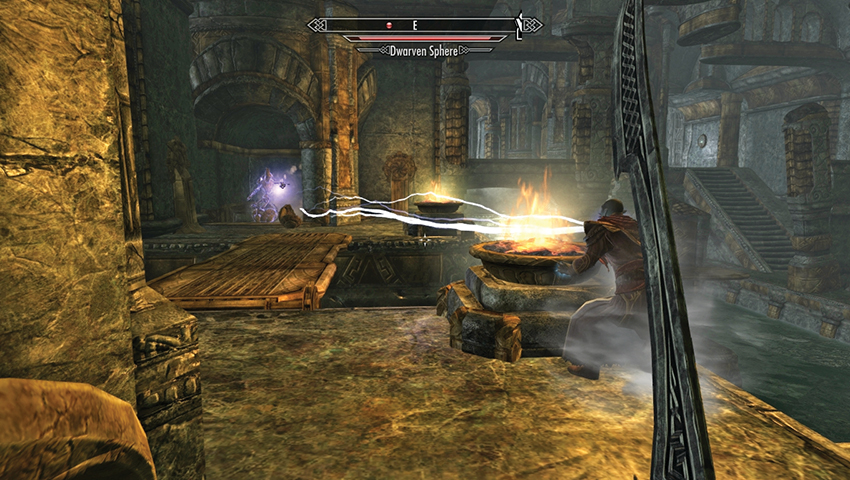
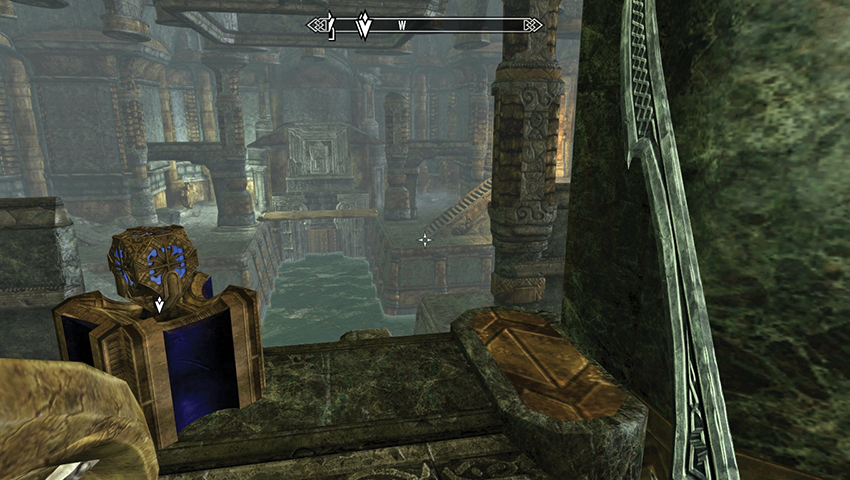
Head east up the stone steps and turn left (north), entering a balcony with a blue pedestal overlooking the entire chamber. Slot in and leave a Cube, lowering the water level below.
- Dwemer Control Cube Total: 1
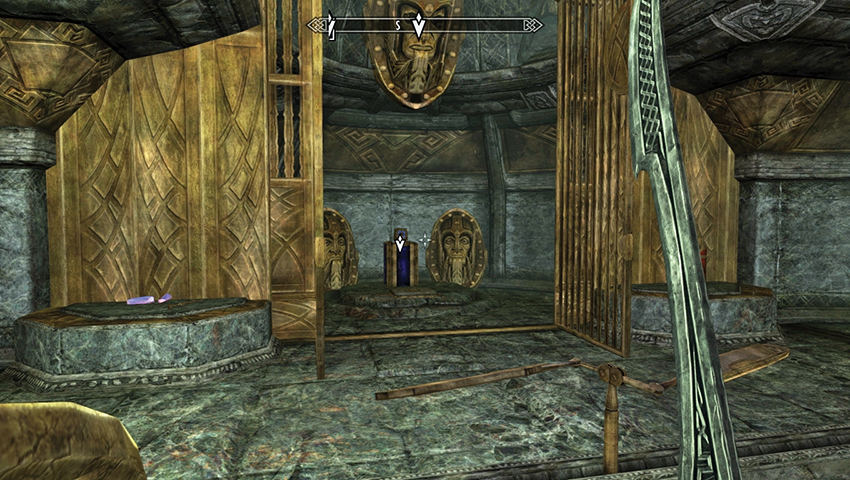
Don’t lose focus of your main goal: the gold door at the far (west) end of the chamber, accessible and visible now that the water has drained. Open it using the red control switch, and head into the short corridor beyond. Beware the floor plate that triggers a wall trap, then bypass the rotating blades by heading around the column to your left. Activate the red control switch to open the gold gate, and claim your last Cube! Stand to the side when you do, or you’ll be struck by a flurry of darts!
- Dwemer Control Cube Total: 2
Swim back out to the main aqueduct chamber, which has once again become waterlogged. Neloth is thrilled that all five Cubes have been found, but you’ll need to gather them all! Neloth has already pried the previous Cube from its pedestal to the east, so swim under the three red pedestals and head south into the Great Chamber.
- Kagrumez Resonance Gem
Retraction of the Contraption
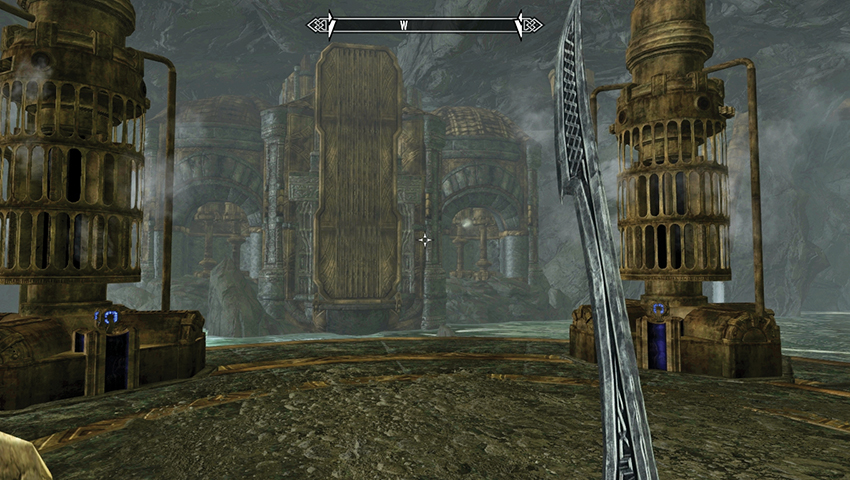
Return to the Great Chamber and climb back to the upper level where the two blue pedestals are. Take one of the two Cubes, causing the water to rise but leaving it lower than the boiler platform. Speak to Neloth, and he hands over the Cube from the aqueduct. You now have all four Cubes needed to restart the boilers.
- Dwemer Control Cube Total: 4
Drop to the lower platform. There are four blue boiler control pedestals here, so insert your four remaining Cubes to finally restart the boilers. Suddenly, the giant gold drawbridge lowers, and an immense steam Centurion clanks over the bridge to engage you in battle. Fight it where you stand, or take advantage of the huge chamber to drop it from afar. The Centurion was guarding a small alcove with a treasure chest.
Quest Conclusion
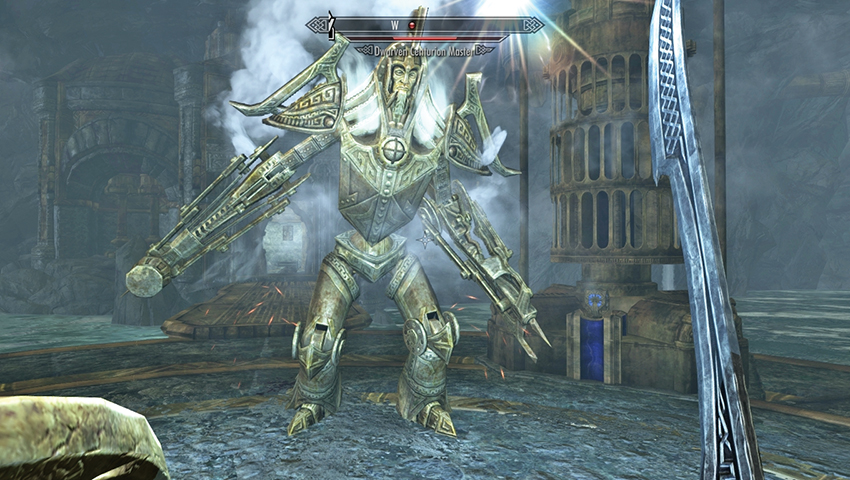
Make sure all four boiler pedestals are activated (you shouldn’t be carrying any Cubes), and follow Neloth up the elevator, riding it back to the Reading Room. If you’ve placed the Cubes incorrectly, Neloth will certainly tell you. If you’ve correctly placed the Cubes, Neloth tells you it worked and that steam is flowing to the room. He presses the button in the Reading Room, causing four shafts of light to illuminate the complex lock, and the contraption releases the tome! At last! Neloth deems you deserving of the first leaf through this book....
Dragonborn Main Quest: The Gardener of Men begins immediately.