
Elder Scrolls V: Skyrim Special Edition Guide The Atlas Solstheim: Northern Mountains
[S.N01] Damphall Mine
[S.N01] Damphall Mine
Related Quests
- None
Recommended Level: 10
Dungeon: Mine
- Reaver
Crafting
- Alchemy Lab
- Anvil
- Smelter
- Tanning Rack
- Wood Chopping Block
Dangers
- Danger! Oil Lamp Trap (5)
- Danger! Rockfall Trap
Miscellaneous
- Chest
- Potions
- Loose gear
- Lots o’ gold
Exterior
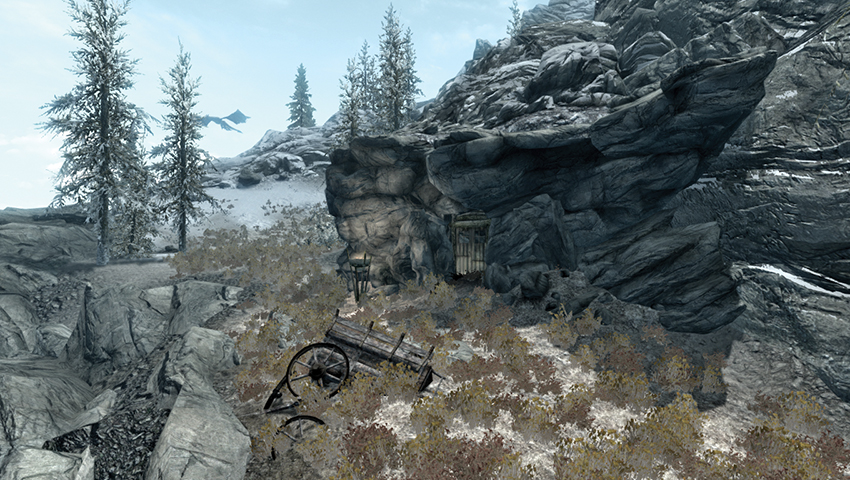
An abandoned iron and silver mine has been repurposed by a band of Reavers. It is located on the lower rocky abutments overlooking the Sea of Ghosts, just below the snow line. The entrance is slightly precarious; bring your best Reaver-killing equipment and slay the single foe outside, near the half-buried cart.
- Reaver
Interior
 Door to Solstheim
 Grotto Entrance
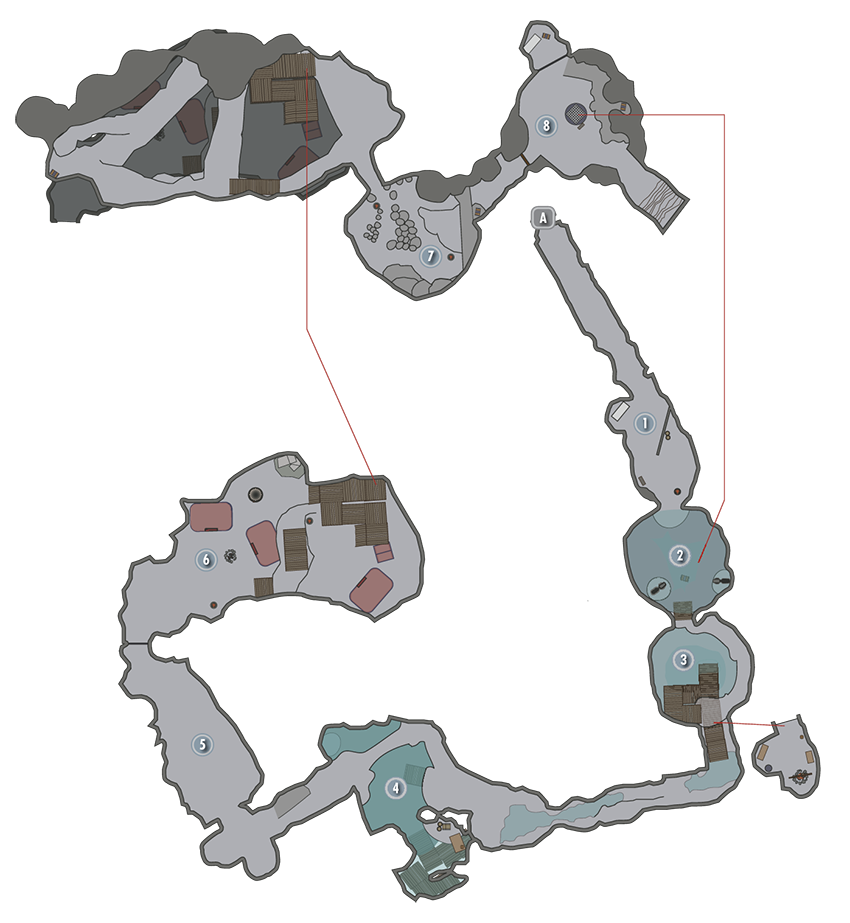
Head down from the entrance, starting combat with two Reavers behind the fallen fencing. There’s a single potion and purse to collect and some optional mining to attempt.
- Potions
- Pickaxe
- Iron Ore Vein
 Grotto and Plunge Pool
This roughly circular and waterlogged mine shaft chamber is extremely steep. Look up at the square-shaped trapdoor two floors above you; this is your spectacular exit route! The pool is deep and has a chest, six skeletal remains, and two Reaver corpses to find.
- Chest
 Lower Pool and Alchemist’s Alcove
For a more stealthy and safer way to remove the Reaver threats in this area, use the ledge left of the waterfall and work your way around, passing a tunnel to your left; fight two foes here near an Alchemy Lab and shelf of potions. The rickety mine platforms lead down to a second tunnel directly under the first. The water below is devoid of items, save a Nordic Barnacle Cluster.
- Crafting: Alchemy Lab
- Potions
- Pickaxe
- Reaver
 Bridge Cavern
Head through the lower tunnel, passing the spiky grass and an old campfire (watch for the tripwire trap!). Head into a cave with a low ceiling and a natural rock bridge ahead (west). Expect a silver ore vein and two Reavers on this bridge (shoot the oil lamp to splatter them with fire). Before continuing, take a dip in the water; there is a gap to swim through to the southeast leading to a cave alcove with the following:
- Danger! Oil Lamp Trap (2)
- Danger! Rockfall Trap
- Reaver
- Silver Ore Vein
- Book: Ahzidal’s Descent
- Statue of Dibella
- Gold Ingot (3)
- Chest
 Old Miners’ Camp
Cross the bridge, climb over the skeletal feet of a crushed miner, and pass the wood chopping block and old Nordic carving to reach a cell door. Crafting: Wood Chopping Block
 Reavers’ Camp
Two pelt tents and at least five Reavers are waiting in this cavern, which grows vertically with two bridges ahead of you and ramps and ledges to ascend. The lower camp has a chest [Novice] and some potions in one tent and a smelter with iron ore behind it. Use the oil lamp traps if you wish. Climb the wooden ramps past a third and fourth tent to the ledge above and another ancient Nord carving. There’s a narrow tunnel entrance ahead (southeast) and a moss-walled ledge to your right (west), leading to a natural arch where a skeletal victim paid the price for inaccurate Reaver archery! The ledges to the west lead to a bloody executioner’s stump and another chest.
- Danger! Oil Lamp Trap (3)
- Reaver
- Crafting: Anvil, smelter, tanning rack
- Pickaxe
- Chest (2) [1 = Novice]
- Potions
- Loose Gear
 Stalagmite Ascent
Climb the narrow, steep, and winding path with stalagmites around you, pausing to edge up the narrow path to your right (northeast) to a well-hidden chest. Slay the Reaver at the top. Then pull the chain to release the rock wall.
- Reaver
- Chest
 Rock Waterfall and the Long Drop
The remaining Reavers (around three, including a leader carrying a Treasure Room Key) are in this final chamber, consisting of a rocky waterfall (which you can climb to reach a chest). The cell door [Master] is more easily opened with the key, leading to a chest and some excellent gear and valuables. When you’re ready to leave, retrace your steps or fall down the trapdoor into the plunge pool (Location [2]), then head northwest.
- Reaver
- Treasure Room Key
- Lots o’ gold
- Loose gear Chest (2)