
Elder Scrolls V: Skyrim Special Edition Guide Quests Act II
Main Quest: Alduin’s Wall
Main Quest: Alduin’s Wall
History and Prophecy
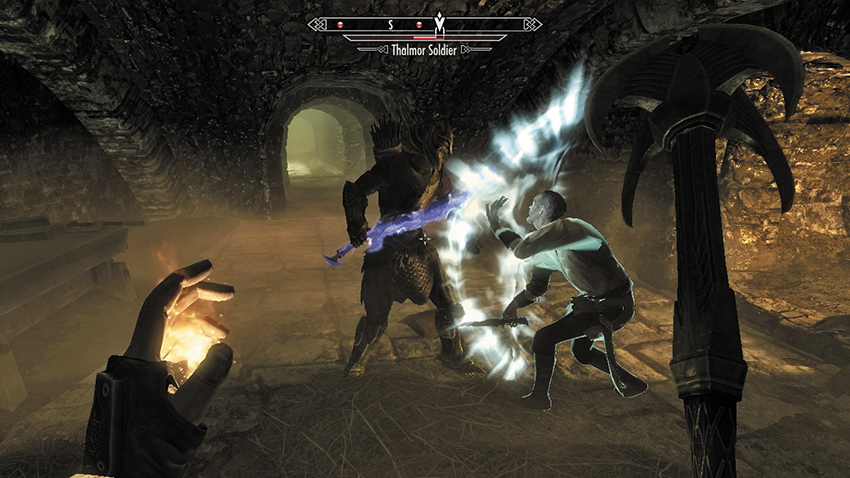
Now that Brynjolf and the Thieves Guild have helped you locate the slightly deranged Esbern, it is your job to chaperone him to Riverwood. Ask him if he knows the way out of here, and he sets off running. Follow him out of his hidey-hole or request that he follow you. Head down the stairs in the sewer junction chamber. As you both enter the sewer passages, Thalmor agents begin to appear. Defeat them. Combat continues as you push up the stairs and into the Ratway Warrens. Let Esbern fight the Thalmor Soldiers that may appear; Esbern is a powerful wizard and can handle himself in a fight.
Head west, through the open gate in the hub room and into the connecting sewer tunnel. Go north past the tree routes and up the stairs by the dining chamber. Next, travel around to the south, above the hub room. Cross the middle balcony of the hub room, and go to the upper balcony overlooking this same hub room chamber. Head west into the Ragged Flagon. From here, head west, into the Ratway mead-tasting room; then turn right (north) and use the wall lever to lower the wooden bridge if you haven’t done this already. From here, you’re one winding corridor away from exiting into Riften. At this point, you can Fast-Travel or trek back to Riverwood and the Sleeping Giant Inn.
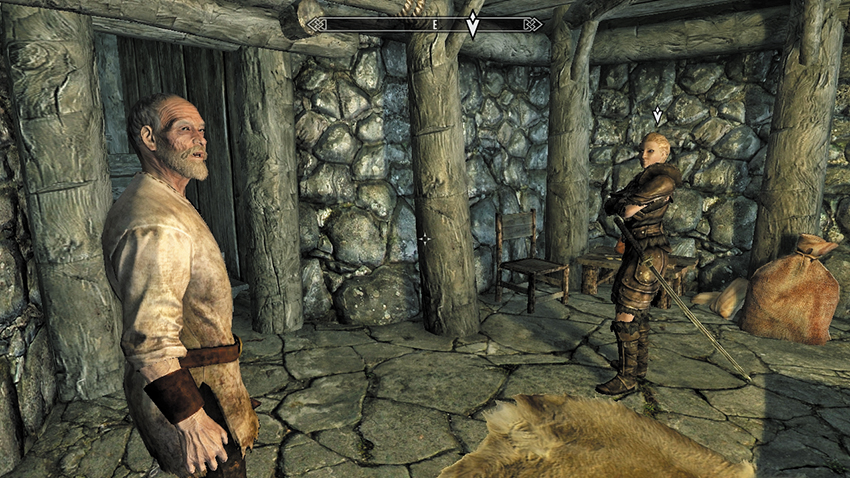
Inform Delphine that you’ve found Esbern, and she’s most thankful, taking you both down into her secret cellar. Esbern reveals a particularly important historical location: Sky Haven Temple, constructed around one of the main Akaviri military camps in the Reach, during the conquest of Skyrim. He also places a book on the table. Read it at your leisure for some history.
- Annals of the Dragonguard
Delphine isn’t impressed until Esbern informs you both that the Sky Haven Temple is where Alduin’s Wall was built to set in stone all their accumulated dragonlore. But the location of the wall, one of the wonders of the ancient world, was lost. Fortunately, Esbern knows where it is and why the three of you should journey there: The ancient Blades recorded both history and prophecy on Aduin’s Wall. With any luck, it may reveal how to defeat Alduin himself.
Forsworn and Forsaken
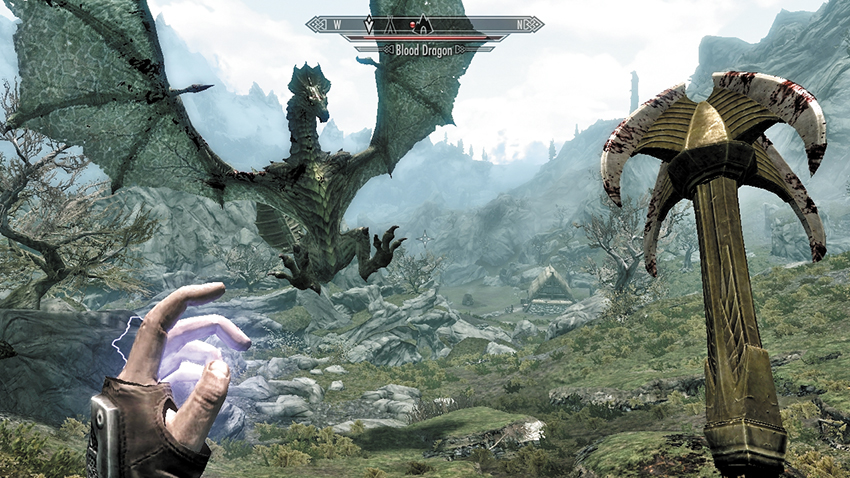
Delphine knows that Esbern’s description fits an area of Skyrim called Karthspire, in the Karth River Canyon. She asks whether you should all travel there together or whether you should meet them at the Sky Haven Temple entrance. The choice is yours. You can:
- Fast-Travel to the nearest location closest to the temple, and then walk there. Or Fast-Travel to the temple entrance itself, if you’ve already discovered it.
- Travel the path along Falkreath Hold, which involves fending off any enemies along the way and fighting as a trio. This takes longer but allows you to raise levels and watch your teammates’ considerable fighting talents. Neither of them can die from enemy attacks, so you can back them up in combat if that’s your style.
- Take the same, lengthy route on your own or on horseback. You won’t need to wait around, but you have no backup during any fights.
- Catch a carriage from Whiterun to Markarth, and then approach on foot from the west, as Delphine recommends.
After the meeting, Delphine says her last good-byes to Orgnar the barkeep and leaves the Sleeping Giant Inn for good.
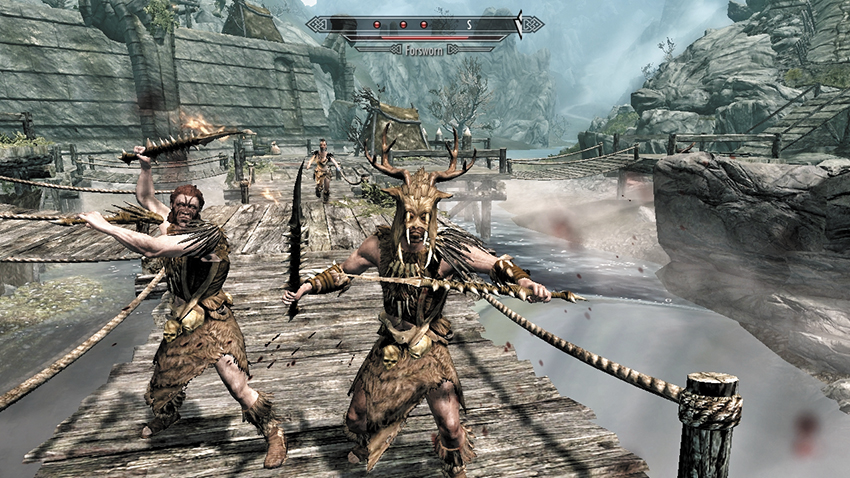
The Forsworn—primitive tribesmen fighting to drive the Nords out of this western hold—are active in this area. They are formidable warriors and mages, especially in groups as large as those you find at the Karthspire exterior. Depending on your play style and whether you’re traveling alone or with Delphine and Esbern, expect a protracted and furious battle across the sprawling wooden and stone battlements as you cross the platforms spanning the Karth River. After some fine sneaking or impressive combat, seek the inky-black cave entrance and enter Karthspire interior.
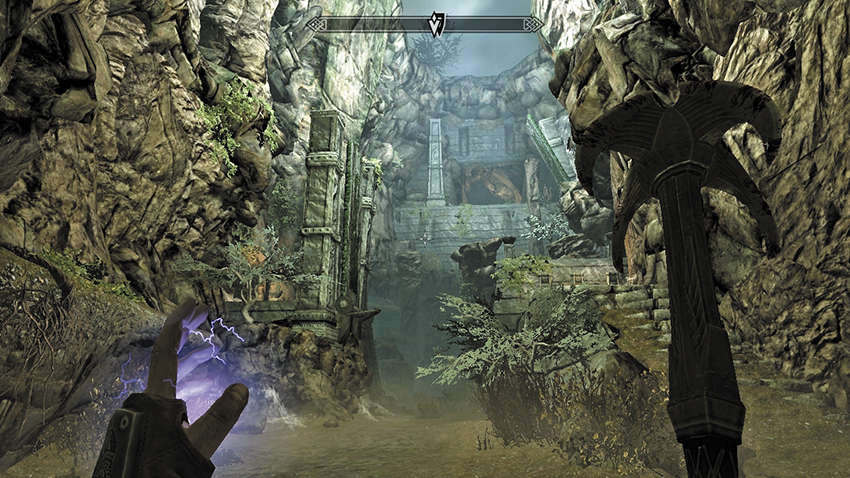
Fighting continues inside Karthspire as you head through a Forsworn camp and into a narrow ascension chamber, with stone buttresses and temple columns carved by the early Akaviri. There is an entrance high above you to the west, but it is currently impassable. There is a trick to releasing the two raised bridges that cross the width of the chamber. Move up to the three tricornered small pillars atop the dirt ramp.
Puzzle Solution: The square tile in the middle of each column is significant; study the hieroglyph in each one. One looks like an eye with a pair of horns above it. One looks like a ceremonial bowl with stylized fire. The third looks like two dragon heads facing each other and an arrow pointing down. This is the symbol of the Dragonborn. Activate the pillars so the “Dragonborn” tile is shown and the line atop each pillar points east to west. The bridge to your left (south) lowers with a rumble.
Cross the bridge and wait for Esbern to give his opinion on the tiled floor in the connecting chamber. Expect a fiery death if you step on the incorrect pressure plate. But there is a method to this madness:
Puzzle Solution: Look for the plates that have the “Dragonborn” hieroglyph on them. Step only on those plates to wind your way across the floor, before you finally reach a carved dragon head and a lever. Pull the lever, and the second crossing lowers. This has the added bonus of switching off the pressure-plate trap.
Allegory and Mythic Symbolism
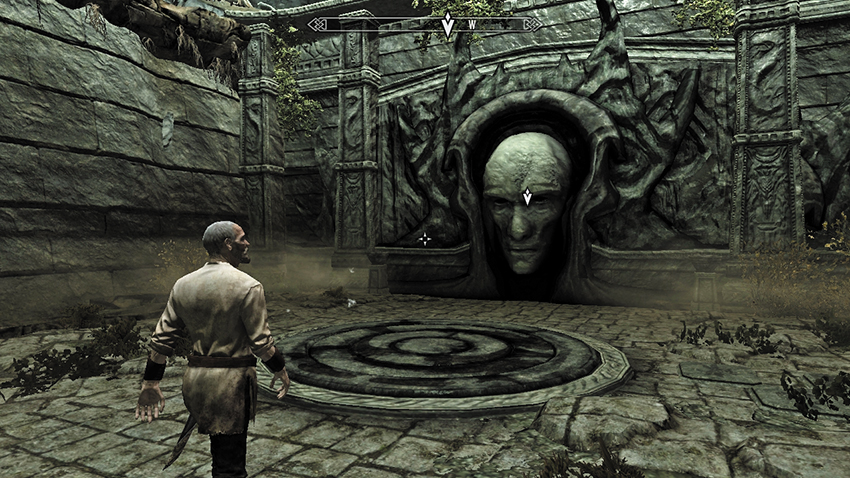
Head north across the two lowered bridges and into the Sky Haven Temple entrance, a large and remarkably well-preserved chamber. Esbern strides toward a big stone head at the far (west) end. Speak to Esbern about the entrance. He studies the circular floor carvings, murmuring something about them being a “blood seal.” The mechanism needs blood to activate: your blood. The ancient Blades revered Reman Cyrodiil, and the whole place appears to be a shrine to him. Esbern explains the historical significance of this site. Listen for as long as you wish, but when you are ready, stand in the center of the circular floor carving and activate the blood seal. You cut your palm, dripping blood into the floor seal, and Reman Cyrodiil’s giant carved head lifts open.
Quest Conclusion
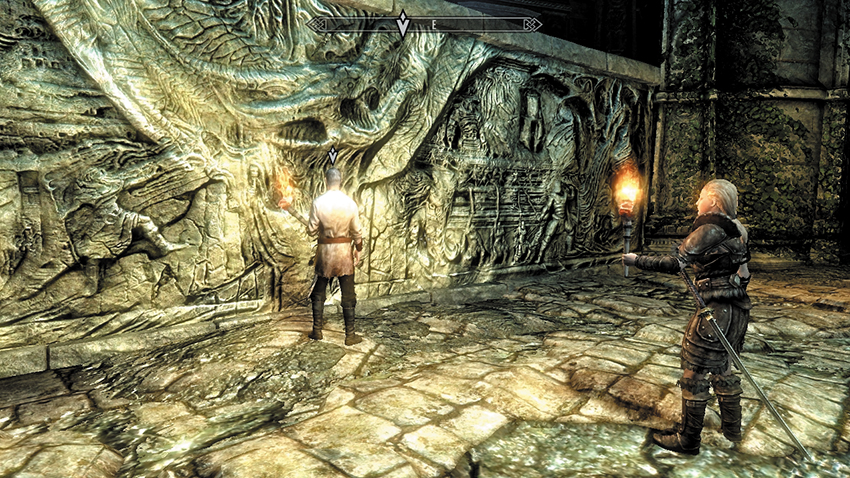
You may wish to run on ahead or witness Esbern’s excited discovery of Akaviri bas-reliefs. But the main chamber holds the real prize. While Delphine waits impatiently, Esbern explores the entirety of Alduin’s Wall, which dominates this chamber. In the middle of the wall, Esbern discovers that the ancient Nords used a Shout to defeat Alduin. Delphine asks if you know of such a Shout. Answer that the Greybeards might know. Delphine responds with a few choice words about the Greybeards; she believes they shrank from their responsibilities and destiny. She recommends you head off to see them while she remains; Esbern is likely to be here a while.
Postquest Activities
Esbern continues to inspect Alduin’s Wall as Main Quest: The Throat of the World begins. In addition, you can start to befriend Delphine and Esbern inside the Sky Haven Temple and complete the four Blades Factions Quests, earning you Followers, items, dragons to kill, and blessings from Esbern. Consult that Chapter for details.