
Elder Scrolls V: Skyrim Special Edition Guide Quests The College of Winterhold Quests
College of Winterhold Quests: Revealing the Unseen
Revealing the Unseen
Secrets of the Synod
This quest begins immediately after you complete the College of Winterhold Quests: Good Intentions.
Arch-Mage Savos Aren has requested that you speak to Mirabelle Ervine, who may have some knowledge regarding the Staff of Magnus. You may find her wandering the Hall of the Elements or in the exterior courtyard within the College. Ask her about the staff, and after a few roundabout conversations, Mirabelle recalls that some Imperials from the Synod were interested in it and came to the College to question them. Leaving empty-handed, it appears they had a secondary plan: to head toward the sprawling dwarven ruins of Mzulft, which apparently has a derelict observatory that would somehow help locate the staff.
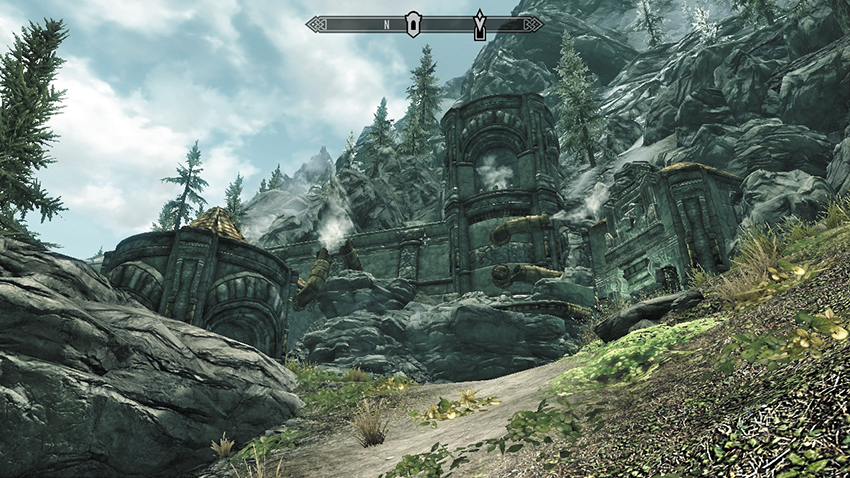
In the foothills by the edge of the mountains that carve through Eastmarch Hold, south and a little east of Windhelm, you come across ancient carved stone columns and archway entrances and a spectacular stone-and-pipework facade with steam still hissing from the hillside. Enter the huge golden door and step inside.
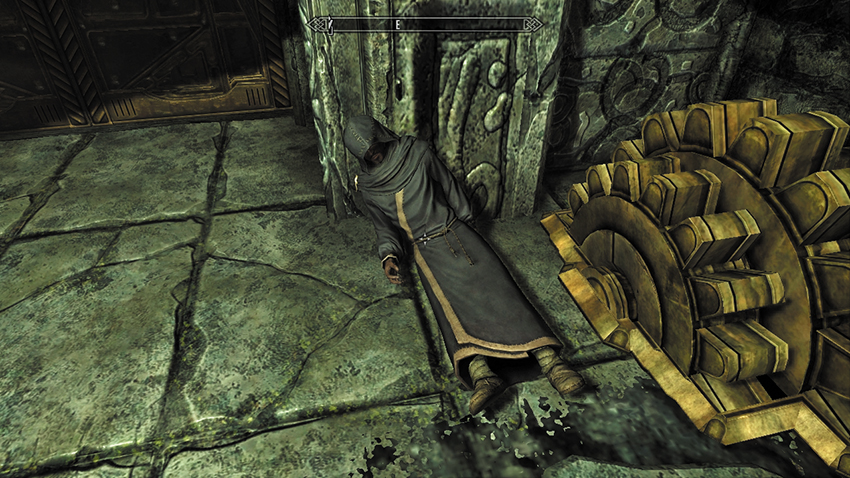
Slumped to the right of the second interior door is an Imperial named Gavros Plinius. He was ambushed while attempting to reach the Oculory, where another member of the Synod, Paratus, is holed up. Before collapsing, he murmurs something about a crystal being stolen. Search his robes for a couple of important items: a key so you can enter Mzulft and a Research Log. Reading the log allows you to understand who exactly was here (an attendant on behalf of the First Adjunct Oronrel) and what he was doing (delivering a new Focusing Crystal to the Oculory). Unfortunately, the crystal that is mentioned is nowhere to be found. Now use the key to open the second door.
- Mzulft Key
- Research Log
Onward and Upward
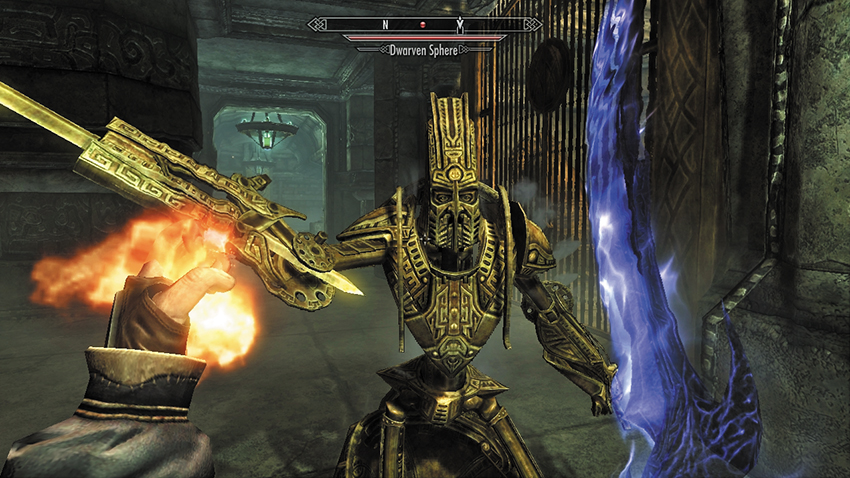
Enter this dwarven labyrinth, heading along the corridor and checking the body of a Synod Researcher. As you reach a connecting corridor of belching steam pipes, tough mechanical Dwarven Spiders attack you. These pester you as you continue up the linked corridors. Soon you’re met by more Dwarven Spiders and a huge gold door. Head through into a more natural cavern, but with elements of dwarven architecture still visible. In a natural rock cavern, engage your first Chaurus. Use the wooden scaffold to escape it during this war of attrition. Your third and fourth dead Synod Researchers are found here, at the foot and the top of the ramped scaffold.
Beware of a trip wire releasing a pile of rocks as you move through into a second, much taller cavern with a mammoth skeleton, more Chaurus, and an arched granite entrance. Enter another ramped corridor and expect Dwarven Spheres to elongate and attack at the top. Then continue up, pausing to dispatch Dwarven Spiders along a mechanical corridor. Head past a sunken chamber with stone steps until you reach a pipe-pillar room, where you tackle more dwarven creations. Your internal mountain climb continues, past the corpses of a dead Falmer or two, and finally to the gold doors leading into the Mzulft Boilery.
Gaining Focus
The upper chambers inside the Boilery are less tall and have had periodic rockfalls in the past, where ferns now grow. Falmer roam these halls. Dispatch them. Continue into a hub room with cage doors. Go through the open doors to the east, across a raised platform, and through a gap in the wall, caused by Falmer tunneling. This continues past a chest; expect further Chaurus and Falmer incursions. As the tunnels take on a more eerie glow caused by fungus, battle (or sneak past) a small Falmer camp, and ascend farther up into another broken wall. Step back into the dwarven-built chambers.
The ceilings are higher and the chambers more impressive as you reach a huge gallery with a sunken central area. Falmer are swarming about in this location. Search any chests you wish, but be sure to head up the steps in the west wall and into one last corridor. The doors at this corridor’s end lead to the Mzulft Aedrome.
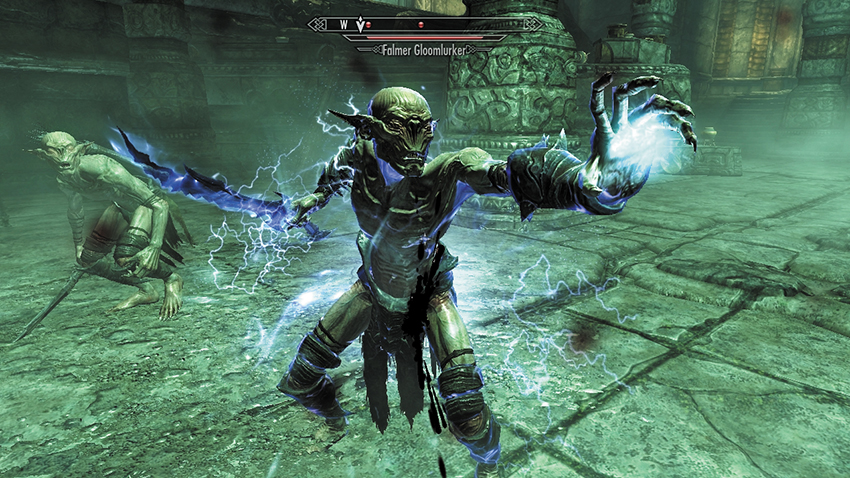
The Aedrome is comprised of three giant chambers connected by corridors of ornate pillars and snaking pipes (the locked door [Master] to the north ends abruptly with a Falmer chest). The central chamber has numerous Falmer, but one is especially important: a boss that carries a Focusing Crystal. Pry it from its corpse (or pickpocket it if you’re being extremely stealthy), and then head east, passing the plinth with dwarven metal resting on it, into a dead-end chamber dotted with Falmer corpses and a powerful automaton. There is an important chest here; it contains the key that will open the important chambers on this level. This brings up the following two quest objectives:
- Focusing Crystal
- Mzulft Observatory Key
Oculory Jocularity
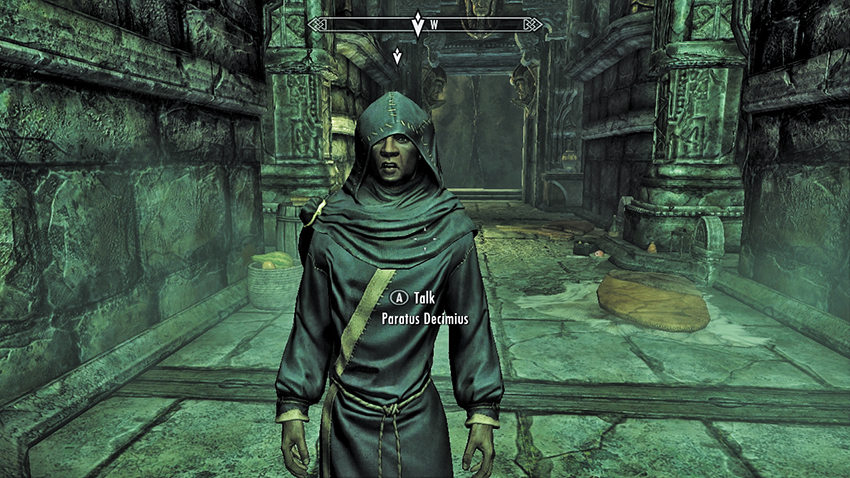
Paratus Decimius is behind a closed door up the western corridor ramp, accessed via the key. He is expecting Gavros (the Synod Researcher you found dead at the entrance) and is displeased by your presence. Inform him you have the Crystal, and Paratus strolls along the corridor leading to a giant Dwarven Armillary.
Paratus isn’t sure what the dwarves called this huge focusing globe, but from the Synod’s research, the machinery appears to have been made to collect starlight, for an as-yet-unknown purpose. Paratus replaced one of the elements with his crystal, after months of perfecting it. Using the Focusing Crystal will allow the Synod’s research to continue. And you’re the one who has to activate the giant, tumbling machinery!
After you follow Paratus into the Armillary chamber (and optionally speak to him about related matters), you are instructed to approach the Oculory, the giant series of lenses atop the Armillary. Activate the Dwarven Armillary.
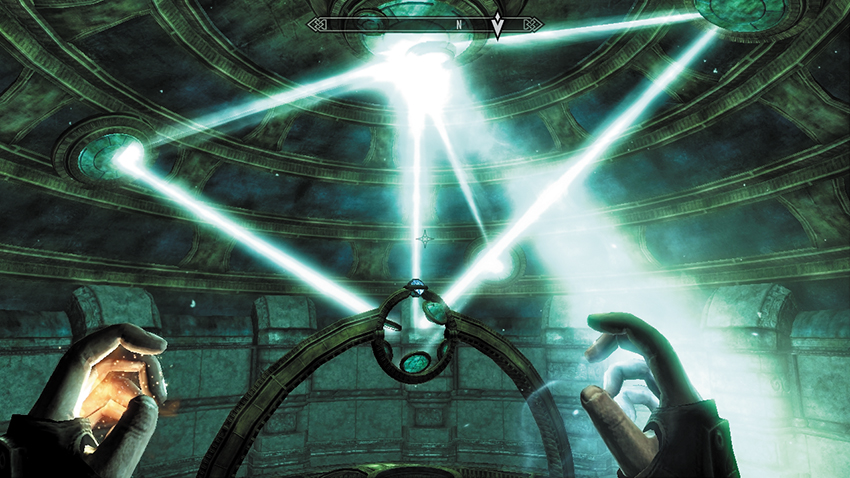
Gaze around the curved observatory chamber, and you’ll notice a series of circular blue focusing mirrors on the ceiling panels around you. Directly above the center of the Oculory are three focusing lenses. A stream of bright light bounces off them, onto the ceiling. Some of the blue focusing mirrors are lit with starlight, as is the main circular mirror in the center of the ceiling. Head up either ramp and look to the stone table, upon which is a number of valuable items:
- Antecedents of Dwemer Law
- Dwemer Cog (3)
- Dwemer History and Culture
- Dwemer Inquiries Vol. I
- Dwemer Inquiries Vol. II
- Dwemer Inquiries Vol. III
- Spell Tome: Flames
- Spell Tome: Frostbite
Puzzle Solution: You may read all the tomes, but the ones you must memorize (if you haven’t already) are the Flames and Frostbite spells. However, any ranged fire and frost spells you already use are just as effective. Brandish both spells, one in each hand, and stand underneath or within range of the lenses. Now accurately shoot both fire and ice projectiles at the lens until the beam of light each one has captured hits the middle of each of the horizontal panels with the blue mirrors in them.
Now move the blue mirrors. Each of the dwarven pedestals atop the ramp rotate one of the three horizontal ceiling panels. The trick is to press the button on each pedestal so the panels shift sideways until one of the blue mirrors lines up with the light beam. The beam then ricochets off and up to the ceiling mirror. When all three light beams hit the ceiling, you know the Oculary is focused properly.
As a map of the northern part of Tamriel is projected onto the wall underneath the buttons, Paratus is initially excited to watch the results of his months of work. However, this is tempered slightly as the results come in: Something is creating a huge amount of interference, something at Winterhold. You can speak to Paratus (and be as honest or as cagey as you like), but he is highly suspicious of the mages. He angrily wants to know what you did and thinks you have something at your College. Whether you tell him about the Eye of Magnus or not, steer the conversation to the Staff of Magnus’s location. Paratus finally reveals its location: Labyrinthian! Now leave before Paratus gets any more testy.
Quaranir appears from a side corridor to tell you that trying times are ahead. It is imperative that you return to your College immediately. You must take swift action and show what you’re capable of. He believes you will prevail. Now exit through the pair of doors Quaranir was standing behind (the latter of which you unlock with the Mzulft Observatory Key), and step outside into the inclement weather. Unless you fancy a precarious descent, Fast-Travel back to the College.
Quest Conclusion
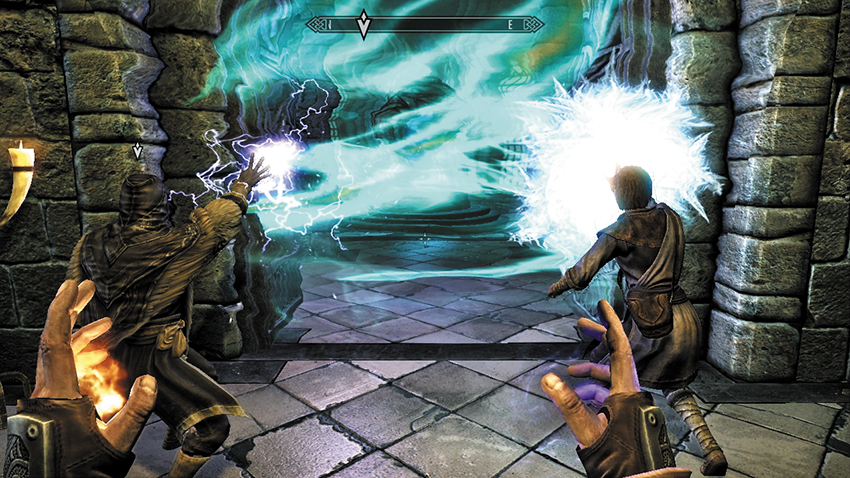
Arch-Mage Savos Aren is in a vexed state when you return, and this situation is about to take a turn for the explosive. Ancano—the erstwhile conspirator and now a full-fledged traitor—has magically barricaded himself in the Hall of the Elements, with the Eye of Magnus! The Arch-Mage, having little time to talk about your quest to find the Staff of Magnus, is embroiled in a battle to break through Ancano’s magical barrier and confront him. As Aren closes, there is a huge flash and an explosion. Everything fades to white. Your reward is escaping with your life (and with the spells and books you uncovered during your exploration)!
Postquest Activities
Through the smoke and dust, you find Mirabelle Ervine lying on the ground. The College of Winterhold Quests: Containment begins immediately. There are shorter, additional Radiant Quests to complete, too.