
Elder Scrolls V: Skyrim Special Edition Guide Quests Daedric Quests
Daedric Quests: Pieces of the Past
Pieces of the Past
Dead Oaths on Dead Lips
When you reach Level 20, visit any city in Skyrim; Riverwood is a fine example. When you reach the city, a courier approaches and delivers a message regarding the opening of a new museum up in Dawnstar. The owner is handing out invitations; you can visit at your earliest convenience. This doesn’t begin the quest yet, just a Miscellaneous Objective that piques your interest.
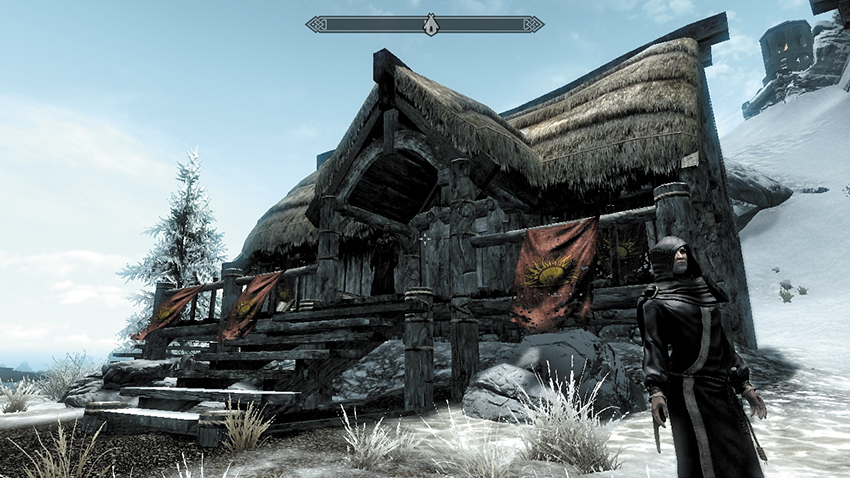
As you near Silus Vesuius’s House in Dawnstar, he is out on the porch having a heated discussion with Dawnstar’s Court Wizard, Madena. The argument centers around Silus refusing to bury his family’s legacy. Madena eventually gives up talking to him and leaves, allowing you to greet Silus and visit the Museum of the Mythic Dawn. You can ask him more about it, and he reveals it contains artifacts from a group that once toppled an Empire. Silus also has a job you’d be perfect for. This quest now officially begins.
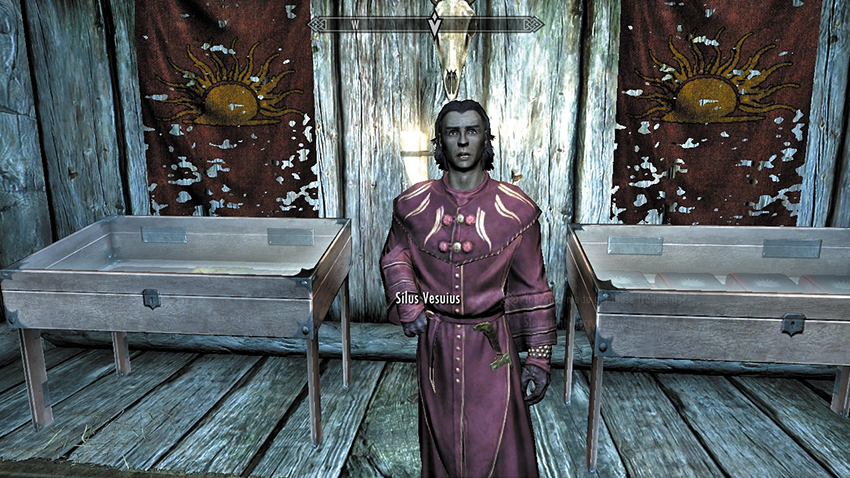
The museum takes up about two-thirds of Silus’s house. You are free to peruse the cabinets before speaking to Silus; he offers commentary as you inspect each display case. You discover the tapestries were hung in hideouts where the mysterious Mythic Dawn would meet and plot. The scabbard has Oblivion Gate iconography etched into it, a key symbol of Mehrunes Dagon, the patron Daedra. The case of books are commentaries on the Mysterium Xarxes, written by the cult’s leader, Mankar Camoran. The burned paper is all that remains of the fabled Mysterium Xarxes, the blasphemous book written by Mehrunes Dagon. Finally, the robes were worn during the Mythic Dawn’s secret meetings, where they plotted to bring Dagon into Tamriel.
With the tour over, you can speak with Silus about the Mythic Dawn and the museum. But asking about the job is the most important question. Silus tells you that after the Oblivion Crisis, groups began to appear that were dedicated to wiping out what was left of the Mythic Dawn. One of these groups found Mehrunes’ Razor, the artifact of Dagon. After splitting this razor into three fragments, the pieces were dispersed. Silus wants the pieces reunited. You’re here to remove the fragments from their current owners—two dangerous marauders named Ghunzul and Drascua and a resident of Morthal named Jorgen. Silus hands you notes about each of them and will gladly pay for any pieces you bring back to him.
- The Keepers of the Razor
Daedric Defragmentation
Part 1: Drascua’s Pommel
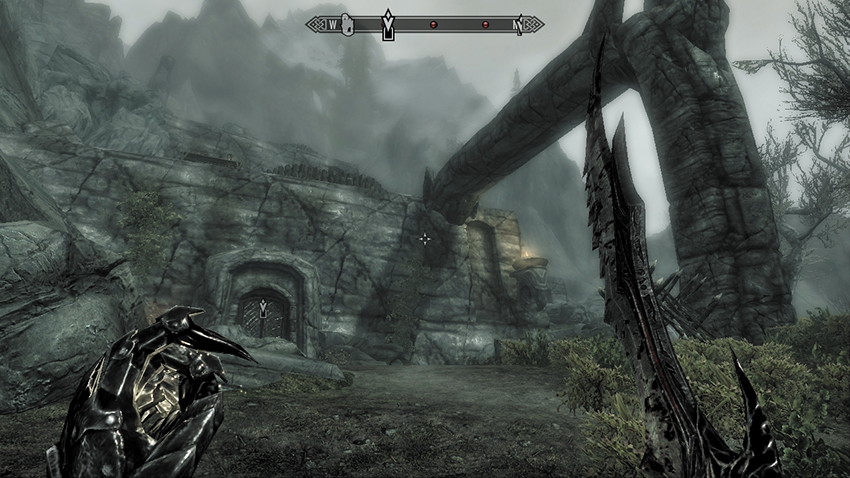
Far to the west, just southwest of Markarth, is Hag Rock Redoubt. Begin the long ascension, passing under a couple of buttress overhangs while tackling the Forsworn that are swarming this location. Continue up the slopes, passing under two stone arches with carved heads atop each side; beware of cave bears in these parts. At this point, you can:
- Proceed directly to Dead Crone Rock by weaving through the exterior Forsworn Camp.
- Or you can follow the pathway up to an old ceremonial crypt and sacrificial area sunk into the side of the mountain, and enter the iron door into Hag Rock Redoubt Ruin. Inside, the Forsworn have erected sharpened wood spikes and attack viciously when you maneuver into their eating area. Clear this place of foes (or sneak by) before using the spiral stairs to reach an upper corridor and a circular storage room containing a Forsworn Briarheart. Then head southwest, around the corridor to the ruin’s exit.
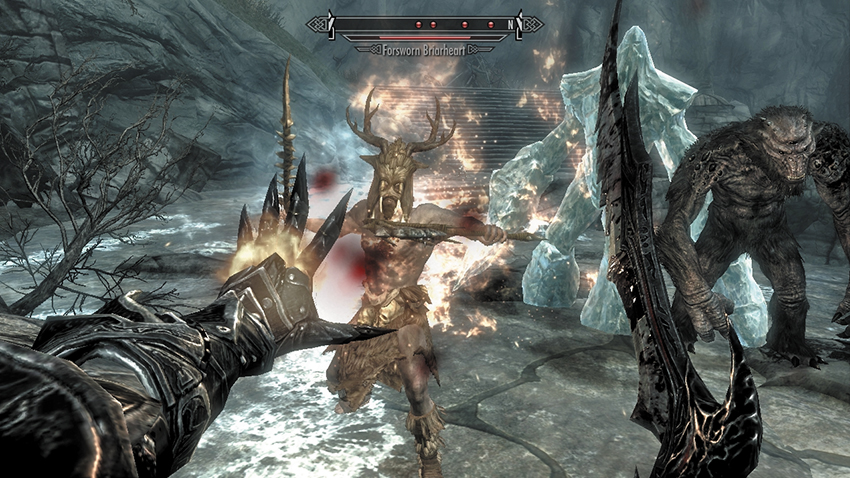
You arrive on the roof of the interior ruin. This stone plateau is dominated by steps to ascend and a small Forsworn camp to raze or ignore. Climb the steps until you reach the exterior of Dead Crone Rock, a granite fortification toward the slope’s top. Head up the stairs to the first level, which consists of a corridor, more Forsworn, and spiral stairs up to the main floor. A circular chamber atop the spiral stairs has its main exit (to the southwest) blocked by a portcullis. Raise it by fighting through a chamber with a long, bloody sacrificial table and into a connecting room with a lever. Pull the lever to raise the portcullis before leaving by the now-open exit that ends in a wooden door.
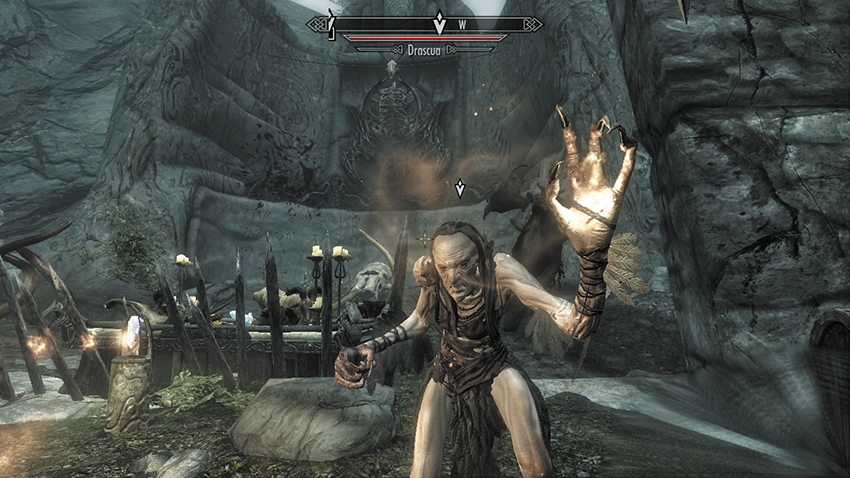
You appear at the base of more steps. These lead to the top of Dead Crone Rock, where the Hagraven Drascua resides. Attack with your preferred weapons until she yields. Search her corpse for the pommel and the Dead Crone Rock Key, which opens the locked gate in the previous interior fortification you climbed through. Also, absorb another Word of Power from the nearby Word Wall.
- Pommel stone of Mehrunes’ Razor
- Dead Crone Rock Key
- Word of Power: Dismaying Shout
Part 2: Ghunzul’s Blade Shards
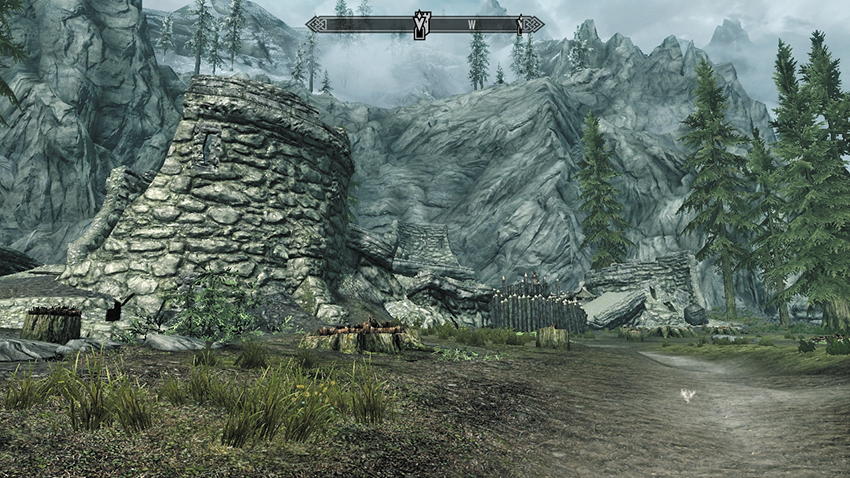
Journey into Falkreath Hold and approach Cracked Tusk Keep. There are usually two Orcs standing guard on the watchtowers. Pick them off with arrows or spells from a distance to soften up the Keep’s defenses. Then climb over the dilapidated fortifications, or use the front gate for a less-subtle entry if you aren’t concerned about stealth. Expect a trio of Orc hunters and bandits on guard here. These shouldn’t prove too difficult to overcome. Your main access point into the Keep is the door to the southwest, in the middle of the main inner Keep wall. An alternate entrance to the right (west) is locked (Adept) and allows you to avoid the confrontation with Ghunzul.
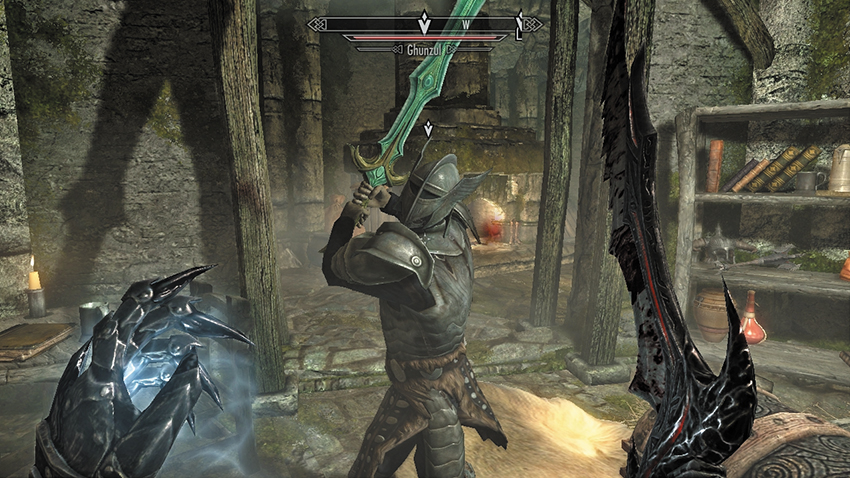
Once inside, prepare to attack more Orc enemies in the two-floor storage and dining area, with a door in the southeastern wall. This leads to a fireplace and bedroom, Ghunzul’s usual location (although he may be wandering the Keep’s interior). He’s brandishing a particularly impressive two-handed weapon, so prepare for intense combat in a confined space. Continue fighting until you beat Ghunzul to death. Alternatively, you can try pickpocketing the Orc if your Sneak skills are truly impressive. Either way, Ghunzul is carrying an important key on him.
- Cracked Tusk Vault Key
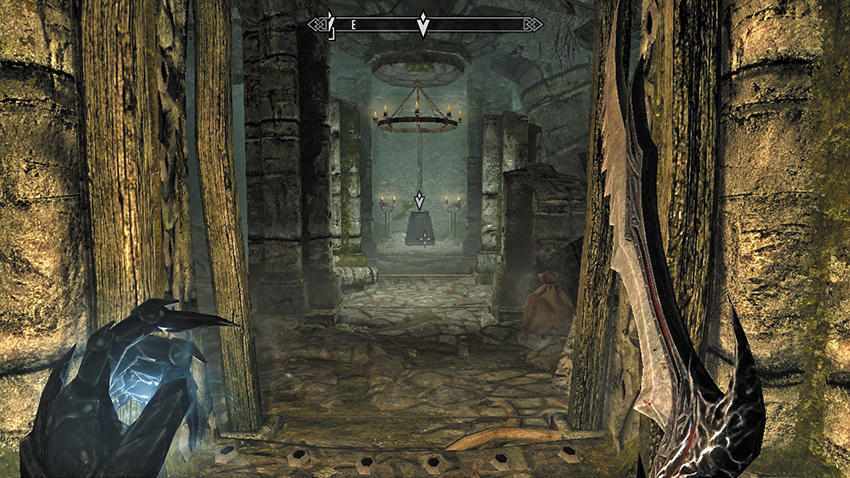
Return to the raised dining room. This time take the door on the lower level to the northwest, which leads down into a small barrel-storing cellar and passage. Ignore the door leading back outside (this is the western entrance from the exterior), and inspect the cage, which is blocking your path to the southwest. Use the Vault Key (or an exceptional Lockpick [Expert]) to unlock the cage, releasing the vertical spike bars. When the spikes recede, descend to and open the door to Cracked Tusk Vaults.
Head down the stairs and into the slightly soggy underground vault. The way ahead is blocked by several spear bars. Pull the two levers to either side of the passage to release both sets of spears. Then carefully walk forward, cutting instead of triggering the two trip wires that release darts up and into you. Or, run through and step to the side. Now approach the pedestal with the blade shards on it, and grab them before moving backward quickly, thus avoiding a flurry of additional darts. Now retrace your steps back out into Skyrim.
- Shards of Mehrunes’ Razor
Part 3: Jorgen’s Hilt
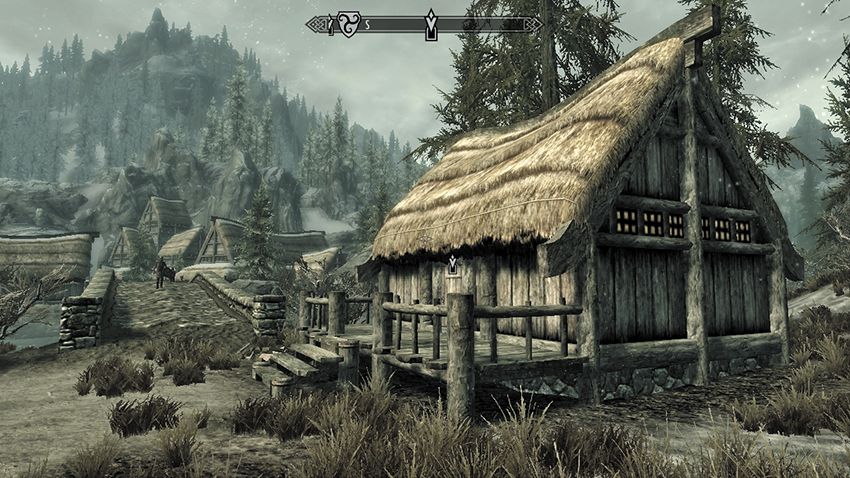
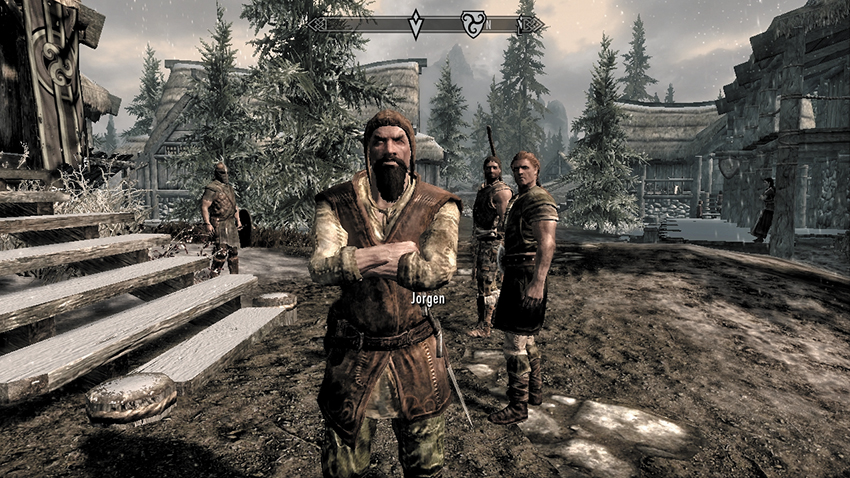
The hilt of the Razor is the easiest to obtain. It involves traveling to Morthal and locating Jorgen, who runs the mill. He doesn’t have time to talk but stops when you tell him what you’re looking for. He plays dumb until you mention Silus’s name. He tells you he’s not about to let that Razor out of his locked house after his family spent eight generations keeping it safe. At this point, you can:
- (Persuade) Tell him he won’t miss it.
- (Bribe) Pay a large amount of gold for securing it.
- (Intimidate) Or demand the hilt, before matters take a turn for the worse. This is easy once you reach Level 26 or higher. If you fail, you’ll need to brawl until he agrees. That’s “brawl,” not “kill”!
- (Lockpick) Or you can find Jorgen’s house without his help and pick any locks needed to reach the hilt.
Succeed in any of the first three options, and you’re hastily given the keys to the chest in Jorgen’s house and told not to hurt his family.
- Key to Jorgen and Lami’s House
- Key to Jorgen’s Chest
Whether you have Jorgen’s keys or not, the next stop is Jorgen’s house, which is opposite the sawmill. Pick the lock (Novice) or use one of the keys, and step inside, ignoring Lami. Inspect and open Jorgen’s Chest (Adept) at the end of his bed using Lockpick or the second key. You may elect to clear out all his valuables, or just the hilt.
- Hilt of Mehrunes’ Razor
Dagon’s New Dawn
Return with all three fragments of Mehrunes’ Razor, and revisit Silus Vesuius’s House in Dawnstar. The slightly mad mage is extremely impressed with your collecting abilities and gives you a sizable reward. When all three fragments are back in his hands, Silus lets you in on a little secret: The scabbard in the display case is actually the fourth piece of the blade. What’s more, if you both take all the pieces to Dagon’s shrine, you could contact the Prince of Destruction directly and ask him to make Mehrunes’ Razor whole again. This may appeal or be a terrible idea; either way, Silus will meet you at the shrine!
- Leveled gold pieces
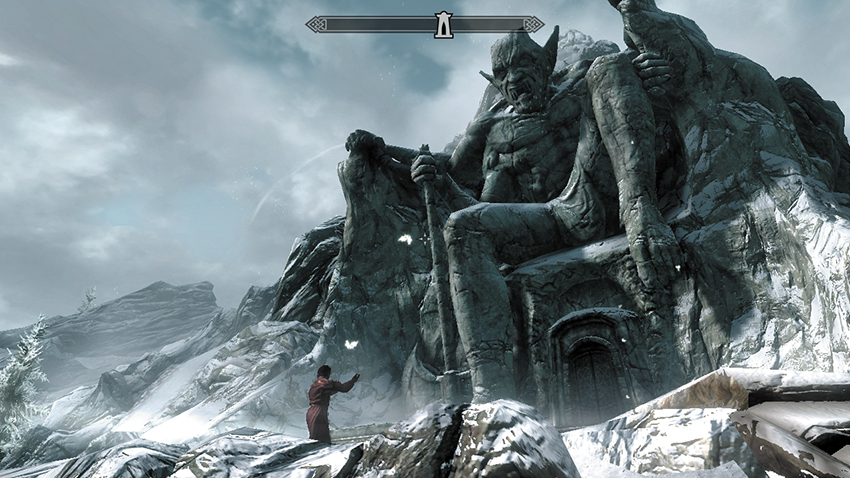
On the summit of the mountains that lie south and west of Dawnstar, and south and east of Morthal, sits the ominous shrine to Mehrunes Dagon. Trek there, and optionally slay any animal predators lurking at the base of the precarious ceremonial steps that lead to the giant carved statue of the Daedric Prince of Destruction. Silus places the blade fragments on the altar and begs for the blade’s full glory! Nothing happens; it falls to you to commune with Mehrunes Dagon.
Approach the altar, and a deep, booming voice fills the air and your head. Mehrunes Dagon has deemed you worth speaking to, but Silas has fulfilled his purpose. You are instructed to kill him. At this point, you can:
- Agree to Lord Dagon’s command.
- Inform Lord Dagon that Silus deserves to live.
Neither makes any difference, as Lord Dagon has decided Silus’s fate.
Silus is quick to tell you there is another way to end this that doesn’t involve him getting gutted. He can take the pieces back to the museum and seal them in the display case. You can either agree to this or begin your murder of Silus Vesuius.
Quest Conclusion 1: Silus Dies
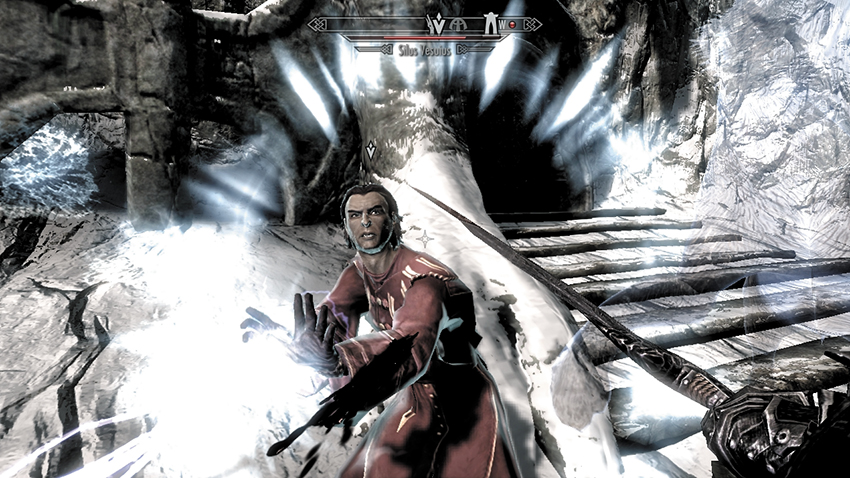
Strike Silus down, optionally scavenging the rare clothing he wears. Then approach the altar again and begin to serve Mehrunes Dagon.
- Mythic Dawn Boots
- Mythic Dawn Gloves
- Mythic Dawn Robes
The power of Mehrunes Dagon is still impressive, as the Lord raises the pieces of the blade and fuses them together like new. Take the weapon from the air. As Dagon’s voice fades, he gives you one final challenge. The shrine doors swing open, and two Dremora rush out to kill you. Return the favor, plunging Mehrunes’ Razor deep or using your own favored weapons. Remember to take the Dremora’s Daedra Heart, a rare ingredient that may come in handy for your concoctions.
- Mehrunes’ Razor
- Daedra Heart (2)
Quest Conclusion 2: Silus Flees
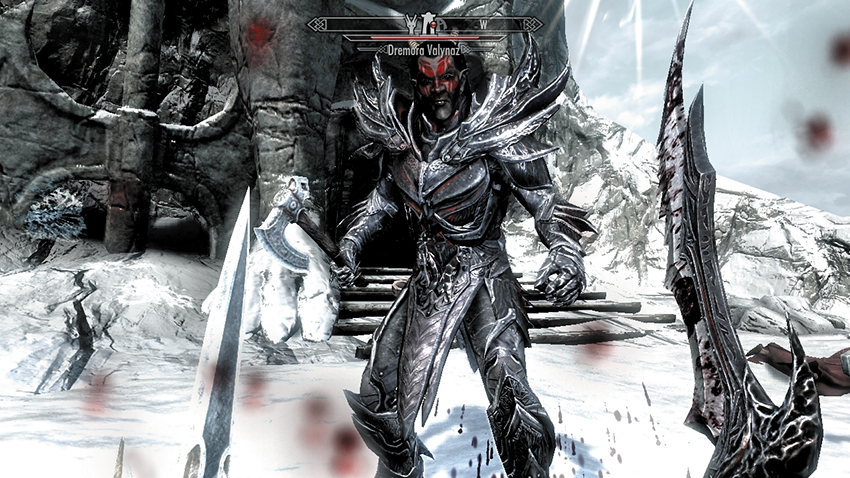
If you speak with Silus and agree to his plan, he hands you some gold and attempts to flee. Mehrunes Dagon’s wrath is incurred, and the doors to his shrine swing open, releasing two Dremora. Use your favored weapons to defeat them, and remember to take the Dremora’s Daedra Heart, an uncommon ingredient that you can utilize in your dark crafting. At this point, you can follow Silus through the wilderness, back to his museum (after which he thanks you for helping him escape), or leave him to fend for himself. Either way, you don’t receive Mehrunes’ Razor.
- Leveled gold pieces
- Daedra Heart (2)
Postquest Activities
Be warned: If you let Silus go, you can never claim the Razor and the quest will end! Either way, ensure you enter the interior of Mehrunes Dagon’s shrine and gather all the available (and impressive) loot inside!