
Elder Scrolls V: Skyrim Special Edition Guide Dragonborn Quests Solstheim Side Quests
Solstheim Side Quests: Black Book: Untold Legends
Black Book: Untold Legends
Buried in Benkongerike
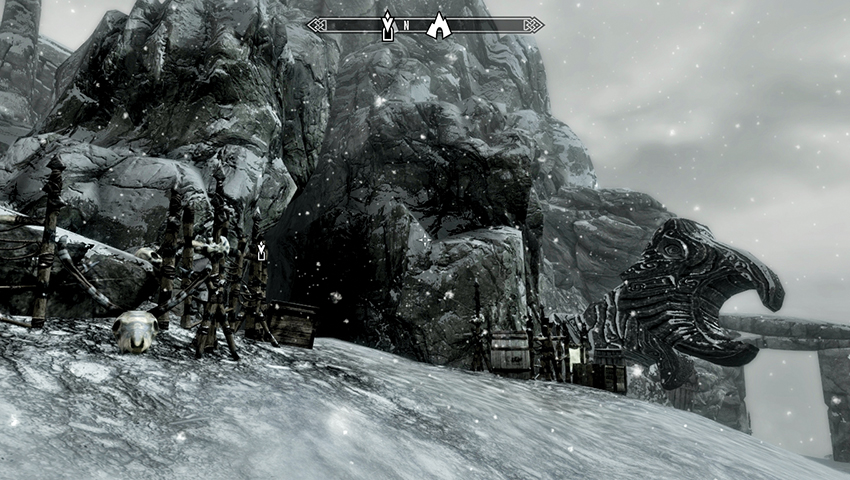
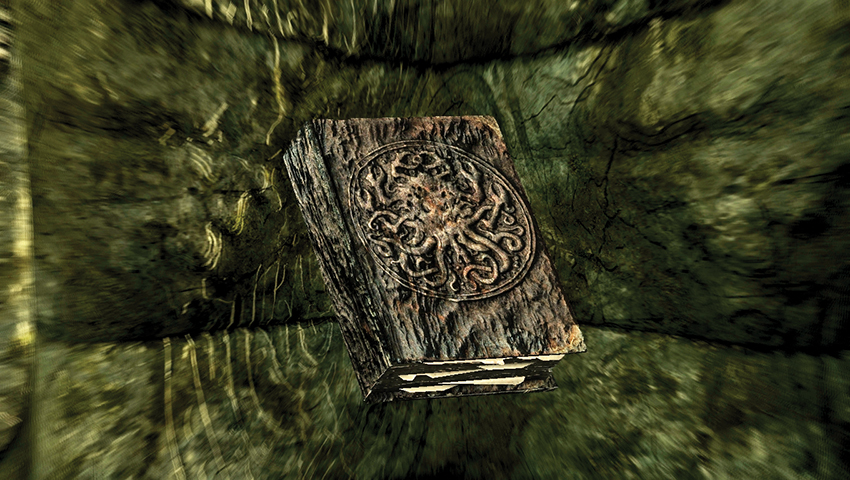
In the five Black Book quests, you must locate and pore over one of the strange books that whisk you into Hermaeus Mora’s realm of Apocrypha. This specific book is hidden deep within Benkongerike.
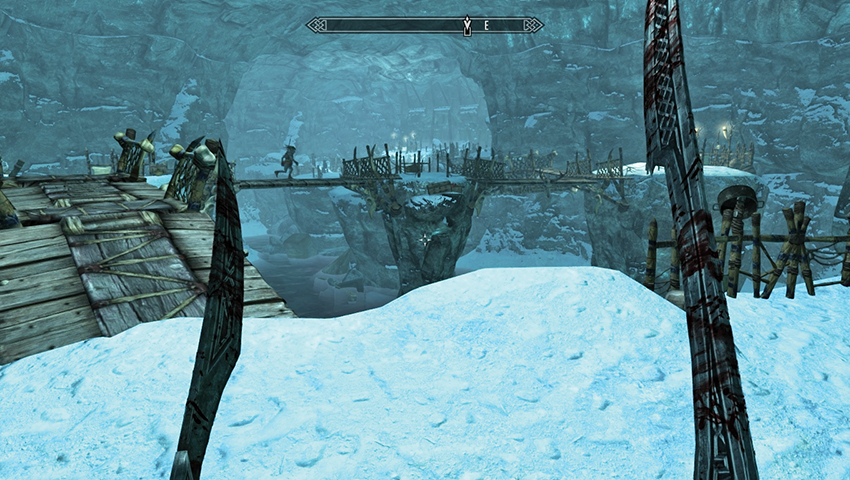
Reach the Black Book chamber by weaving your way through Benkongerike. If you require a walkthrough, consult the Atlas entry for this cave complex and Draugr dungeon. Here is a brief summary:
- Enter the large snowbound cave chamber and slay Rieklings that await you. Then head west and north through the icy passages, avoiding Riekling traps and foes leaping out from their strewn items.
- Maneuver east into the large cavern of rickety bridges, tearing through more Rieklings and leaving by the exit to the east. Watch for a final Riekling ambush before heading into Benkongerike Great Hall.
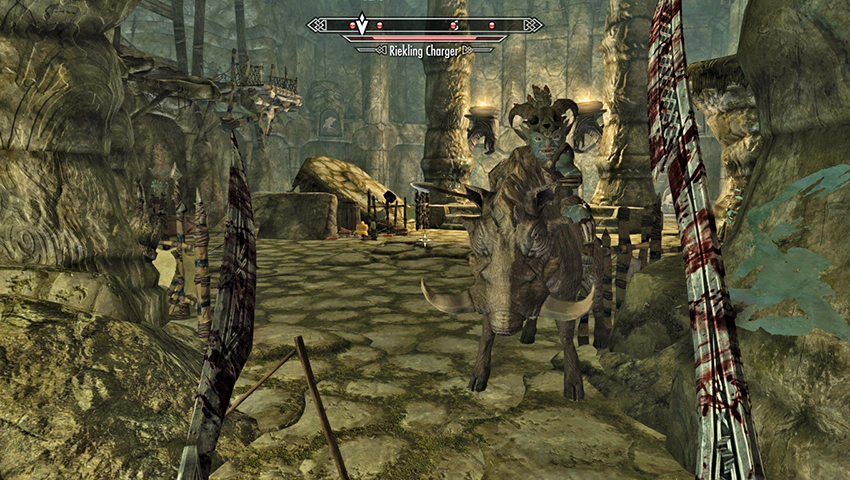
Move through the connecting passages and into the great hall, where a Bristleback-mounted Riekling Charger and a half-dozen infantry foes present a temporary problem. After you slay anything blue-skinned, head south to inspect the Nordic Puzzle.
Puzzle Solution: Ignore the pedestal with the handle (as you don’t want to be struck by darts), and instead search the walls for petroglyphs corresponding to the pedestals below. The correct order, from left to right, is Hawk, Whale, Whale, and Serpent. The second petroglyph clue is missing; find it in a tent on the eastern upper ledge of this chamber.
Check the chest by the Word Wall, absorb the Cyclone Word of Power, then head east down a narrow tunnel and into a circular chamber where the Black Book awaits.
Reach the pedestal containing the Black Book, and read it. You are transported to Apocrypha.
- Word of Power: Cyclone
- Black Book: Untold Legends
Chapter and Perverse
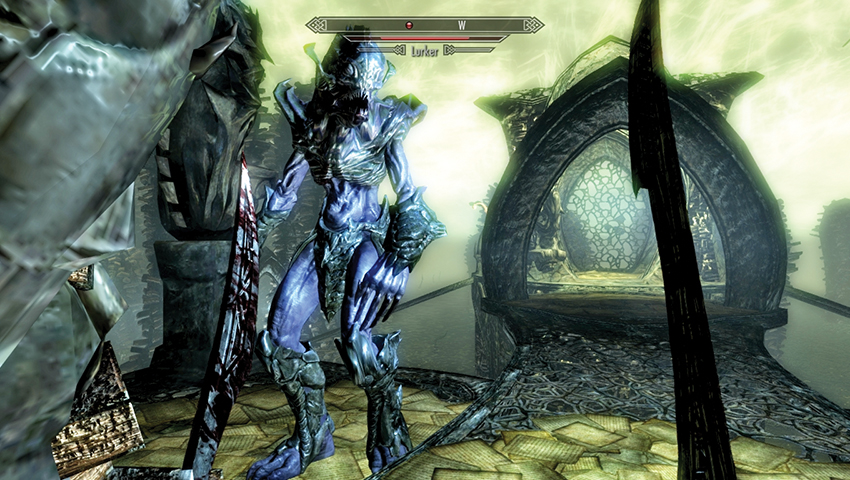
Pass the two Magicka fonts, heading north to a Stamina font, east to another Magicka font and black table, and north to Chapter II. You appear facing a stepped platform. Head onto it, turn left (west), cross the bridge, and face off against a Lurker just beyond two more Magicka fonts, on the far part of the bridge.
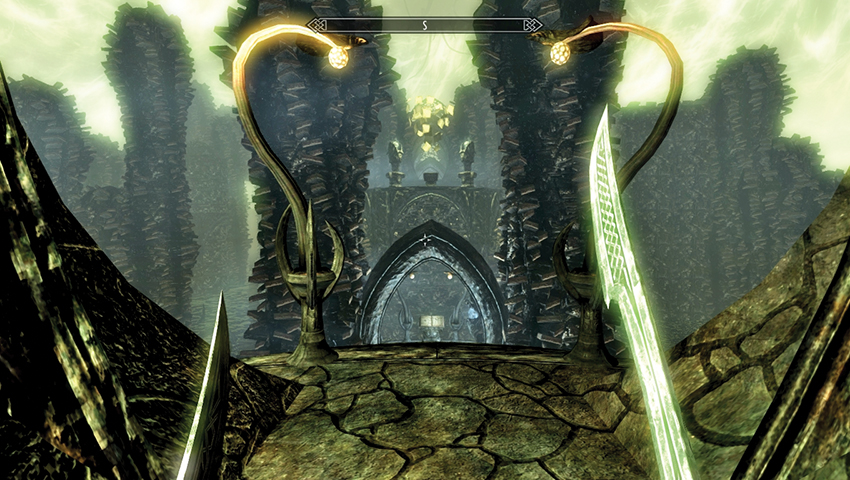
Continue west to the double exit; there is a ramp on either side. Head north, passing two Magicka fonts, and open Chapter III first. You appear in a cagelike chamber. Slay the Seeker, inspect the pod on the black table and a possible Spell Tome before opening Chapter II again. Head south, to the Magicka font and Chapter IV.
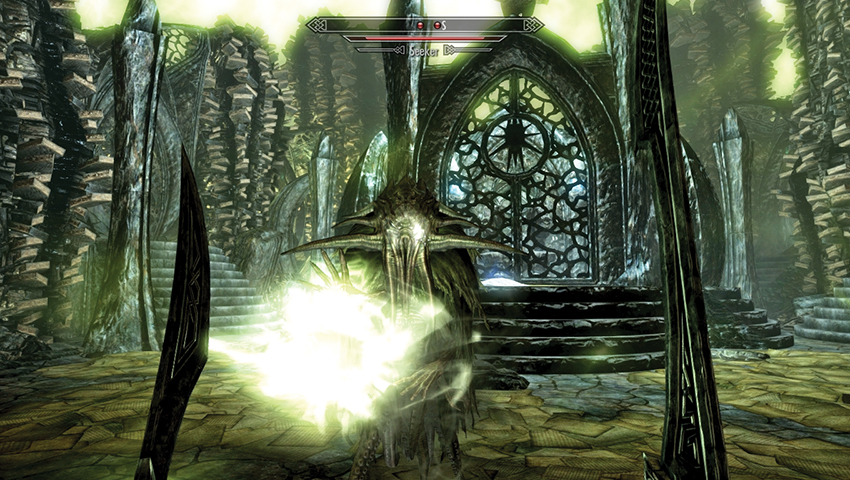
Head north, through a stepped tunnel with a Magicka font, and pass two Stamina fonts as the tunnel opens to a stepped cathedral chamber without a roof. Beware of two Seekers as you solve the way to open the exit.
Puzzle Solution: In the center is a locked area with a Scrye. Surrounding this are six raised antechambers and the exit:
- Antechamber 1 (northeast): Stamina font and a Skill Book, Beggar (Pickpocket Skill Book).
- Antechamber 2 (east): Locked gate and Scrye, accessed from Antechamber 5.
- Antechamber 3 (southeast): Stamina font.
- Antechamber 4 (southwest): Magicka font.
- Antechamber 5 (west): Scrye outside, which opens the gate leading to a Magicka font and Scrye inside, which opens the gate to Antechamber 2.
- Antechamber 6 (northwest): Magicka font.
Simply head to Antechamber 5, activate the outside Scrye to open the adjacent door, and go inside this antechamber to a second Scrye; this opens Antechamber 2. Head there to the next Scrye and activate that. The north gate of the central locked area opens. Enter here, with its four Magicka fonts, and activate the final Scrye. The steps to the south extend, allowing access past two more Magicka fonts to a vessel and Chapter V.
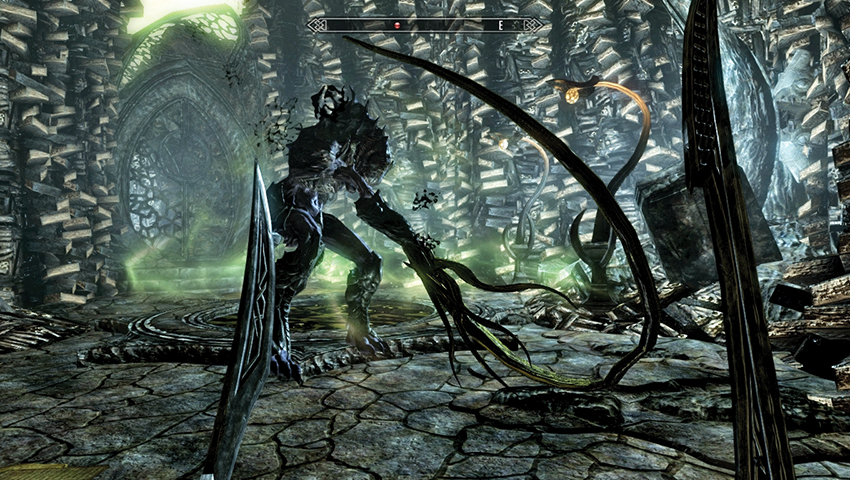
Enter Chapter V, and head down the main corridor, peering ahead at what seems to be the Black Book at the end of this long tunnel. However, when you reach the middle, near the two Stamina fonts, the tunnel ahead grinds to the left, forcing you east to a black pond and a Lurker fight!
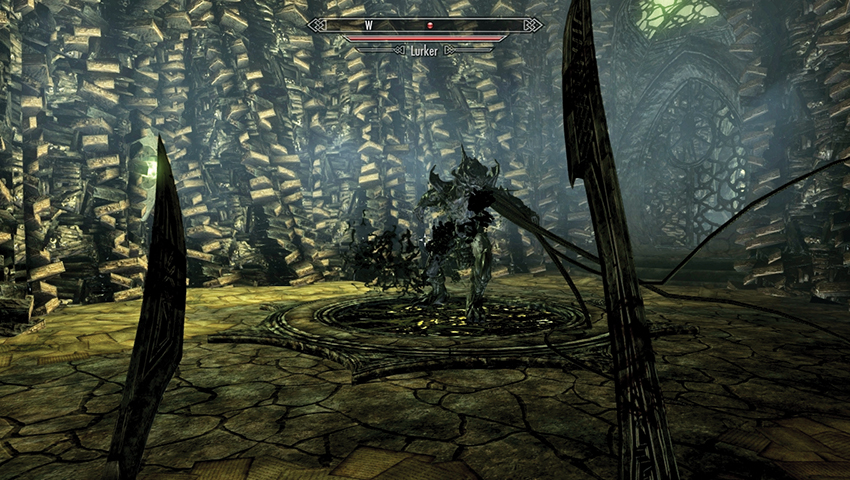
After the battle, follow the exit corridor north and west, activating a Scrye and opening a gate that leads back into the main tunnel. Dash south again, and the same trick is performed; the tunnel grinds right this time, forcing you west to a chamber with a Stamina font and a second Lurker to battle.
Quest Conclusion
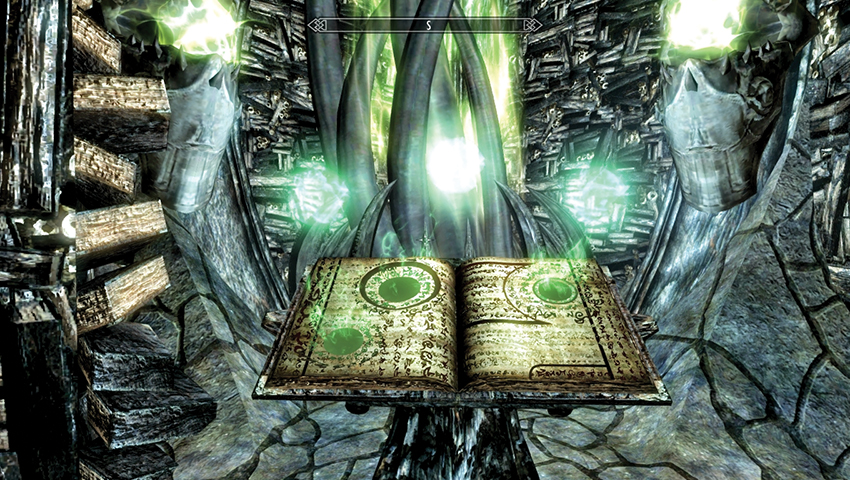
Follow the exit corridor north (passing a Stamina font) and east, back once more into the main tunnel. Trek south one last time, and the corridor allows you access to two Stamina fonts and the Black Book. Open the book, and you can select from among the following powers:
- Black Market (Summons a Dremora merchant to trade with you)
- Secret Servant (Summons a Dremora butler to carry your excess items)
- Bardic Knowledge (Summons a spectral drum that plays for you, increasing Stamina Regeneration for you and nearby allies)
Postquest Activities
Choose your power, then open the book to return to Solstheim.