
Elder Scrolls V: Skyrim Special Edition Guide Dawnguard Quests Dawnguard Main Quest
Dawnguard Main Quest: Awakening
Awakening
Stendarr Preserve Us
At the end of the initial conversation with Isran, this quest begins. Isran allows you to look around the fort and take anything you need. Grab what you wish, although most of the fort’s facilities (such as the Forge, Alchemy Lab, and Arcane Enchanter) are not yet available. In addition, you can:
- Listen to the end of the conversation between Isran and Vigilant Tolan, who decides to assist you and sets off to Dimhollow Crypt ahead of you.
- Watch as Agmaer nervously shuffles forward and requests training as a Dawnguard soldier. After some initial misgivings, Isran tests Agmaer in the arts of the crossbow and is a little more impressed. The next time you return to the fort, Agmaer will be wearing the garb of the Dawnguard.
- Speak to Durak if you haven’t already, and claim a crossbow if you want to use this weapon. If you have some skill with Smithing, take this opportunity to temper it as well.
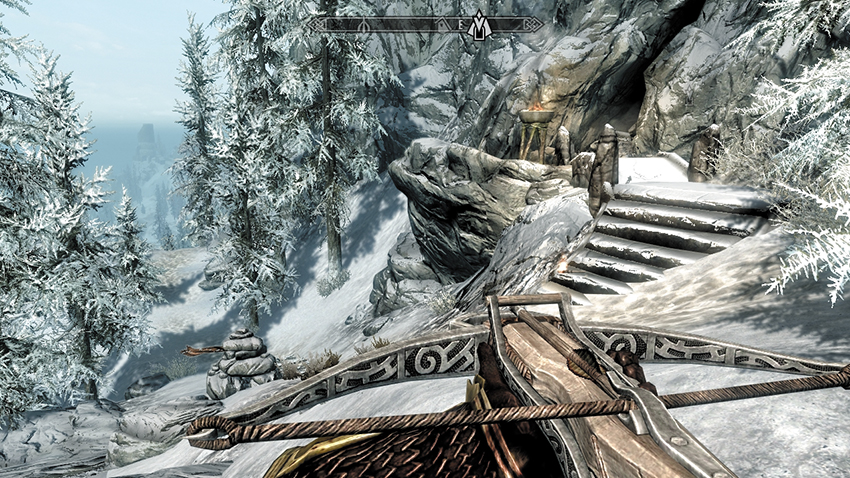
When you’re ready, leave the fort and travel to Dimhollow Crypt. The entrance is on a lonely, snow-bound path just west of Frostmere Crypt and the Hall of the Vigilant, over in the Pale Hold. You can also get there by trekking down from the Lord Stone.
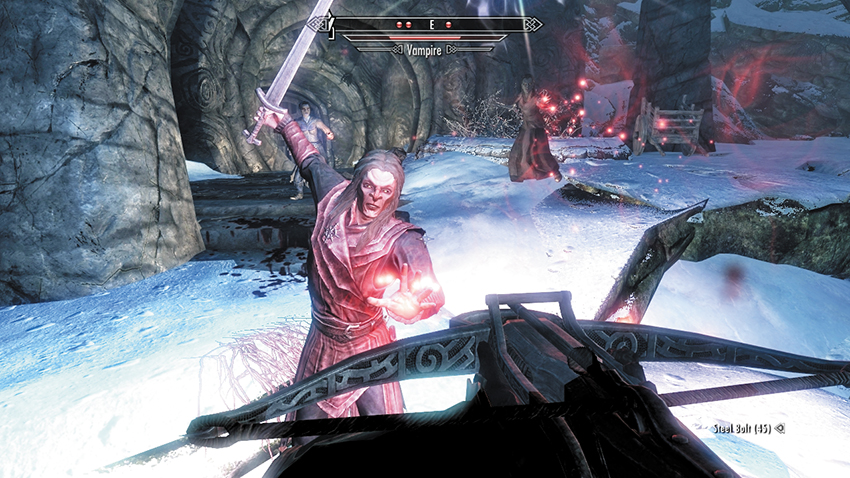
Head into the initial cavern, a grotto where you can listen to two vampires talk about culling yet another Vigilant of Stendarr. Employ whatever combat techniques you’re most proficient with. Watch out for any thralls the vampires may raise, as well as their thick-set, ravenous, and obsidian Death Hound. When combat is over, if you carefully inspect the corpses, you’ll see Vigilant Tolan is among the dead; he’d encountered a Master Vampire and fought valiantly, but ultimately he succumbed to the odds against him. Loot what you wish before heading south to the small stone tower. Activate the chain inside that opens the main interior entrance gate and go inside.
A Very Dim View of Proceedings
Pass into a dank burial chamber, where around four skeletons rise from their earthen tombs along with another vampire. Slaughter or sneak past them all. Head to slightly higher ground, pull the lever next to the gate in the western wall, and head down into a burial chamber, where another vampire is making short work of some Draugr. Kill any survivors, then investigate the four smaller gates with a chain by each of them. Pulling each chain opens the gate. Three of the gates lead to a narrow corridor ending in a Draugr fight, a chest, or a potion pedestal. The northwest gate has a passage that continues deeper into the crypt.
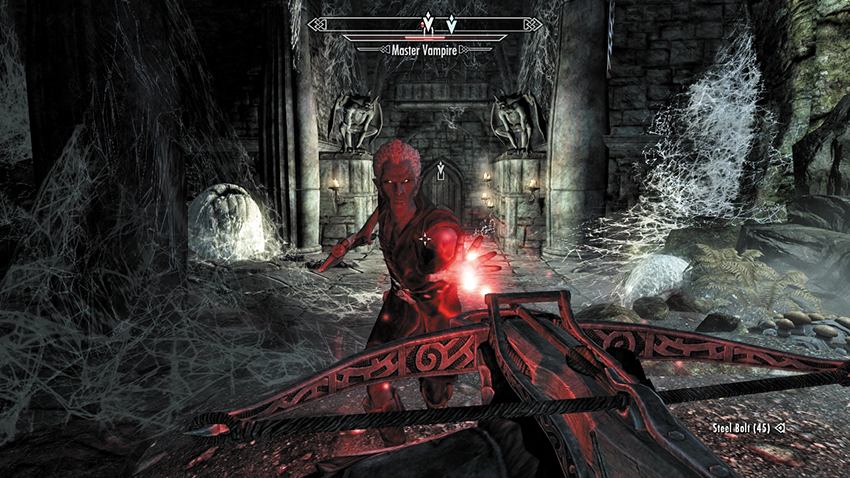
In the waterlogged cavern, a vampire and four more bags of bones are ready to thwart your progress. Defeat them as you wish, then look south to the top of the waterfall; there’s a gate there that you’ll eventually reach. For the moment, carefully maneuver up the soggy path and into Draugr catacombs, where two vampiric incursions must be met with force. The second encounter requires you to defeat two Death Hounds and their vampire master. Wind your way up to the gate you saw above the waterfall, and pull the lever to the gate’s left. A Master Vampire is slaying a Giant Frostbite Spider, before turning his attention (and his arcing shock attacks) to you. Retreat and use cover if his magic is too strong, then face him down (as shown). Next, open the door to Dimhollow Cavern.
Serana’s Subterranean Sarcophagus
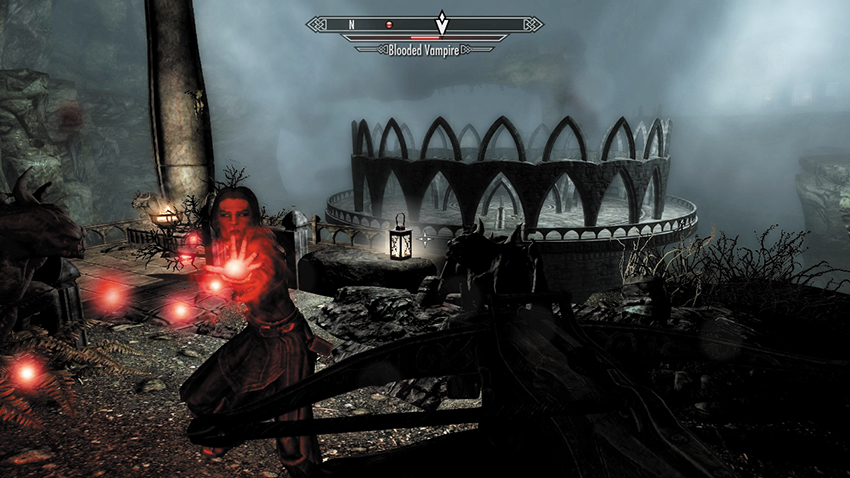
Walk toward the pedestal (claiming the scroll if you wish), and pass the suspicious granitelike gargoyles on either side of the exit archway (the lever to the left simply shuts the archway, so keep it open). There’s little time to gaze out across the gloom to the central stone island surrounded by water; two vampires (one named Lokil) are interrogating the captive, Vigilant Adalvald. As you approach, Lokil kills him (there’s no way to save him). Turn right (southeast) and defeat the vampires using your height advantage before descending the stone steps. Then inspect the corpse of the dead Vigilant Adalvald, which lies near a book. Claim the book for your collection; it has some clues to the nature of this chamber.
According to the book, this chamber was constructed long after the Draugr crypt it was connected to was finished. A more sophisticated architecture seems to be based around the elaborate ceremonial construction in the middle of this ancient lake. Cross the stone bridge, making short work of a vampire’s thrall within the circular stone grounds. Head to the narrow pedestal in the middle of the structure. After pressing the button—which turns out to be more of a “skewer”—the grooves within the curved ground become imbued with an odd and fiery mauve light. Fortunately, the fire isn’t damaging, but rather is a puzzle to open this elaborate tomb.
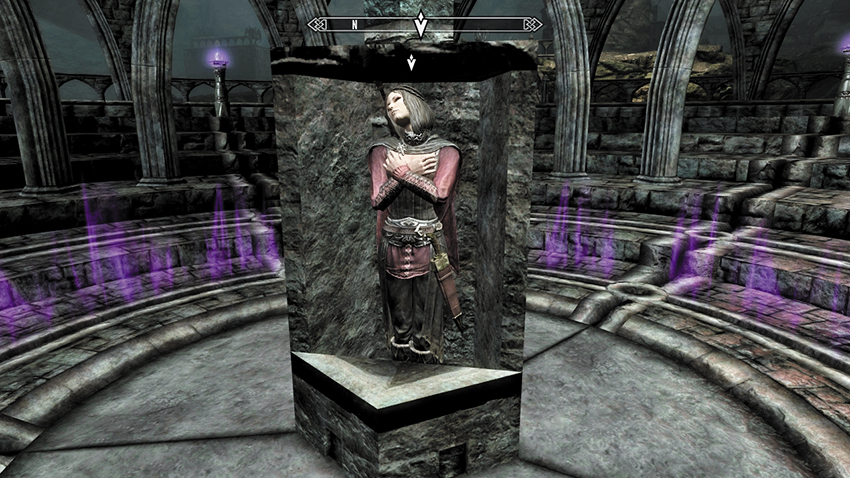
Puzzle Solution: Follow the single line of flames back from the circle, and find the brazier it passes through. Push the brazier to the outer base it slides onto, channeling the fire around. This leads to another brazier to shift, this one toward the base on an inner circle. Continue to follow the fire around, channeling it onward using the braziers (there are five to push or pull; the fire won’t move if you shove the brazier the wrong way). After the final brazier slots into place, the entire floor rumbles, collapsing from the middle outward and revealing a large stone monolith. Activate the monolith, and a section descends. A mysterious woman, who was sealed in this elaborate sarcophagus, falls out.
The mysterious woman is remarkably chipper considering her enforced slumber, but it soon becomes apparent she’s survived her imprisonment due to her vampiric characteristics. You can talk to her about any subject you wish. She soon strikes a bargain with you—keep her alive so you can both find out more about your predicament. She tells you that her family used to live on an island to the west of Solitude, and she hopes you’ll lead her there. She finally introduces herself as Serana.
Postquest Activities
During the conversation with Serana, Dawnguard Main Quest: Bloodline begins as soon as you ask, “Where do you need to go?”