
Elder Scrolls V: Skyrim Special Edition Guide Quests Thieves Guild Quests
Thieves Guild Quests: Darkness Returns
Darkness Returns
A Dark Journey: Pilgrim’s Path
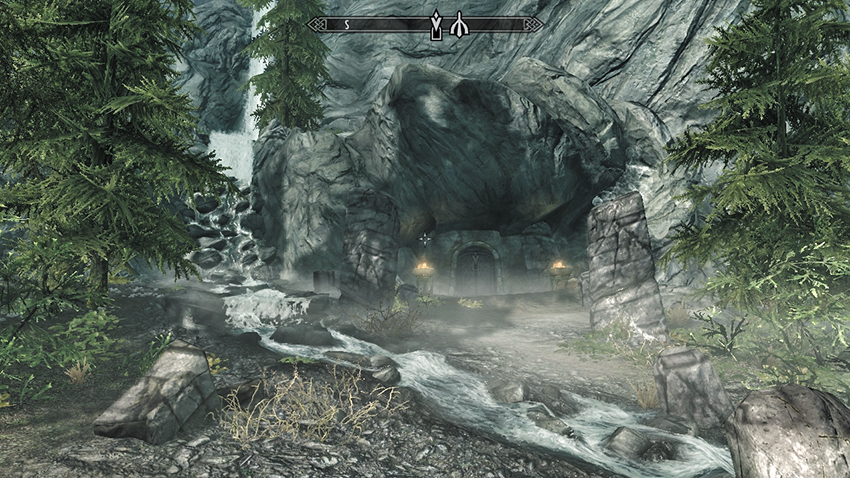
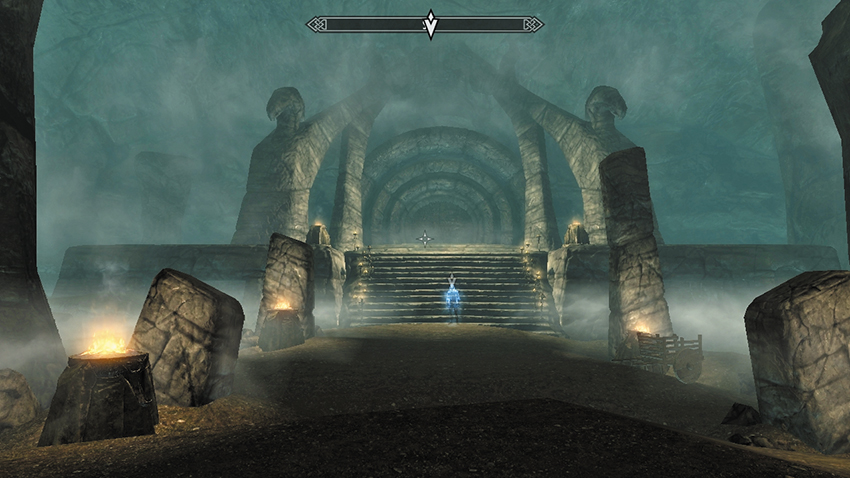
This quest begins with the first objective already under way. Journey to the mountains to the west of Falkreath, and find the entrance to the Twilight Sepulcher, close to a rushing mountain stream. Open the ornate Iron Door, and step into this sacred site. The large entrance cavern is dominated by an arched entrance ahead (south) of you. Waiting for you at the steps below the entrance is a ghostly figure. Speak to the last of the Nightingale Sentinels, who blames himself for this predicament after allowing Mercer Frey to lure him to his fate and steal the Skeleton Key.
You recognize this entity to be Gallus, although this spirit hasn’t gone by that name in a long time. Explain you have the key. Continue the conversation, mentioning Karliah is still alive and telling him the key has been returned. Alas, Gallus cannot help you, as this place holds the Ebonmere—a conduit to Nocturnal’s realm of Evergloam. When Mercer removed the key, it closed the conduit, weakening the guardians of this place and causing them to forget their true purpose. To rectify this situation, you must take the Pilgrim’s Path.
You can ask Gallus more questions about what is wrong with the other Sentinels, how the Ebonmere affects you, and what you’ll face along Pilgrim’s Path. For this question, the spirit recommends you read the journal of a long-dead adventurer who had hoped to take the Path.
Nystrom’s skeletal remains lie in this chamber, to the east. Search him and check out his weapon, but the real prize is the journal on his corpse.
- Nystrom’s Journal
Puzzle Solution: The five clues refer to the following sections of your forthcoming quest:
1. This refers to the Sentinels guarding this place.
2. This refers to the chamber with the areas of light and darkness and the archers that fire upon you, and that the light is damaging.
3. This refers to the offering room with the basin; Nocturnal desires darkness more than anything else, so the basin is a red herring; extinguish all of the braziers to create darkness.
4. This refers to the long gauntlet of traps in the narrow passage that can be bypassed by picking the lock and avoiding it.
5. This refers to the shaft with no exit.
Party of the First Part: Sentinels
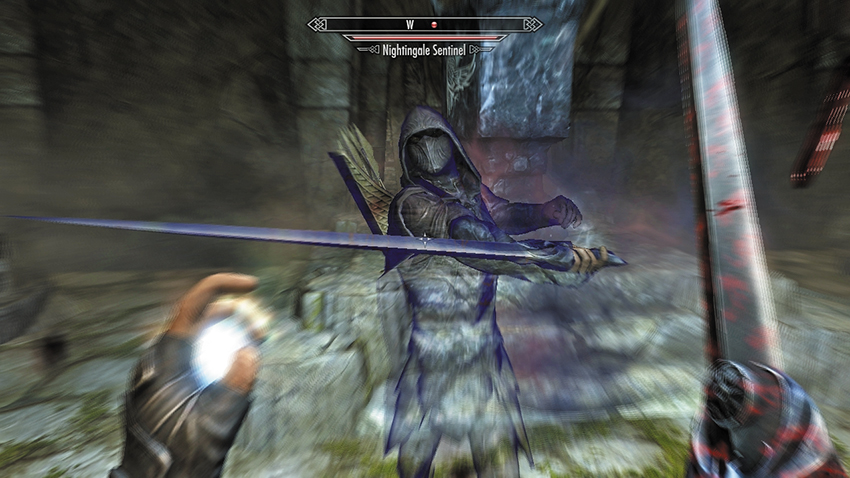
Head up the stairs, weaving your way past a sealed grating and down through an Iron Door, into a candlelit crypt. Nightingale Sentinels are poised here to repel intruders and cannot be reasoned with. Slay those you encounter, pausing only to sift through any books in the upper library. Next, squeeze past the central pedestal, past a floor trigger in the next corridor, and head west to an Iron Door.
Party of the Second Part: Shadows
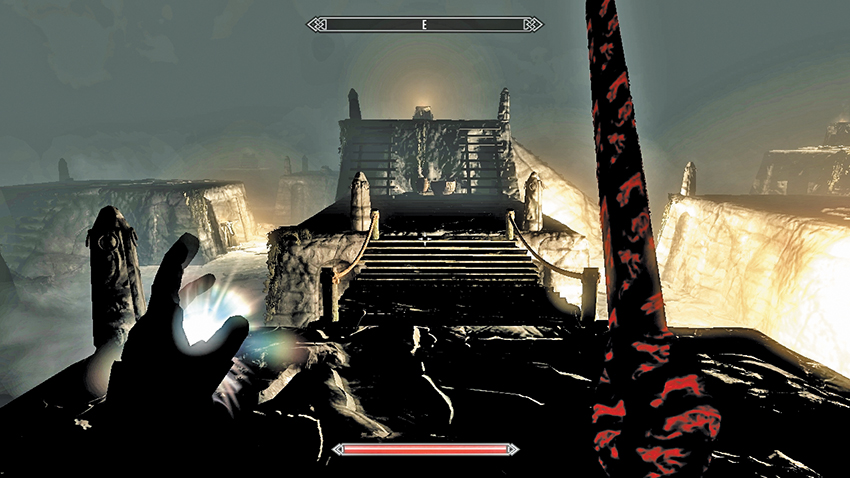
Enter a chamber of shadows. Urns glow with inhuman light. Stone plateaus and a weaving path coax you forward. Then the burning starts! You begin to lose health at an alarming rate as you walk through this collection of cursed passages and platforms.
Puzzle Solution: Walk into the lit areas, and your health plummets. The darker the areas, the less your health diminishes. As you enter, run west (and slightly north, to the right) and climb atop the first platform, dodging any dart traps you trigger. Wait up here to regain your health. Turn southwest and rush behind the next structure, and use the wooden steps to climb up after a sharp left (east) turn. Next, rush over the wooden bridge, stepping to the right to avoid more darts. Run up the wooden steps, past the cauldron of light, to the dark edge of the ledge. Regain your health and look southwest. Drop down, running south up the dark middle of the steps to the exit door.
Party of the Third Part: Struck
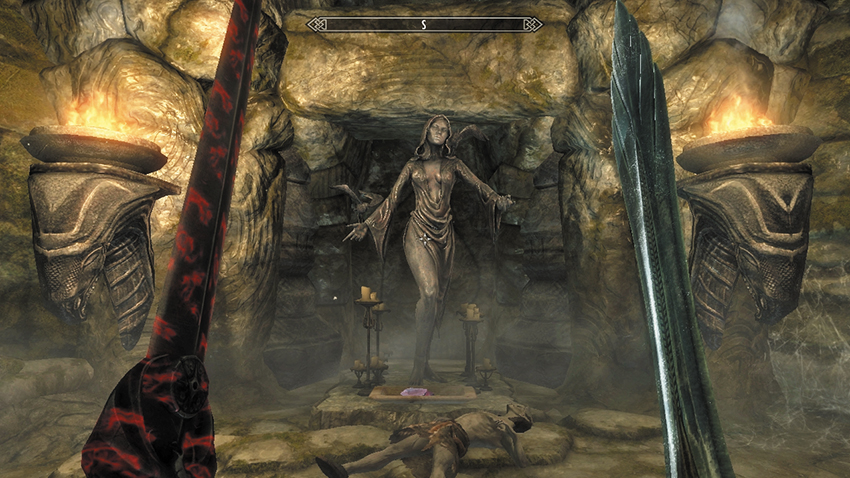
Walk through the crypt to a pedestal of Nocturnal with a dead bandit at the foot of it. The two ornate wall torches are each hiding the pull chain; yank this to reveal a false wall that rumbles open. Weave through the corridor, heading west, to a group of swinging axes blocking your path. Look left to see a locked door. Pick the lock (Lockpick [Master]) and you can bypass all the traps and head straight to the fourth part). Or, watch for a floor trigger that launches darts. Sprint between them to the Iron Door, avoiding another floor trigger that skewers you with spears by the door. Wait as the door opens and a battering ram swings at you. Step to the right to avoid it, and run under it as it repositions. You can enter the Inner Sanctum from here, or optionally investigate a ghostly banquet hall with items to scavenge and two more Sentinels to dispatch.
Party of the Fourth Part: Skeleton
Amble through a candlelit hallway with a faint purple mist in the air. This leads to a nasty drop down a circular well. At the bottom are the skeletal remains of Anders, an adventurer. Read his message if you wish, before realizing you’re well and truly stuck down this well.
Puzzle solution: After a few moments of sweating, you produce the Skeleton Key automatically; the arcane device seems to “know” what you want to unlock and allows you to pass through the floor and into the Ebonmere chamber.
- Anders’s Message
Party of the Fifth Part: Summoning
After producing the Skeleton Key and dropping the down the well and into the entrance to Evergloam, you have but one choice: Return the Skeleton Key to the Ebonmere.
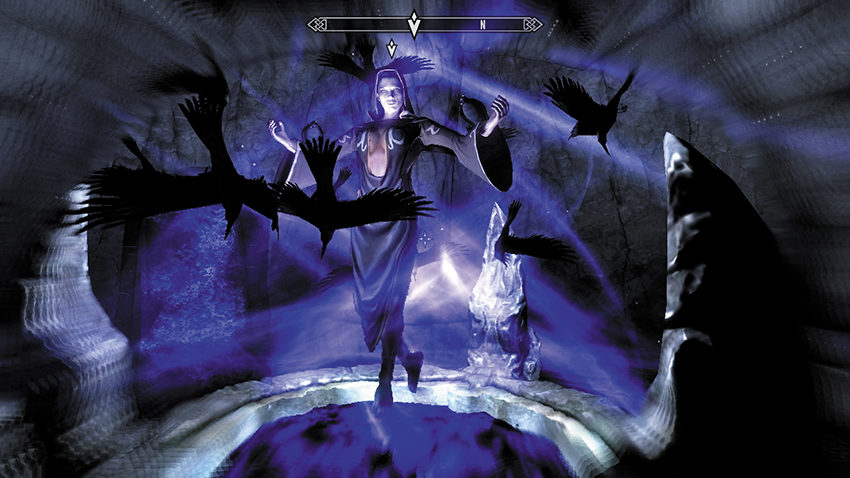
A circle of impossibly deep blue vapors congeals around the Ebonmere, a three-pronged portal to Evergloam. A flock of black nightingales departs, announcing the arrival of Nocturnal. She notes that a champion has returned the Skeleton Key to the Sepulcher and the Ebonmere is restored. You shall have your trinkets of reward and must drink deeply from the Ebonmere to become an Agent of Nocturnal! It seems this Skeleton Key unlocks more than just doors; it also reveals inner potential.
Once you choose the power, you can now freely and quickly leave the temple. This ends the Thieves Guild critical path quests.
Quest Conclusion
You have done well in the eyes of Nocturnal. Karliah has also appeared. She is visited by the spirit of Gallus one final time; his tormented imprisonment has been lifted, and he leaves his love to walk with the shadows. Speak with Karliah, and she gives you more information about the circles at the base of the Ebonmere. These imbue you with powers befitting a Nightingale Agent. The symbol is of the waxing and waning moon. You can return here once every 24 hours to change your ability, and one day you may be forced back to defend this place; this is your pact with Nocturnal. For now, though, there are pockets brimming with coin and coffers ripe for the picking all across Skyrim!
- Agent of Shadow: For two minutes, you are invisible when sneaking. Note that attacking or activating something makes you appear, just as with standard invisibility. You simply need to begin to sneak again, and the invisibility will instantly reactivate. This is a power, so you can use it only once per day.
- Agent of Subterfuge: You can cast a massive Fury spell that can Frenzy any target regardless of its level. This is a power, so you can use it only once per day.
- Agent of Strife: You can cast a huge blast of energy that damages the health of the target for 100 points and grants this same health to you. This is a power, so you can use it only once per day.
Postquest Activities
Karliah makes Nightingale Hall her home, and you can visit her there. Activate the portal to reach the Sepulcher’s entrance hall, and head back to finish any remaining additional jobs. This allows you to finally assume the leadership of the Thieves Guild. But your Critical Path Quests are now over.