
Elder Scrolls V: Skyrim Special Edition Guide Quests Civil War Quests: Stormcloak
Civil War Quests: The Jagged Crown
The Jagged Crown
Claiming an Old King’s Crown
Continue your conversation with Galmar Stone-Fist. Ask him what the mission is, and he says that he’s located the final resting place of the Jagged Crown, in the assumed burial place of old King Borgas. Galmar is already assembling his men outside of Korvanjund. You should join them immediately. Before you leave, ask him for more information on the Jagged Crown and the tomb of Korvanjund.
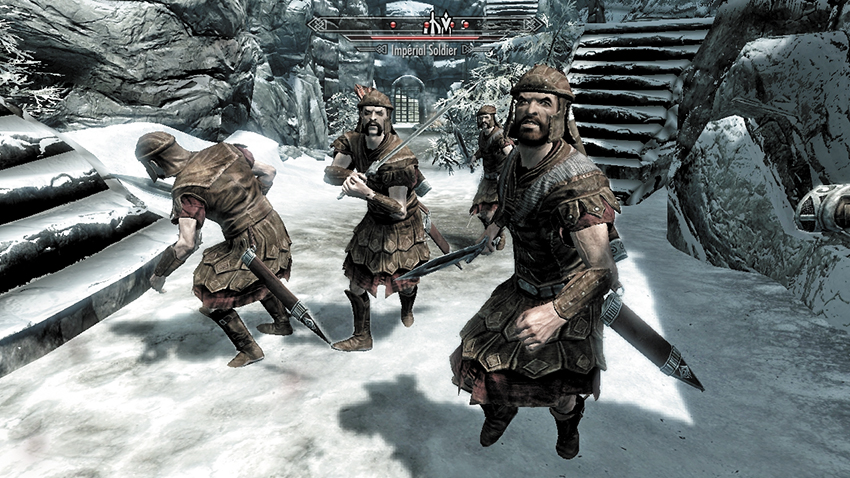
Northeast of Whiterun, in the lower foothills where the ground first turns from tundra to snow, is a depression in the ground. This marks a large cairn and the entrance to these ancient Nordic temple ruins and Jarl’s tomb. You can charge toward the entrance on your own, but a more measured (and recommended) plan is to meet up with Galmar Stone-Fist and his quartet of men on the slopes outside the entrance. The troops include Ralof, the man you met at Helgen. Galmar listens as a soldier informs him that Imperials are roaming the place, keeping themselves comfortable. Galmar intends to spill some Imperial blood for Skyrim and send these red-clothed fiends to their graves. Confirm you’re ready as Galmar finishes his speech, and you advance upon the cairn. Attack!
If you’re employing melee weapons, it is recommended that you lead the charge, sprinting down the steps and up the other side to engage the bowmen, while the rest of your troops fight in the lower ground.
If you’re employing bows or projectile spells, stay on the edge of the depression and rain missile attacks down upon the enemy.
As there are only about four Imperials guarding this entrance, combat is both swift and straightforward. Meet Galmar at the top of the steps by the interior entrance. He issues another warning before heading into Korvanjund Temple. Follow him at once.
Combat in the Cairn
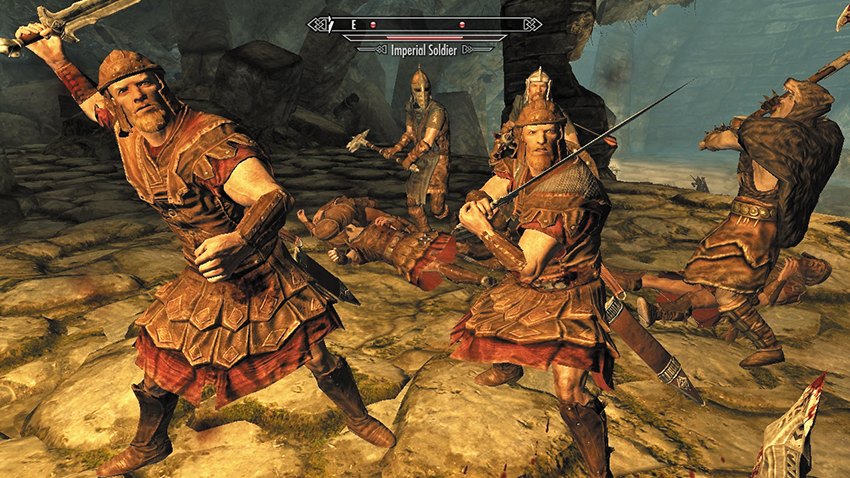
Dash into the crypt entrance chamber, which is wide and contains a small contingent of foes. Slaughter them quickly, after which Galmar posts Gretta and Engar to guard this entrance. Head down the steps to the north, then turn right (east) and slay a trio of Imperials prowling the ledge surrounding this sunken hall. It is usually best to head in first, to avoid pushing past friends to reach the foes. After the battle, you can reconvene near Galmar at the northern side of the lower hall, near the massive cave-in that dominates the middle of this chamber. Galmar guesses there’s a group of foes waiting for you on the other side of the tunnel steps. He’s hoping you can find a different way in. You can:
- Ignore the warning and plow straight down the stairs into the bridge chamber beyond, where you fight around four to six Imperials.
- Or, head up and around the hallway’s upper ledge, to an entrance directly above where Galmar is waiting. This brings you out into the same bridge chamber but on the upper bridge. It is easier to sneak, fire long-range attacks, or race along the bridge and around the upper balcony area, tackling foes one at a time.
Your comrades attack the enemies from the lower level, so taking down the enemy from two directions is safer and splits the Imperials’ targets. When the bridge chamber is dripping with Legion blood, check the main stepped area for treasure (near the open chest). Afterward, find the upper exit passage to the west. Galmar and his remaining soldiers are clustered around the corpse of a Draugr. It is the first time they’ve seen such a corpse. Galmar bolsters their courage, and the infiltration continues, down to the iron door leading into the Korvanjund Halls.
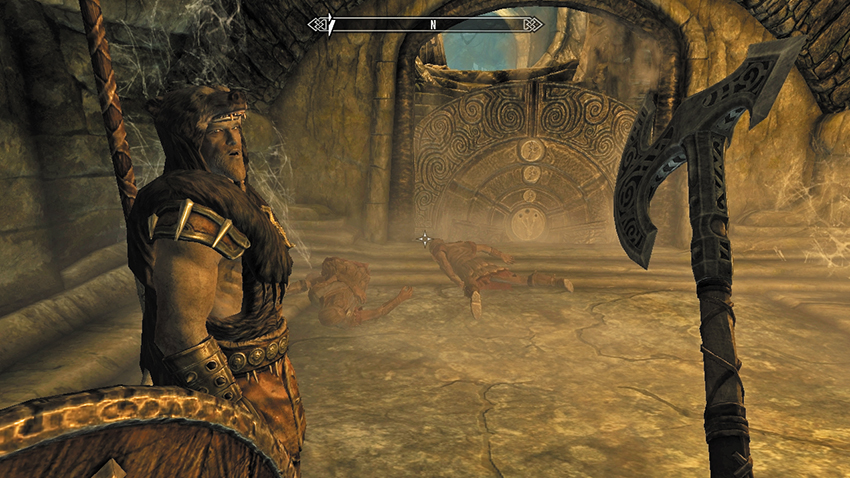
Enter the first chamber, climbing to the balcony and slaughtering two foes along the way. Venture north along an upper passage to steps leading down. Along the way is a side tunnel with a swinging blade trap; there is treasure here and a lever that stops the axes. Venture into the Nordic Hall of Stories, with or without Galma. At the hall’s far end is a Nordic Puzzle Door and two dead soldiers. Take the Ebony Claw they were carrying. This holds the key to opening this puzzle.
- Ebony Claw
Puzzle Solution: The door consists of three “rings” that rotate when you activate them. Each of them has three animals plated into the structure, while you unlock the central keyhole using the Ebony Claw. The puzzle solution is on the palm of the Ebony Claw; rotate it in your inventory to see the three circular petroglyph carvings. Move the rings so the Wolf, Moth, and Dragon appear on the outer, middle, and inner rings, respectively. Then insert the Ebony Claw into the keyhole.
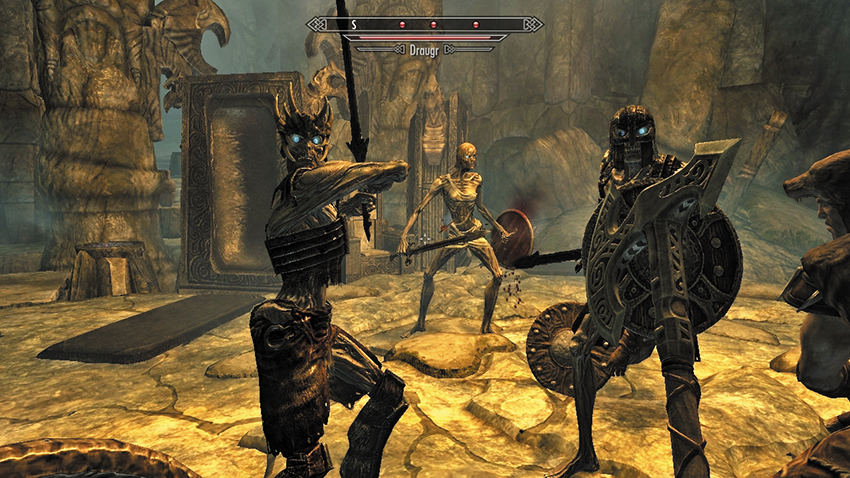
Venture through the rumbling door and through connecting corridors into the guardian hall chamber. To the west is a portcullis preventing you from reaching the exit door. Simply head to the chamber’s northwest corner, into the passage that winds up, past an Iron Dagger on a plinth. Cross a stone bridge to a balcony with a chest. Of more importance is the handle on the northwest corner of this balcony. Pull the handle to raise the portcullis and then drop down to aid Galmar as four or five Draugr clamber out of their tombs to stop you. Now enter the crypt itself.
After a few more winding passages, Korvanjund reveals its deepest chamber: the ceremonial crypt of a long-dead Jarl. Approach the slumped Draugr sitting on the throne in the middle of the chamber. Two guardians clamber out of the tombs that flank the throne, prompting a vicious battle between the Stormcloaks and Draugr. When the combat ends, pry the crown off the Draugr who sat on the throne. With the Bone Crown in your inventory, you can return to Ulfric Stormcloak. Before you leave, head south to a Word Wall and absorb another Word of Power! Then climb the steps to the east, heading up the steps, back into the temple. Remove the door bar, and exit Korvanjund by this quicker route. Leave Galmar to finish his search, and head back to Windhelm.
- Bone Crown
- Word of Power: Slow Time
Quest Conclusion
Return to the Palace of the Kings and locate Ulfric Stormcloak, who is surprised that Galmar was correct about the crown. You can ask him about the war and his role in deposing the old High King of Skyrim. But more importantly, Ulfric has a message he needs delivered to the Jarl of Whiterun.
Postquest Activities
This prompts the immediate start of Civil War Quests: Message to Whiterun.