
Elder Scrolls V: Skyrim Special Edition Guide The Atlas Solstheim: Northern Mountains
[S.N11] Castle Karstaag Caverns
[S.N11] Castle Karstaag Caverns
Related Quests
- Solstheim Side Quest: Karstaag’s Resurrection*
- Solstheim Regional Activity: Thievery and the Karstaag Connection*
Recommended Level: 50
Dungeon: Riekling Camp
- Karstaag
- Mounted Riekling
- Riekling
Miscellaneous
- Area is locked
- Chest
- Loose gear
Exterior: Both Locations
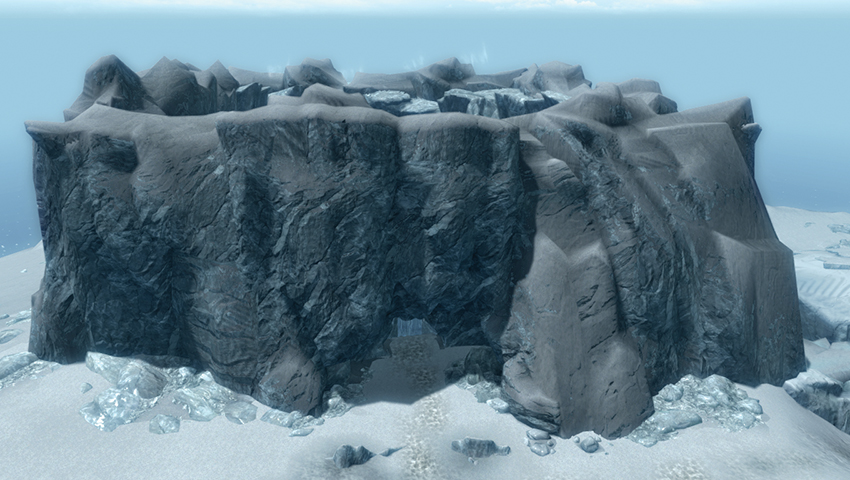
Solstheim’s ancient tales speak of a frost giant both frightening and furious. But this brute is said to have died more than 200 years ago, during the time of the Bloodmoon. Head up the steep snowy slopes toward Castle Karstaag Caverns and Castle Karstaag Ruins. The castle is a massive mound of sculpted ice and looks almost like a mountain.
Although the interior of Castle Karstaag has long since collapsed, its remains, worn down to glacial slabs, still form a near-impenetrable wall. Unless you can pick the lock on the massive front doors [Master], the only open path to the central courtyard (the Ruins) is through the icy, partially flooded tunnels under the castle (the Caverns), where a clan of Rieklings still defends its ancient home.
Interior: Castle Karstaag Caverns
 Exit to Solstheim
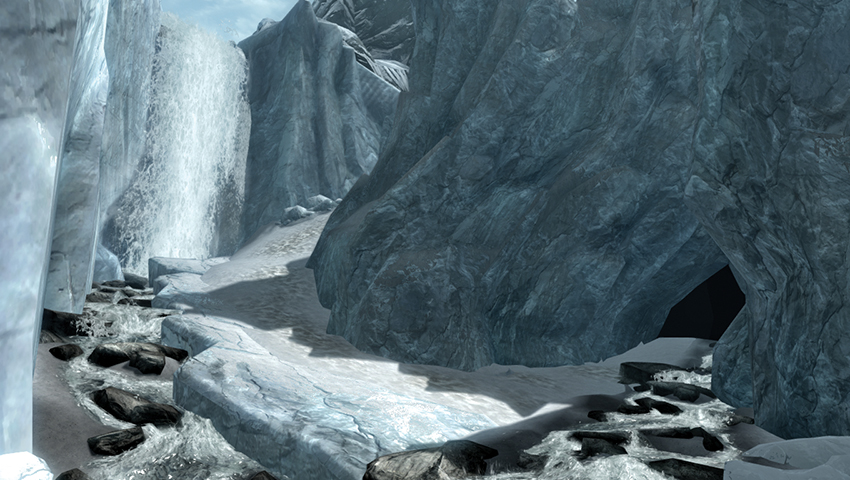
After following the raging mountain stream in the ravine to the castle’s east, you enter the caverns here.
 Ice Cavern (First Visit)
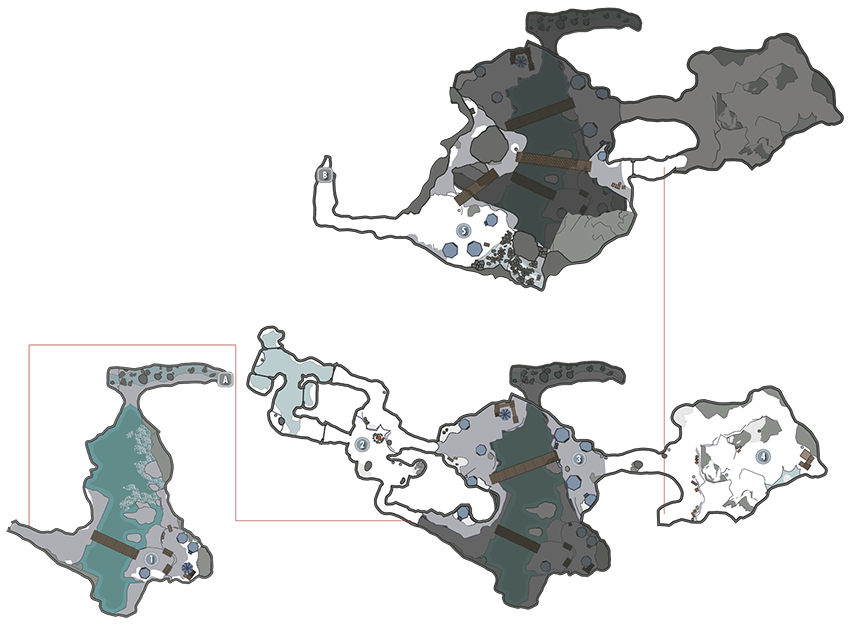
Venture into a massive ice cavern with at least five Rieklings. Head along the broken ice, passing the corpse of Esmond Tyne (who has an excellent formula for Bonemold Armor, which Glover Mallory is interested in). Dive down and swim under the bridge to secure items from a sunken chest [Apprentice]. Now climb the icy banks, fighting Rieklings and checking their small camp for coin purses before crossing a bridge heading west into a narrow vertical fissure passage.
- Esmond Tyne
- Bonemold Formula
- Chest [Apprentice]
- Loose gear
- Riekling
 Campfire and Ice Doors
Navigate the ice chamber with the campfire and more Rieklings. Open the ice door to the west and unlock any of the other doors [Apprentice, Novice, and Novice] to reach small alcoves with minor items. Head east, through another ice door, up the passage to the top of the camp room, and head left (southeast) through the exit.
- Potions
- Loose gear
- Riekling
 Ice Cavern (Second Visit)
Move back out onto an upper walkway of the massive ice cavern. Deal with three or four more Rieklings, check the hut on the narrow ledge around to the south, then cross the long wooden bridge heading east. Slay two more Rieklings on the bridge’s far side, then head up the ice tunnel.
- Loose gear
- Riekling
 Bristleback Pen
Peer down to a Bristleback pen with four animals and a Riekling to ignore or slay. If you do head down, don’t forget to claim the chest [Novice] under the overhang.
- Chest [Novice]
- Loose gear
- Riekling
 Ice Cavern (Third Visit)
Head out to the highest part of the central ice cavern. Dispatch two foes, cross the bridges heading southwest toward a couple more foes, and check the waterfall area for a chest and skeletal remains. An open ice door to a tunnel leads up into Castle Karstaag Courtyard.
- Chest
- Loose gear
- Riekling
 Exit to Castle Karstaag Courtyard
Interior: Castle Karstaag Courtyard
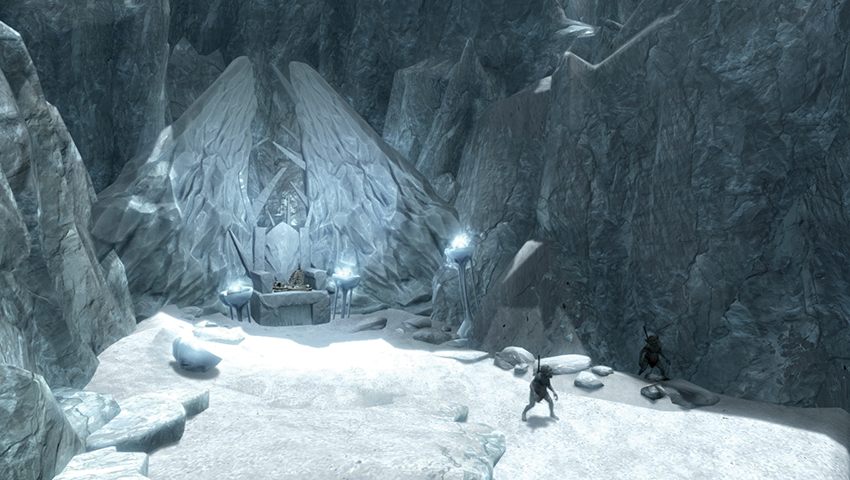
Only the exterior walls remain of this once-mighty castle, forming an arena where three Rieklings await you. Engage the Mounted Riekling before slaying the two on foot. It is important to search the Mounted Riekling, as he is carrying the key. This allows a swift exit through the ice door in the south wall [Master], which is otherwise exceptionally difficult to open. Next, edge over to Karstaag’s ice throne, where a scattering of giant bones rests between two ice torches.
Are you ready to meet Karstaag? If you have Karstaag’s Skull (from Glacial Cave, [S.N12]) activate the throne to place it and prepare yourself!
- Castle Karstaag Key
- Karstaag
- Power: Summon Karstaag