
Elder Scrolls V: Skyrim Special Edition Guide Dragonborn Quests Solstheim Side Quests
Solstheim Side Quests: The Final Descent
The Final Descent
The Caerellius Conspiracy
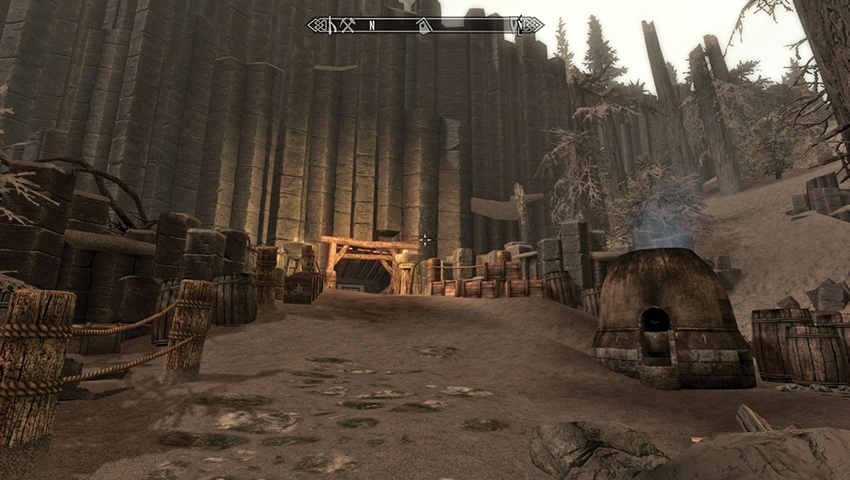
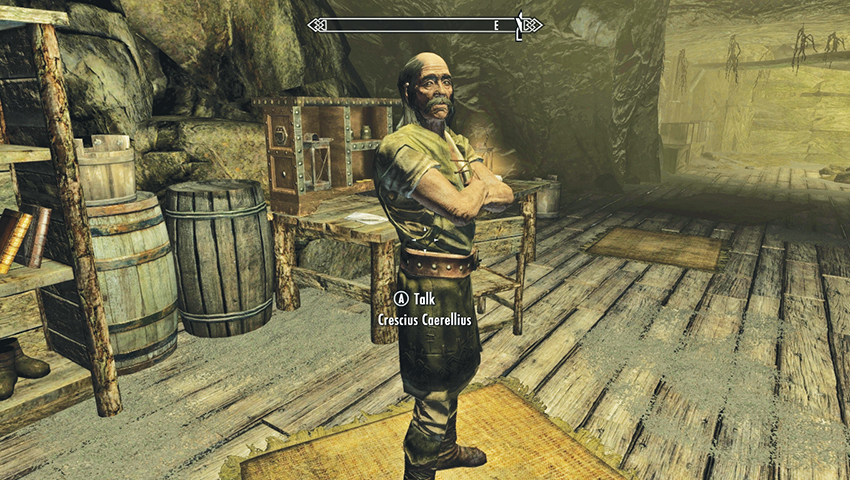
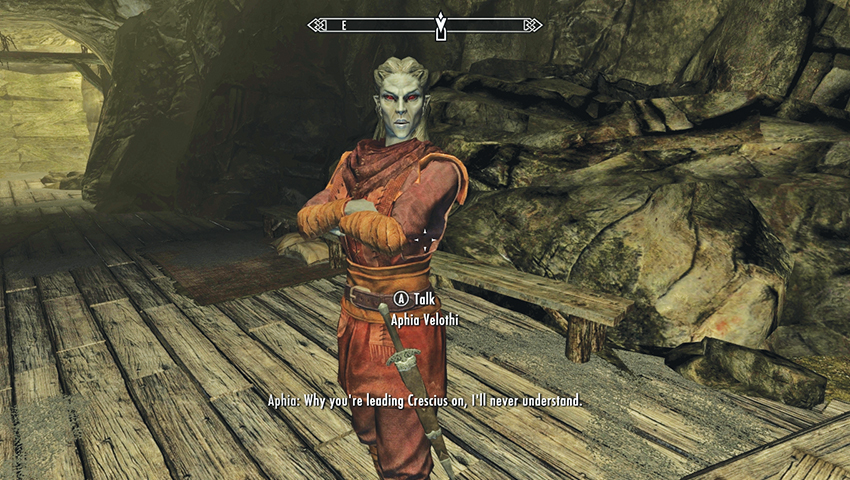
To the northwest of town, at the foot of the giant rock column formations, is the old Raven Rock Mine. Visit at any time, and once you pass the East Empire crates and boxes, there’s a makeshift balcony under which Crescius Caerellius, an elderly Imperial, is arguing with his seemingly younger wife, Aphia Velothi. After their outbursts, you can speak to Crescius and he tells you he’s busy. Inquire why, and after some suspicious verbal sparring, he tells you the mines below hold a secret that could put Raven Rock back on the map. The quest begins!
Continue your questioning: It seems that his great-grandfather, Gratian Caerellius, spent his entire life exploring ruins across Tamriel and met his end here almost 200 years ago. The East Empire Company explained it away as a rockfall, but Crescius reckons there was more to it. After a tidying up in their home, an unsent letter of Gratian’s was discovered, as well as a key. Apparently, there was a great discovery—great enough for the East Empire to seal up the entrance. Unfortunately, Crescius hasn’t been able to find it.
Answer how you wish; the old coot continues, adamant that there’s something big down there that the East Empire Company doesn’t want anyone to know about. He’s telling you this because Aphia thinks him too old for such a dangerous exploration. He wants someone to find out what happened to Gratian and learn the East Empire Company’s big secret. He hands over everything he has and asks you to emerge triumphantly so he can regain the respect he’s lost.
- Gratian’s Letter
- Raven Rock Mine Key
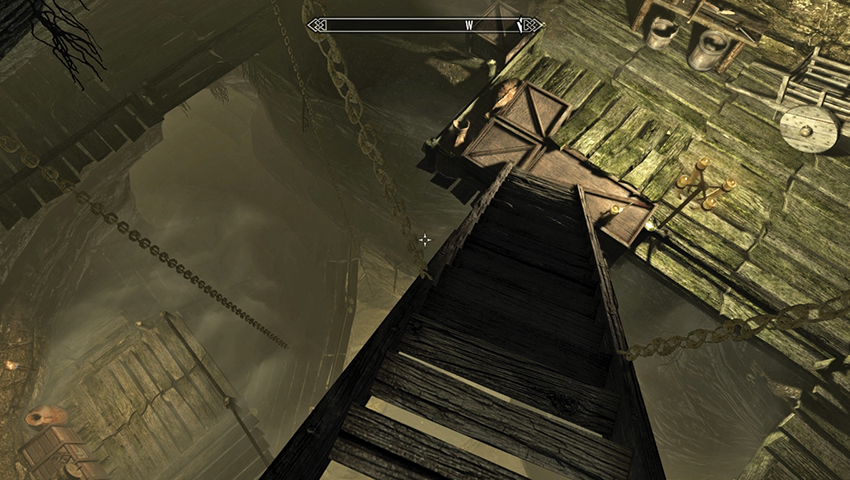
You can further delve into Crescius’s world of conspiracy by asking about Gratian’s death. You can also hear Aphia’s side of the argument, how she met Crescius, and her opinion of her husband’s story. Then, when you’re ready for a (possibly terrifying) descent, step onto the wooden floor and peer down the steps. They are hooked by chains to a gigantic mine shaft with an almost bottomless drop. Nimbly descend onto the wooden platform to the west.
The Search for Gratian Caerellius
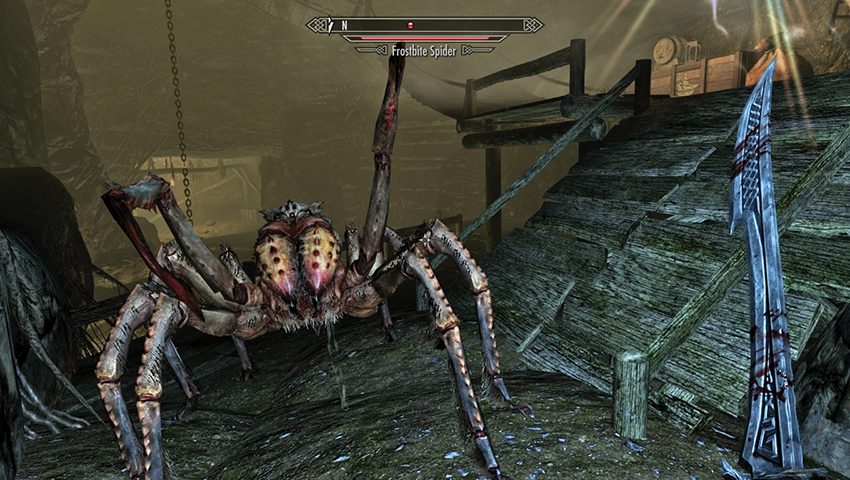
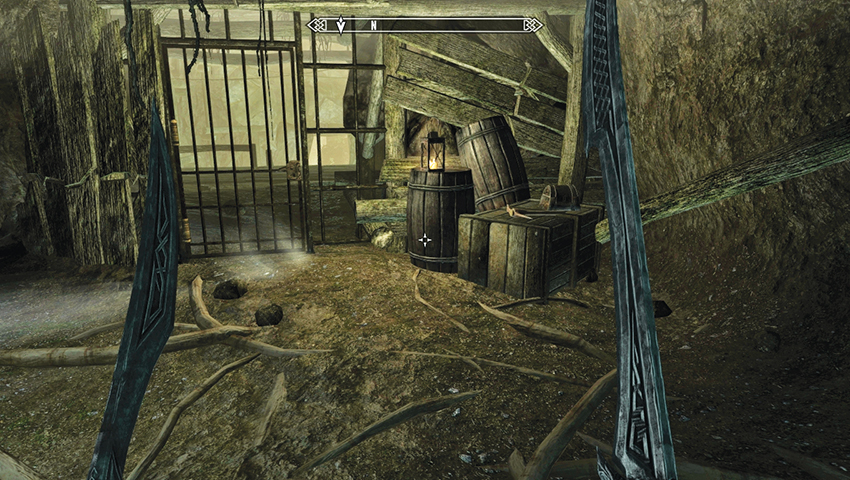
Follow the precarious floating balconies down to the opening in the south wall of this epic hole, watching for Skeever here. Continue past a Frostbite Spider and another alcove to the east, with a spider and some rickety platforms. Back in the central pit, continue north to a third alcove leading down a stepped tunnel to the west, then the south and east, with more spiders and planks and a web to cut through as you burst into a locked gate next to an East Empire strongbox. Open the gate using the key you received from Crescius.
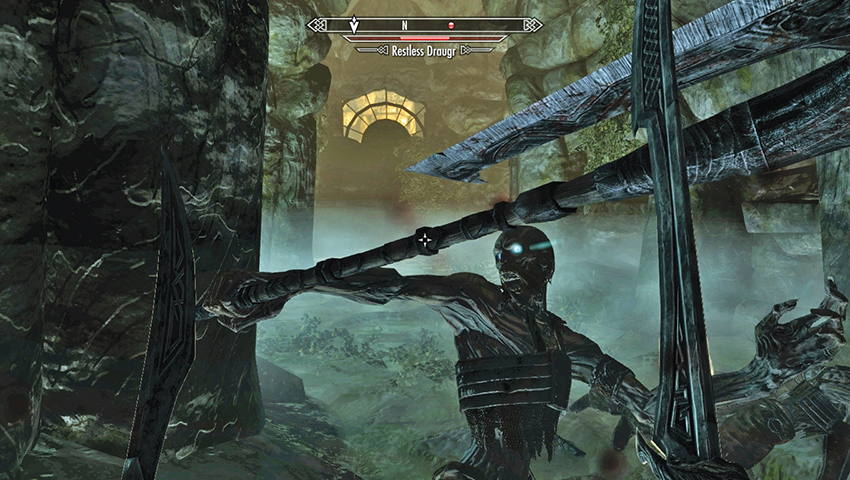
Cross into a roughly mined area, which breaks through into a Draugr tomb that is ankle-deep in water. There’s movement here. Draugr rise from their walled resting places to delay you. Fight four or five as you head through the crypt. Check the left area for a chest, then go east; avoid the floor plate and swinging gate trap. Head up the steps and around to the west.
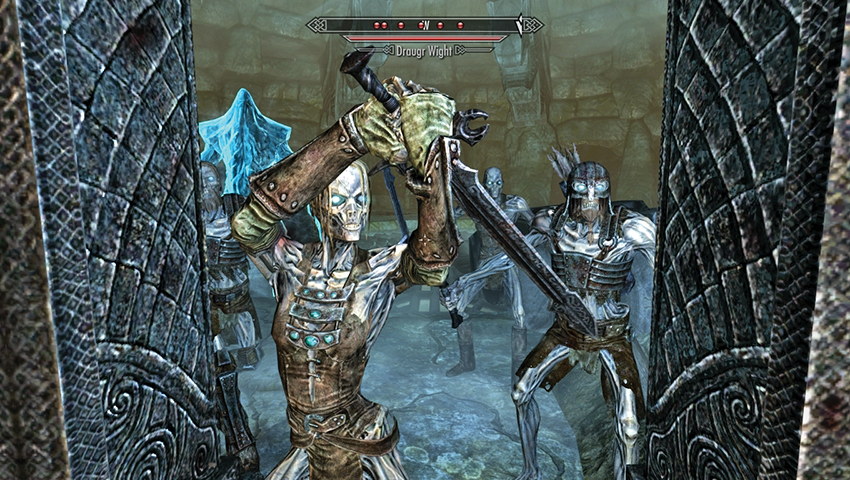
Here, four thrones are occupied by two slumbering dead (one on each side), who awaken to attack, along with a third foe farther along the hall and a locked chest [Master]. Defeat these enemies, as the circular chamber ahead features at least six Draugr of varying degrees of toughness. When the brutality is over, open the door to the west, wind your way through a narrow crypt corridor, and pass a tomb with a Stalhrim deposit embedded into it (which can only be mined if you have the Ancient Nordic Pickaxe).
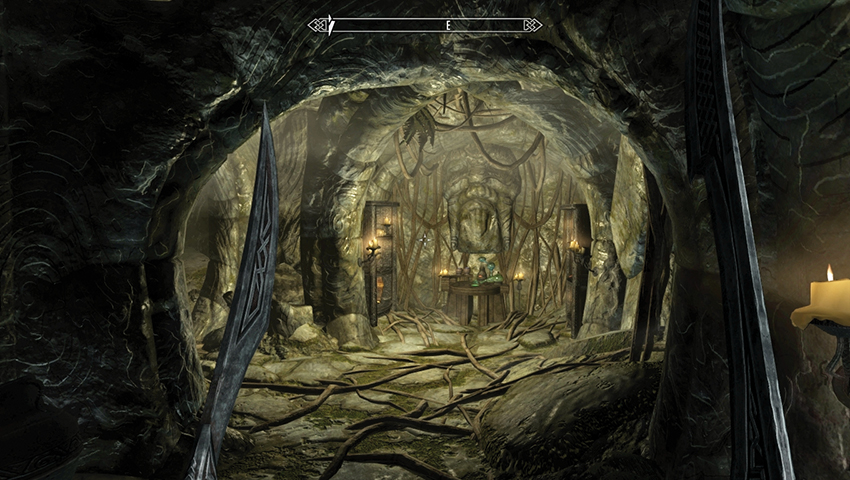
Pass the Alchemy Lab and shelves of ingredients (snag the Netch Jelly here if you’re completing the Solstheim Regional Activity for Milore Ienth), then move north along a stepped passage, watching for lightning traps in the shallow alcoves (race through or pry the Soul Gems off their pedestals). Back in the water, open the iron doors and ready yourself for combat with some particularly hardy Draugr.
- Netch Jelly (2)
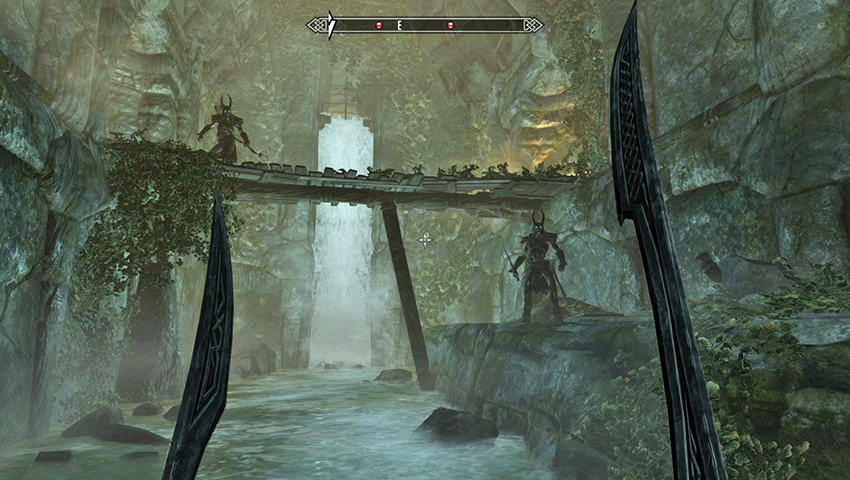
Battle the Draugr around this interior canal and on the precarious wooden bridge. Behind the waterfall is a door that leads to a small alcove with a few scattered items and another Stalhrim deposit. Return and climb up to the alcoves and cross the wooden bridge to a high alcove with a chest [Expert] and an Arcane Enchanter. Yank the handle on the nearby pedestal, which opens a door on the chamber’s eastern upper side. Move back across the bridge to reach it. Head south to a corridor junction. Left (east) is a pedestal surrounded by candles, where you find a Spell Tome for Ice Spike.
- Spell Tome: Ice Spike
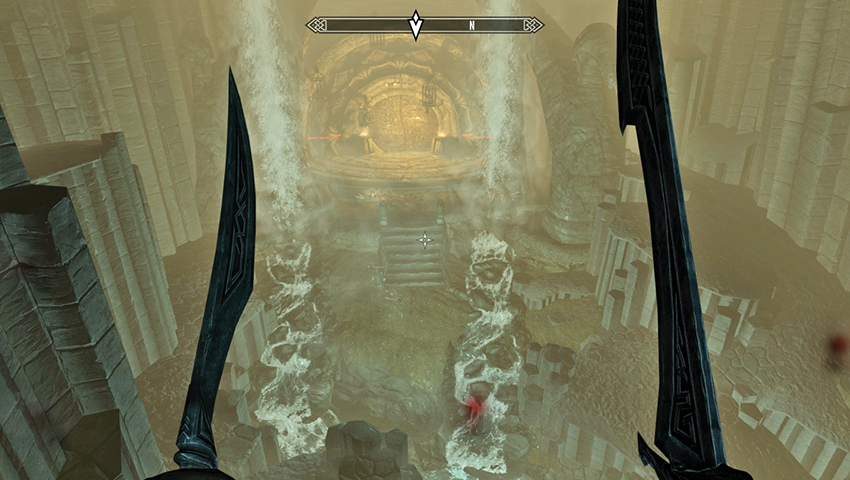
Head right (west), up the spiral steps to the balconies overlooking the Spell Tome pedestal. Dodge or remove the Soul Gem from the lightning trap, and work your way around to an open wooden door and a narrow cage bridge to the north. Carefully tread on the ground near the torch and steps, as a dart trap is easily activated. Rush through or avoid it before opening the wooden door, securing goods from a locked chest [Adept], heading back down the steps, and checking the low tunnel to the west. This brings you out onto a high chasm.
Breaking the Seal of the Bloodskal Clan
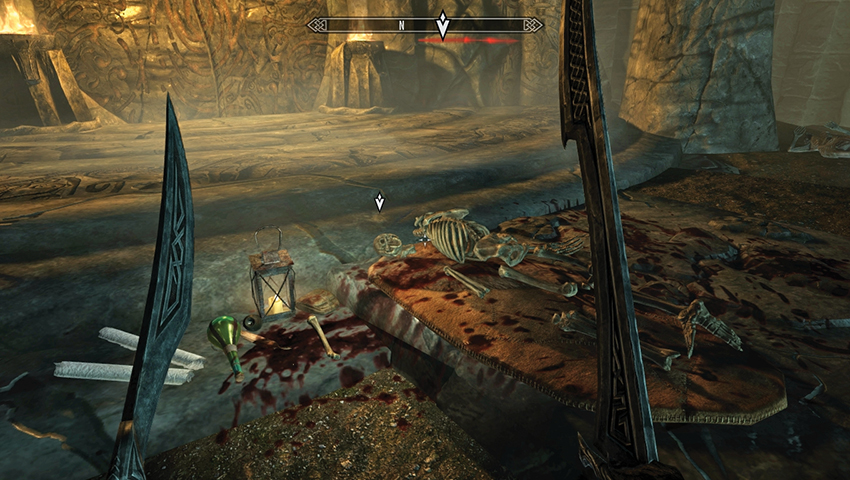
Two cave streams and numerous interlocking basalt columns offer a tremendous view of a strange and dimly lit wall of odd carvings. Could these be what Crescius was warbling about? Carefully descend to the ground and inspect the old bones of Gratian Caerellius, near the runic door. Aha! Gratian’s Journal is on the corpse, along with a strange and wondrous blade. Grab both!
- Gratian’s Journal
- Bloodskal Blade
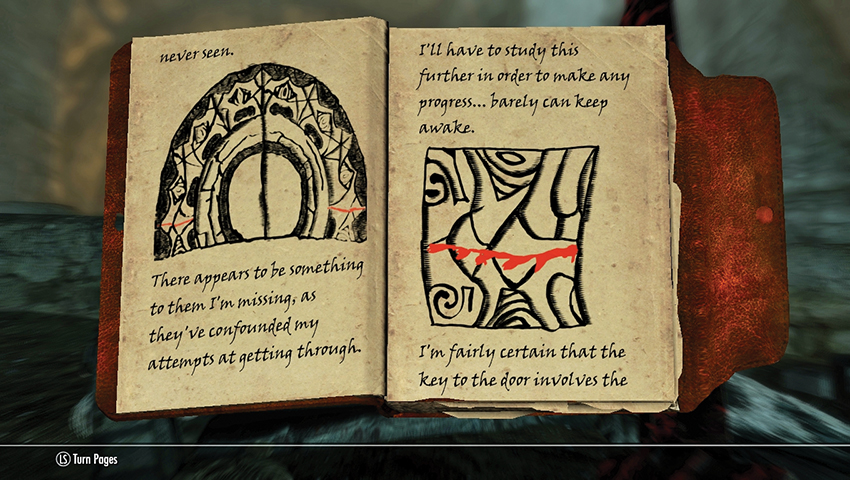
It is well worth your time to read Gratian’s Journal. It mentions that miners broke through into a barrow belonging to the “Bloodskal Clan,” the discovery of the sword, and their battles against Draugr where Gratian and his friend Millius were wounded terribly. The only survivor, Gratian became trapped and reached a strange door. In his malaise, he sketched the door and postulated that the use of the Bloodskal Blade (which emits a ribbon of mystical energy) may solve the puzzle.
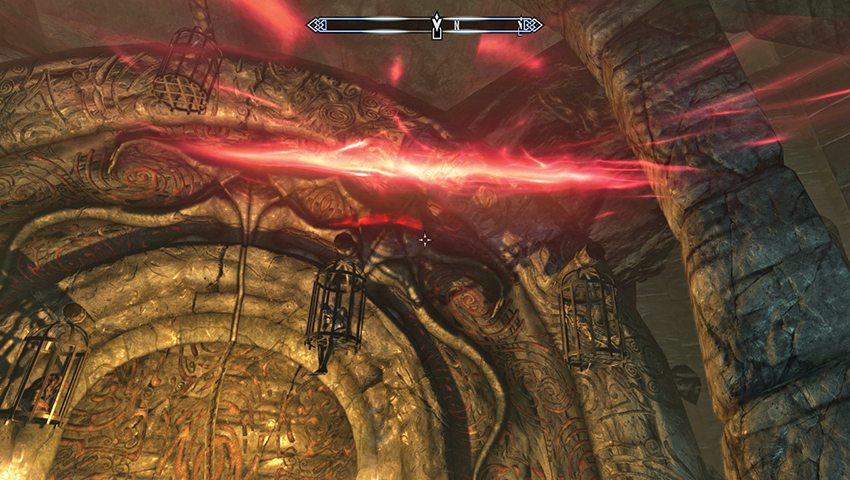
Puzzle Solution: Gratian was correct that the Bloodskal Blade is the key. Equip this two-handed weapon, stand so you’re targeting the red slit in the outer arch, and make either a horizontal power attack with the blade (sidestep, hold down your Attack button, release), or a power attack while moving backward (which makes it easier to aim, as you aren’t strafing). If you’re successful, part of the arch will move up to connect with other moving sections, and a vertical glow appears.
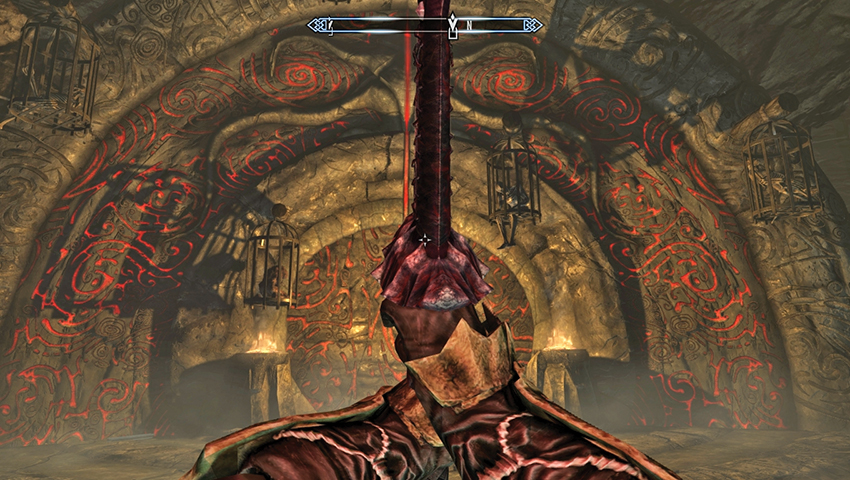
Puzzle Solution (continued): Make a vertical power attack (while holding still, hold down your Attack button, release), and be sure the ribbon of red hits close to the glow in the arch. A section indents, clicks, and the outer piece slides farther toward the apex of the arch. This time a horizontal glowing slit forms. Execute a horizontal power attack, and the entire left side of the outer arch slots into place!
Now move to view the right side of the outer arch. Perform exactly the same power attacks, and watch the sections of archway maneuver into new and unlocked positions. If you’ve correctly slashed, the entire arch glows red, and a massive vertical slit appears through the circular door. Launch a final, vertical power attack from your Bloodskal Blade, and the door opens!
Zahkriisos Rising
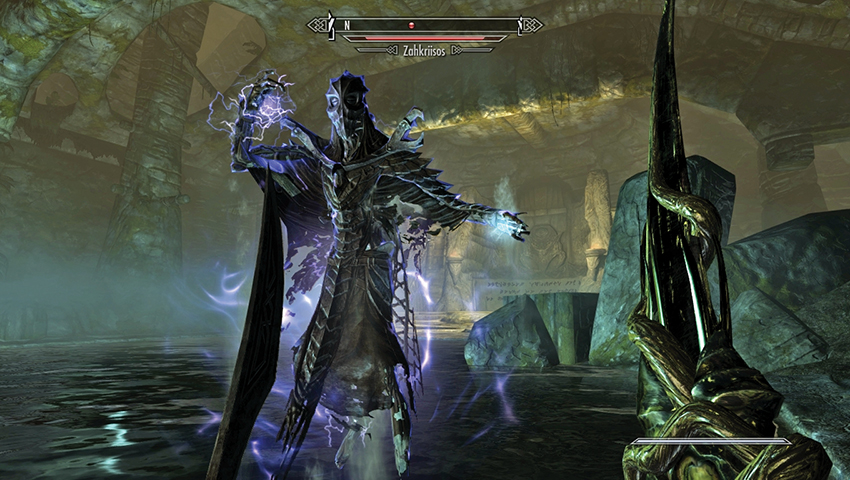
Head through the long Nord hall with the swinging blade traps and activate the lever at the far end to open the heavy gate. This grants you access into the lair of Zahkriisos, one of Miraak’s Acolyte Priests. Check the large chest for him to appear. This fiend is able to summon Seekers and damage you with a powerful blast of lightning. Swap to your preferred weapons and engage this troublesome foe. If you’re currently completing Solstheim Side Quests: Masks of the Acolyte Priests*, he holds one of the masks you’re looking for. Grab it from the ash pile you’ve reduced Zahkriisos to, and learn a Word of the powerful Dragon Aspect Shout.
- Zahkriisos
- Word of Power: Dragon Aspect
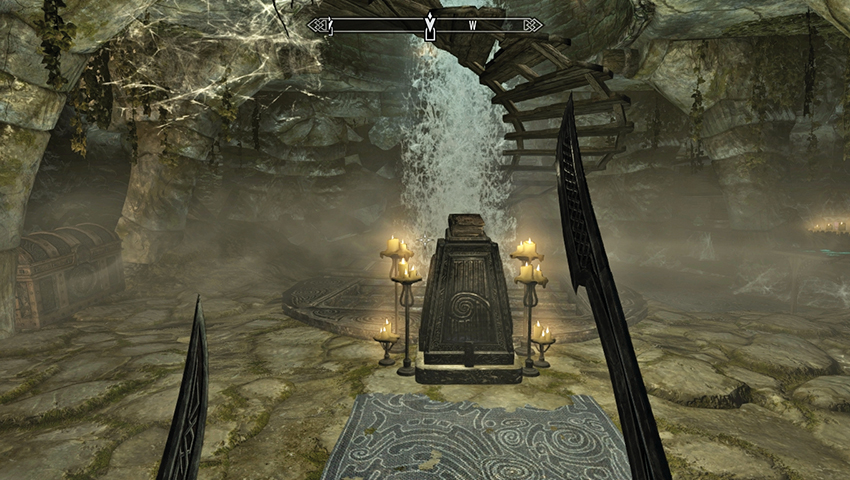
Move west, through the arch you didn’t come in from, and you’ll notice a pedestal at the bottom of some spiral steps and small waterfall. Check the alcoves for a chest and Arcane Enchanter. On this plinth is a legendary Black Book! Pick this up, and you’re transported into Apocrypha. You can:
- Reread the book in your inventory to return to Tamriel.
- Or complete your trek into this part of Apocrypha. This means finishing Solstheim Side Quests: Black Book: The Winds of Change. Consult that quest for the walkthrough of this realm.
- Black Book: The Winds of Change
Vindication and Celebration
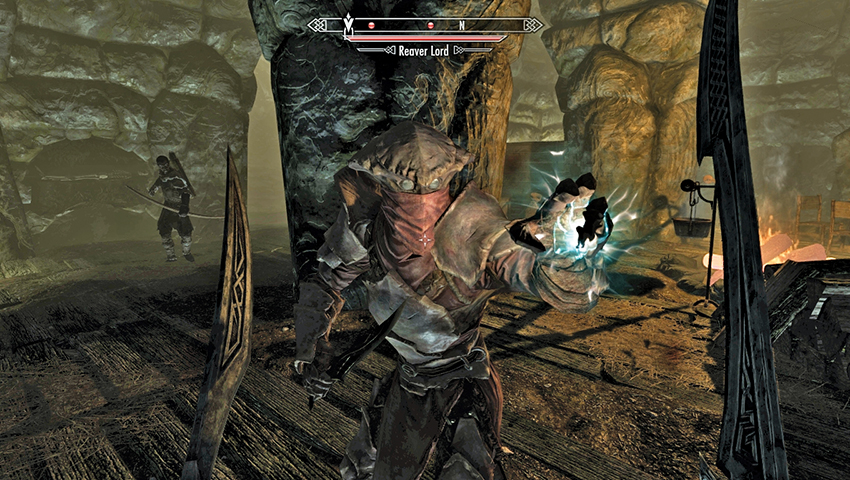
Back in Raven Rock Mine, ascend the spiral steps to the door and enter Bloodskal Barrow. Move along the rough tunnel to the handle that reveals a secret rock door. Enter the subsequent Draugr tomb and engage a motley collection of Reavers. Slay them and pass an Alchemy Lab as you ascend past more plunderers and a couple of Altmer corpses. Exit through the door back into Solstheim, and the Bloodskal Barrow exterior.
Quest Conclusion
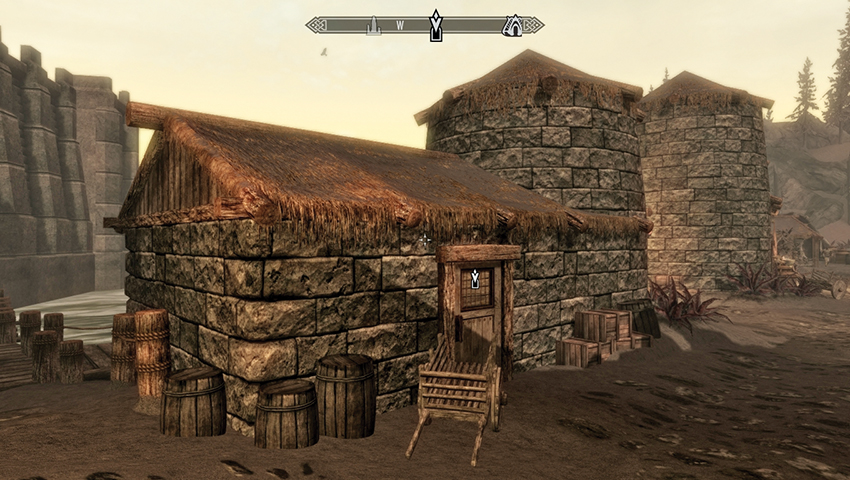
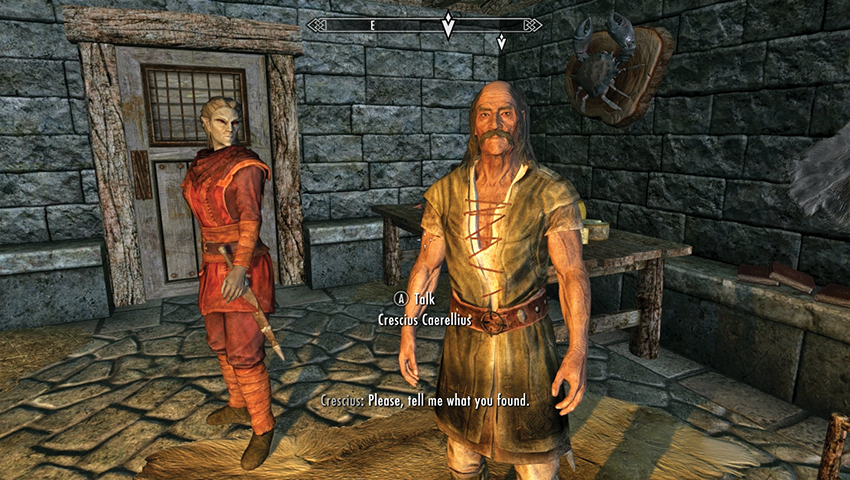
Descend the two towers of Bloodskal, facing off against Reaver foes as you go and rummaging around for a chest [Adept] atop the second tower you reach. Once at the base of the towers, make a quick trip back to Raven Rock and search for the Caerellius House, close to the docks. Find Crescius and hand over the journal, vindicating his stories. He offers you a small gold reward for your troubles and can speak about the few Imperials in this town and his family.
- [Leveled] Gold
Postquest Activities
If you leave Raven Rock for a few days and then return to Crescius and Raven Rock Mine, the old man has convinced other miners that the area is safe to return, and the mine reopens. You can gather ebony ore from up to nine veins that are newly excavated.
- Ebony Ore Vein (9)