
Elder Scrolls V: Skyrim Special Edition Guide The Atlas Solstheim: Northern Mountains
[S.N06] Bristleback Cave
[S.N06] Bristleback Cave
Related Quests
- Solstheim Side Quest: The Great Skyrim Strongbox Hunt*
Recommended Level: 10
Dungeon: Riekling Camp
- Bristleback
- Mounted Riekling
- Riekling
Collectibles
- East Empire Strongbox [DB1/33]
Miscellaneous
- Chest
- Loose Gear
Exterior
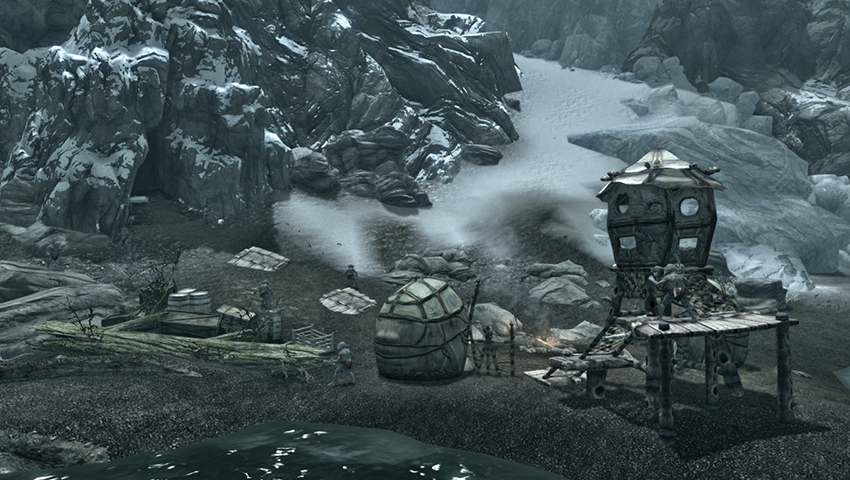
Enter here to see how the Rieklings train their Bristlebacks and observe the Rieklings’ hoarding tendencies. Your exploration begins at the rocky beach entrance, where the Rieklings have erected a rickety watchtower. Slay the three foes here before entering, and be on the lookout for an ambush if you approach the chest. It’s empty.
- Riekling
Interior
 Exit to Solstheim
 Entrance Tunnel
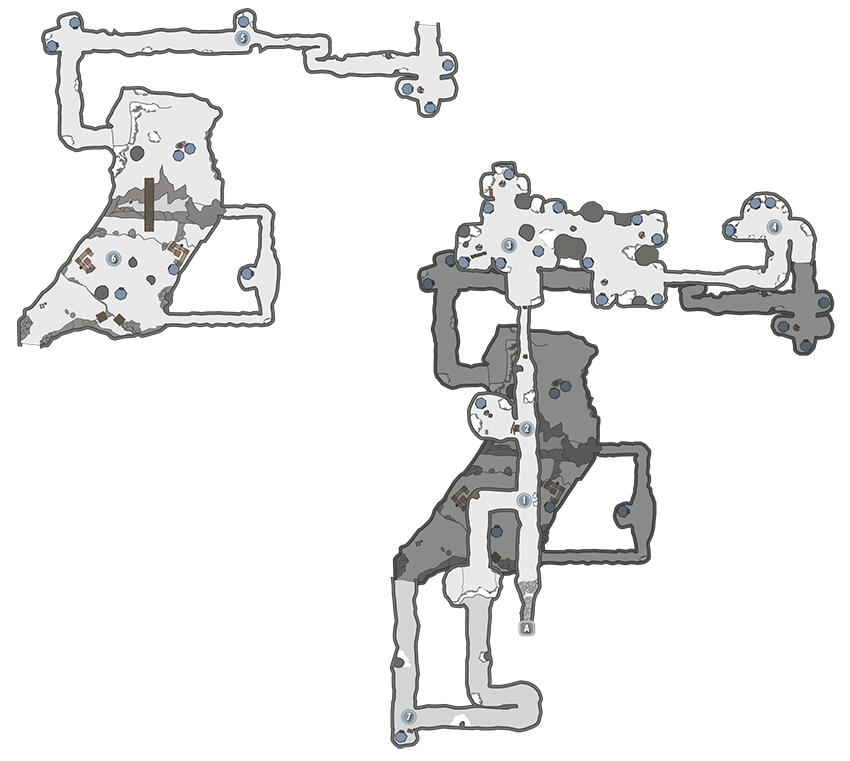
Expect an ambush in the entrance tunnel, near the dead Reavers. Just after, the tunnel forks left (west) to the cave exit tunnel and drops north, farther into the icy cave system.
- Loose gear
- Riekling
 Upper Camp
There are two ambushes and three or four foes here, along with a large number of low-value trinkets.
- Loose gear
- Riekling
 Upper Village
Along with tents and huts, expect at least 12 Rieklings in this elongated ice cavern, which spreads out a little to the east. Search thoroughly for two chests and a Strongbox.
- Loose Gear
- Riekling
- Chest (2) [1 = Adept]
- Strongbox
 East Tunnel Camps
Watch for two more ambushes in the tunnel and another one in the small camp. Don’t overlook the tunnel continuing down and to the south; this leads to a lower camp where you’ll find an East Empire Company Strongbox [Expert] on a barrel in the southeast item alcove.
- Loose gear
- Riekling
- East Empire Strongbox [Expert] [DB1/33]
- East Empire Pendant
 Western Winding Tunnel
Beware of three ambushes as you make your way through the winding tunnels and occasional huts.
- Loose gear
- Riekling
 Low Camp and Bristleback Pens
There is a sizable Riekling presence in this ice chamber, with at least four Bristlebacks, one Mounted Riekling, and five warriors ready to repel your advances. Navigate the fissure and the enemies to the exit tunnel in the southwest part of the chamber. If you fall down the fissure, there’s a chest [Expert] and a narrow exit tunnel that leads back to the southeast part of this location, or you can venture down the tunnel into the fissure to avoid any falling damage.
- Loose gear
- Chest (2) [1 = Expert]
- Riekling
- Mounted Riekling
- Bristleback
 Exit Tunnel
Climb this lengthy, winding tunnel with few enemies and a chest to open along the way, and you’re able to drop down near the entrance and escape.
- Chest
- Loose Gear