
Elder Scrolls V: Skyrim Special Edition Guide Quests Act I
Main Quest: Unbound
Main Quest: Unbound
Bound for the Block
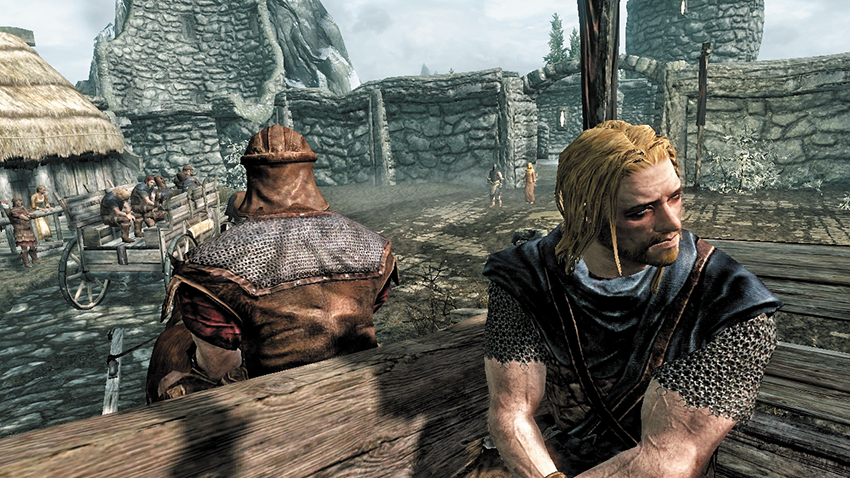
The clattering of hooves against cobblestone and the sway of the prison cart wakes you. Ralof, a Stormcloak rebel, wastes no time in talking to you. You’re joined on this condemned wagon by a horse rustler named Lokir who hails from a town called Rorikstead and a large, imposing man who is bound and gagged. After Lokir addresses the man without proper respect, Ralof tells him to watch his tongue: he’s speaking to Ulfric Stormcloak, the true High King of Skyrim and leader of the Stormcloak Rebellion against the Empire!
The convoy continues toward the gates of Helgen, a fortified hamlet in Falkreath Hold. You pass by General Tullius, leader of the Imperial forces in Skyrim, and his Thalmor advisors. Ralof looks around the settlement, remembering his youthful indiscretions. You pass a boy named Haming, who wants to watch the soldiers parading in his town. His father quickly herds him back indoors. The wagon stops. This is the end of the line. The prisoners disembark, and their names are recorded. Lokir attempts to flee but is cut down by Imperial archers. An Imperial Soldier named Hadvar beckons you forward and asks for your name.
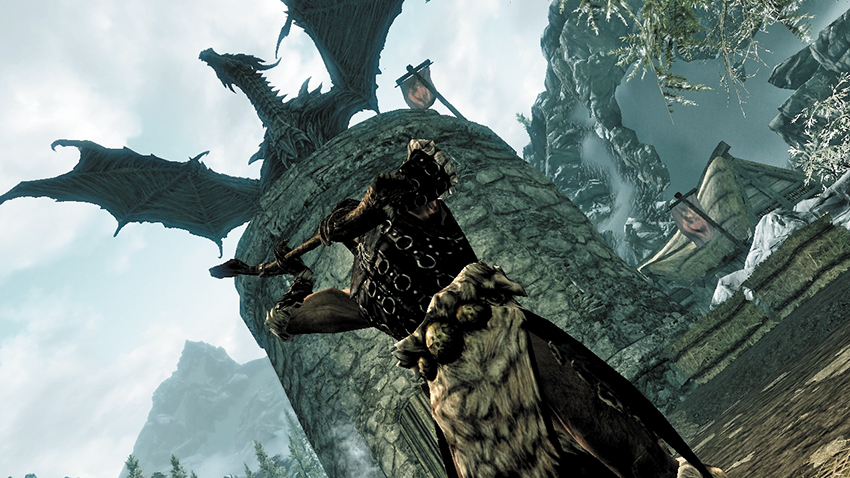
Hadvar turns to his superior and asks her what to do with you, as you’re not on the list of captured rebels. The Imperial Captain tells Hadvar to ignore the list; you’re going to the block. You step forward, where General Tullius has a rather one-sided discussion with Ulfric Stormcloak, interrupted only by a strange guttural sound in the distance. A Priestess of Arkay attempts to bless the rebels before they’re put to death, mentioning the “Eight Divines” (Thalmor law prohibits the worship of the Nordic god Talos, Tiber Septim; this infuriates the Stormcloaks). After the headsman swings his axe, the first rebel is beheaded, and you’re summoned to the block just as another bellow echoes through the mountains. Resting your head on the block, the headsman raises his axe...and a gigantic black creature arcs through the skies, landing heavily on Helgen’s central tower and unleashing a Thu’um (or Shout) that scatters everyone, both rebel and Imperial alike!
The World-Eater Returns
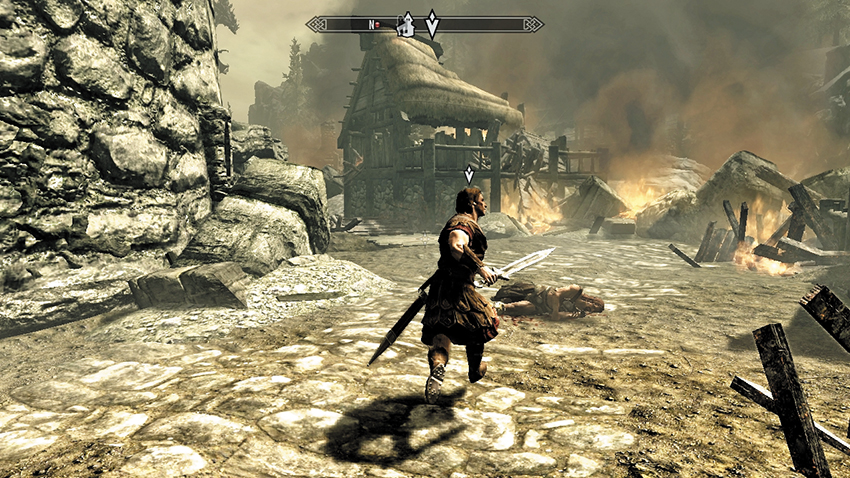
Amid the chaos, Ralof yells for you to follow him. Oblige him (as you’re still bound, and dashing about in a panic doesn’t further your cause). Follow Ralof as he reconvenes with Ulfric Stormcloak inside the Keep and beckons you to follow him up the steps. As you reach the Keep’s second landing, a section of exterior wall comes crashing down, and the black dragon roasts the area with fire before flying out of view. Ralof tells you to leap across to the ruins of the town’s inn. Jump across, landing in the upstairs area, then head down to ground level.
The streets are filled with fire, wreckage, and panicked citizens. Hadvar is removing the boy Haming from danger, before recommending you follow him to (relative) safety. Shadow Hadvar as you both weave through the ruins of Helgen, briefly pausing to watch hapless Imperial forces trying to bring down the dragon. You can’t help or search corpses, as your hands are still tied. Eventually, Hadvar brings you to the main Keep, where you both run into Ralof. After a short but tense standoff, they run to separate doors of the Keep and shout for you to head inside with them.
Battle Through the Keep
Path A: Helping Hadvar
 Follow Hadvar into Helgen’s Keep, where he removes your bindings and recommends you search the barracks for any weapons and items you can find. Step over to the Warden’s Chest, which has what you need.
- Imperial Light Armor
- Iron Sword
- Imperial Light Boots
- Helgen Keep Key
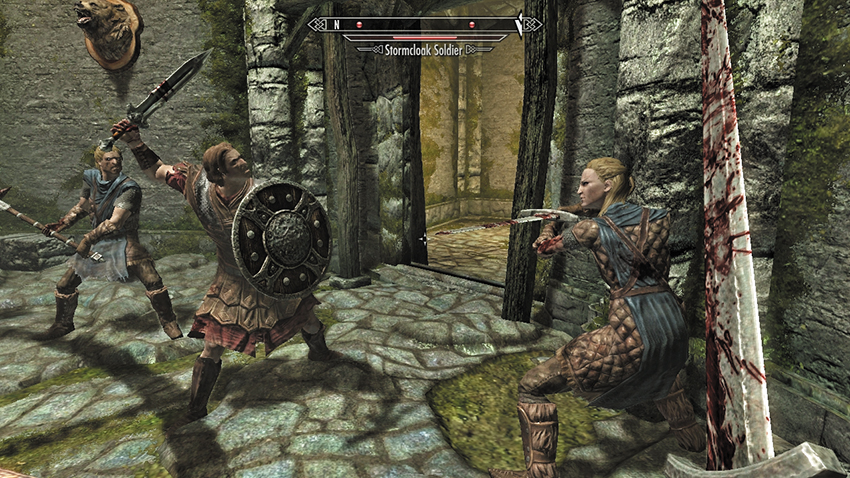
After searching the room (there’s a weapon on the weapon rack by the wall and more items in one of the other chests), Hadvar opens the wooden grating, allowing you to continue down a corridor to a second pull chain and grating. Equip your new weapons and armor, and then slaughter the Stormcloak Soldiers in the room beyond. When they are both dead, you can ransack their bodies for items and different equipment. Unlock the gate to the west and proceed.
Path B: Rendezvous with Ralof
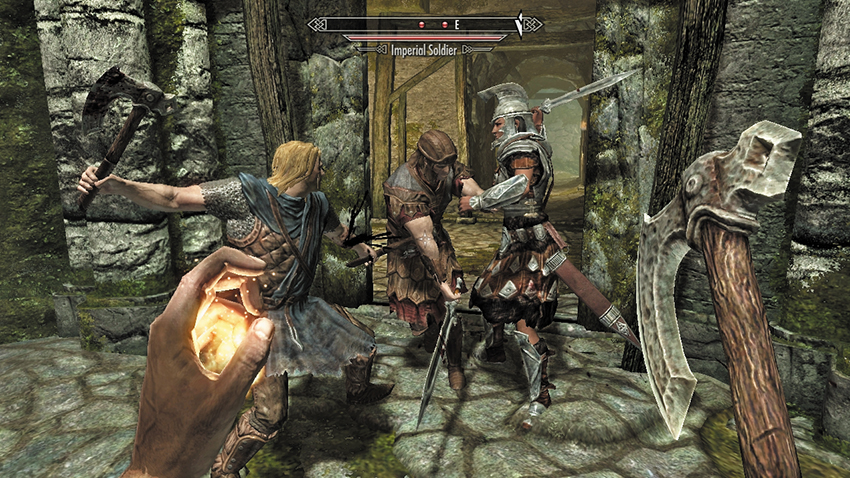
 Follow Ralof into Helgen’s Keep, where he encounters the remains of his comrade, Gunjar. After wishing him a quick journey to Sovngarde, he cuts your bonds and instructs you to take Gunjar’s gear.
- Iron War Axe
- Stormcloak Cuirass
- Fur Boots
After inspecting both exits (which are locked), Ralof notices some incoming Imperials and crouches down ready to ambush them. Equip your new weapons and armor, and then slaughter the Imperial Captain and Soldier. When they are both dead, you can ransack their corpses for items and different equipment. You’ll find the Helgen Keep Key on the Captain’s body. Unlock the gate to the west and proceed.
- Helgen Keep Key
Merged Path: Helgen Escape
Follow your ally through the gate and down the steps. The dragon causes the roof to collapse, forcing you left and into a storage room. Two enemies (of the opposing faction) are in this chamber. Bring them both down, helping your ally as much or as little as you wish. He recommends you look around the room for potions; you’ll need them!
You can search for whatever you wish. However, simply look in the barrel indicated, collect the potions, and meet up again with your ally.
- Potions
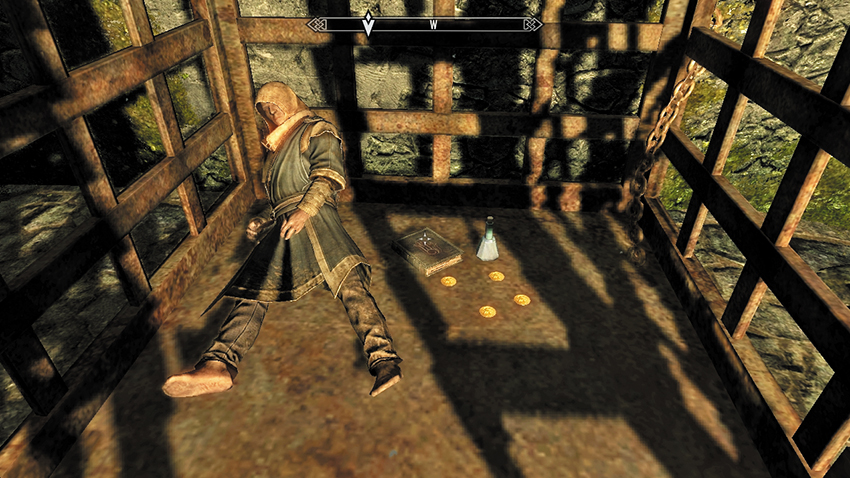
Head back out into the main corridor (on the other side of the roof collapse), and follow your friend down into the torture chamber. The Torturer and his assistant (both Imperials) are fighting Stormcloaks in here. After the commotion is over, grab the items from the knapsack on the table, read or take the Book of the Dragonborn, and steal a dagger and any other weapons from the chamber. Your ally notices that one of the torturer’s cages houses the corpse of a mage and suggests you pry open the lock. You’re given lockpicks for this purpose. Open the lock (Novice), and take the mage’s clothing and your first Spell Tome. Then head out of the chamber.
- The Book of the Dragonborn
- Lockpick (12)
- Loose gear
- Novice Hood
- Novice Robes
- Spell Tome: Sparks
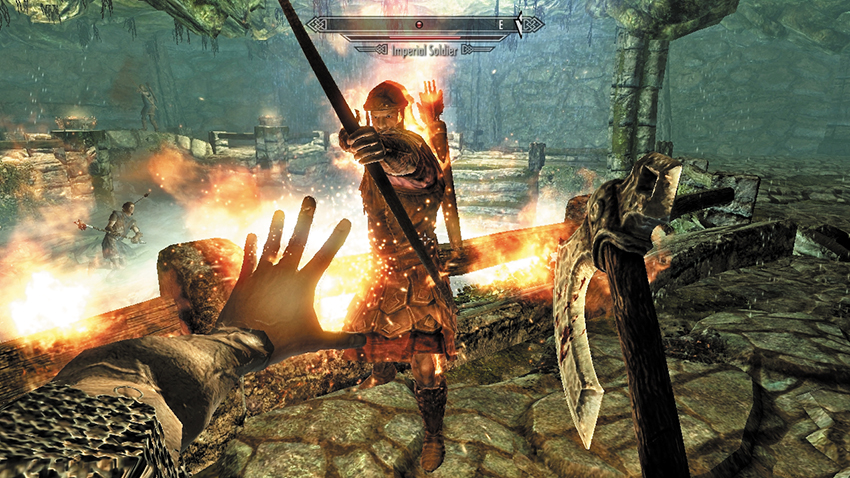
Wind your way past the prison cells and down the steps, and be ready to combat enemies in the two-level lower dungeon. You can leave your ally to soak up most of the damage or wade in yourself. There are some particular methods of tackling the foes in here:
- The terrain is narrow, meaning movement is restricted. So watch your step, as well as the foes armed with bows.
- Quickly take down a foe and grab a bow and some arrows. Use those on the enemy, ideally from range and the upper level.
- If you have a fire-based spell (because of your race), you can set fire to the pool of oil on the opposite side, burning some foes.
- Or you can use Sparks and weaken enemies with electrical damage from a distance.
Follow your ally out of the lower dungeon to a bridge that he lowers using the lever (or you can do this if you’re impatient). After crossing the bridge, a giant slab of stone crushes the structure, stopping you from backtracking. However, you can drop through the wreckage and follow the path down the rushing subterranean stream. Follow the flow of water past a skeleton (take its coin purse) and down into a cobweb-filled cave. It is here that you’re set upon by around six Frostbite Spiders. Use ranged attacks to weaken them, followed by melee strikes to finish them; this is the best way to battle them. Leave your ally to attack his own arachnids, or team up and make quick work of them.
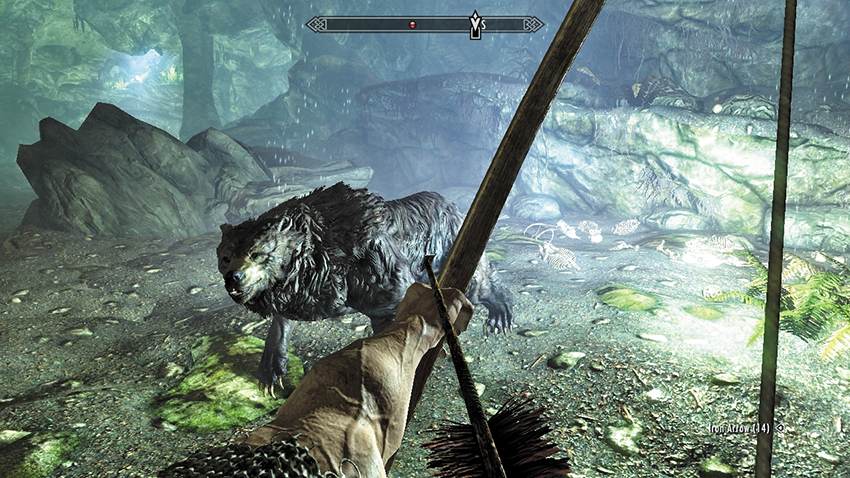
After crossing a small natural bridge, your ally crouches and indicates the presence of a bear just ahead. He suggests two ways to get past her: sneaking so as not to disturb her, or hitting her with an arrow from the bow he gives you. The choice is yours. You can:
- Crouch (which means you’re sneaking) and quietly head left (southeast) down the cave into a tunnel, avoiding the bear completely.
- Equip the bow (you may wish to have already set up a melee weapon or weapon and spell in your Favorites to quickly swap to), fire up to three shots before she reaches you, and then finish her off with your ally’s help.
- Use the weapons or spells you prefer to take down the bear. You may want to invoke your racial power in this fight, if it helps. Wood Elves, in particular, can use Command Animal to simply turn the bear into an ally and walk right by.
- Or simply sprint past the bear and down the tunnel as quickly as possible.
- Long Bow
- Iron Arrow (12)
Quest Conclusion
After the bear encounter, the cave narrows to a winding tunnel, with light streaming from the far end. This is the way out! Main Quest: Before the Storm begins immediately.