
Elder Scrolls V: Skyrim Special Edition Guide Quests Daedric Quests
Daedric Quests: The Cursed Tribe
The Cursed Tribe
Keeper of Oaths, Master of Curses
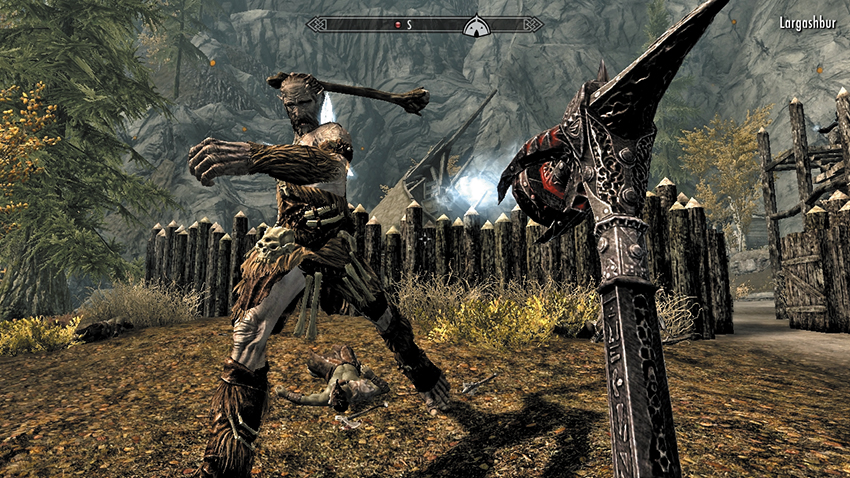
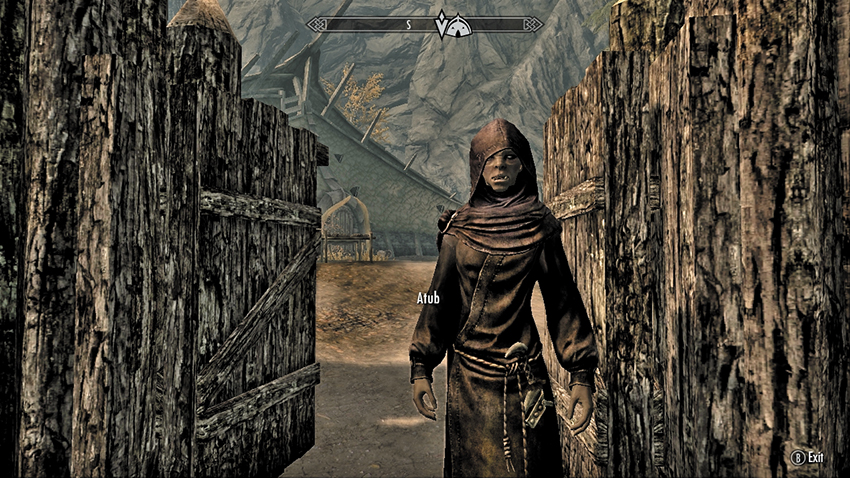
Largashbur is a stronghold in the southwestern corner of the Rift and is home to a tribe of distrustful Orcs. As you approach, the Orcs are engaged in a battle with a giant. You can watch as they eventually take the giant down or step in and help (but be very careful you don’t target the Orcs fighting). After the skirmish, Ugor—one of the gate guards—demands that you leave at once. Her anger is tempered by the slightly more levelheaded Atub, who you should speak with. Ask her what is going on, and she quickly (and uncharacteristically) reveals that her tribe is suffering and needs help.
It seems the tribe’s once-powerful chief, Yamarz, is now stricken and cursed. This weakens the tribe, and the giants sense this: The stronghold has suffered from constant giant attacks. Yamarz has demanded the tribe remain within the walls of Largashbur, and Atub wishes to petition Malacath to lift this curse. As she cannot travel to the shrine, the ritual must be performed within Largashbur, but Atub lacks some materials needed; in particular she requires Troll Fat and a Daedra Heart.
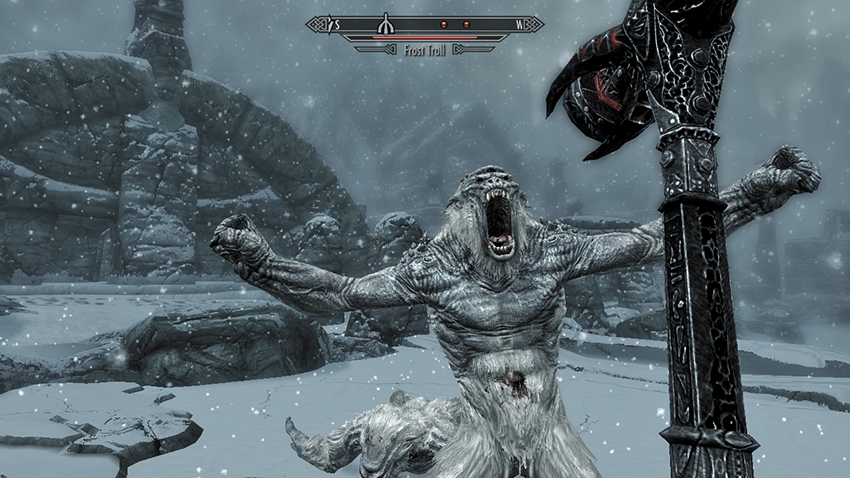
Troll Fat Finding: This is a relatively easy material to find. Simply locate an area where trolls (regular or Frost) roam, defeat one, and then search the corpse for the Troll Fat you need. There are always a couple of these powerful beasts roaming the exterior of Labyrinthian.
- Troll Fat
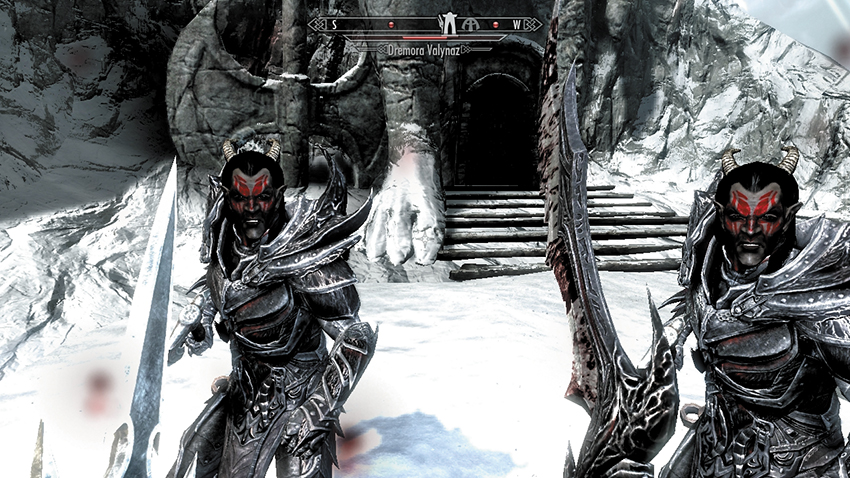
Daedra Heart Hunting: This is harder. Plunging your hand into a dead Dremora is the easy part; finding one is not. Try the following places:
- During Daedric Quests: The Black Star and Pieces of the Past.
- These occasionally show up in a vendor’s list.
- Enthir in the College of Winterhold always has one or two for sale, but at an inflated price.
- If stealing appeals to you, find one in Kodlak’s room in Jorrvaskr (Whiterun).
- Or, steal one from the altar in the Hall of the Vigilant (in the Pale Hold).
- Or, steal one from the Alchemy Room of the Nightcaller Temple (during Daedric Quests: Waking Nightmare).
- Daedra Heart
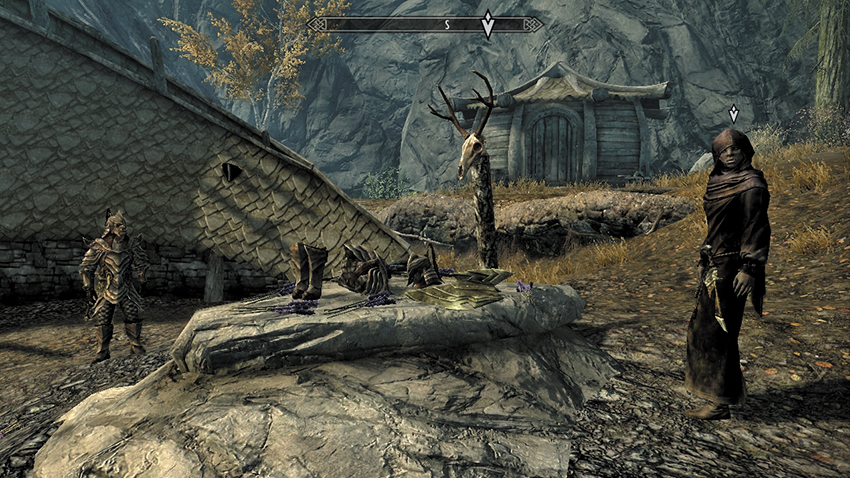
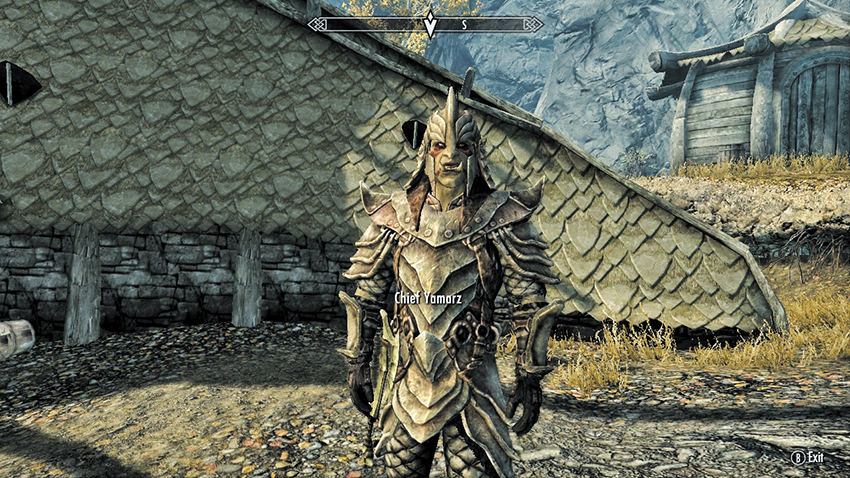
Once you return with both materials for the ritual, Atub thanks you and beckons you into Largashbur. An enraged Ugor yells at Atub for bringing an outsider into the stronghold, but Atub calms her, allowing you safe passage into the settlement. She walks across the dirt yard and into the longhouse. Chief Yamarz is usually inside and takes an immediate disliking to you. Speak with him, and he keeps the insults flowing and complains about his cursed lack of sleep. Atub approaches and tells him it is time for the ritual to begin.
After Atub commences the ritual, Malacath’s booming voice soon resonates around the camp. Most of the Daedric Prince’s venom is directed at Yamarz, who is called weak, small, and an embarrassment. Furthermore, the Orcs have let giants overrun Malacath’s shrine. This is an outrage! Yamarz is ordered to bring back the leader’s club as an offering. Only then will Malacath consider lifting the curse. The ritual concludes, and Yamarz agrees to this task. But first, he wants a word with you.
Blaming you for Malacath’s task, Yamarz demands that you help him. You’re to act as his bodyguard, ensuring he doesn’t have any trouble reaching the giant. And just so you’re clear, he’ll definitely be killing the giant’s leader himself; he just wants you to handle any attackers along the way. He agrees to make it worth your while. Whether you agree or not is immaterial; you are to meet Yamarz at the entrance to the giants’ lair, which leads to Malacath’s shrine.
Malacath’s Proving Grounds
Fallowstone Cave is nestled in the foothills of the Velothi Mountains, northeast of Riften. You may trek there with Chief Yamarz, fending off any attacks as you cross the thick forest of birch and pine trees, or you can Fast-Travel (or ride) to the cave entrance and wait for Yamarz to appear. Your chaperoning begins after you enter the cave.
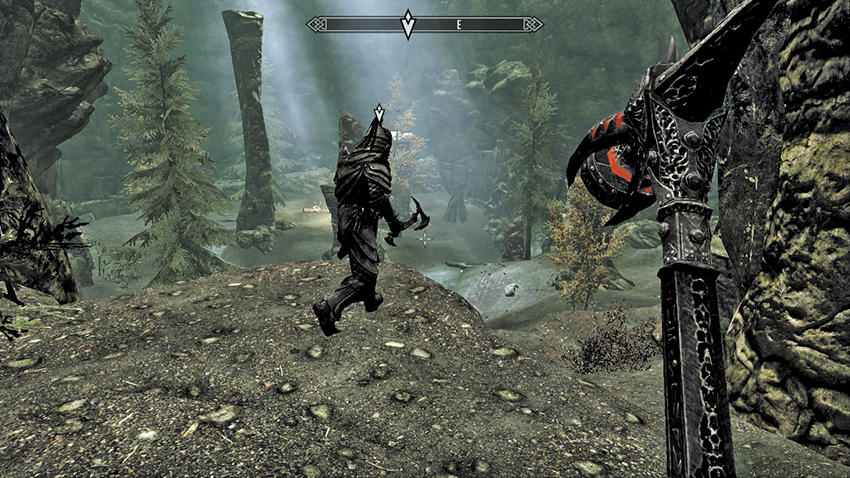
Enter the cave. Yamarz reluctantly sets off down the tunnel. Follow a few paces or two behind him as the tunnel opens into a gloriously immense subterranean cavern, complete with a waterfall to your left and a series of large, natural steps down to a lower lake area. Follow Yamarz over the small natural bridge and down the steps. Continue to the grotto floor. At the grotto’s far end is a campfire and a giant wandering the area. Yamarz avoids the area, and heads along the rushing stream, into a connecting tunnel.
Head down the stream into a smaller grotto lagoon, where you see a second giant. Avoid it unless it charges you both, and then follow the cave tunnel on the southeastern wall. Enter and scramble up the dirt tunnel, to a confrontation with a couple of wild animals (usually cave bears). The bears are roaming an area of corpses and half-digested food at the entrance to a gap in the southwest tunnel wall. Follow Yamarz up here and into Giant’s Grove.
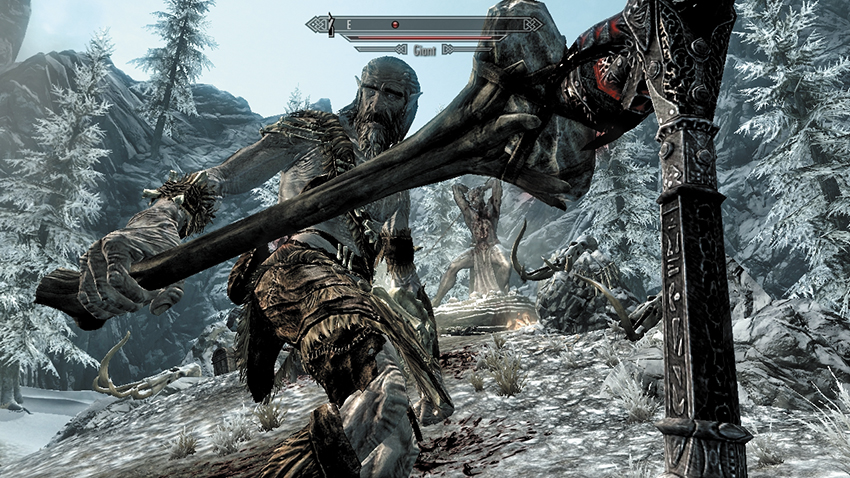
Move alongside Yamarz, following a path of skeletal remains and bloodstains in the snow, until he stops and turns to you, telling you he’s ready to kill the giant—that is, of course, unless you want to make some extra gold. Yamarz has a proposition for you: If you face the giant and kill it, he’ll simply return to the tribe and tell them he was responsible. They’ll be none the wiser, and you’ll be all the richer. You can:
- Refuse, telling Yamarz that he is the one who is supposed to kill the giant to lift the curse. He reluctantly agrees and rushes toward the campfire and the giant guarding a large shrine statue of Malacath. Moments later, Yamarz is caught by the giant’s club and is crushed, sprawled dead on the snow. You now need to face the giant yourself.
- Agree, and rush toward the large campfire and the giant with your weapons drawn.
Kill the giant using the same techniques you’ve used countless times before. Remember to use the landscape to your advantage, finding cover so your Stamina recharges. After you destroy this giant leader, search the corpse for a massive hammer. This is the weapon Malacath ordered Yamarz to return to Largashbur.
- Shagrol’s Warhammer
Head back toward the exit of Giant’s Grove. If you agreed to kill the giant for Chief Yamarz, he is here, ready to welch on his agreement. He can’t have the likes of you usurping his authority and mentioning you were responsible for the giant’s death. Yamarz attacks and must be killed.
Either way, when both Chief Yamarz and the giant leader are dead, Malacath speaks to you from his shrine effigy, impressed by your fighting prowess.
Atub greets you at the gate to Largashbur. She asks what happened to Yamarz. You can tell the truth or give a slightly skewed account of events in which Yamarz was a brave fighter instead of the sniveling backstabber he actually was. Either way, Atub walks toward the shrine, Malacath’s voice ringing around the camp. The Daedric Prince is willing to give this motley band of Orcs a chance and appoints Gularzob (Yamarz’s son) as chief. Malacath finally insists that you place the hammer on the shrine.
Quest Conclusion
Approach the skull on the trunk and place the hammer on its antlers. Malacath is satisfied and replaces the hammer with an exceptional weapon named Volendrung, which you can wield!
- Volendrung
Postquest Activities
Volendrung is a massive warhammer with an Absorb Stamina enchantment. This allows you to inflict power attacks without stopping for as long as it has a charge! As Malacath’s champion, you can take this. Malacath then names Gularzob as the new chief, and all the remaining Orcs are now friendly toward you. As Malacath’s champion, you are also blood-kin to the other Orcs as well and don’t have to complete Side Quests: Forgemaster’s Fingers to gain acceptance in any Orc stronghold.