
Elder Scrolls V: Skyrim Special Edition Guide Training Training Part 4: Hearthfire
Part 2: Building Your House
Part 2: Outstanding in Your Field
Commencing construction on your manor house.
The remaining information applies to each of the three building plots available.
- Miscellaneous Objective: Use the drafting table to begin building your house
The Right Tools for the Job
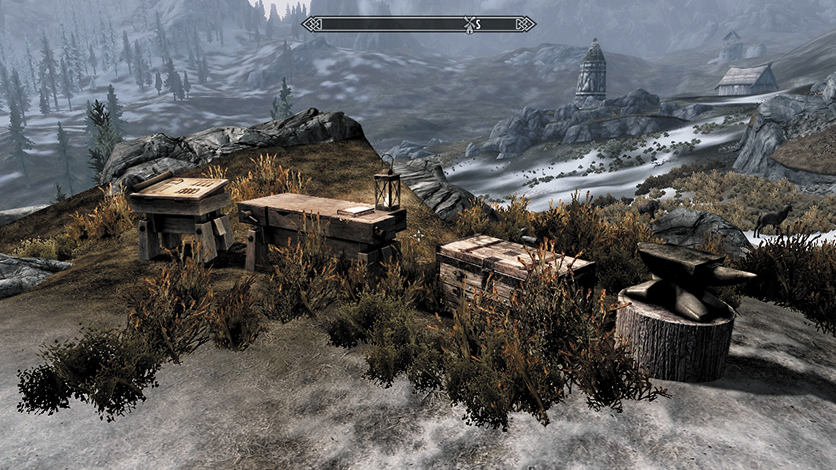
Now that you have a deeded property, construction can begin. When you reach the cleared area of land, you come across four important workstations to aid you in this task: the drafting table, carpenter’s workbench, storage chest, and anvil.
The Drafting Table
Approach this first, as it allows you to create the plans for a basic small house layout. After that, you can return to the drafting table and add additional structures to this first one. For now, create the small house layout.
- Miscellaneous Objective: Use the carpenter’s workbench to build the foundation of your house
Carpenter’s Workbench
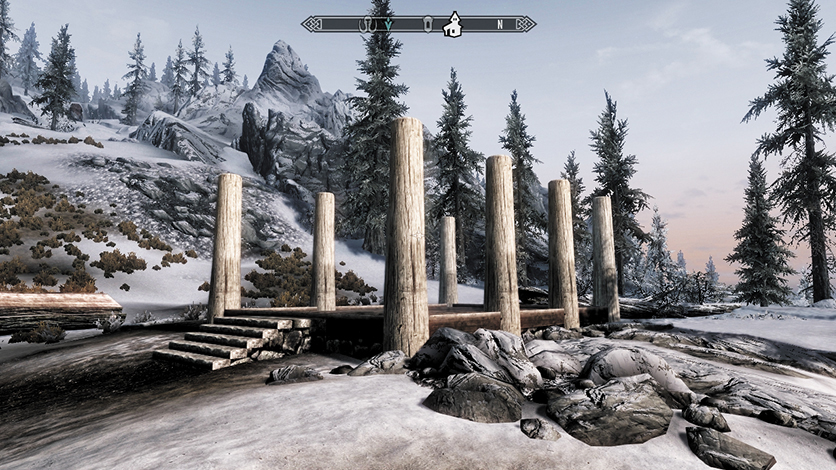
This allows you to take the drafted plans and realize them. The various elements of the structure are broken down into separate pieces so you know what components they require, much in the same way as smithing or alchemy. For now, build the “house, foundation” and “house, wall framing.” Then stop, turn around, and watch the skeletal form of your house take shape.
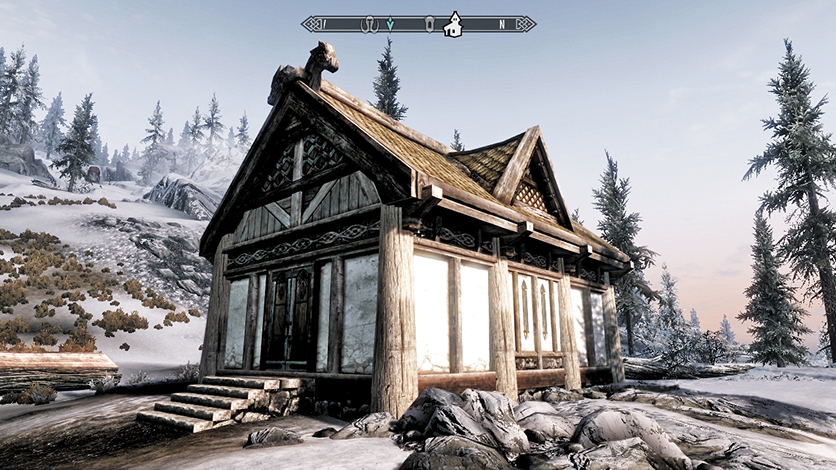
Return to the carpenter’s workbench and construct the “house, walls.” Then add the “house, floor” and “house, roof framing.” Then finally, add the “house, roof” and “house, door.” Congratulations! You’ve just built yourself a home!
At this point, you can add a variety of outbuildings (from the carpenter’s workbench), and your drafting table updates with another plan. This continues until you’ve finished a house with a main hall; a cellar; and east, west, and north wings.
The Beginner’s Guide to Homesteading
A riveting read, this book provides information and advice on building your home, as well as who can live in it and the types of structures you can create. Refer to it (or this book) if you get stuck.
Chest and Anvil
Inspect the chest. It is filled with components for creating the house. As you gather additional raw materials, you can store them here without fear of them being stolen. In fact, it’s an excellent plan to leave all the components you’re going to need in this chest so you aren’t encumbered, and you’ll know where all your building materials are. To help you get started, the Jarl has filled this chest with a supply of raw materials, so take the clay, Corundum Ingots, Iron Ingots, and Quarried Stone that you want from here.
Inspect the anvil (or indeed, any anvil you find in Skyrim), and you’ll see an additional menu: Building Materials. This is where you can mold your raw materials into components, if required. As each component is made up of two or more materials, you’re going to run out and will need to buy or forage for more. But return here and create all the hinges, iron fittings, locks, and nails you need (and many more components as your house becomes more grand).