
Elder Scrolls V: Skyrim Special Edition Guide Dragonborn Quests Solstheim Side Quests
Solstheim Side Quests: Black Book: The Hidden Twilight
Black Book: The Hidden Twilight
Twilight at Tel Mithryn
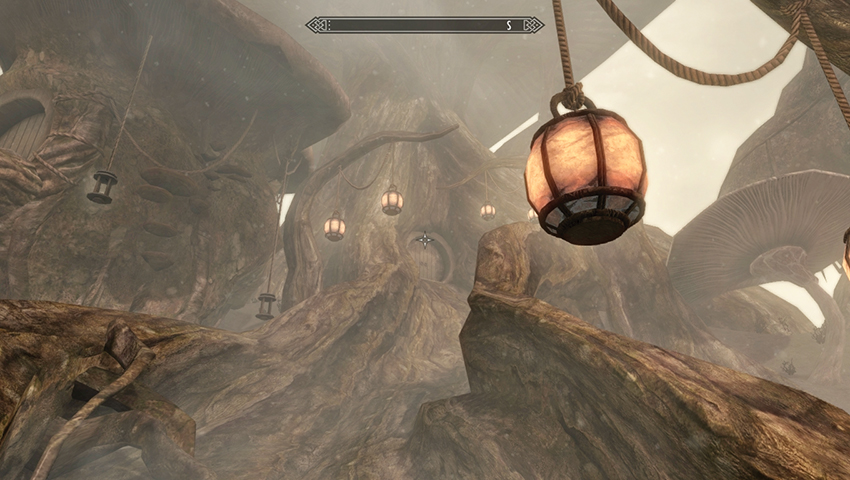
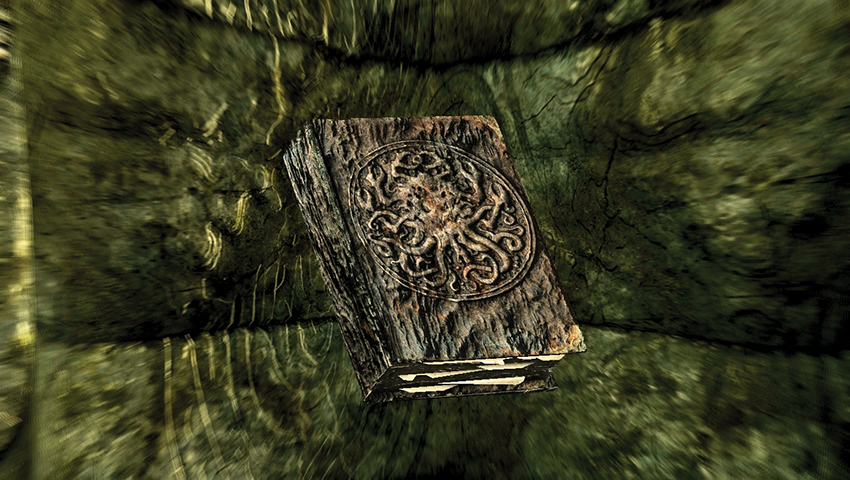
In the five Black Book quests, you must locate and read one of five archaic tomes that propel you into Hermaeus Mora’s realm of Apocrypha. This Black Book is part of Neloth’s collection within his fungal tower at Tel Mithryn.
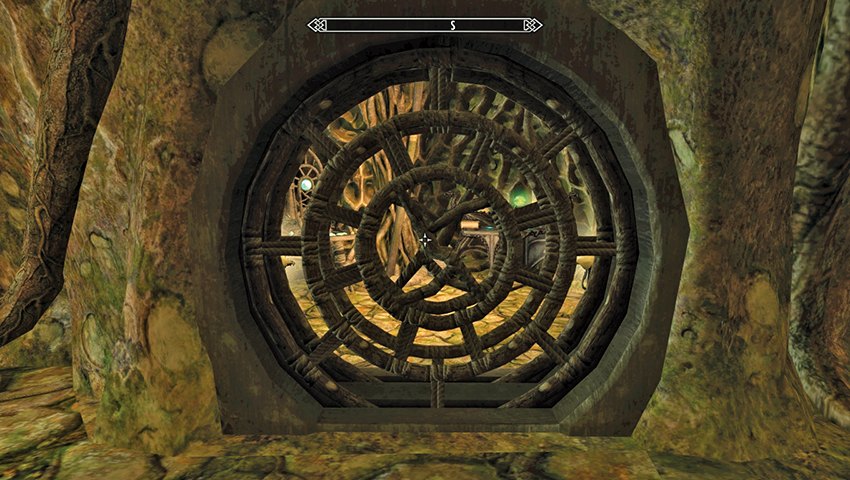
This Black Book is located within the Staff Enchanter room in the central tower. Neloth gives you the key to this room as your reward for completing Side Quests: Reluctant Steward.
Unlock the room, reach for the Black Book on the Arcane Enchanter, and read it. You are transported to Apocrypha.
- Black Book: The Hidden Twilight
In the Name of Mora
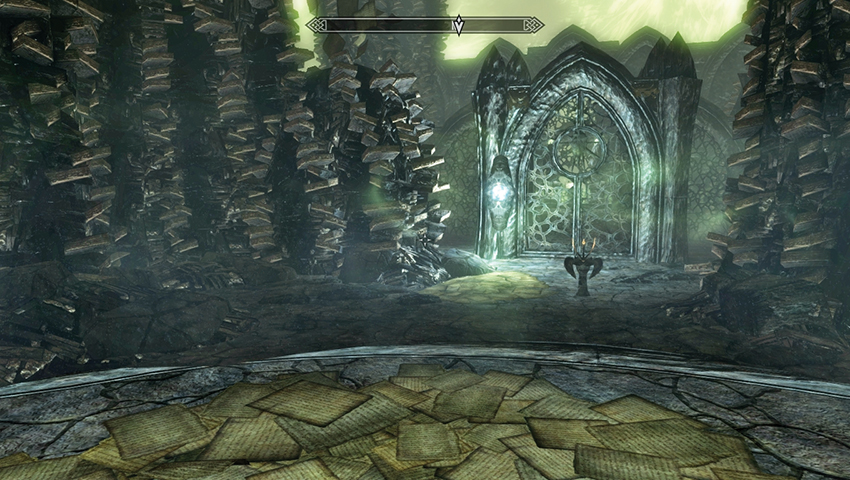
You begin near a raised stepped platform with two Magicka fonts. Head across to the north gate with another Magicka font and activate the Scrye. The gate swings open, enabling you to reach a second chamber with two Stamina fonts and a book to open Chapter II.
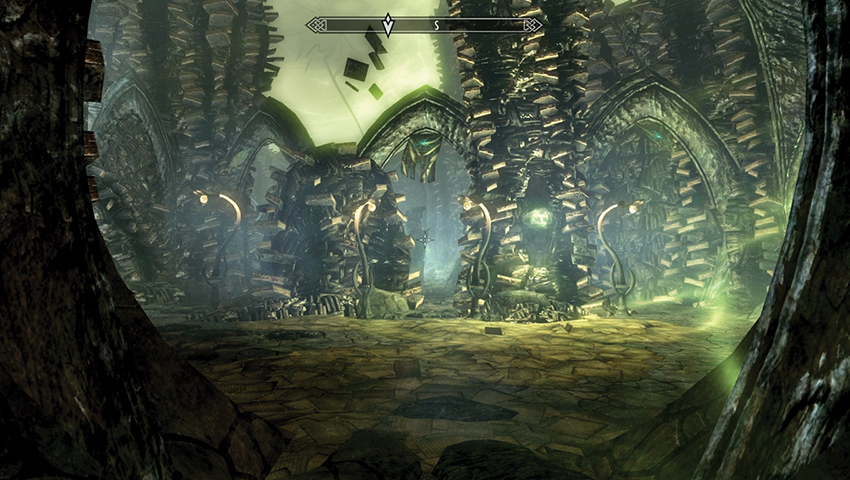
Enter the short corridor with a Magicka font at both ends, turn left (east) and then right (south). Pass another Magicka font, then turn left again to a wall. Follow the corridor around, passing another Magicka font, until you reach the large chamber of arches between book stacks, dimly illuminated by curled lights and a Stamina font.
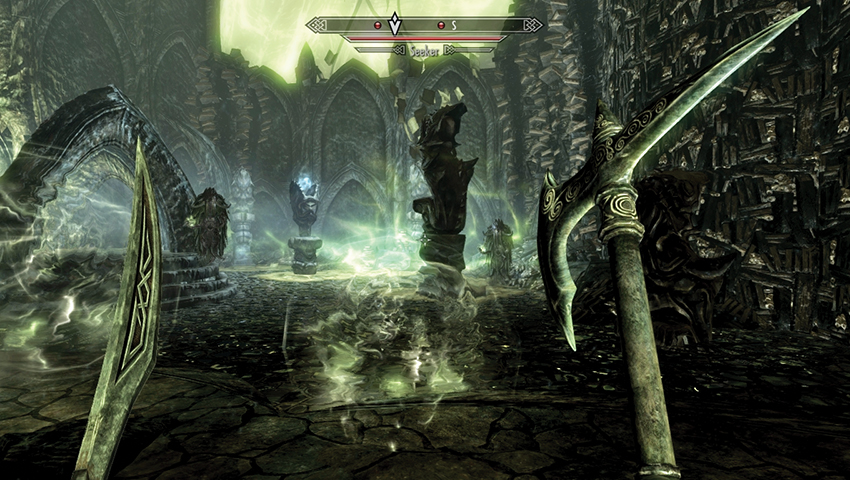
Behind (southeast) the arches is a platform with liquid frothing underneath. However, it is safe to move across as you battle two or three Seekers. Eventually you reach a black table, a Magicka font, and a stepped platform with a Stamina font and a ramped tunnel that leads up (north) to a Magicka font.
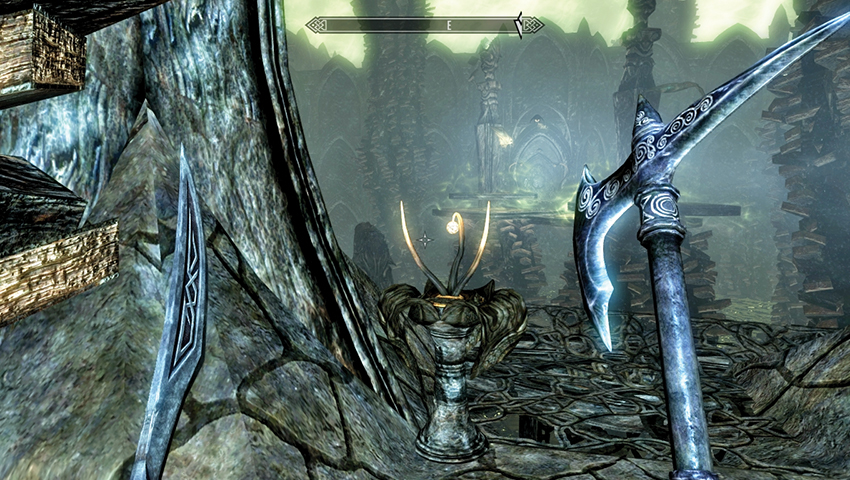
Turn right (east) at the font, peering across a sea of black ooze, and activate the Scrye. This moves two flapping bridge platforms up and down. Time your run so you leap and land on the platform when the ramp is up so you don’t fall short. Jump across to the second ramp as it rises, and exit to a junction tunnel.
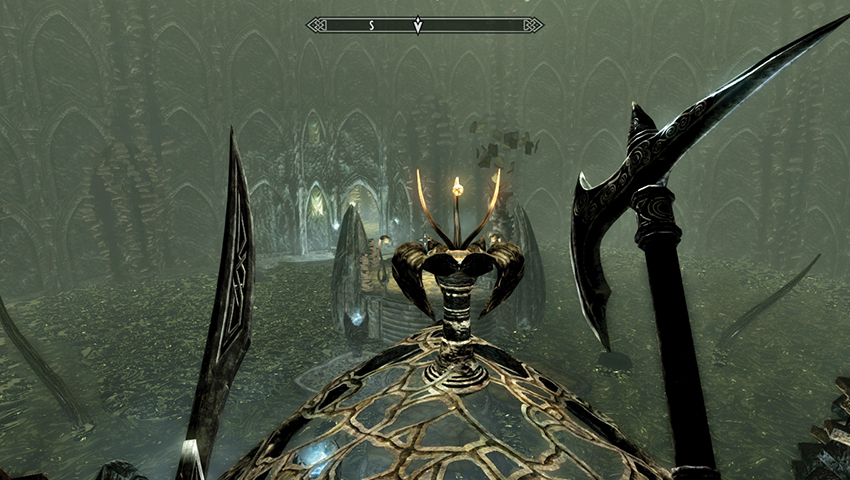
Head left (north) to reach a Magicka font, pod, black table, and dead end. Head right (south) to reach a Magicka font and open Chapter III. You appear in a confined book-clad area with Magicka and Stamina fonts. Head south into the large open area and take the ramp right (northwest) to the roof and a Scrye.
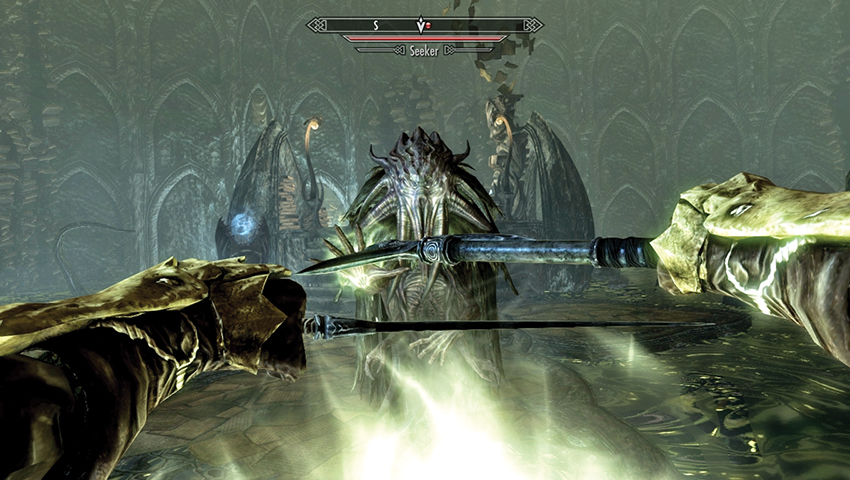
This elongates the steps back on the ground, allowing you to cross to the island, a Magicka font, and a battle with one or two Seekers. Go by the black tables and continue toward the opposite entrance, passing two Magicka fonts. Head into a courtyard with a central gated area and a lumbering Lurker to deal with.
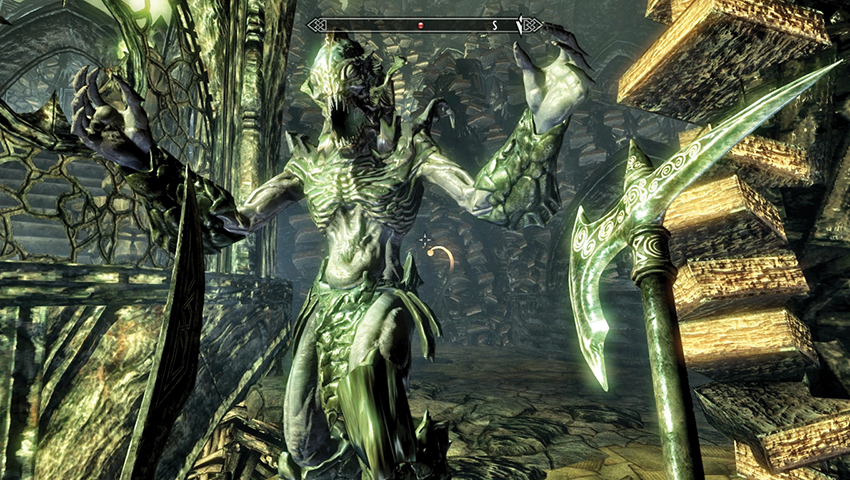
Tackle the foe, grabbing Stamina from the nearby font if necessary. Back up into the previous chamber if you need to; then search the mazelike ground area. To the south through some narrow, book-stacked areas is a Stamina font and the book to open Chapter IV. This is optional but well worth exploring.
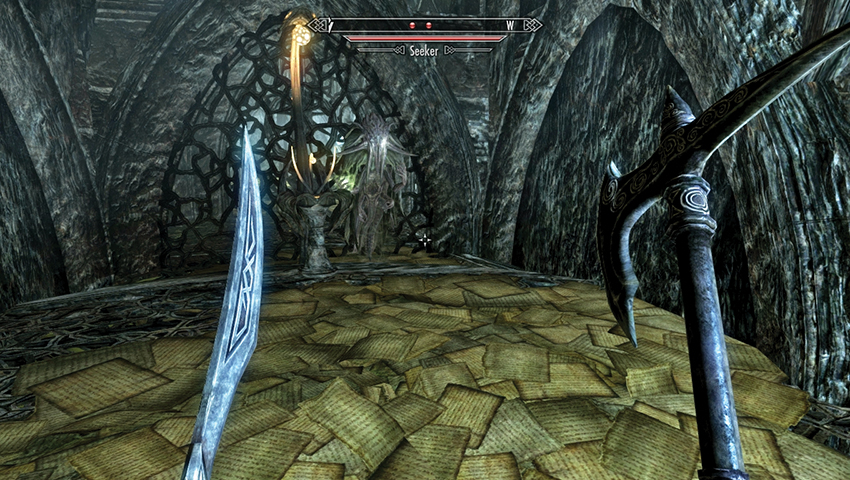
(Optional) Chapter IV is a simple cell-like chamber with one or two Seekers and a Magicka font. There is also a Scrye to activate, which opens a gate beyond the cell, in a corridor to the west. This corridor is accessible only if you reach Chapter V (below). Return to Chapter III.
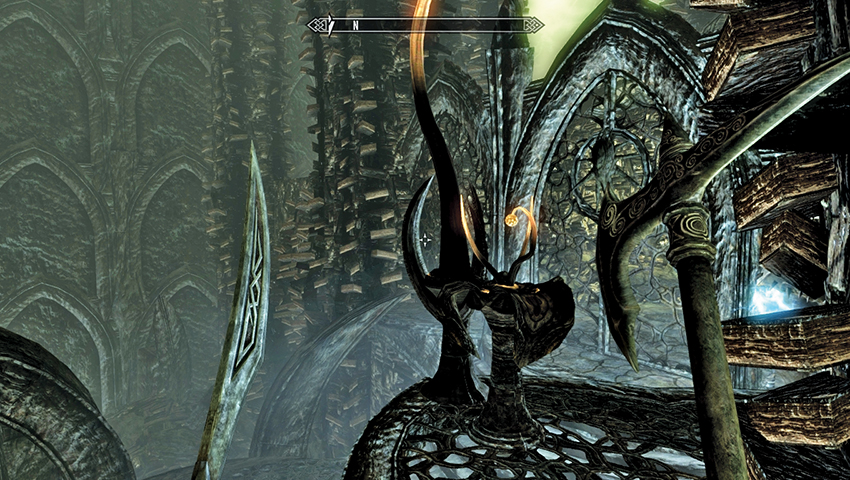
Move up the ramped area, passing a Magicka font to an upper balcony with a Scrye that unlocks the gate room below. Head through to a Stamina font and steps up to a secondary platform ramp and second Scrye; this opens the main gate with the Magicka font just below you. Head past a Stamina font.
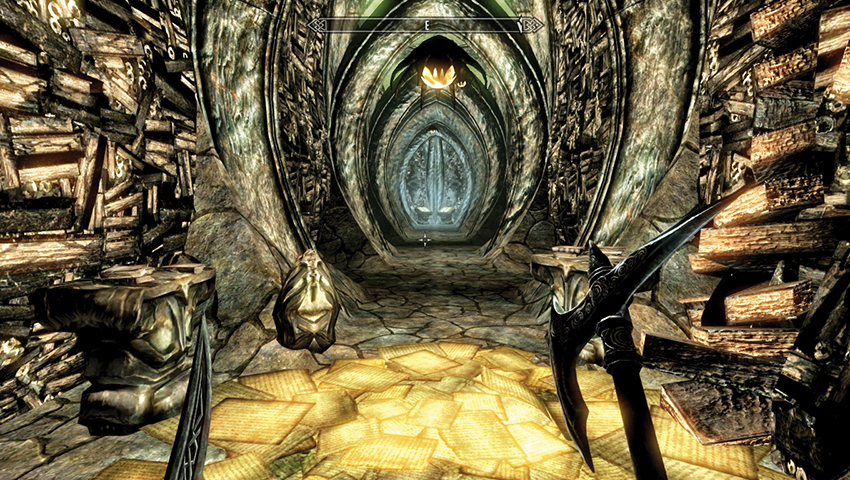
You enter a square-shaped tunnel area with a Seeker to slay. Simply continue east to a pod and the corridor elongates considerably, offering you Chapters V and VI to read. Head into Chapter V only if you’ve investigated Chapter IV. Otherwise, read Chapter VI and you’re poised to finish this quest.
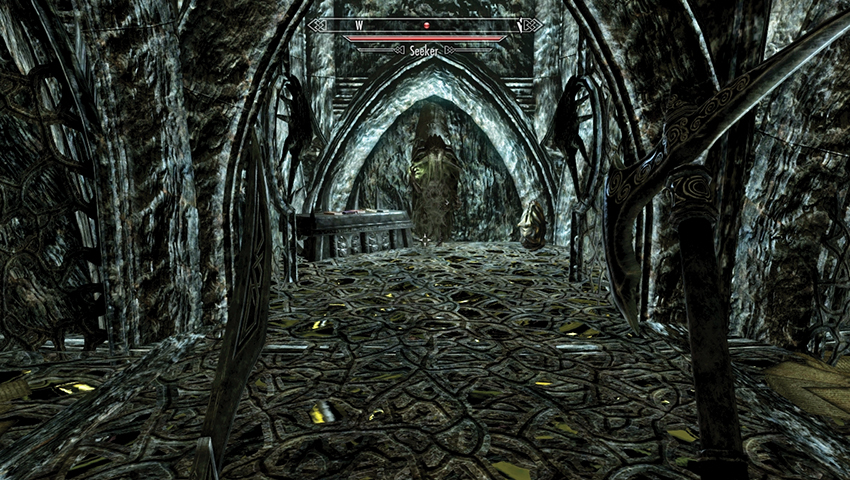
(Optional) Chapter V is a single-cell room across from the one in Chapter IV. Pass the Magicka font, use the Scrye to open the door, and head left (west). There should be an open gate and Seeker here (if the gate is shut, backtrack to Chapter IV to open it). Slay the foe and inspect the pod and black table, which holds one of the best collections of Skill Books in the game. Then head back to Chapter III and open Chapter VI.
- Before the Ages of Man (Illusion Skill Book)
- 2920, Hearth Fire, v9 (Conjuration Skill Book)
- Breathing Water (Alteration Skill Book)
- Racial Phylogeny (Restoration Skill Book)
- A Hypothetical Treachery (Destruction Skill Book)
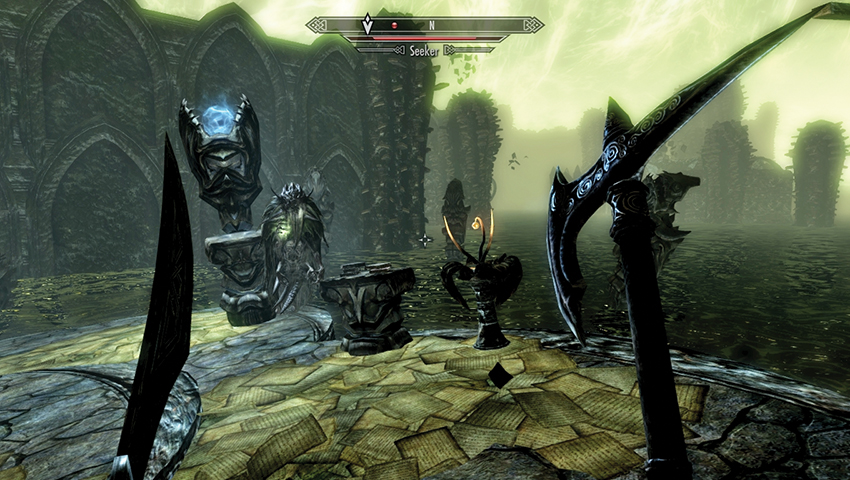
Aside from the Magicka font under the book, this is a straightforward path west to two more books marked Chapter VII and Chapter VIII. The former leads you to a sloping island with a couple of Seekers to finish, a Magicka font, and a Scrye to activate. This opens a gate platform in Chapter VIII. Head back to the book and open Chapter VIII.
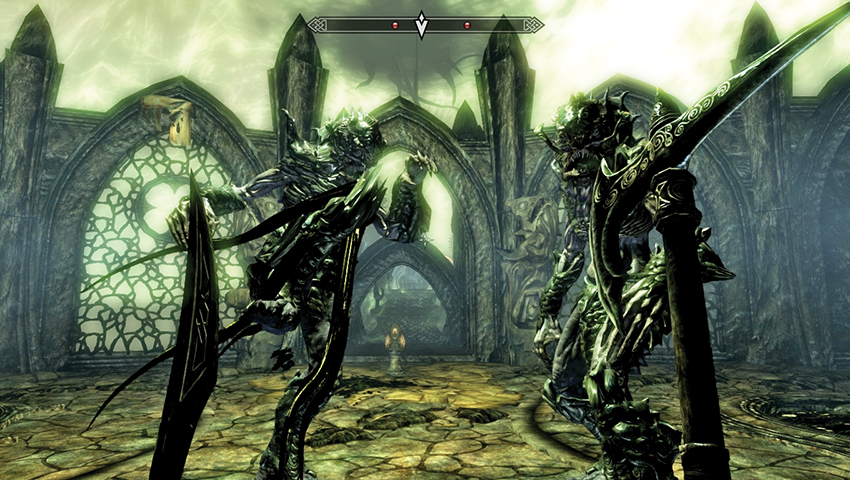
A Seeker meets you in a cramped corridor. There’s a Stamina font above the book and black table. Next, head out to a ramped platform and a large platform area with two Stamina fonts and two Lurkers to face. A Scrye opens the gate ahead (west) of you, and the bridge extends to the pedestal containing the Black Book and an adjacent vessel to ransack. Open the book, and you can select from among the following powers:
- Mora’s Agony (Summons a field of writhing tentacles that poison foes)
- Mora’s Grasp (Freezes the target between Oblivion and Tamriel for 30 seconds, making them immune to all damage)
- Mora’s Boon (Fully restores your Health, Magicka, and Stamina)
Postquest Activities
Choose your power, then access the book to transport back to Solstheim.