
Elder Scrolls V: Skyrim Special Edition Guide Quests Daedric Quests
Daedric Quests: The House of Horrors
The House of Horrors
A Powerful Trickster
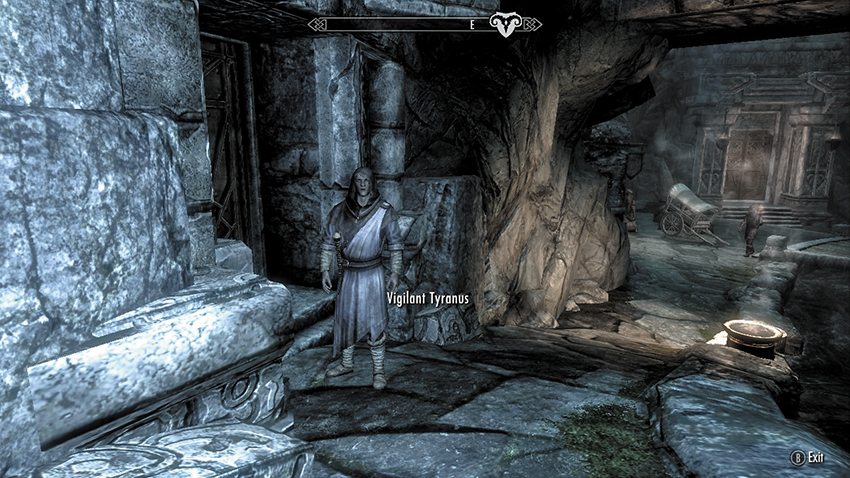
The first time you visit the canyon city of Markarth, you witness a brazen Forsworn attack on a market stall holder. Next time you enter the city, head along the right (north) side of the thoroughfare, along the canal, until you meet two men conversing outside a dwelling. A cowled priest named Vigilant Tyranus is asking a Nord called Yngvar whether he’s seen any strange lights or unusual noises emanating from the house. Yngvar says he hasn’t, and Tyranus turns to you, asking similar questions. Reply as you wish, and Vigilant Tyranus explains that he’s a Vigilant of Stendarr; he finds areas believed to be used for Daedra worship and removes the presence. Ask if he needs help, and he says to follow him into the Abandoned House.
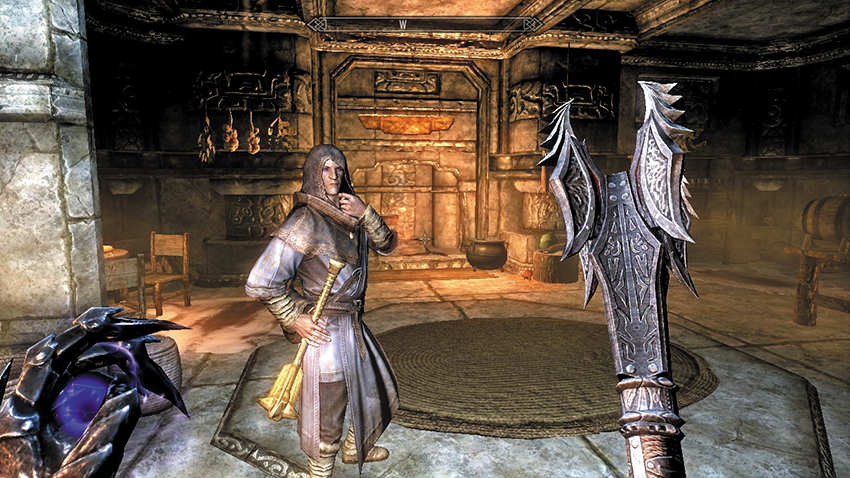
The house’s interior is well lit. There is no rot on the furniture, and fresh food lies waiting to be prepared. Someone was here recently. Tyranus is startled by an odd sound and opens the door. You swear a basket rolls across the room in front of you both. There’s both a faint moaning and a deep rumbling sound. A strange vapor hangs in the air. Tyranus is convinced something is amiss and heads down the stairs. He shouts for the entity to show itself. Candles illuminate the gloom. The voice in your head tells you to open another door; try it and it is sealed shut.
When various objects begin to fly around, Tyranus flees the area, vowing to find help: This is no ordinary Daedra. Tyranus reaches the entrance room and begins to slow down. Follow him, and you hear a growling voice telling you to crush Tyranus. You can:
- Wait, hoping that Tyranus regains his composure. He doesn’t and eventually, overcome by the strange presence, attacks you!
- Follow the orders from the voice inside your head, and attack Tyranus. Keep this up until one of you is dead.
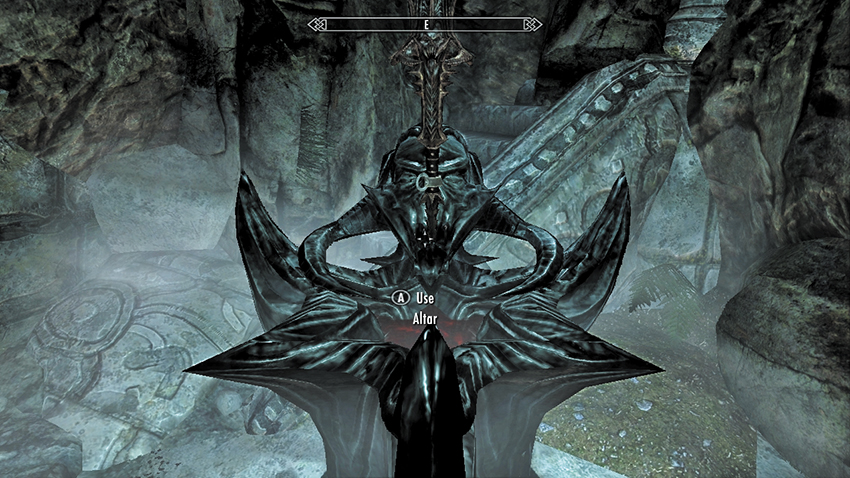
With Tyranus out of the way, you can claim the reward for your cold-blooded murder. Venture back into the depths of the dwelling, to the locked door. It has been mysteriously unlocked, and you swear the candles burn brighter as you turn the handle. The same voice beckons you into the bowels of the building. The chamber begins to tremble. Search behind the shelving for a hole in the (east) wall. This leads to an earthen tunnel and into a long-forgotten altar, upon which rests an ornate but rusty mace. Pick it up.
You briefly cower as a cage of onyx spikes springs up around you. Molag Bal, the Lord of Corruption, deems you foolish to think you would be rewarded so easily! Speak to Molag Bal and mention the altar or mace. There was a time when that mace dripped with the blood of the feeble and the worthless. But Molag Bal’s rival Boethiah sent his priest here to desecrate this altar. It was left to decay. Until now. Molag Bal wants the priest responsible to willingly turn to his service and surrender his soul. Agree to help (as it’s the only way to free yourself).
A Willful Execution
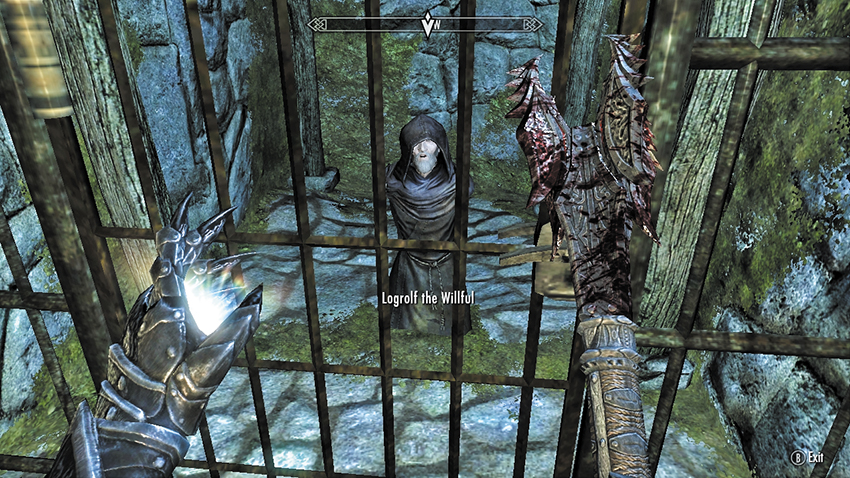
Travel to the location indicated on your world map. Work your way through the dungeon that the priest is lurking in, until you find them. The priest is Logrolf the Willful, and he’s usually tied up and helpless. It is worth killing any enemies in the chamber Logrolf is being held in so you can easily free him. Let him know you’re here to rescue him. He’s immediately suspicious, as nobody knew where he was when he was taken. He asks who sent you. You can:
- (Persuade) Pretend his own master Boethiah sent you.
- (Bribe: Gold, various amount) Ask why it matters, as there’s gold to be had. Your gold.
- (Intimidate: Level 13) Or tell him the truth to frighten him: Molag Bal sent you.
When one of these plans works, untie the binds. Logrolf has some other business to attend to. You needn’t follow or chaperone him. Eventually, the subtle will of Molag Bal will play on Logrolf’s mind, and he’ll visit the Abandoned House.
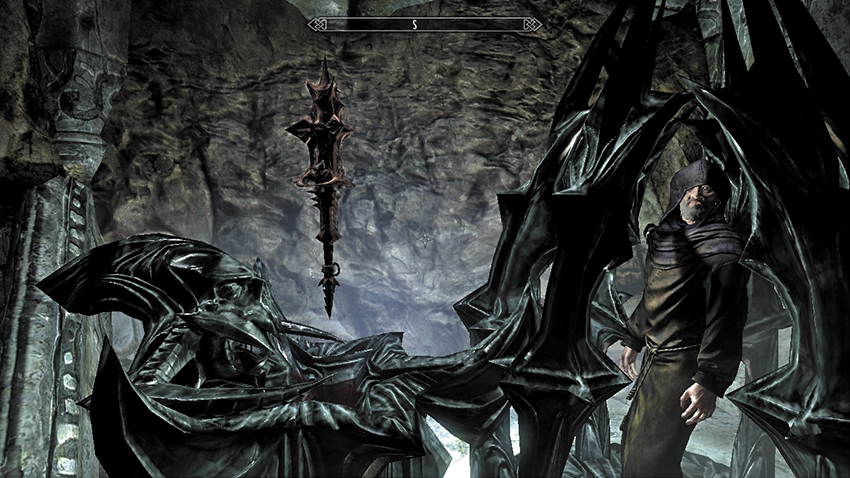
Journey back to Markarth and enter the Abandoned House. Logrolf the Willful is already waiting inside and runs into the depths of the dwelling, around the shelving and through the hidden tunnel. He approaches the altar. Molag Bal springs the trap, and the onyx spikes surround Logrolf. The priest seems less perturbed, as he has bettered Molag Bal before. Molag Bal answers that he has a champion now and grants you use of his mace. Take it!
- Rusty Mace
Stand between the spikes, and bring the mace down repeatedly on Logrolf. He yells that he’ll never submit. Eventually, you bludgeon him to death. Molag Bal laughs at the frail, limp, and pathetic bodies that mortals possess. He then resurrects Logrolf, ordering you to strike him again! After two more vicious swings, Logrolf can’t take any more and submits to Molag Bal. He promises to pledge his soul, to forsake the weak and pitiful Boethiah. Molag Bal is satisfied. Once you kill him again.
Quest Conclusion
Bring your Rusty Mace down hard on Logrolf’s crippled form. When he’s dead (again), speak to Molag Bal, who presents you with the true power of this mace. When your enemies lie broken and bloody, know that he will be watching. Then Molag Bal leaves this plane of existence...for the time being.
- Mace of Molag Bal
Postquest Activities
You can stay in this Abandoned House, using the bed, and take any items you wish (although this isn’t classified as your home). In addition, if you carry Molag Bal’s mace where there are city guards, they tend to comment on it.